

 AdonisJS
Open Site settings
- In the toolbar (the bar across the top of your site once you’re signed in; see The toolbar), choose Site settings (the gear).
- Or open the command palette (⌘K, or Ctrl+K on Windows) and choose Site settings. The shortcut is T then G (press T, let go, then press G, while you’re not typing in a box; see Keyboard shortcuts).
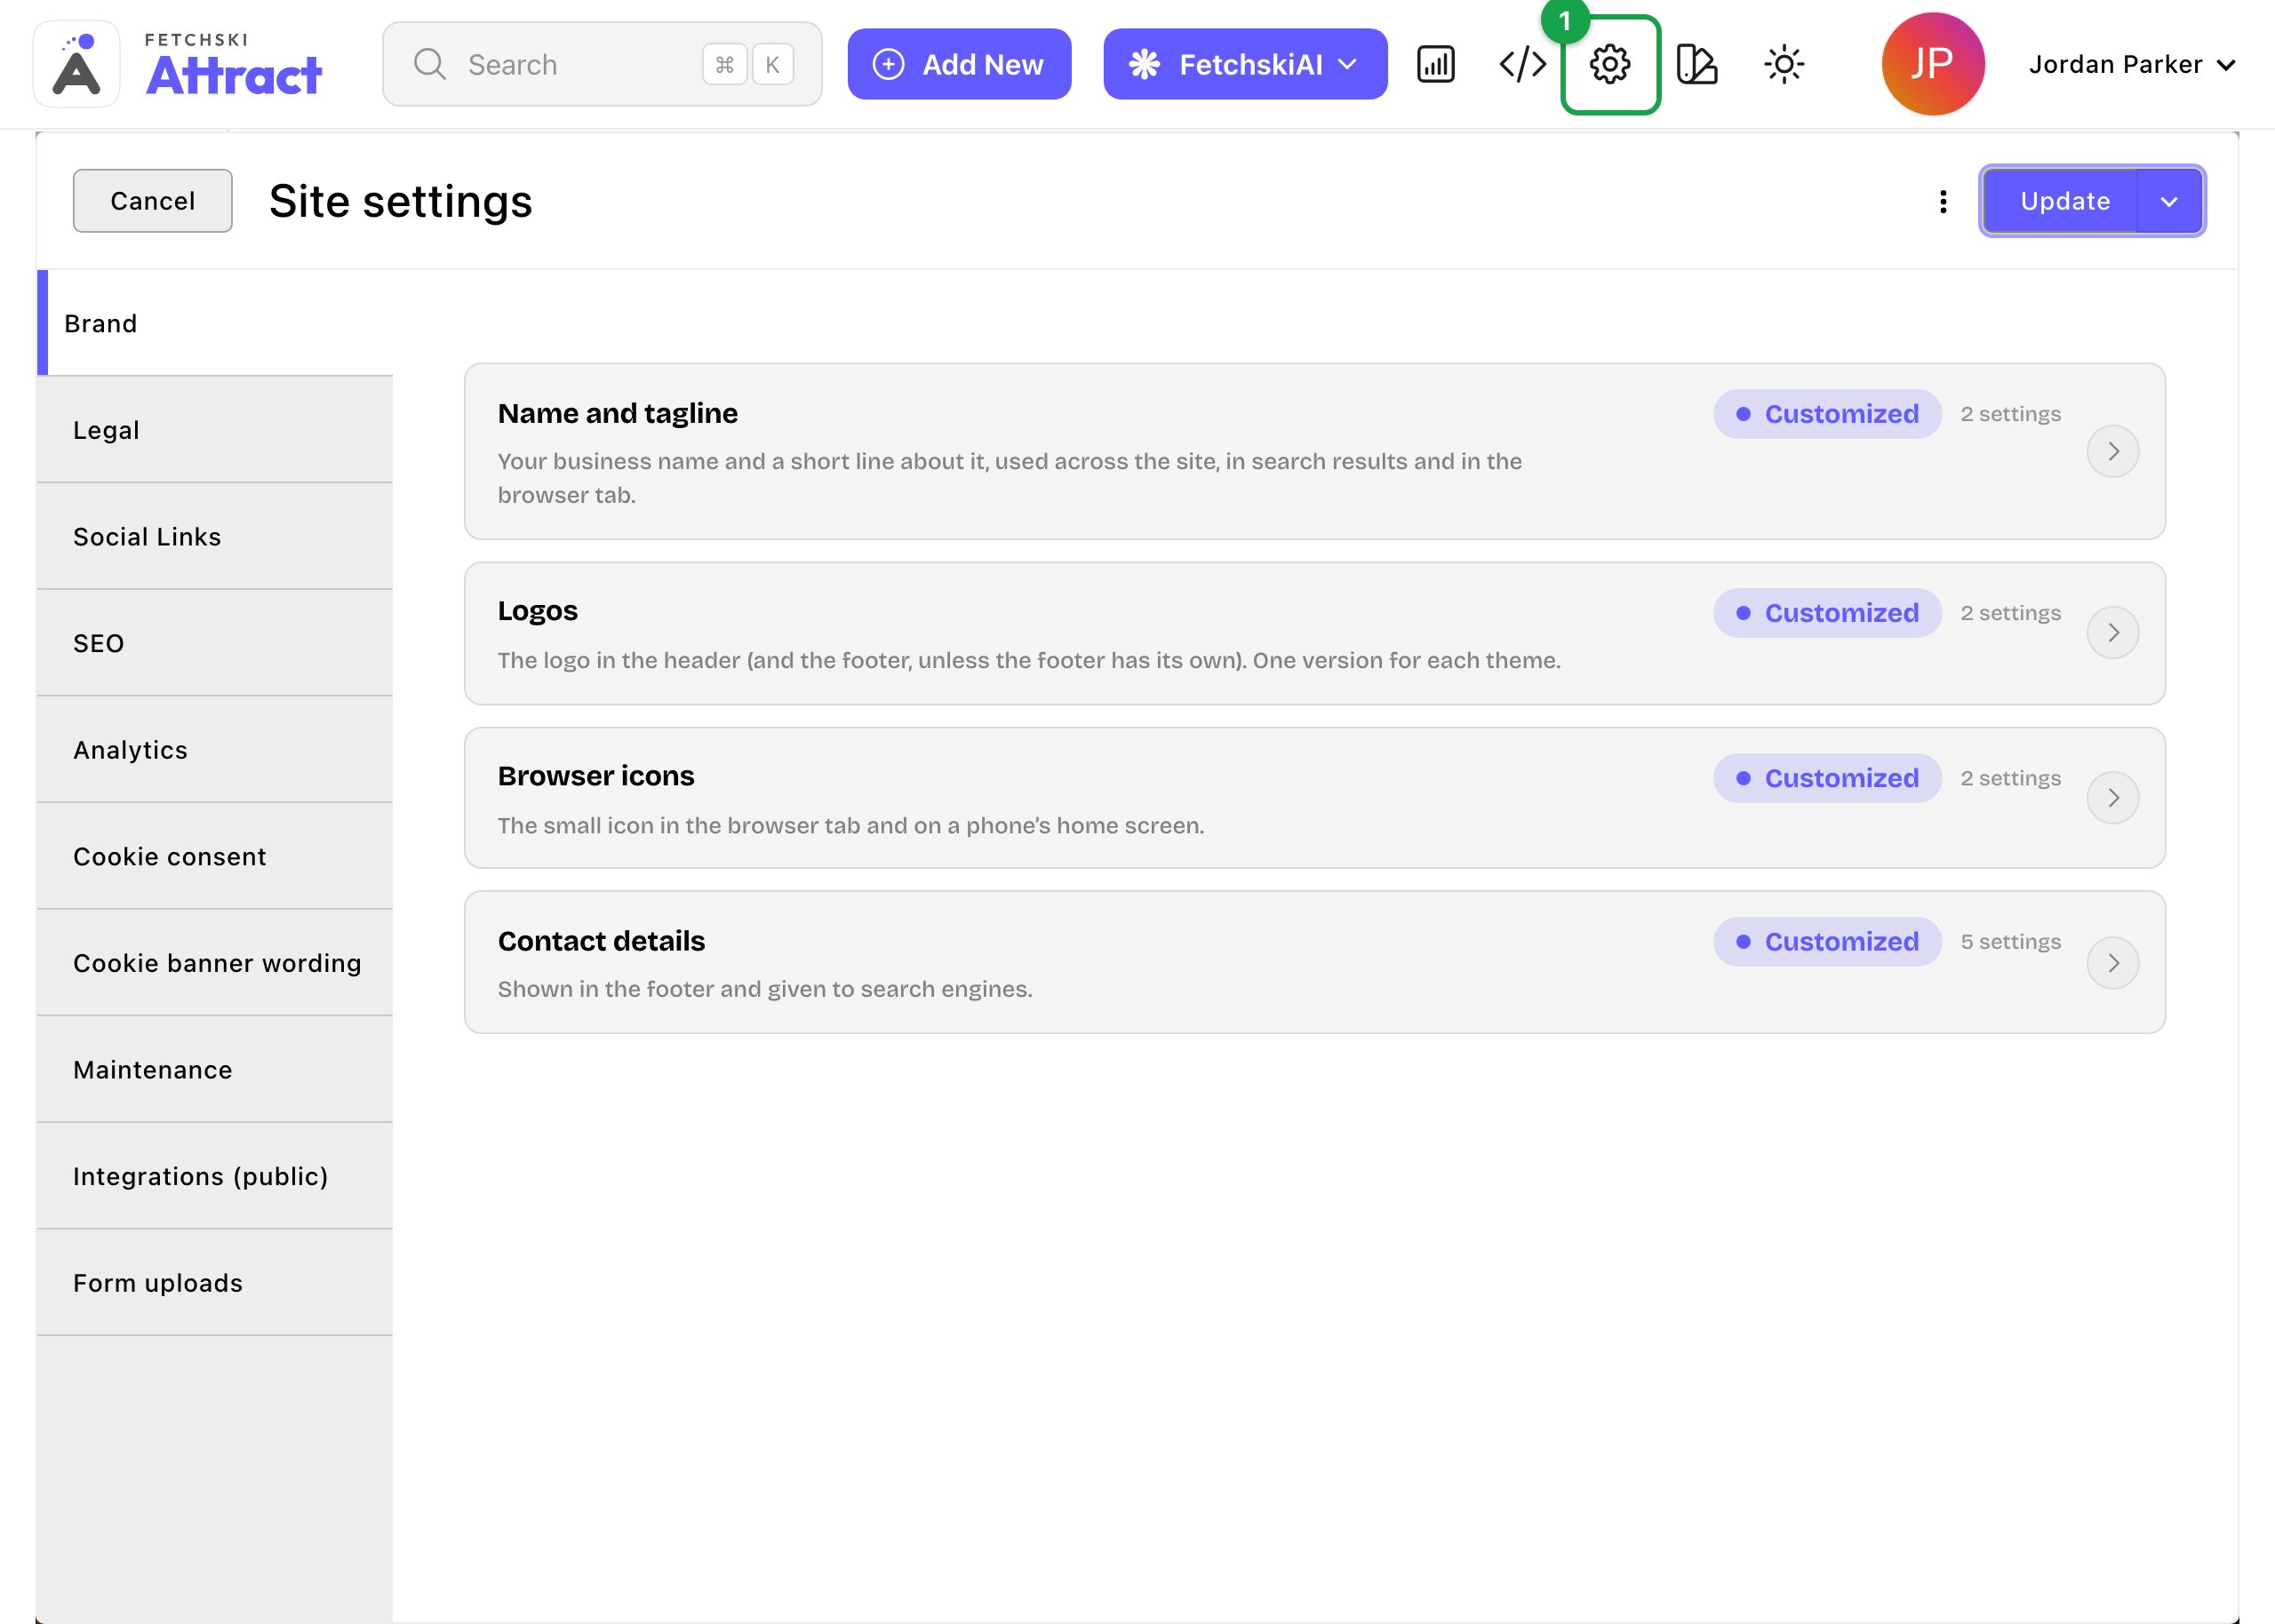
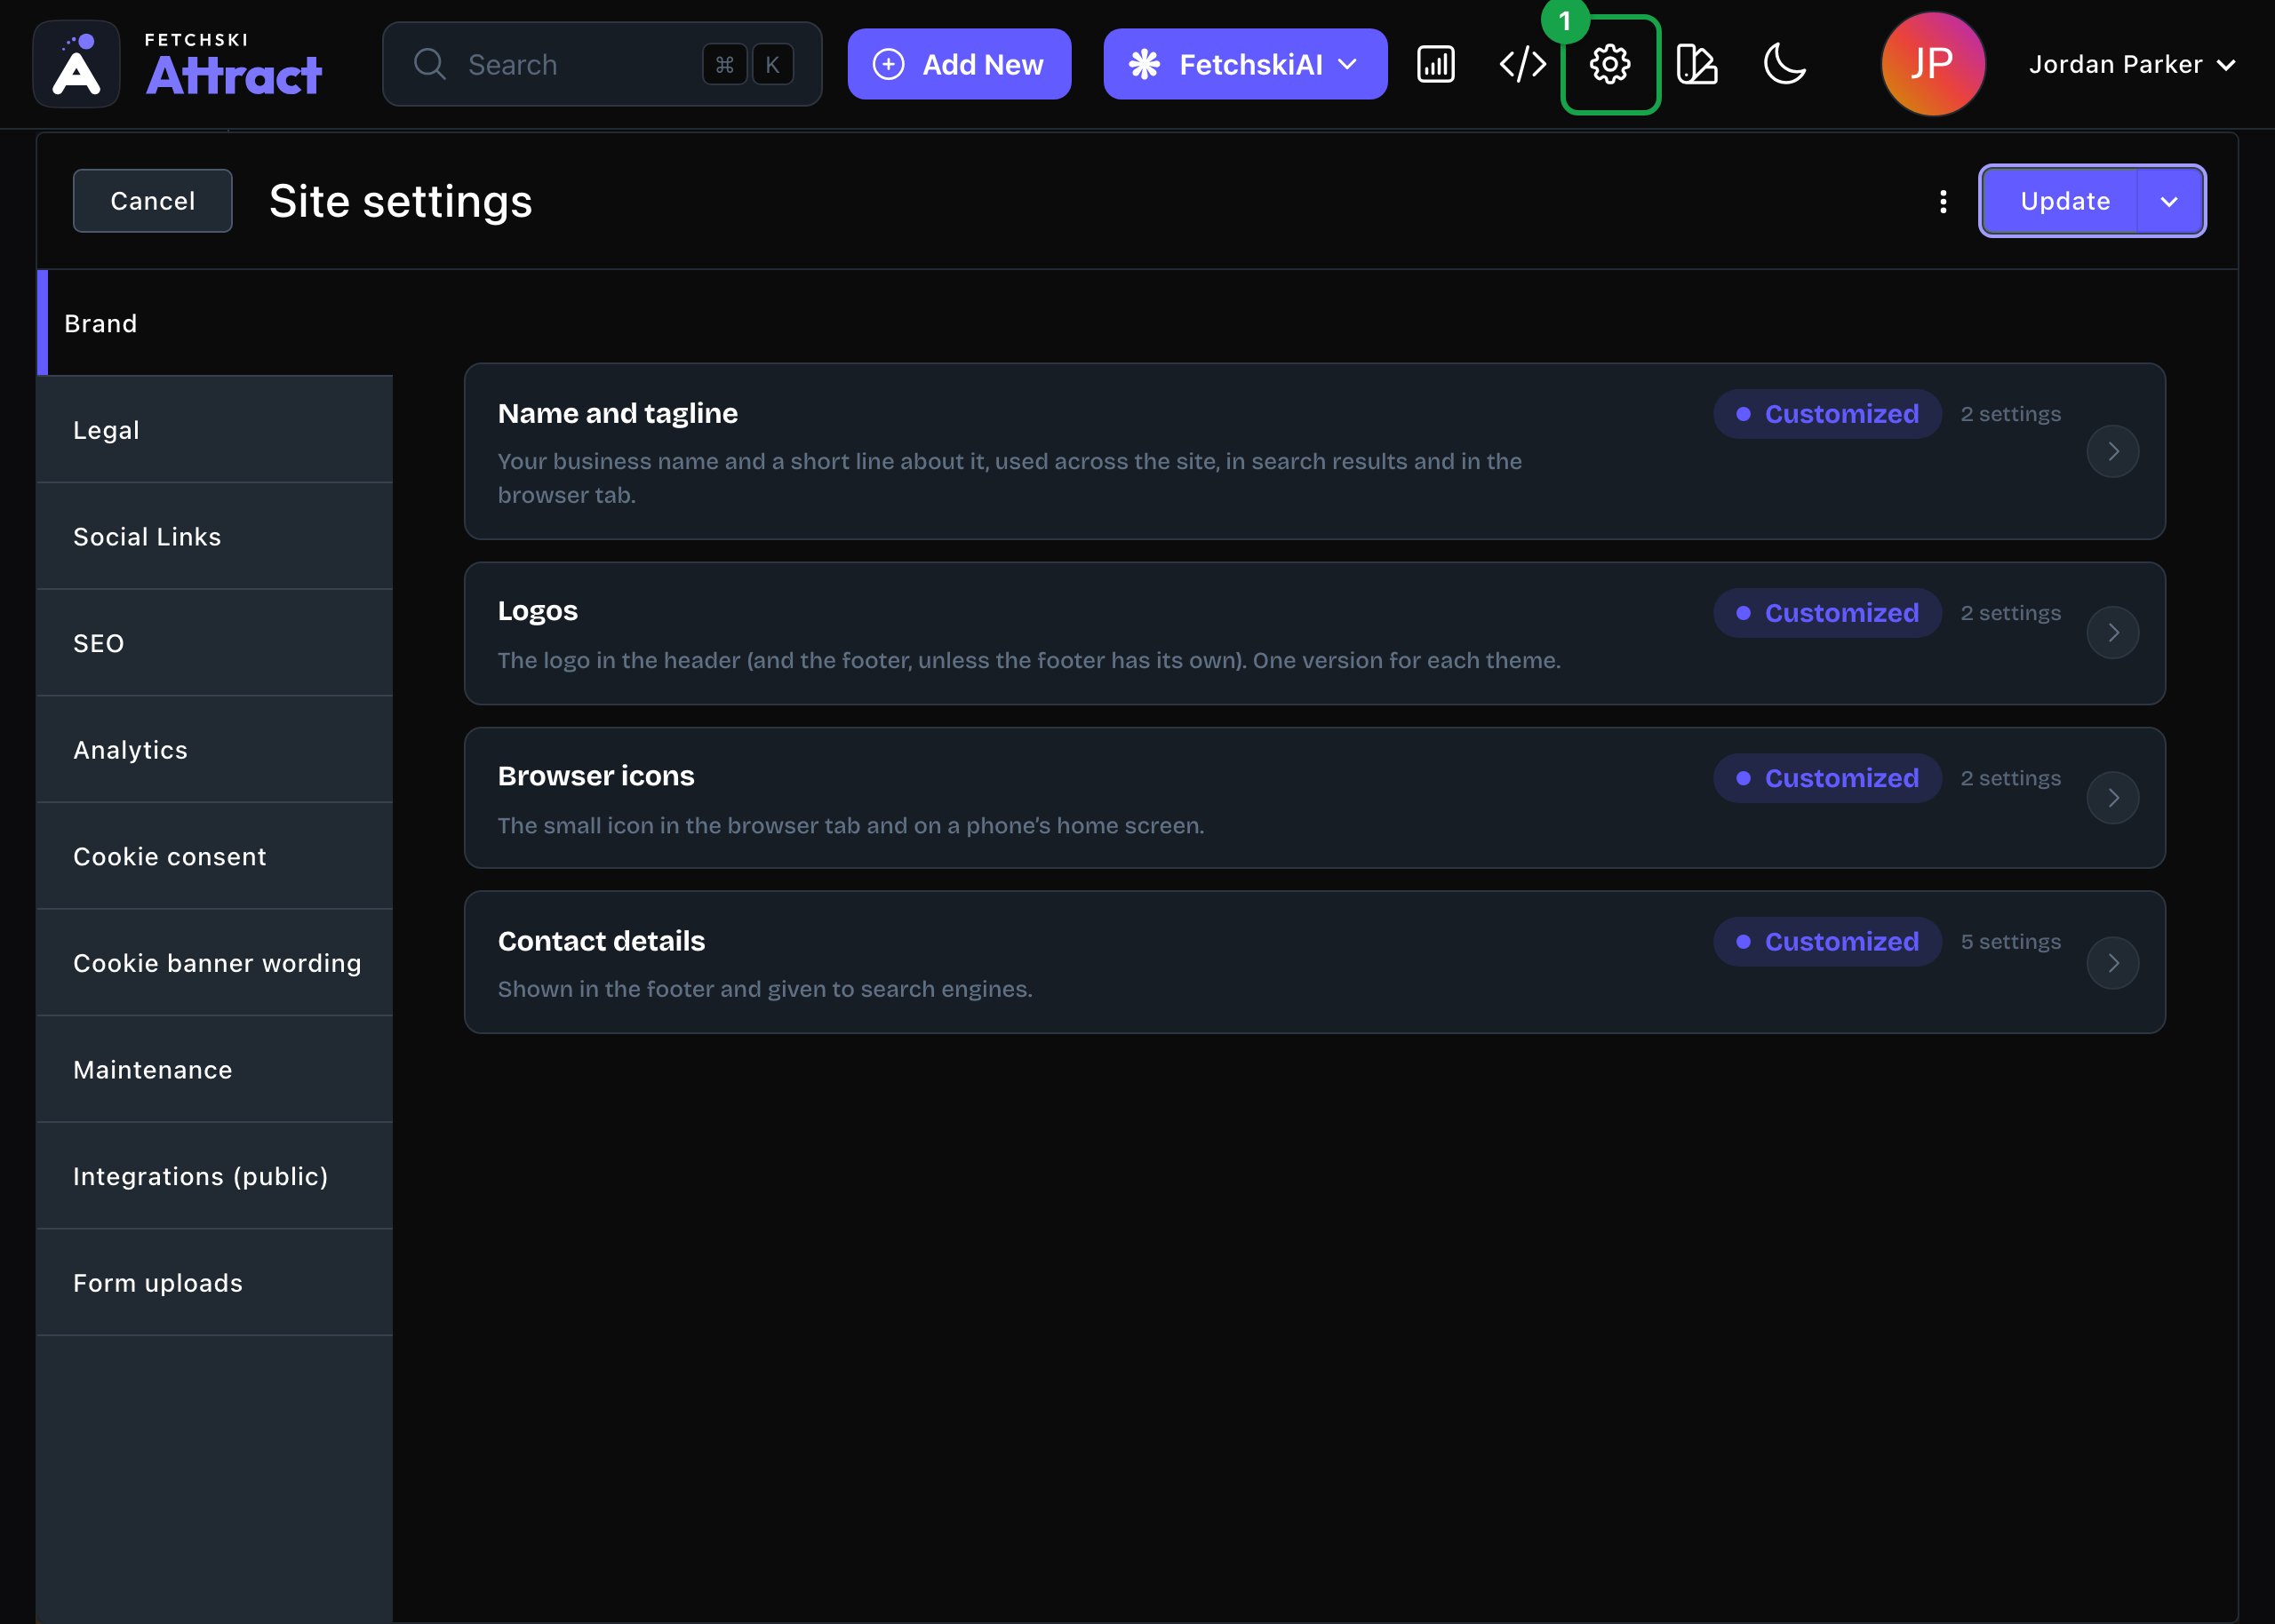
Site settings, with its tabs down the left.
The tabs
Brand
your business name, tagline, logos, browser icons and contact details.
Social links
the Social Links tab, your profiles on social media.
Legal details
the Legal tab, the details that fill in your privacy policy and terms.
Site-wide SEO
the SEO tab, your sharing picture and your business details for search engines.
Cookie consent
the Cookie consent and Cookie banner wording tabs.
Maintenance mode
the Maintenance tab, to show a “back soon” page while you work.
Analytics
the Analytics tab, with your visitor statistics tools.
Build a form
the Form uploads tab, which files visitors can send with a form.
Service area map settings
the map data, your location and your areas and prices. It opens from the command palette as Service area map.
Where to start
A new site starts with placeholder text, such as an example phone number. Replace it before you go live:- Brand. Add your business name, logo and contact details. See Brand.
- Social Links. Add your profiles. See Social links.
- Legal. Fill in your legal details before you publish your privacy policy and terms. See Legal details.
Good to know
- Update puts your changes live. Choose Update to save and publish. To save without publishing yet, open the arrow next to Update (More save options) and choose Save Draft. Your changes wait there; open the window again and choose Update when you’re ready to put them live.
- Changes apply everywhere at once. A new phone number shows in the footer of every page as soon as you choose Update.
- Some tabs are for Admins. Editors don’t see the settings they can’t change.
Related
Site design
colors, fonts, header and footer.
Connections
email, spam protection, Google and other services.
What each role can do
who can change which settings.