

 AdonisJS
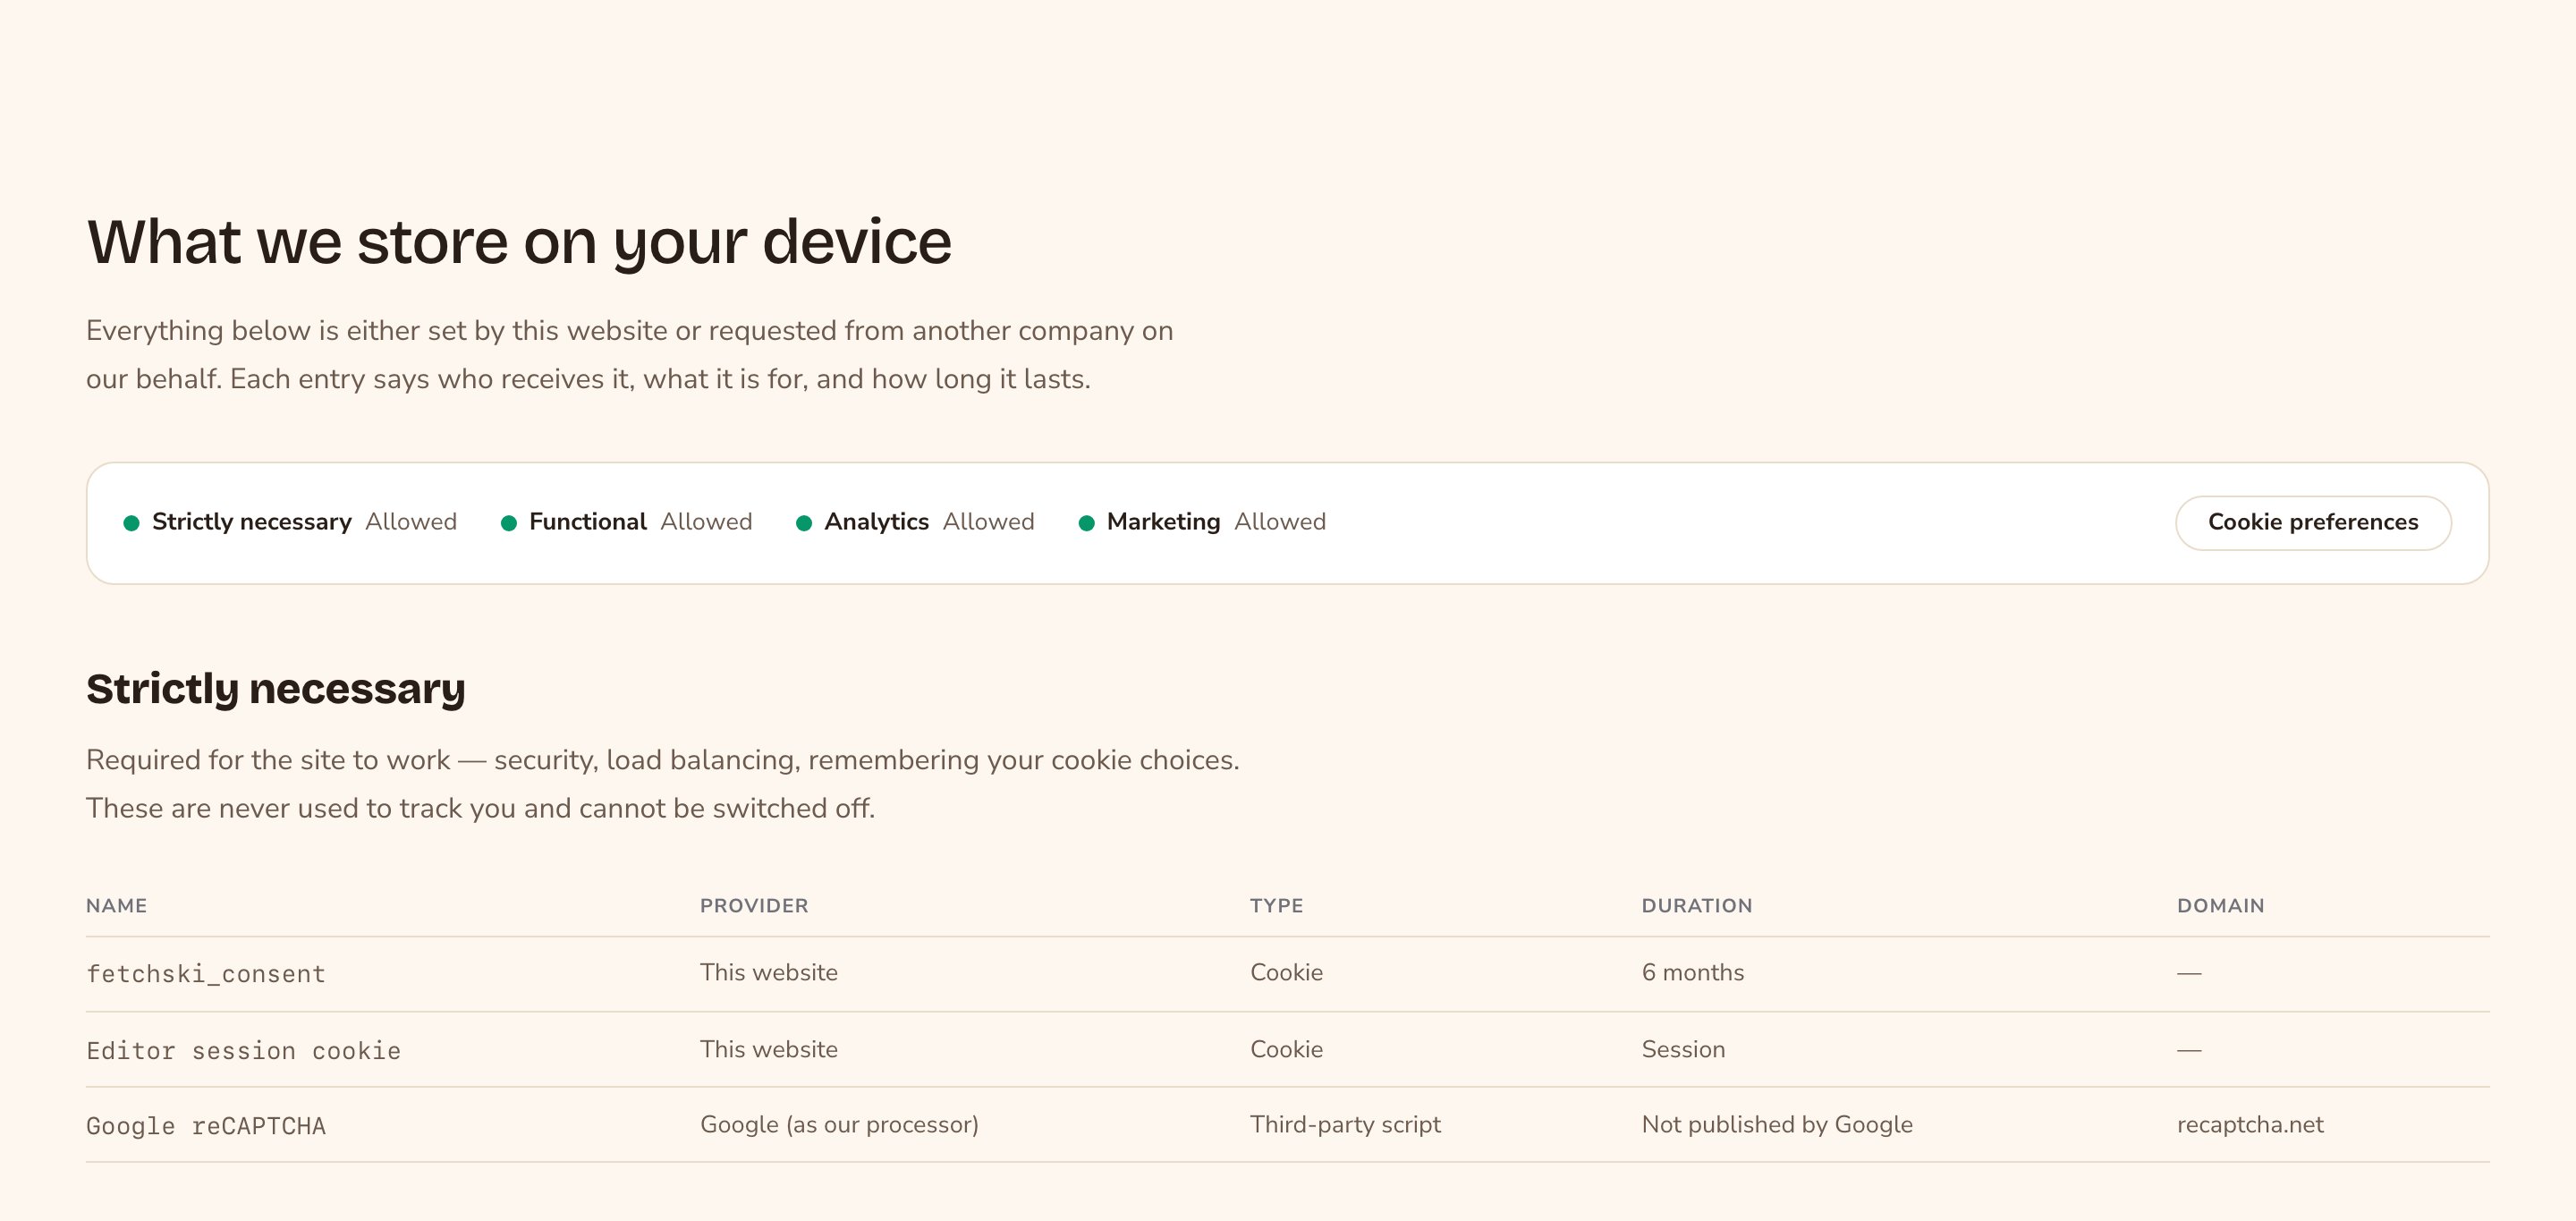
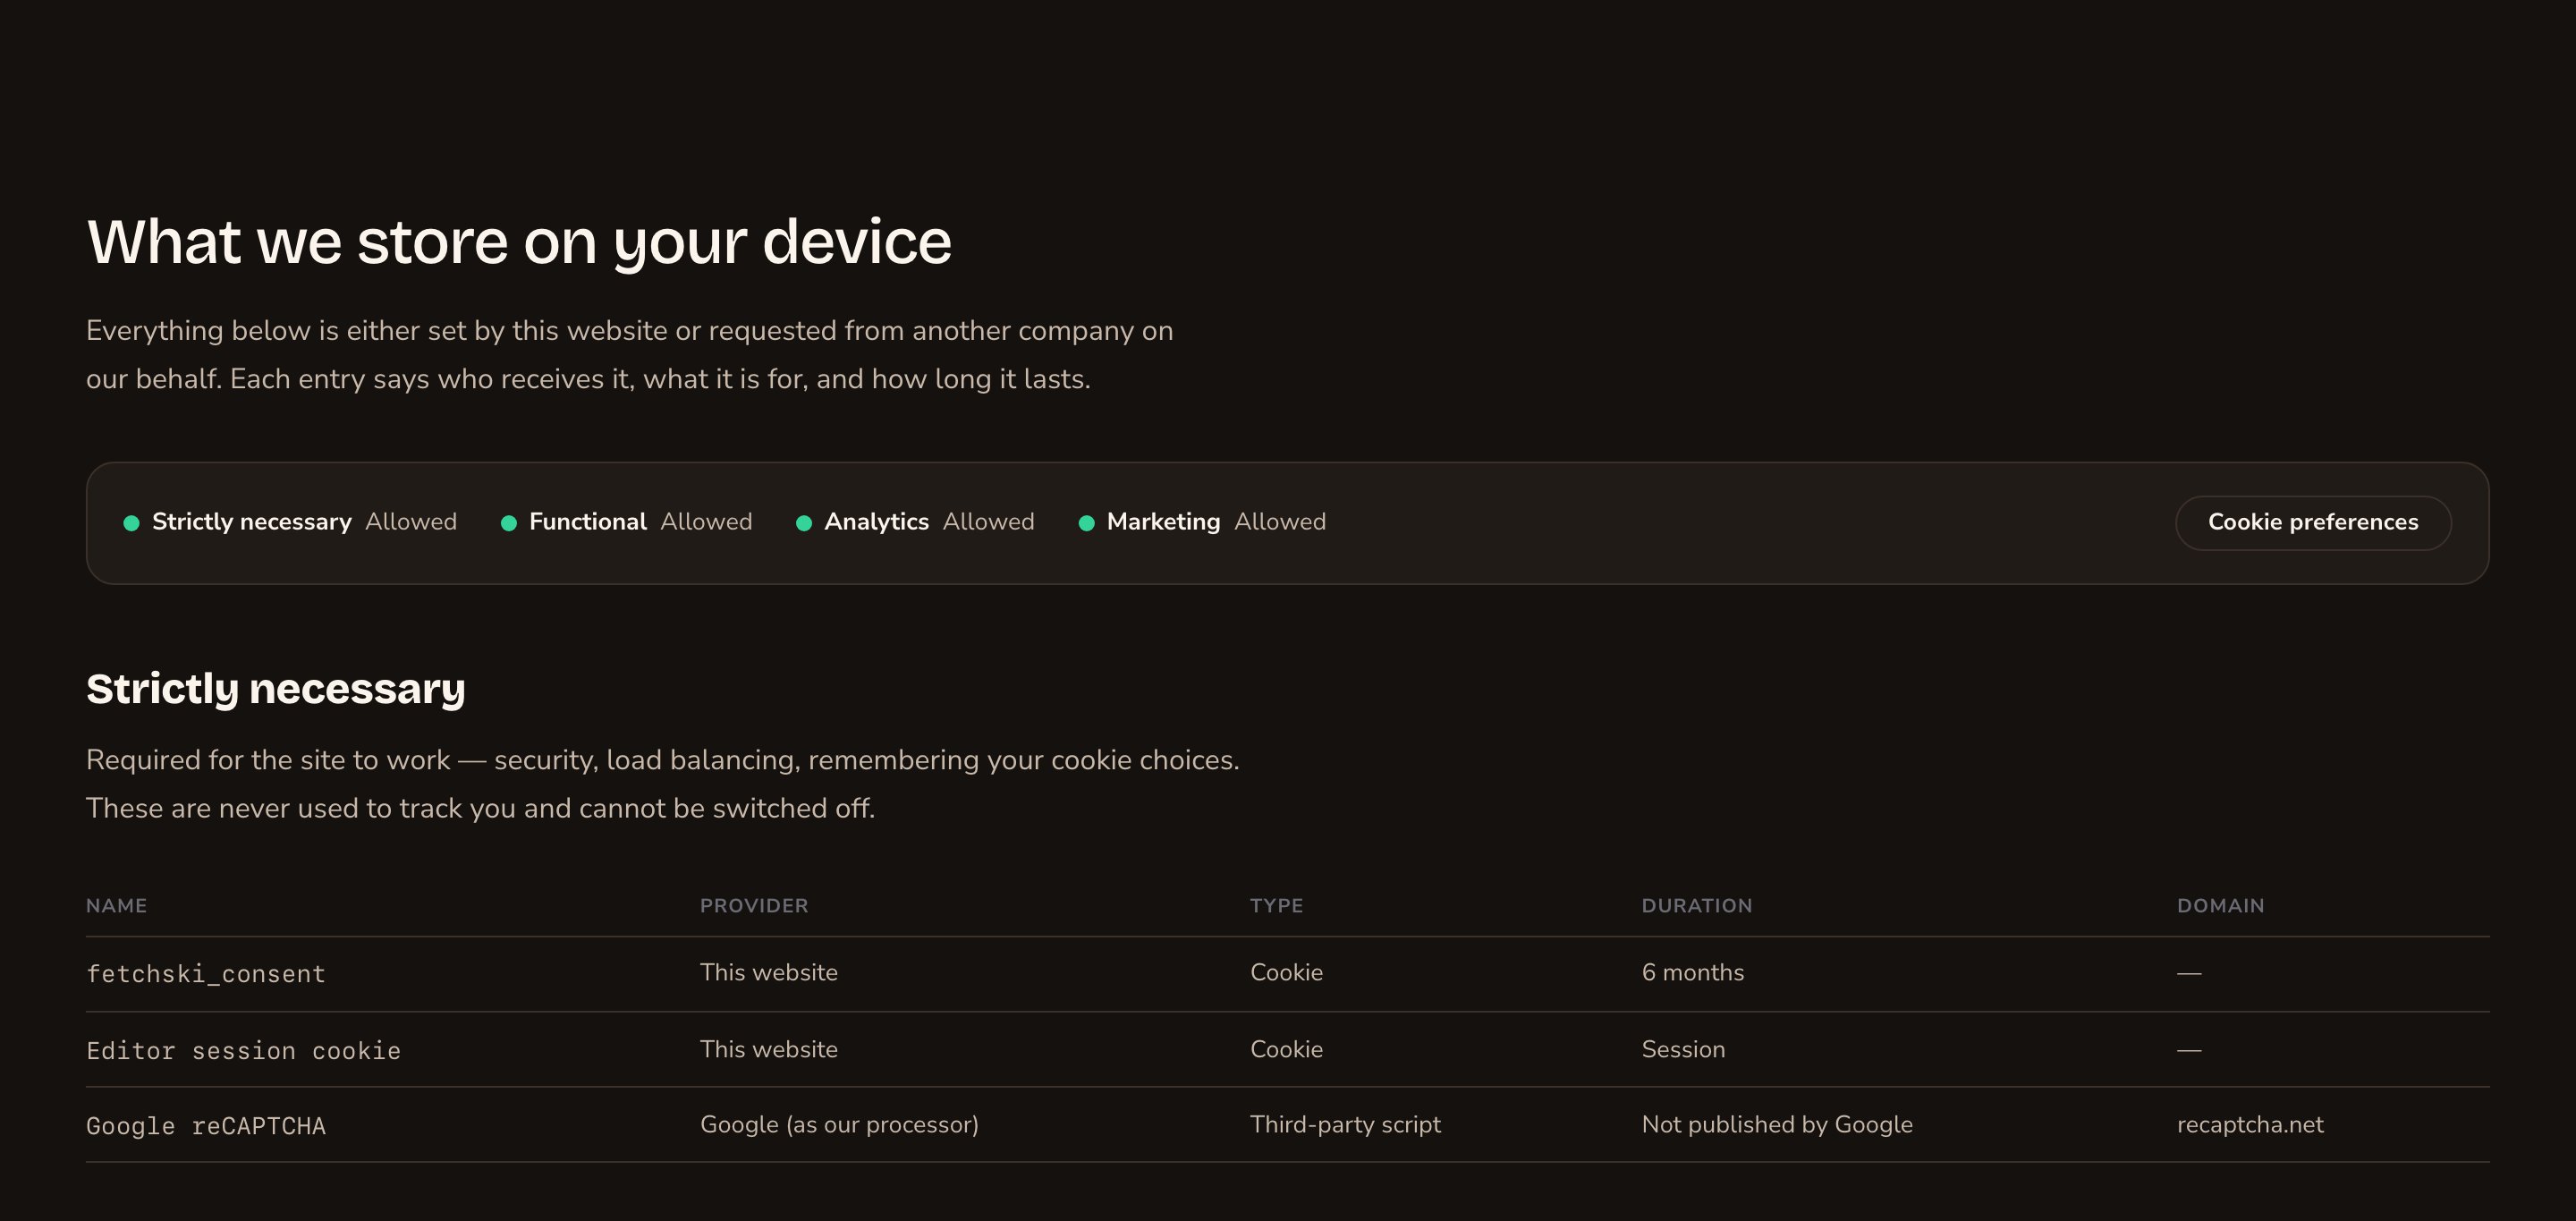
Your cookies, grouped by category, with the visitor's own choices on top.
When to use it
- On your cookie policy page, as the part that must always match what your site really does.
- Anywhere you want to show visitors what they have allowed, with a quick way to change it.
Where the list comes from
You don’t edit the list in this section. Everything in it comes from your site’s cookie settings, on screens of their own:- Each entry comes from the Cookies list. Open it from the command palette (⌘K, or Ctrl+K on Windows): choose Cookies. Your site’s own cookies are already listed. An Admin adds anything else, and updates an entry when an outside service changes its cookies. See Cookie consent.
- Each outside service you add in Embed Scripts, such as a chat window or analytics, appears as its own block. To open it, choose Embed Scripts in the command palette. The block names the provider, lists the cookies it sets and links to its privacy policy. See Embed scripts.
- The category names and descriptions come from Site settings → Cookie banner wording, so the policy and the banner always use the same words.
Add it to a page
1
Open the page
Sign in, open the page on your site, and choose Edit in the edit bar at the top.
2
Find the spot
Select the section next to where the new one should go. A round + button appears on its top and bottom edges. On an empty page, choose Add Content in the middle.
3
Choose the section
The Add Content menu opens with its groups. Choose the section, then select it and choose Edit in its side toolbar to make it yours.
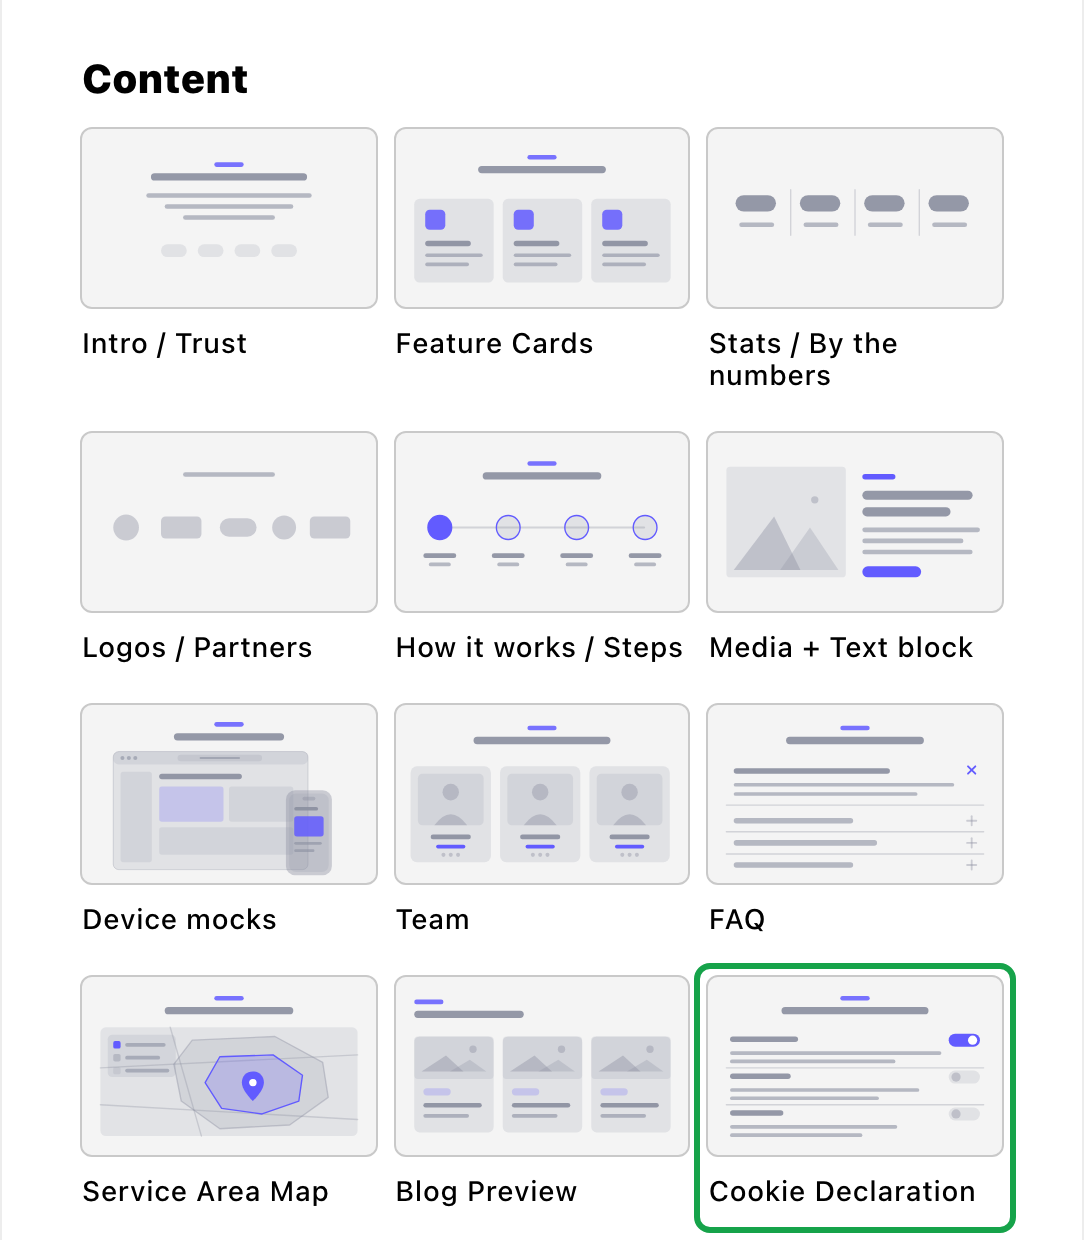
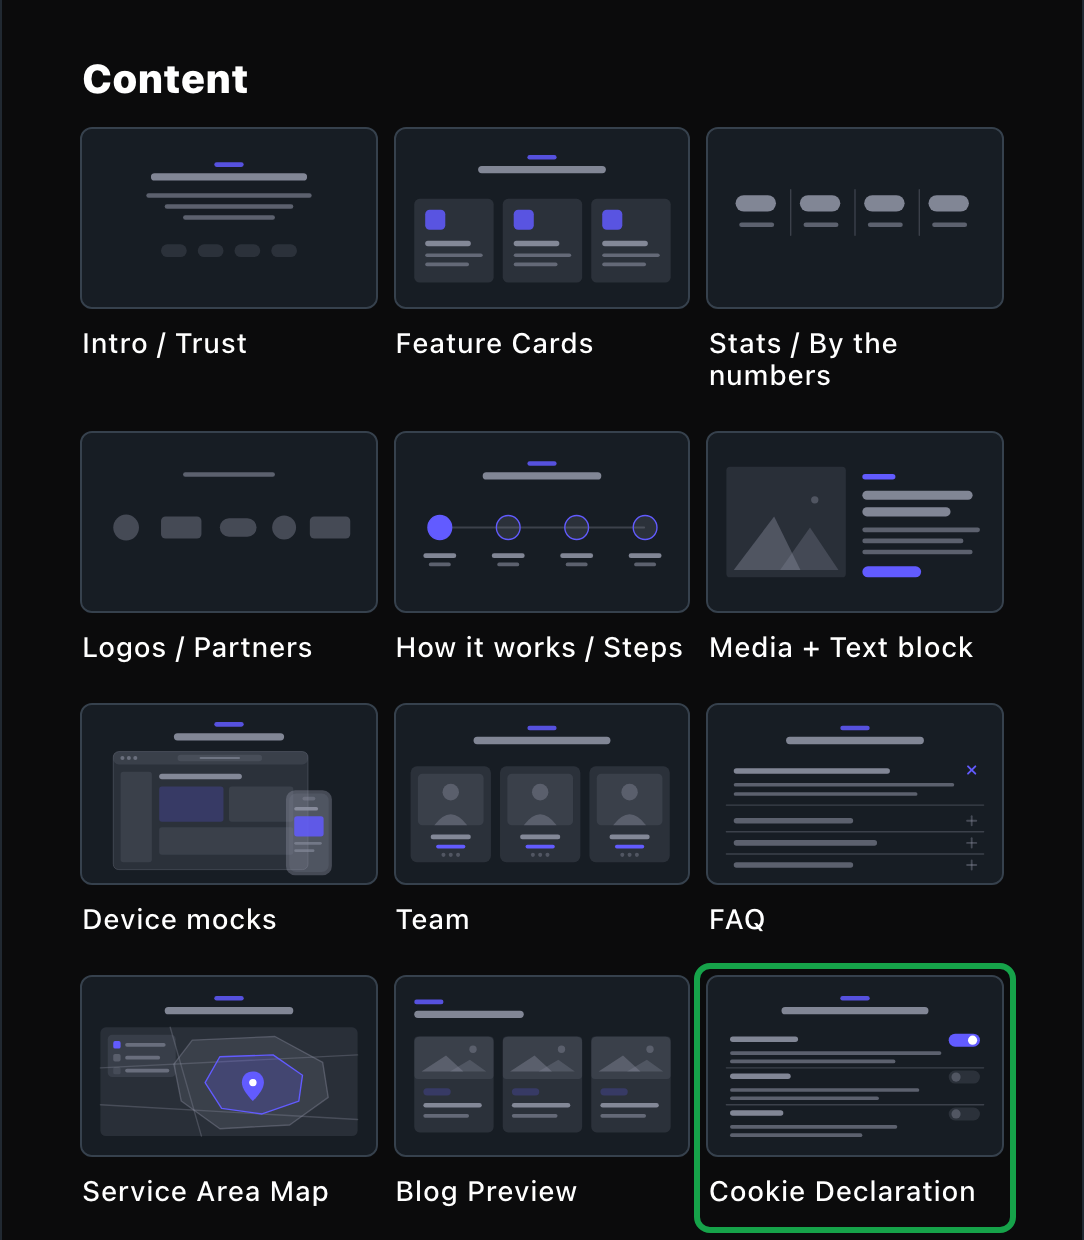
The Cookie Declaration lives in the Content group.
What you can change
Select the section on the page and choose Edit. The editor opens beside the page, so you see each change as you make it. It has 4 tabs. Your changes go into the page’s draft. Visitors see them once the page is published with Update in the edit bar (Publish on a page never published).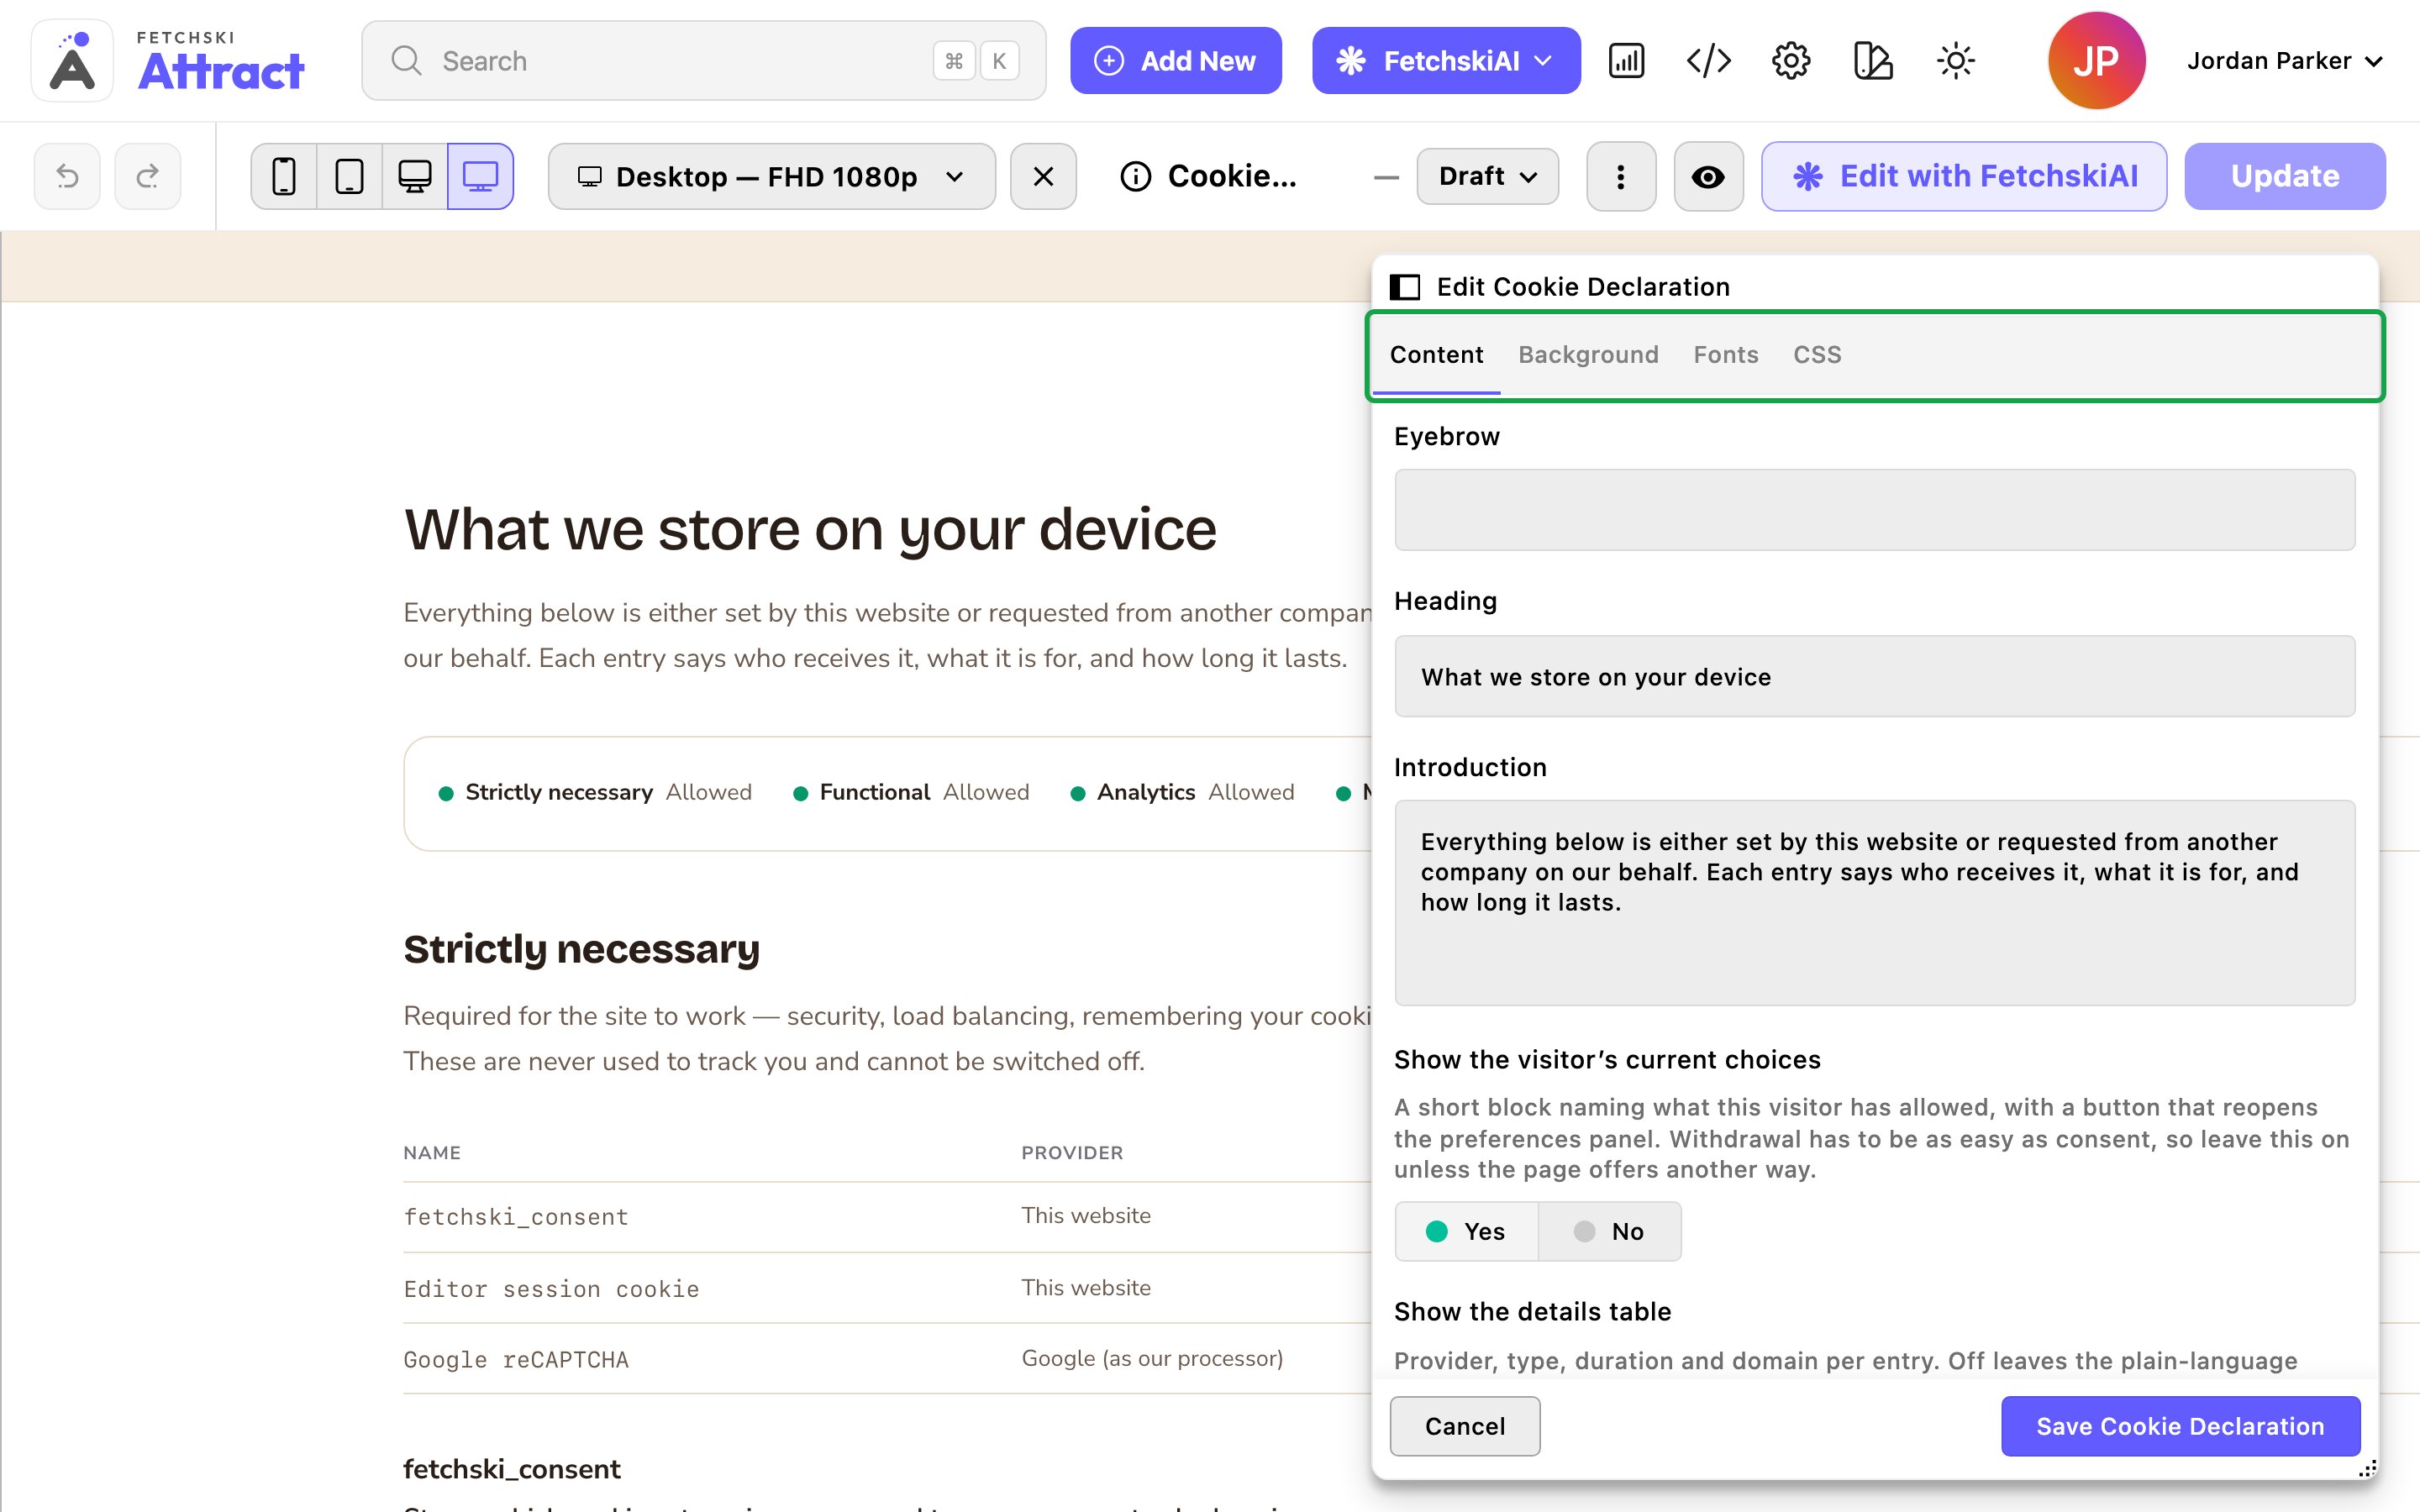
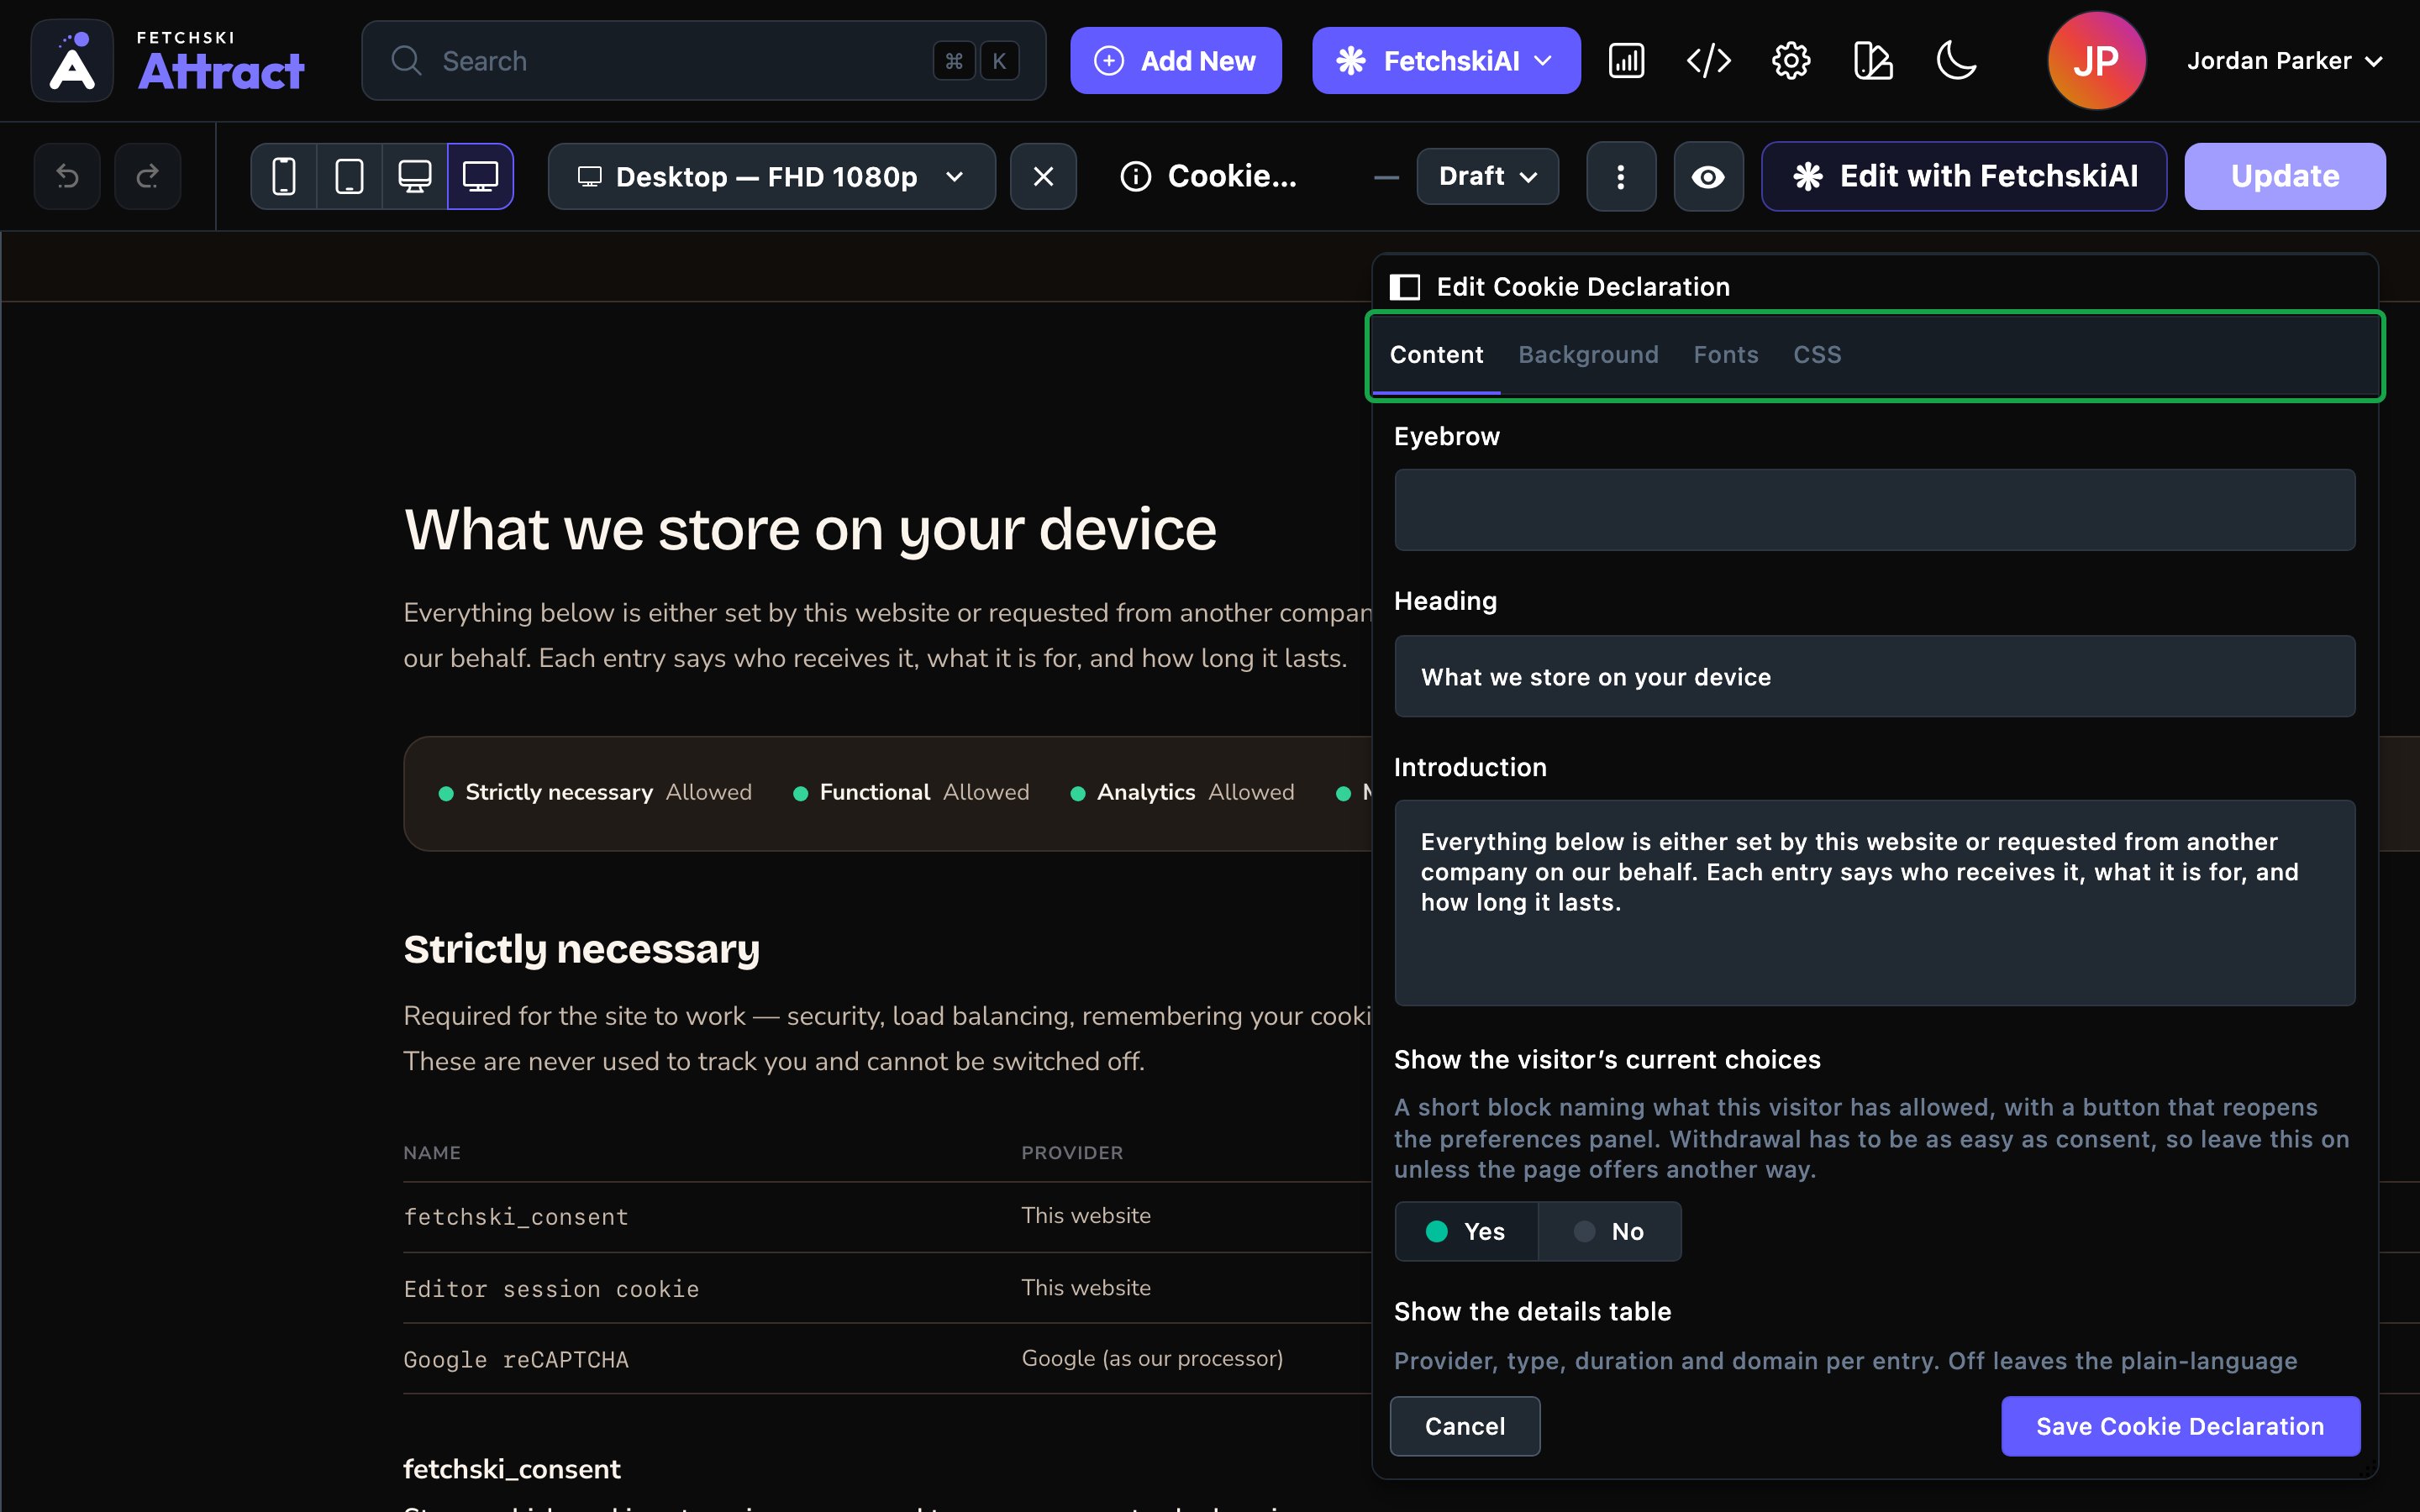
The Cookie Declaration editor, with the page updating beside it.
Content
Content
Words
- Eyebrow: an optional small label above the heading.
- Heading: it starts as “What we store on your device”.
- Introduction: a short paragraph under the heading. It starts with a plain explanation that each entry says who receives it, what it’s for and how long it lasts.
- Show the visitor’s current choices: a block naming what this visitor has allowed in each category, marked Allowed or Declined. Its button reopens the cookie preferences, so visitors can change their mind on the spot. On by default.
- Show the details table: a table in each category with the provider, type, duration and domain of every entry. Turn it off to keep just the plain-language entries, which read more easily.
- Layout: Stacked — one entry after another or Compact — table first, disclosures below.
Looks you can make
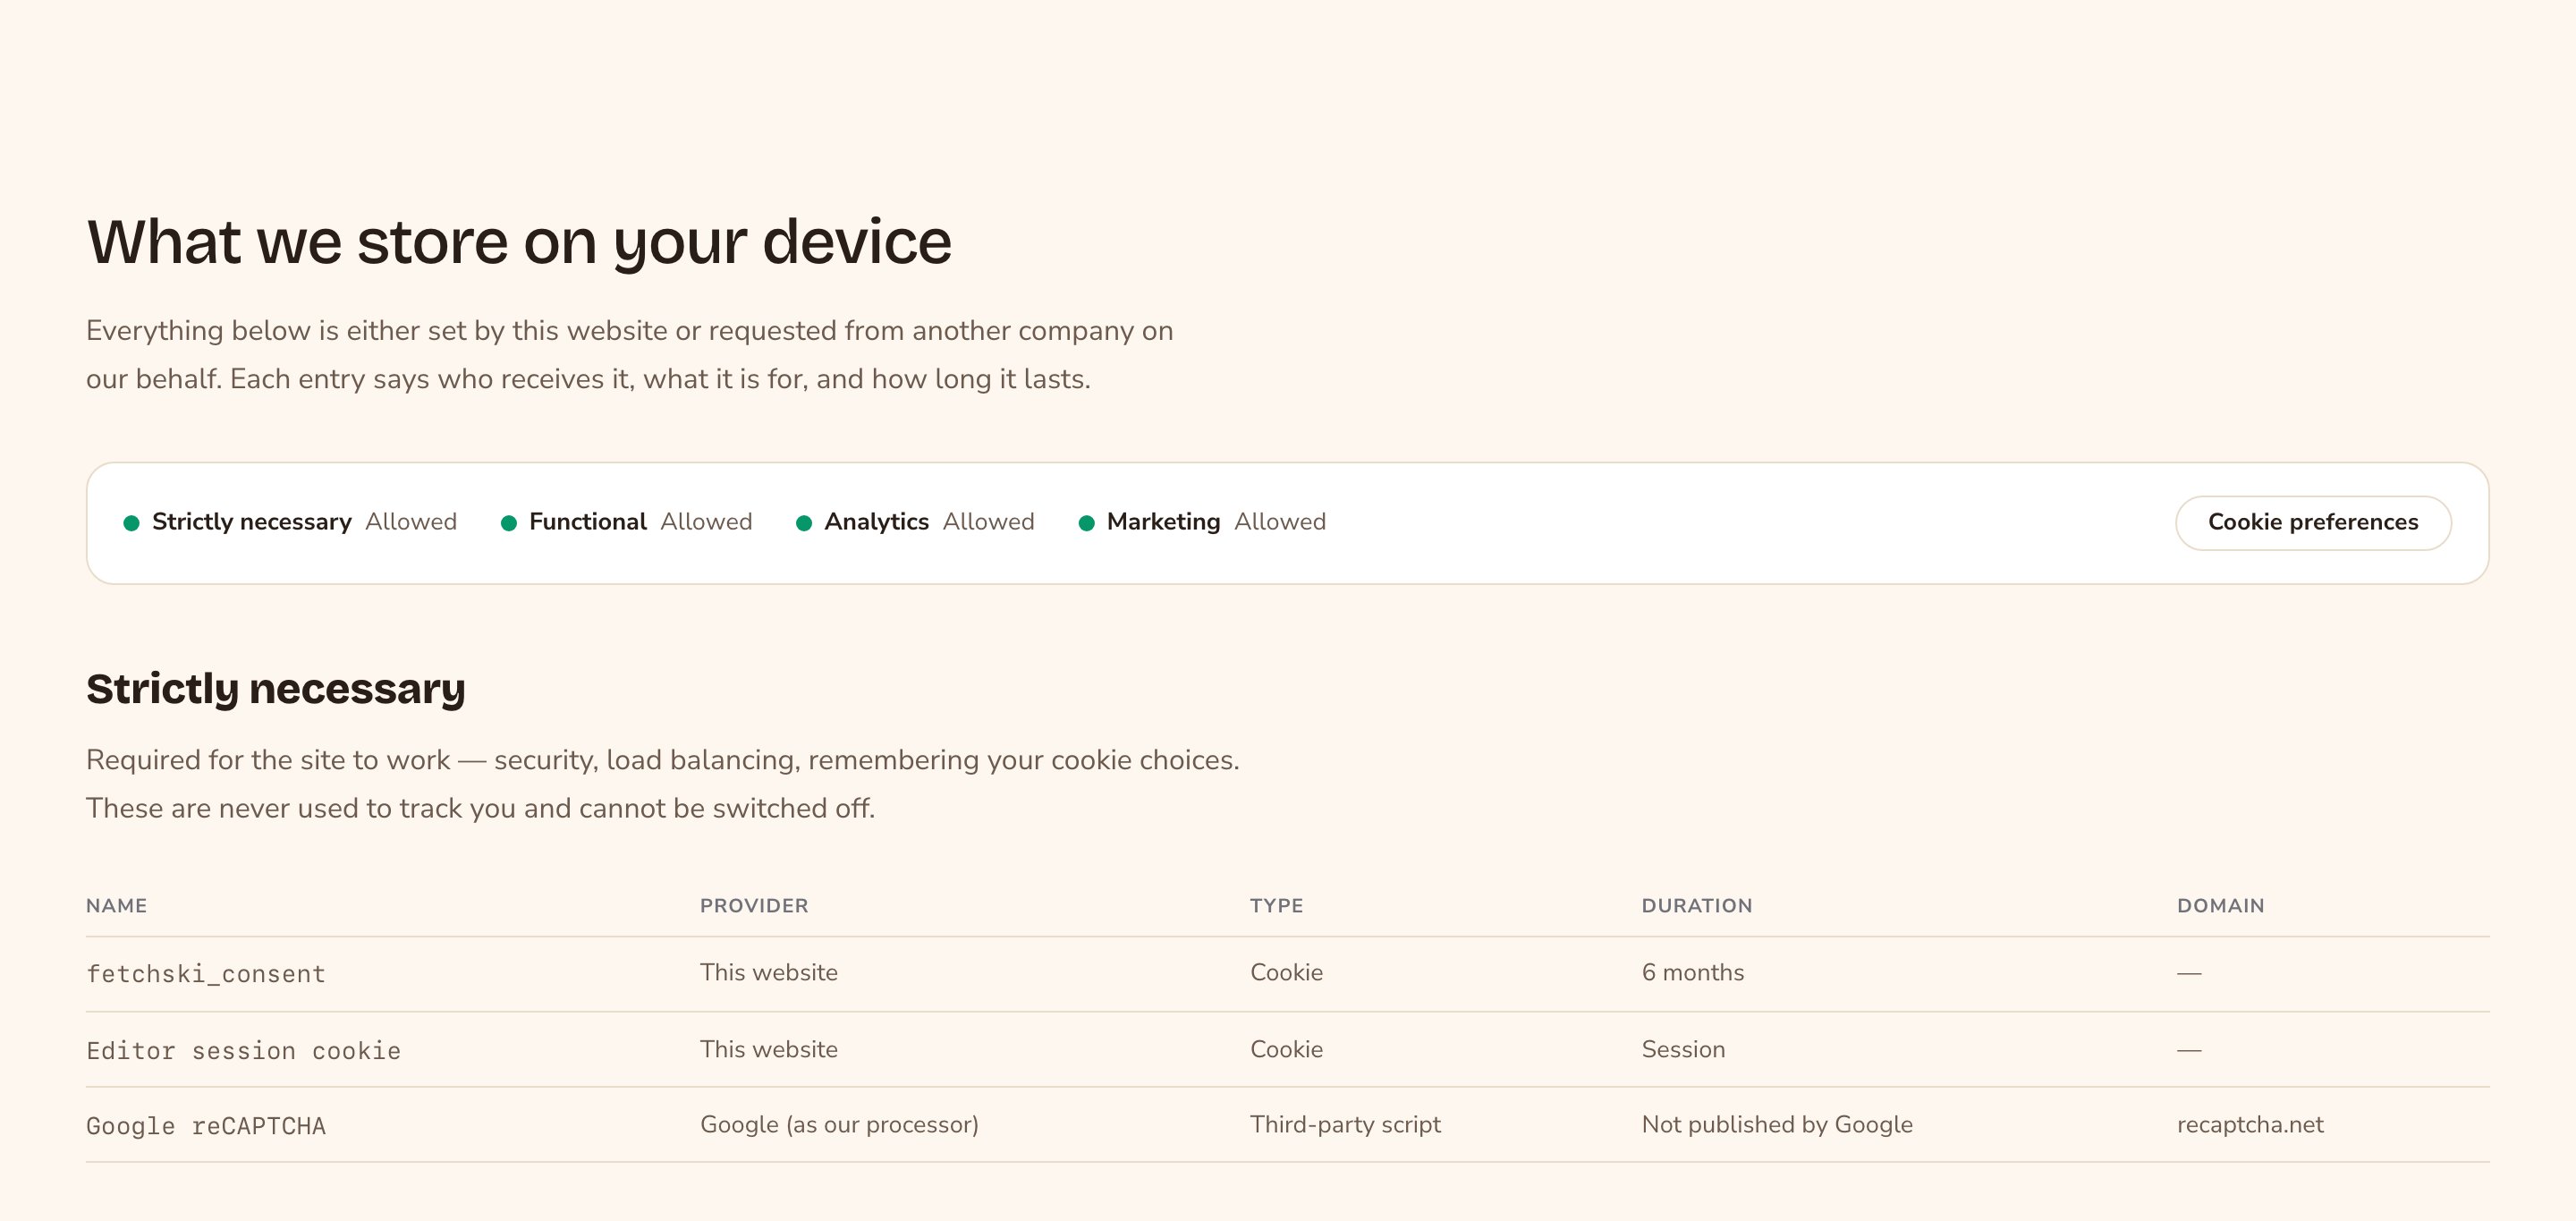
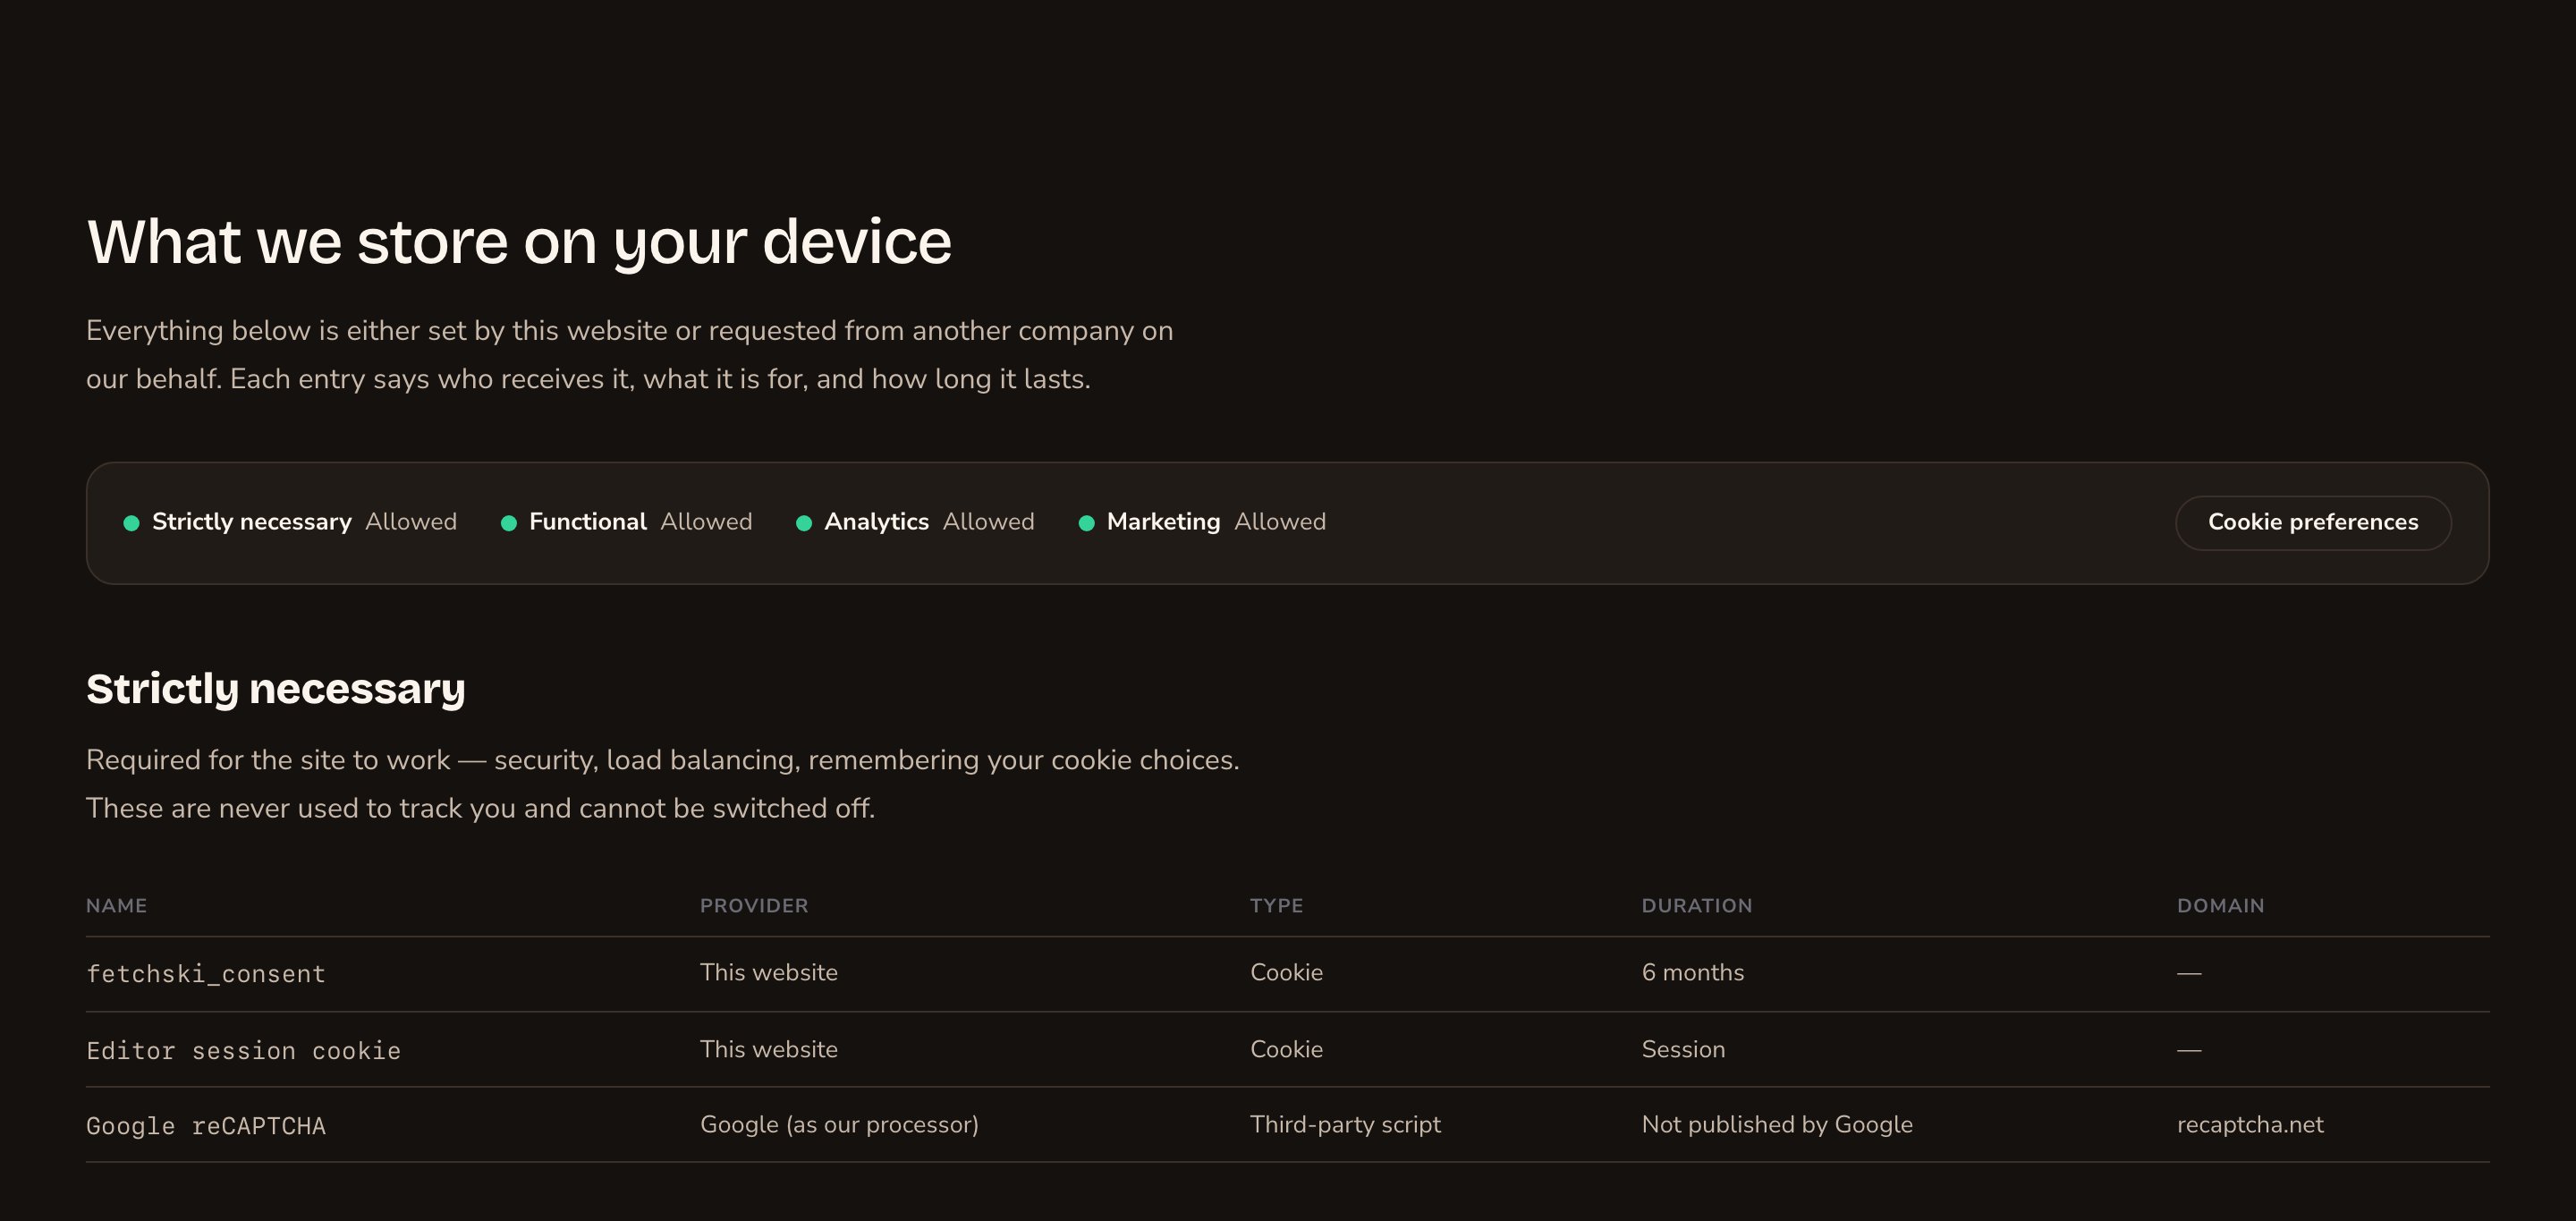
Compact puts the table first.
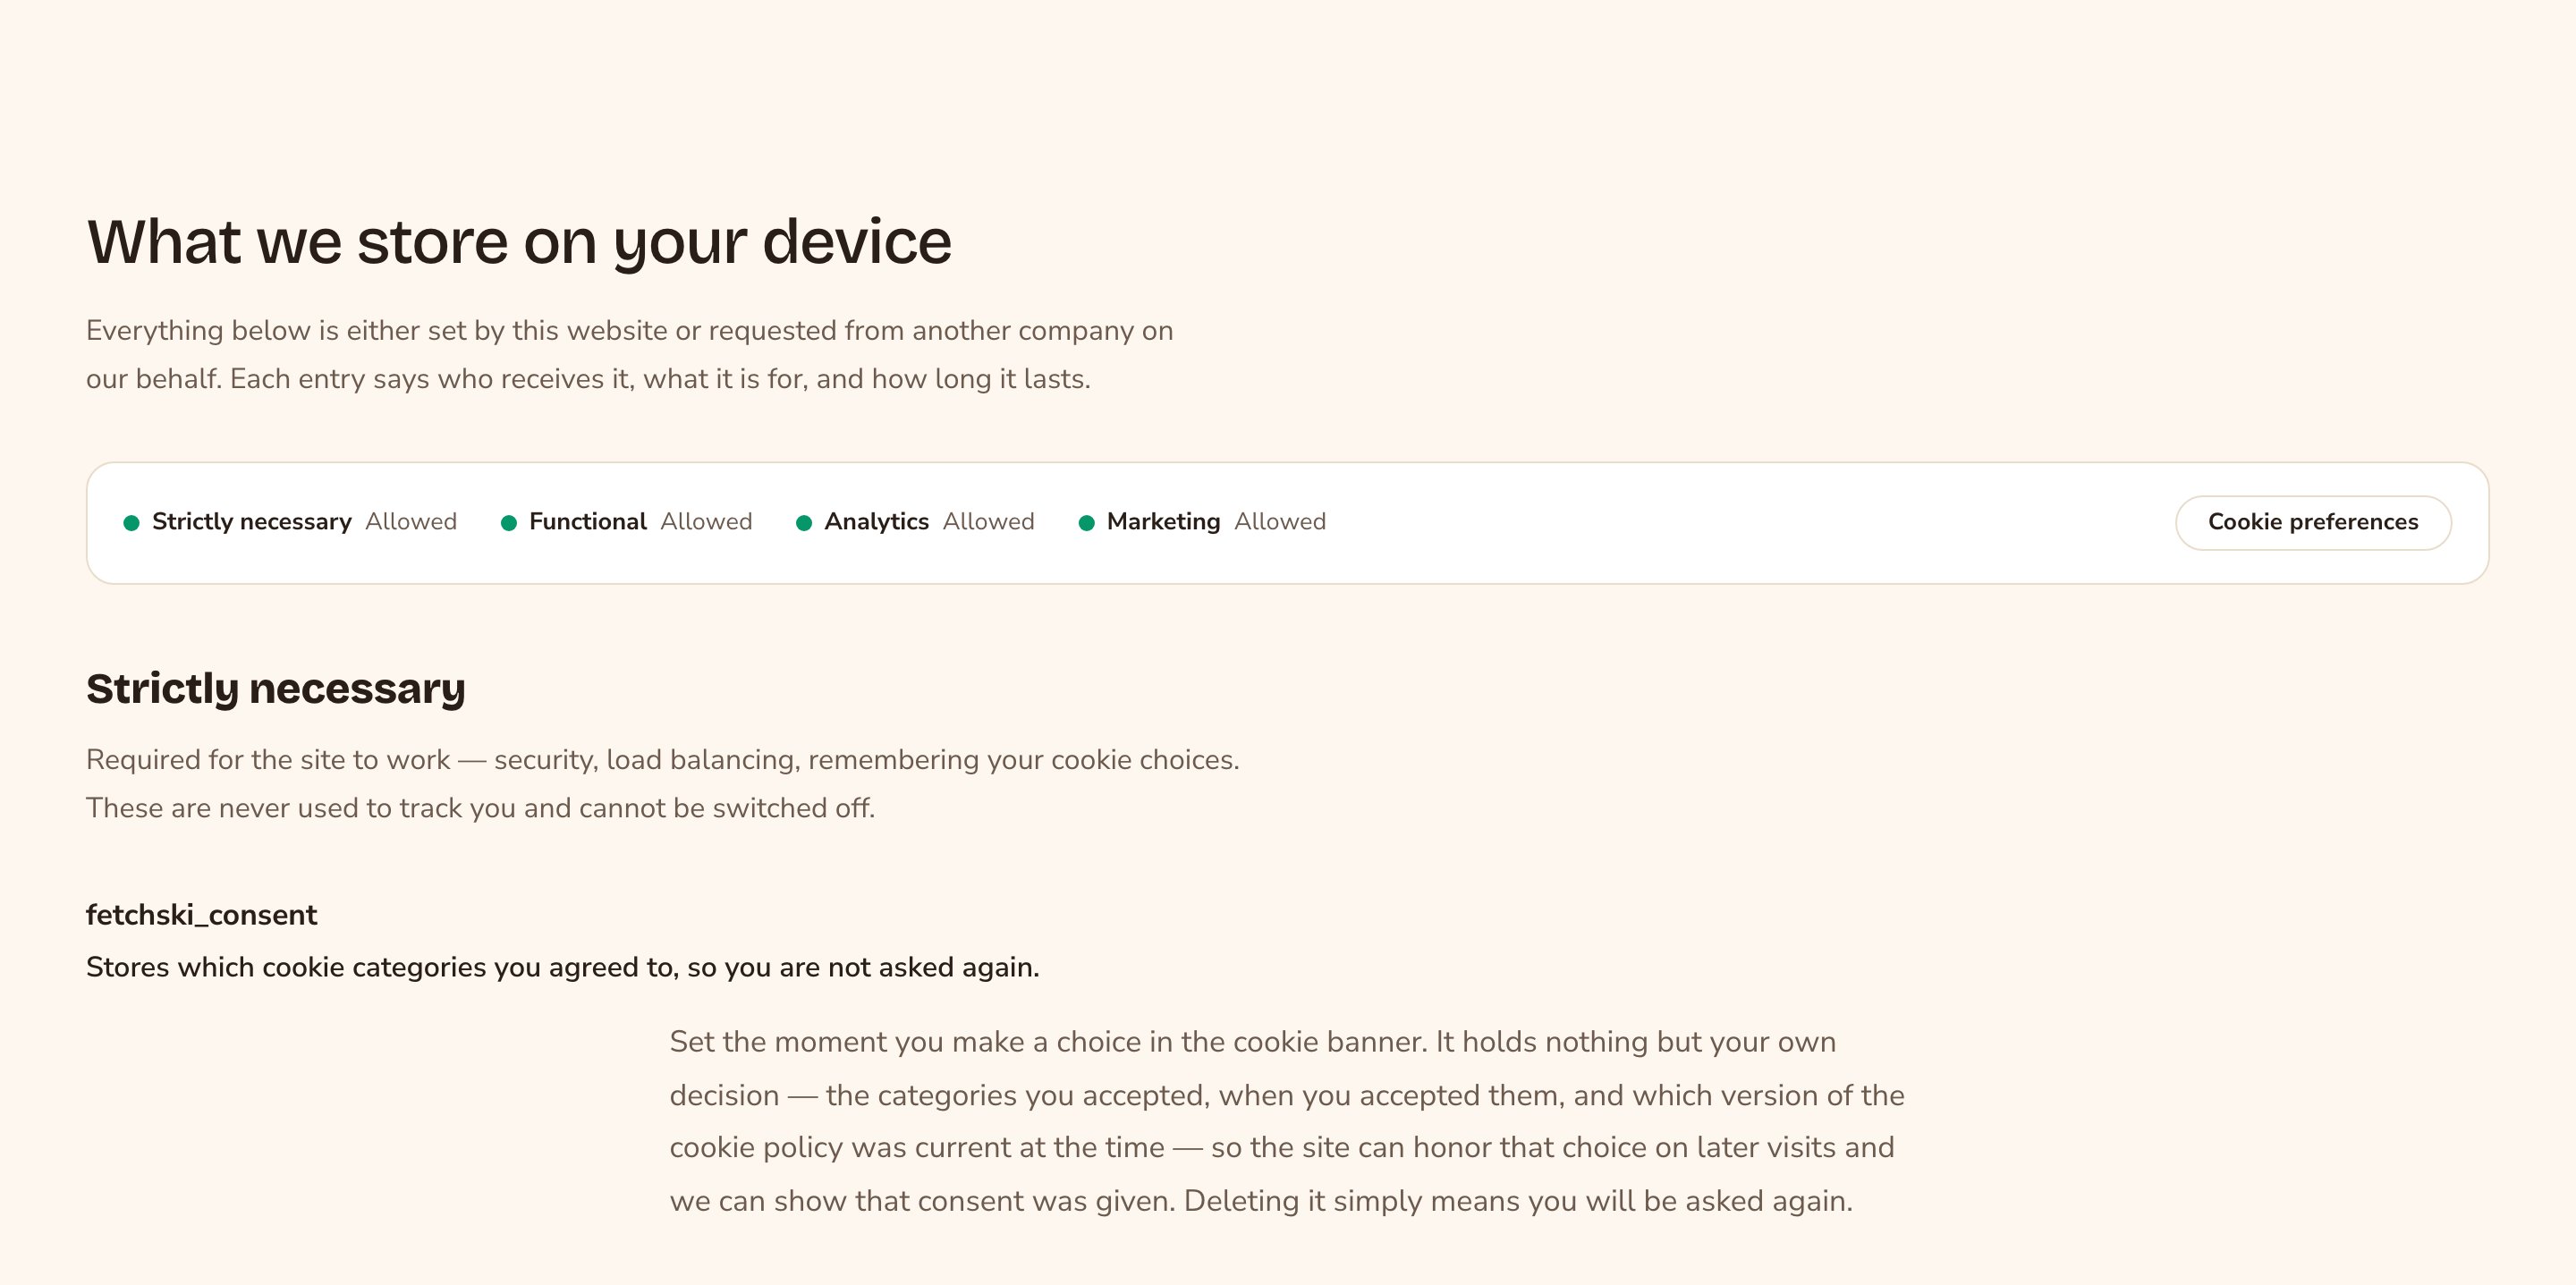
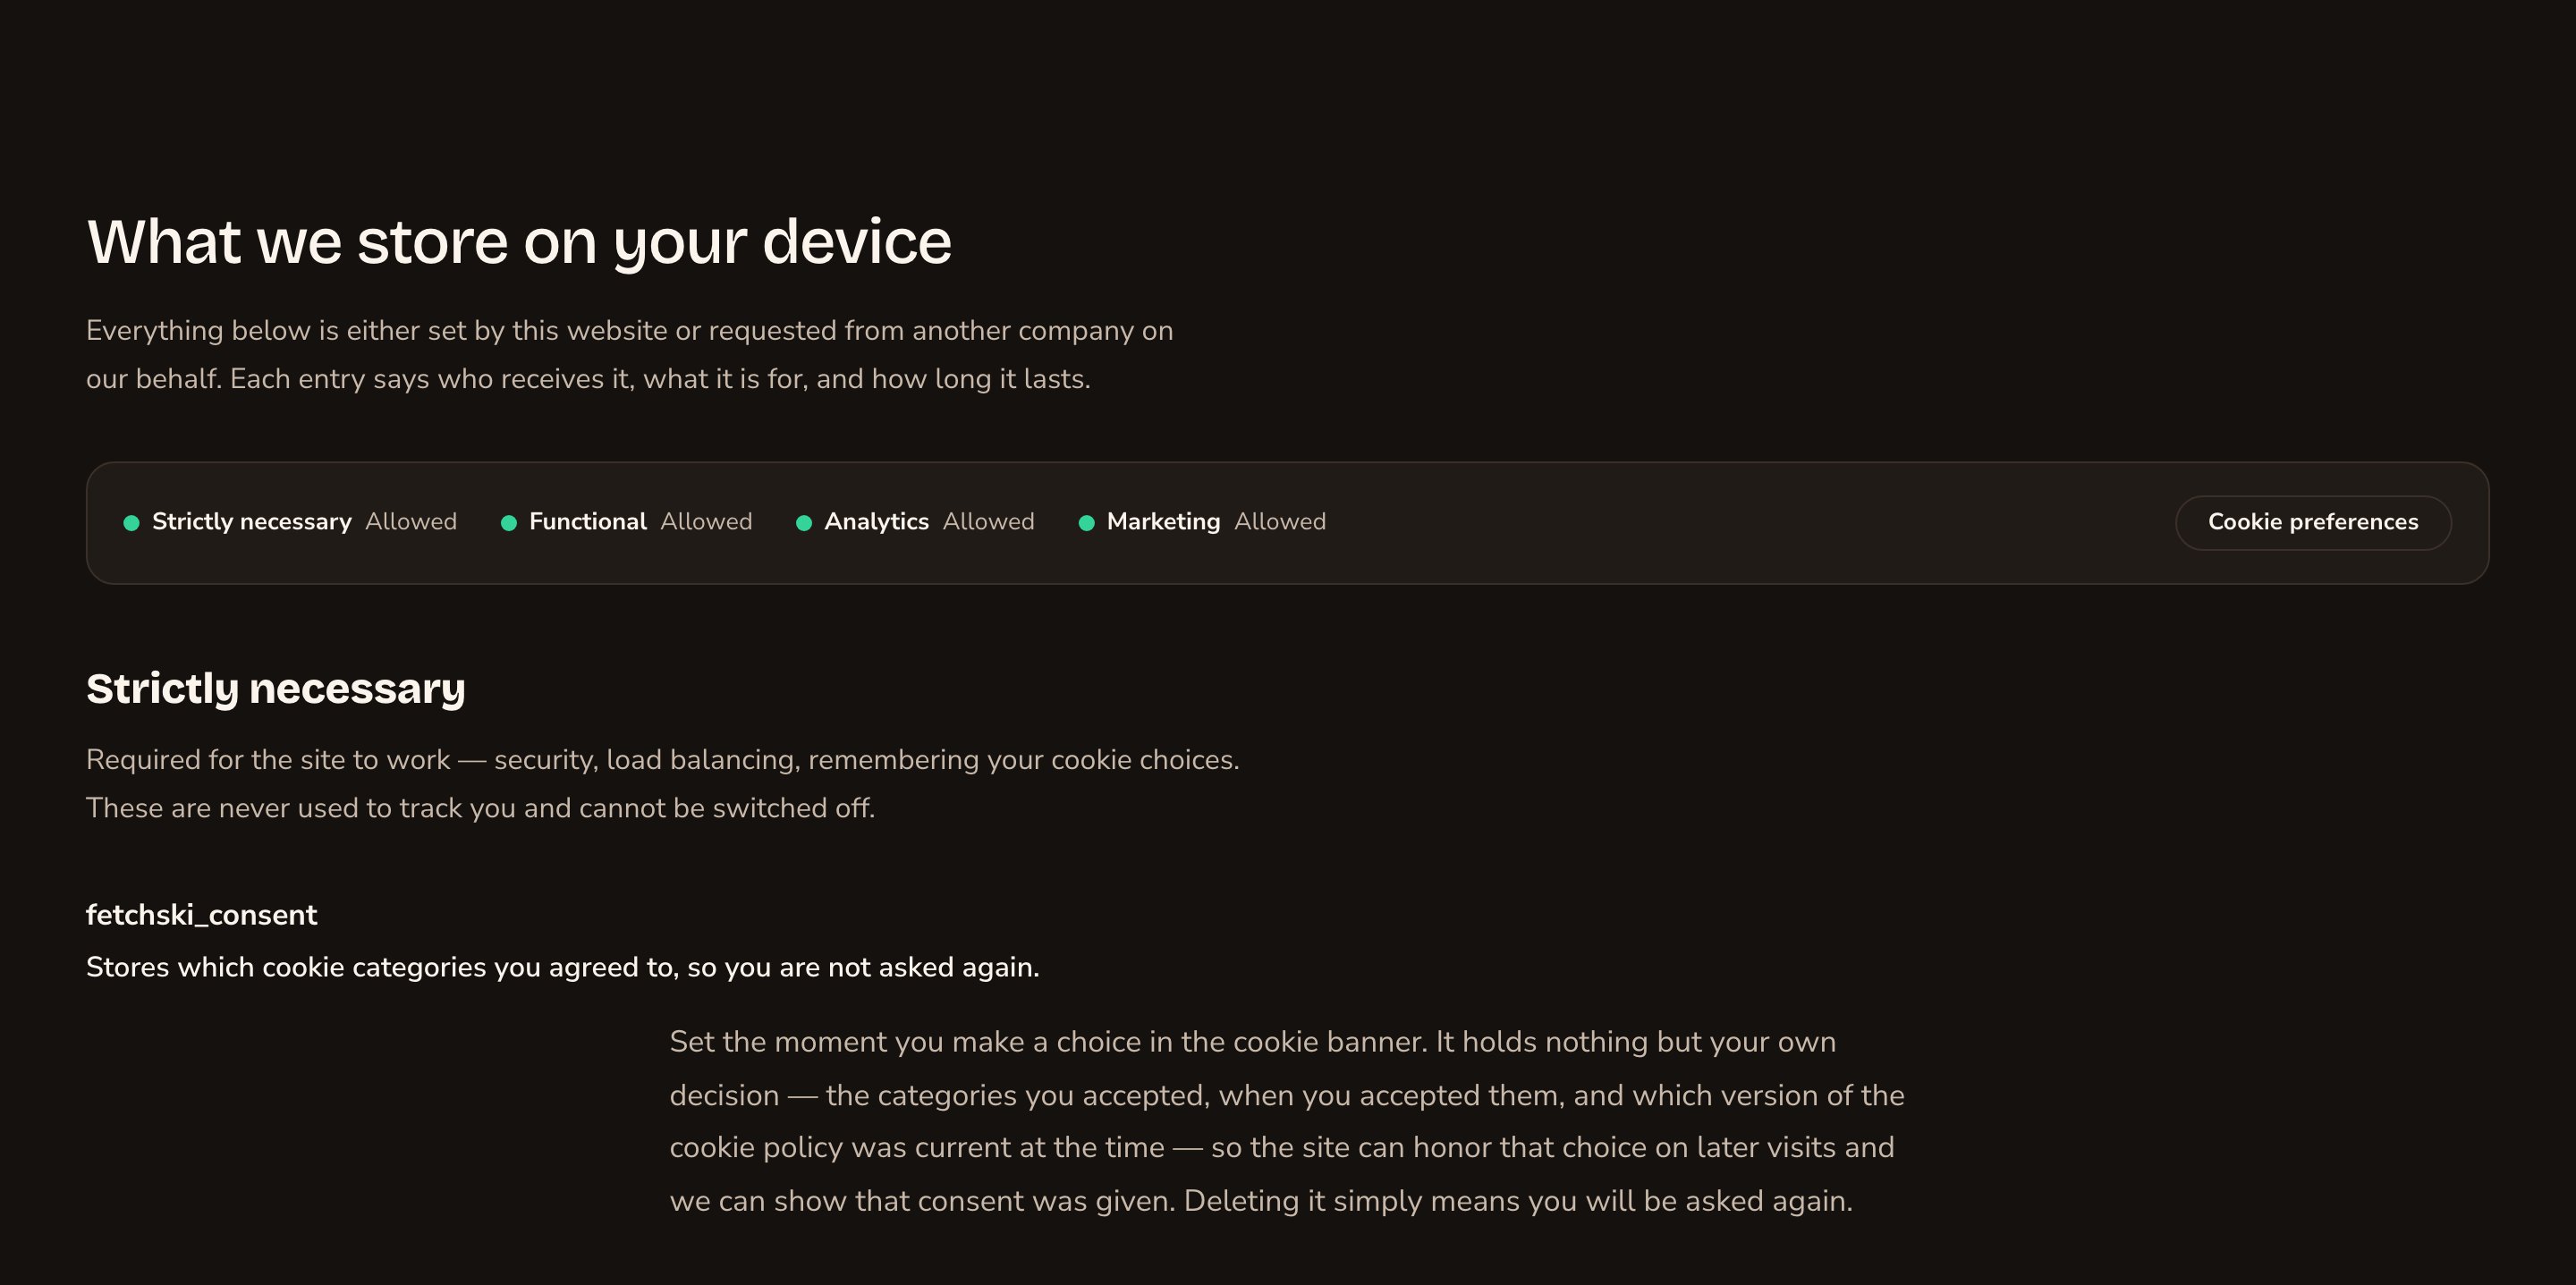
Without the table, the entries read like plain prose.
Good to know
- Keep the current-choices block on. Withdrawing consent should be as easy as giving it. Turn the block off only if the page offers another way to change choices.
- Nothing to list, nothing shown. The section hides itself when it has nothing to show: no cookies, no services, and no note that service details couldn’t load.
- Removing a built-in cookie. Archive it in Cookies. This only removes it from the list, and doesn’t stop anything setting the cookie. So do it only when your site no longer uses what sets it. To stop an outside service, turn it off where you added it, such as Embed Scripts. A built-in entry deleted for good comes back on its own, so the policy never stops describing something your site still does. Your wording changes to built-in entries are kept.
- If service details can’t load, visitors see a short note that the list may be incomplete and can reload the page.
Appearance options
Most sections also share a few tabs that work the same everywhere:- Background: set the color behind the section, separately for the dark and light themes.
- Fonts: use a different typeface for parts of this section only.
- CSS: add custom styles to this section. Admins and Owners can change it.
Related
Cookie consent
the banner, its wording and the Cookies list.
Embed scripts
outside services that add their own block here.
Legal details
your other legal pages.
Add, move and remove sections
put the section where you want it.