

 AdonisJS
Before you start
- Your site comes with a Blog page that lists your posts. You don’t need to create it.
- Set up your categories and authors first, so you can pick them as you write. See Categories and Authors below.
- Want FetchskiAI to write a first draft for you? See Generate a blog post.
Write a post
Open your posts
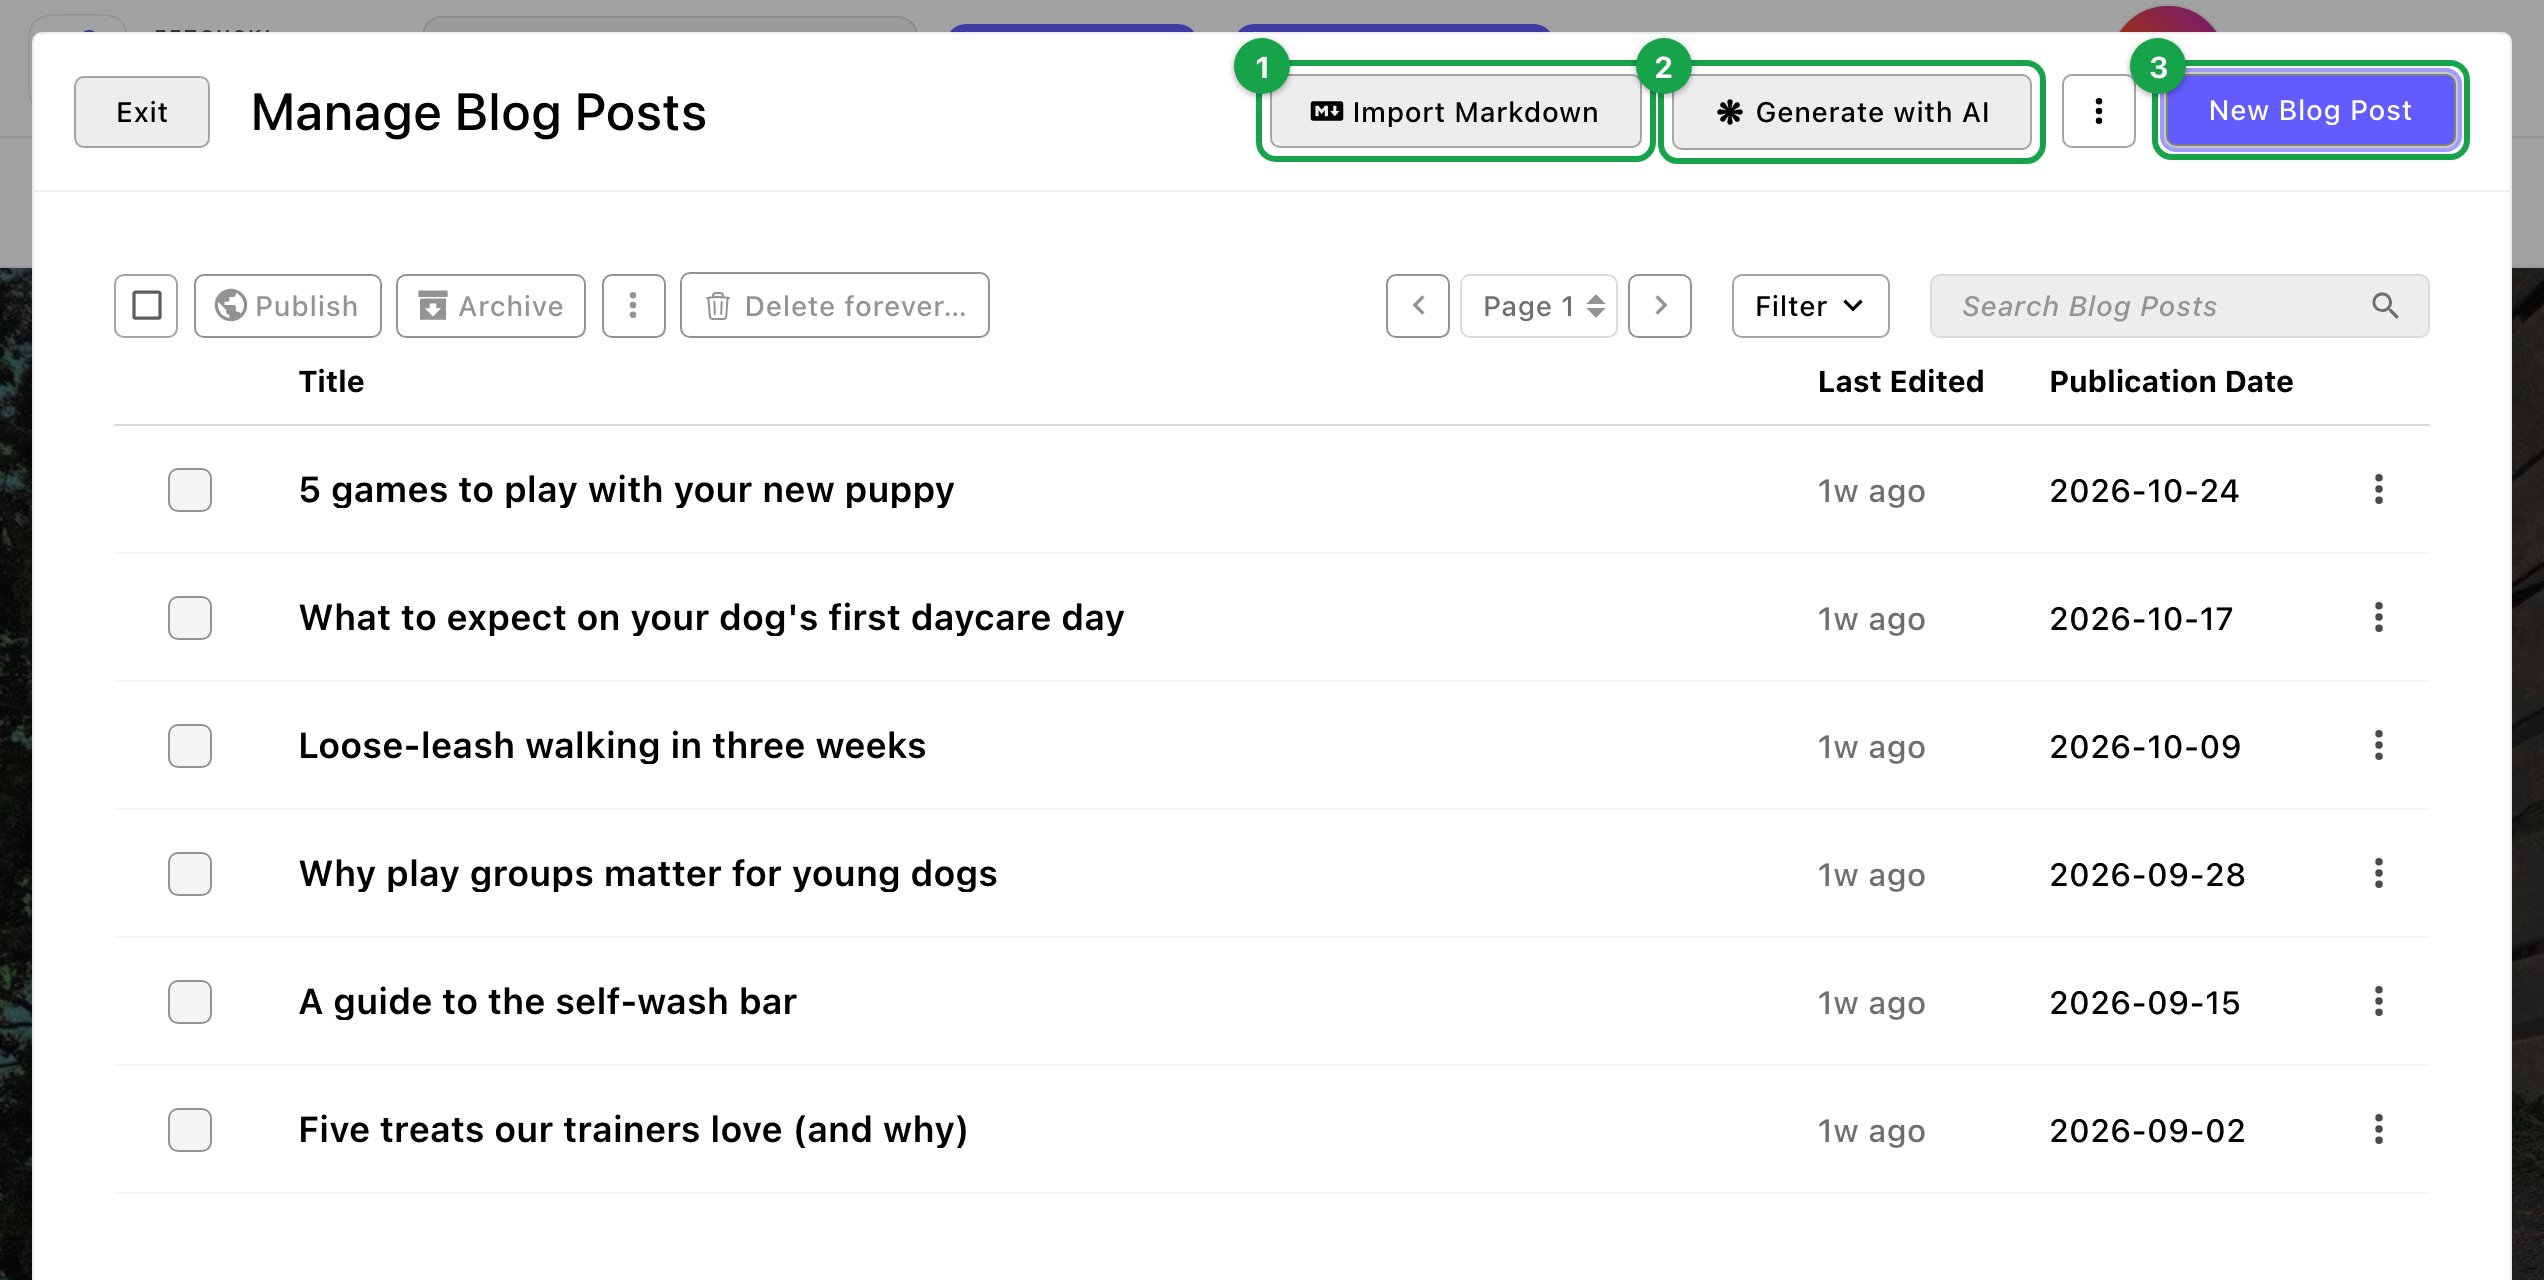
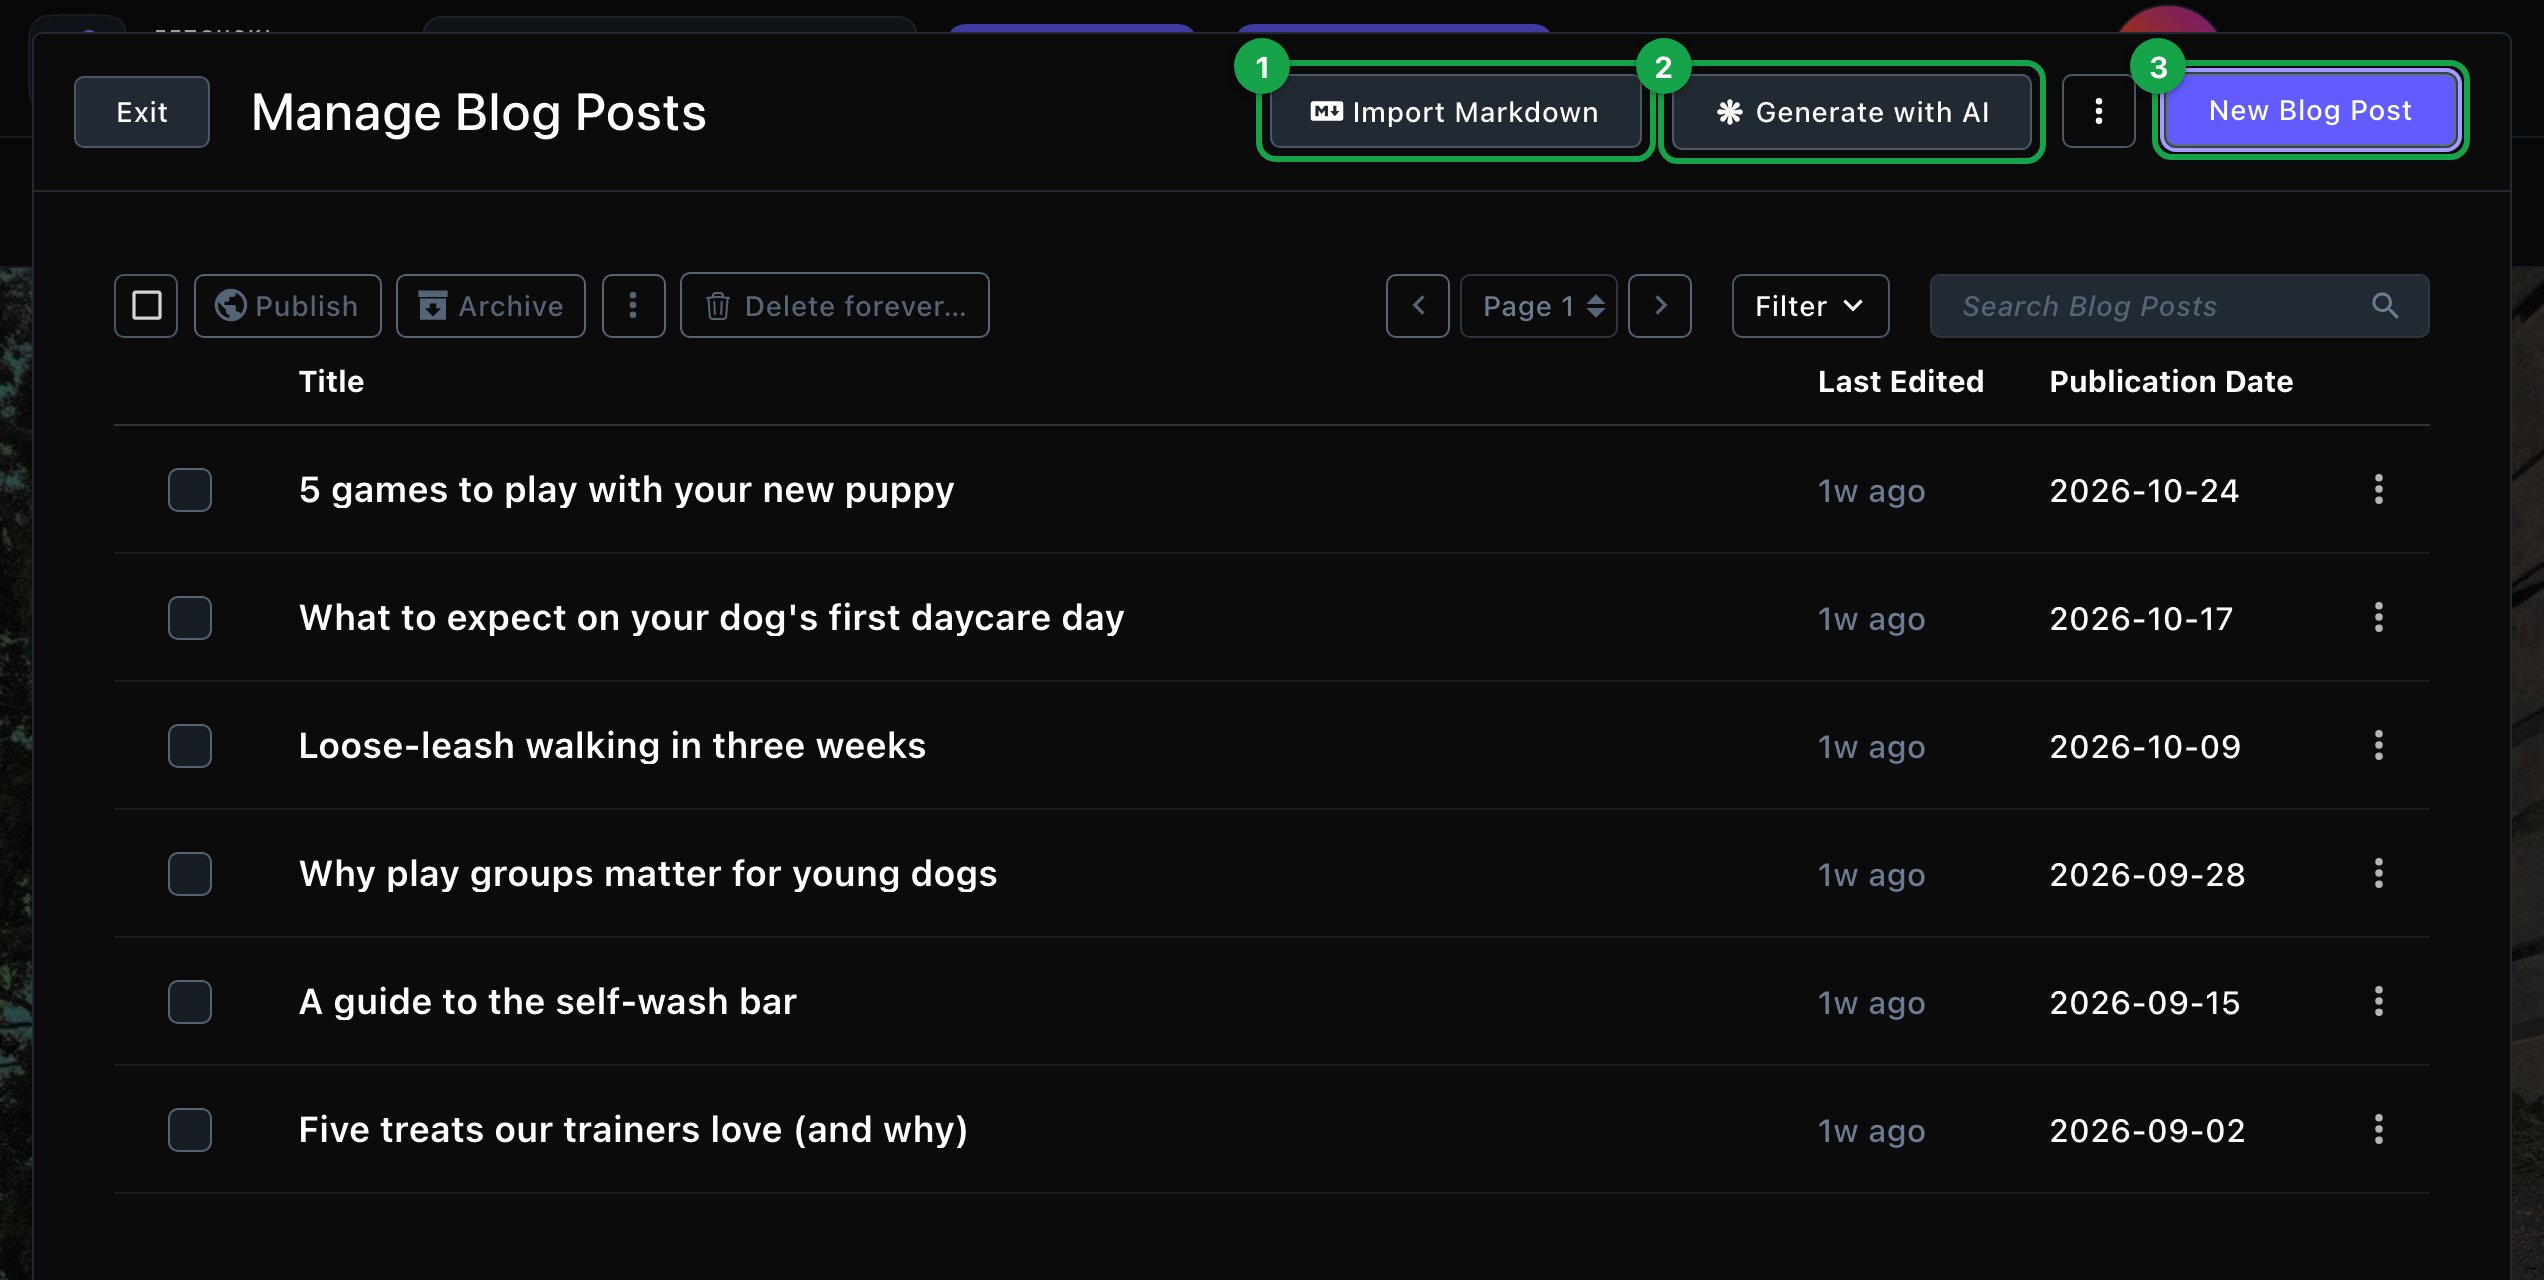
The Blog Posts manager, with ways to write, import or generate a post.
Start a new post
Fill in the basics
- Title: the post’s headline, shown as its biggest heading. In the post, use Heading 2 for your main sections and Heading 3 inside them.
- Author: who wrote it. Pick from your Authors list.
- Category: one category for the post. Its badge shows on the post’s card.
- Publication Date: the date shown on the post. Your blog lists posts newest first by this date. A future date hides the post from visitors until that day. To put a post live at a set time instead, schedule it (see step 6).
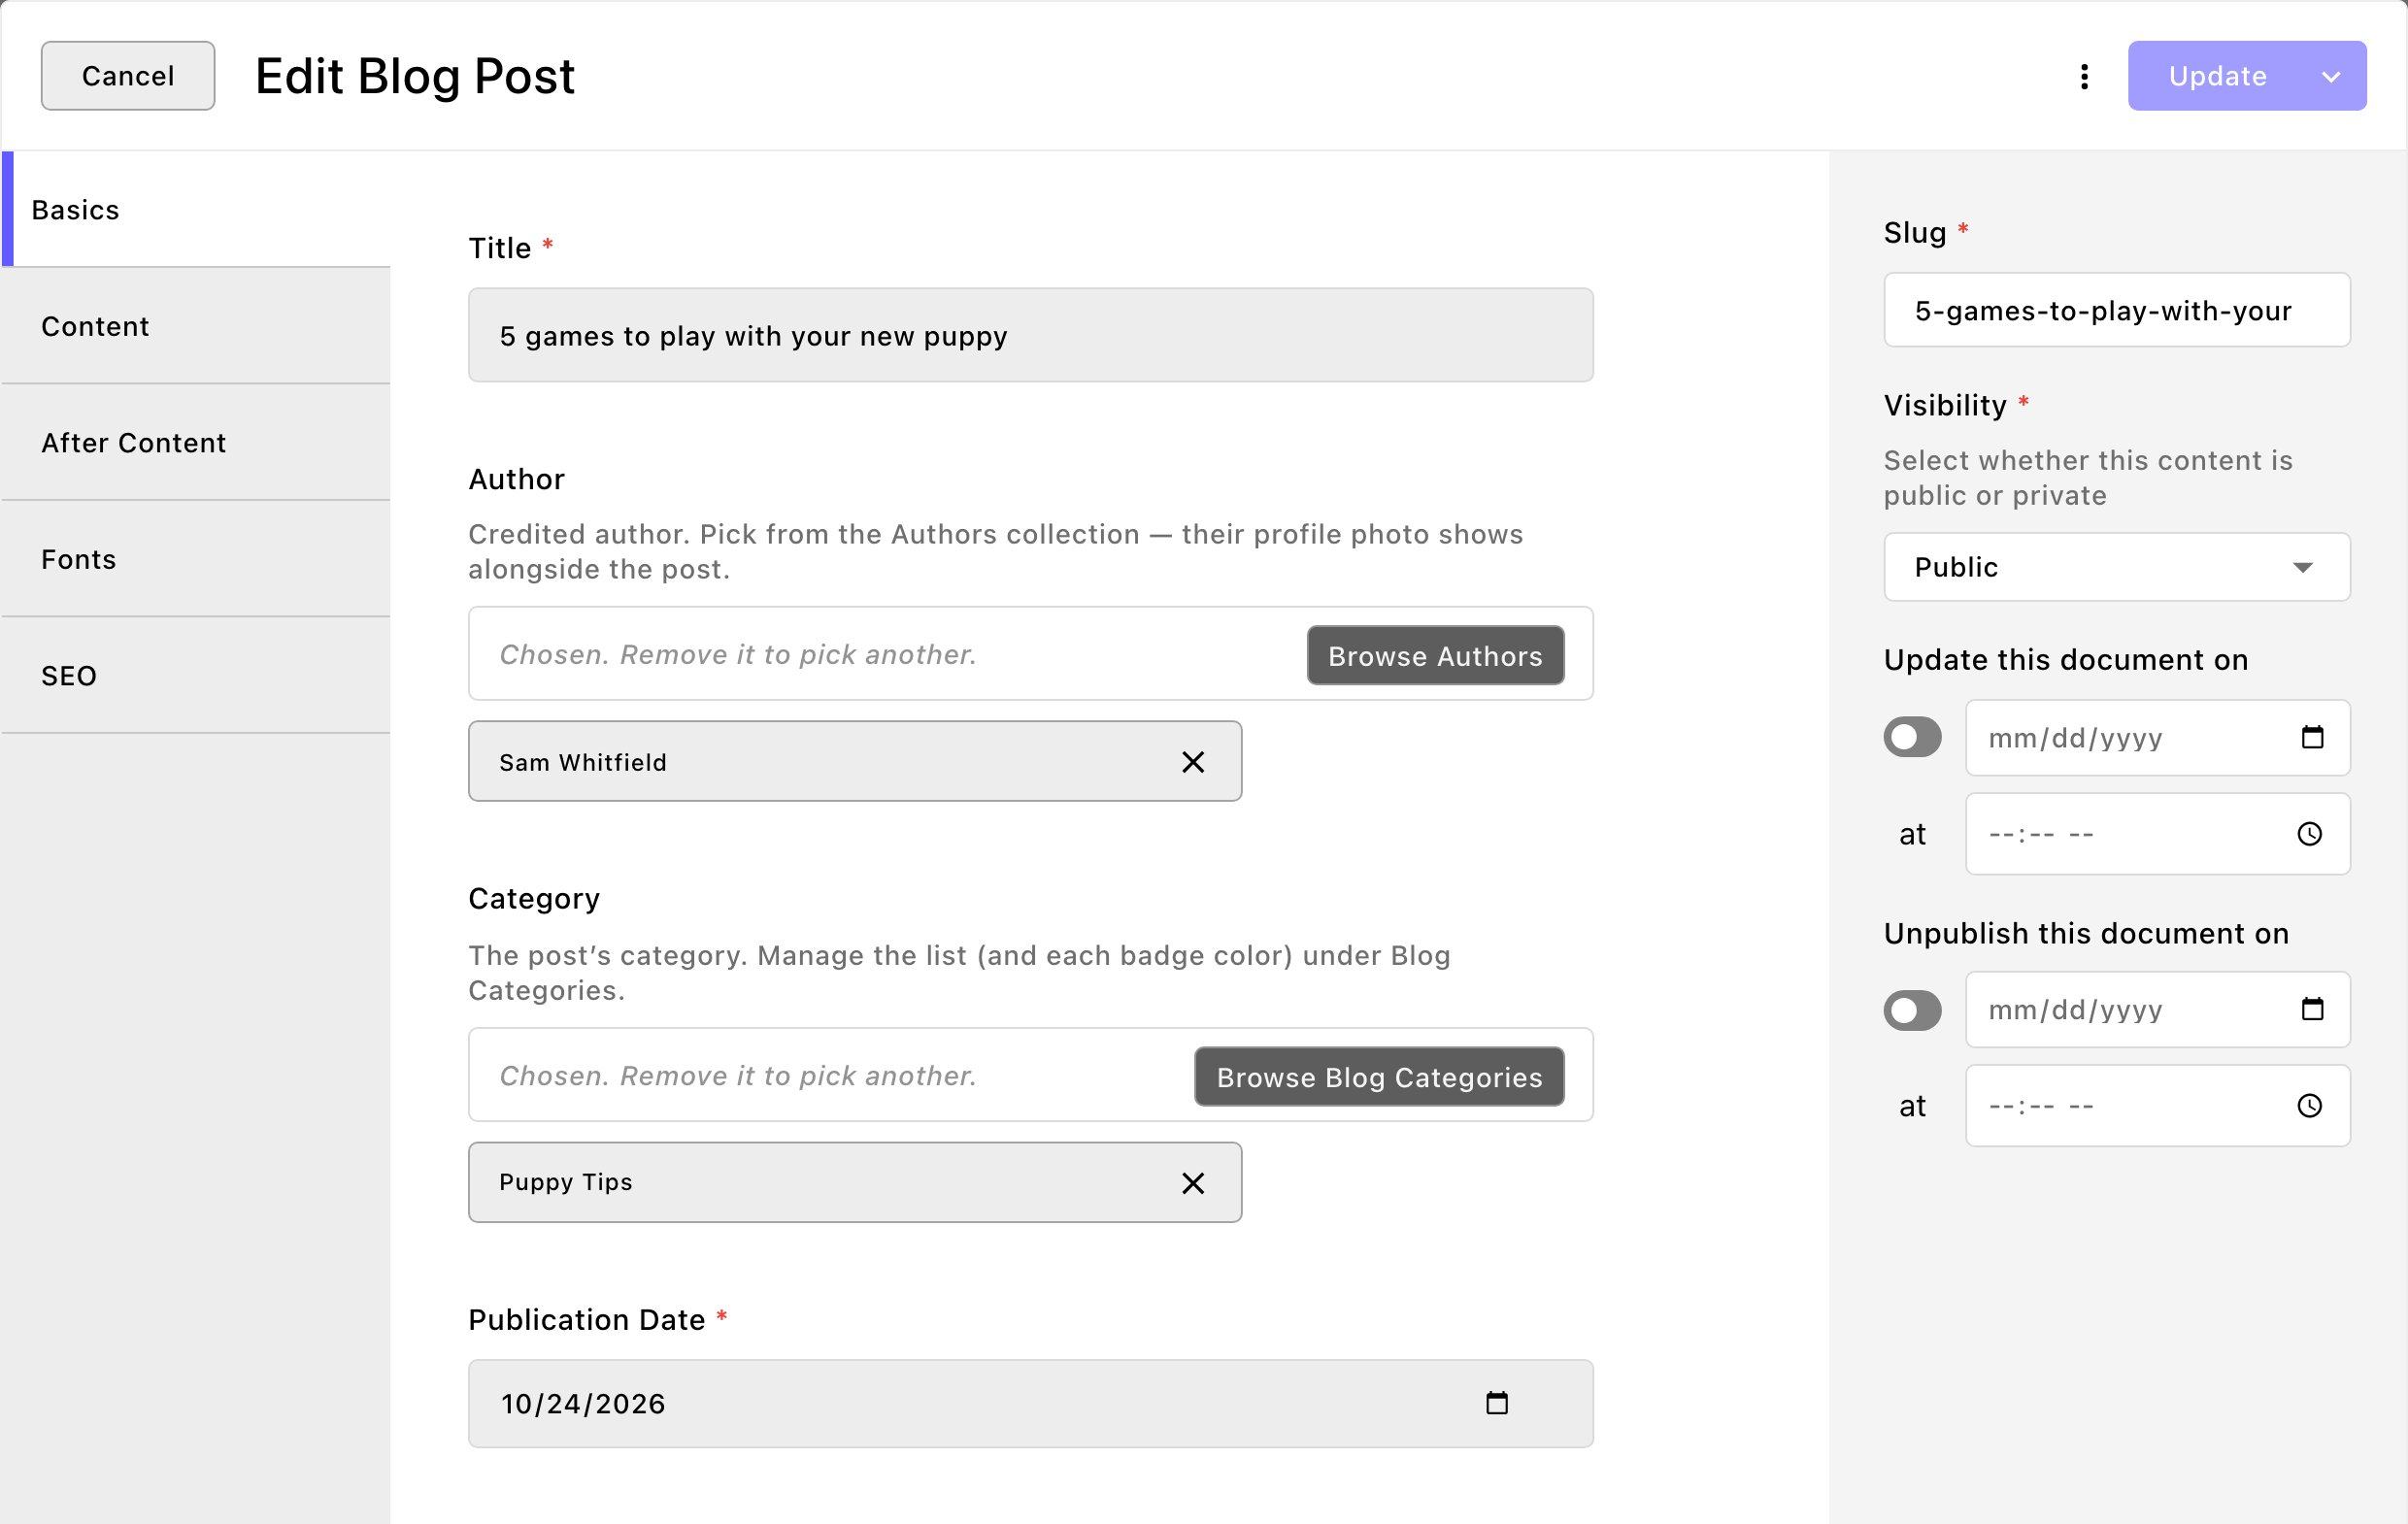
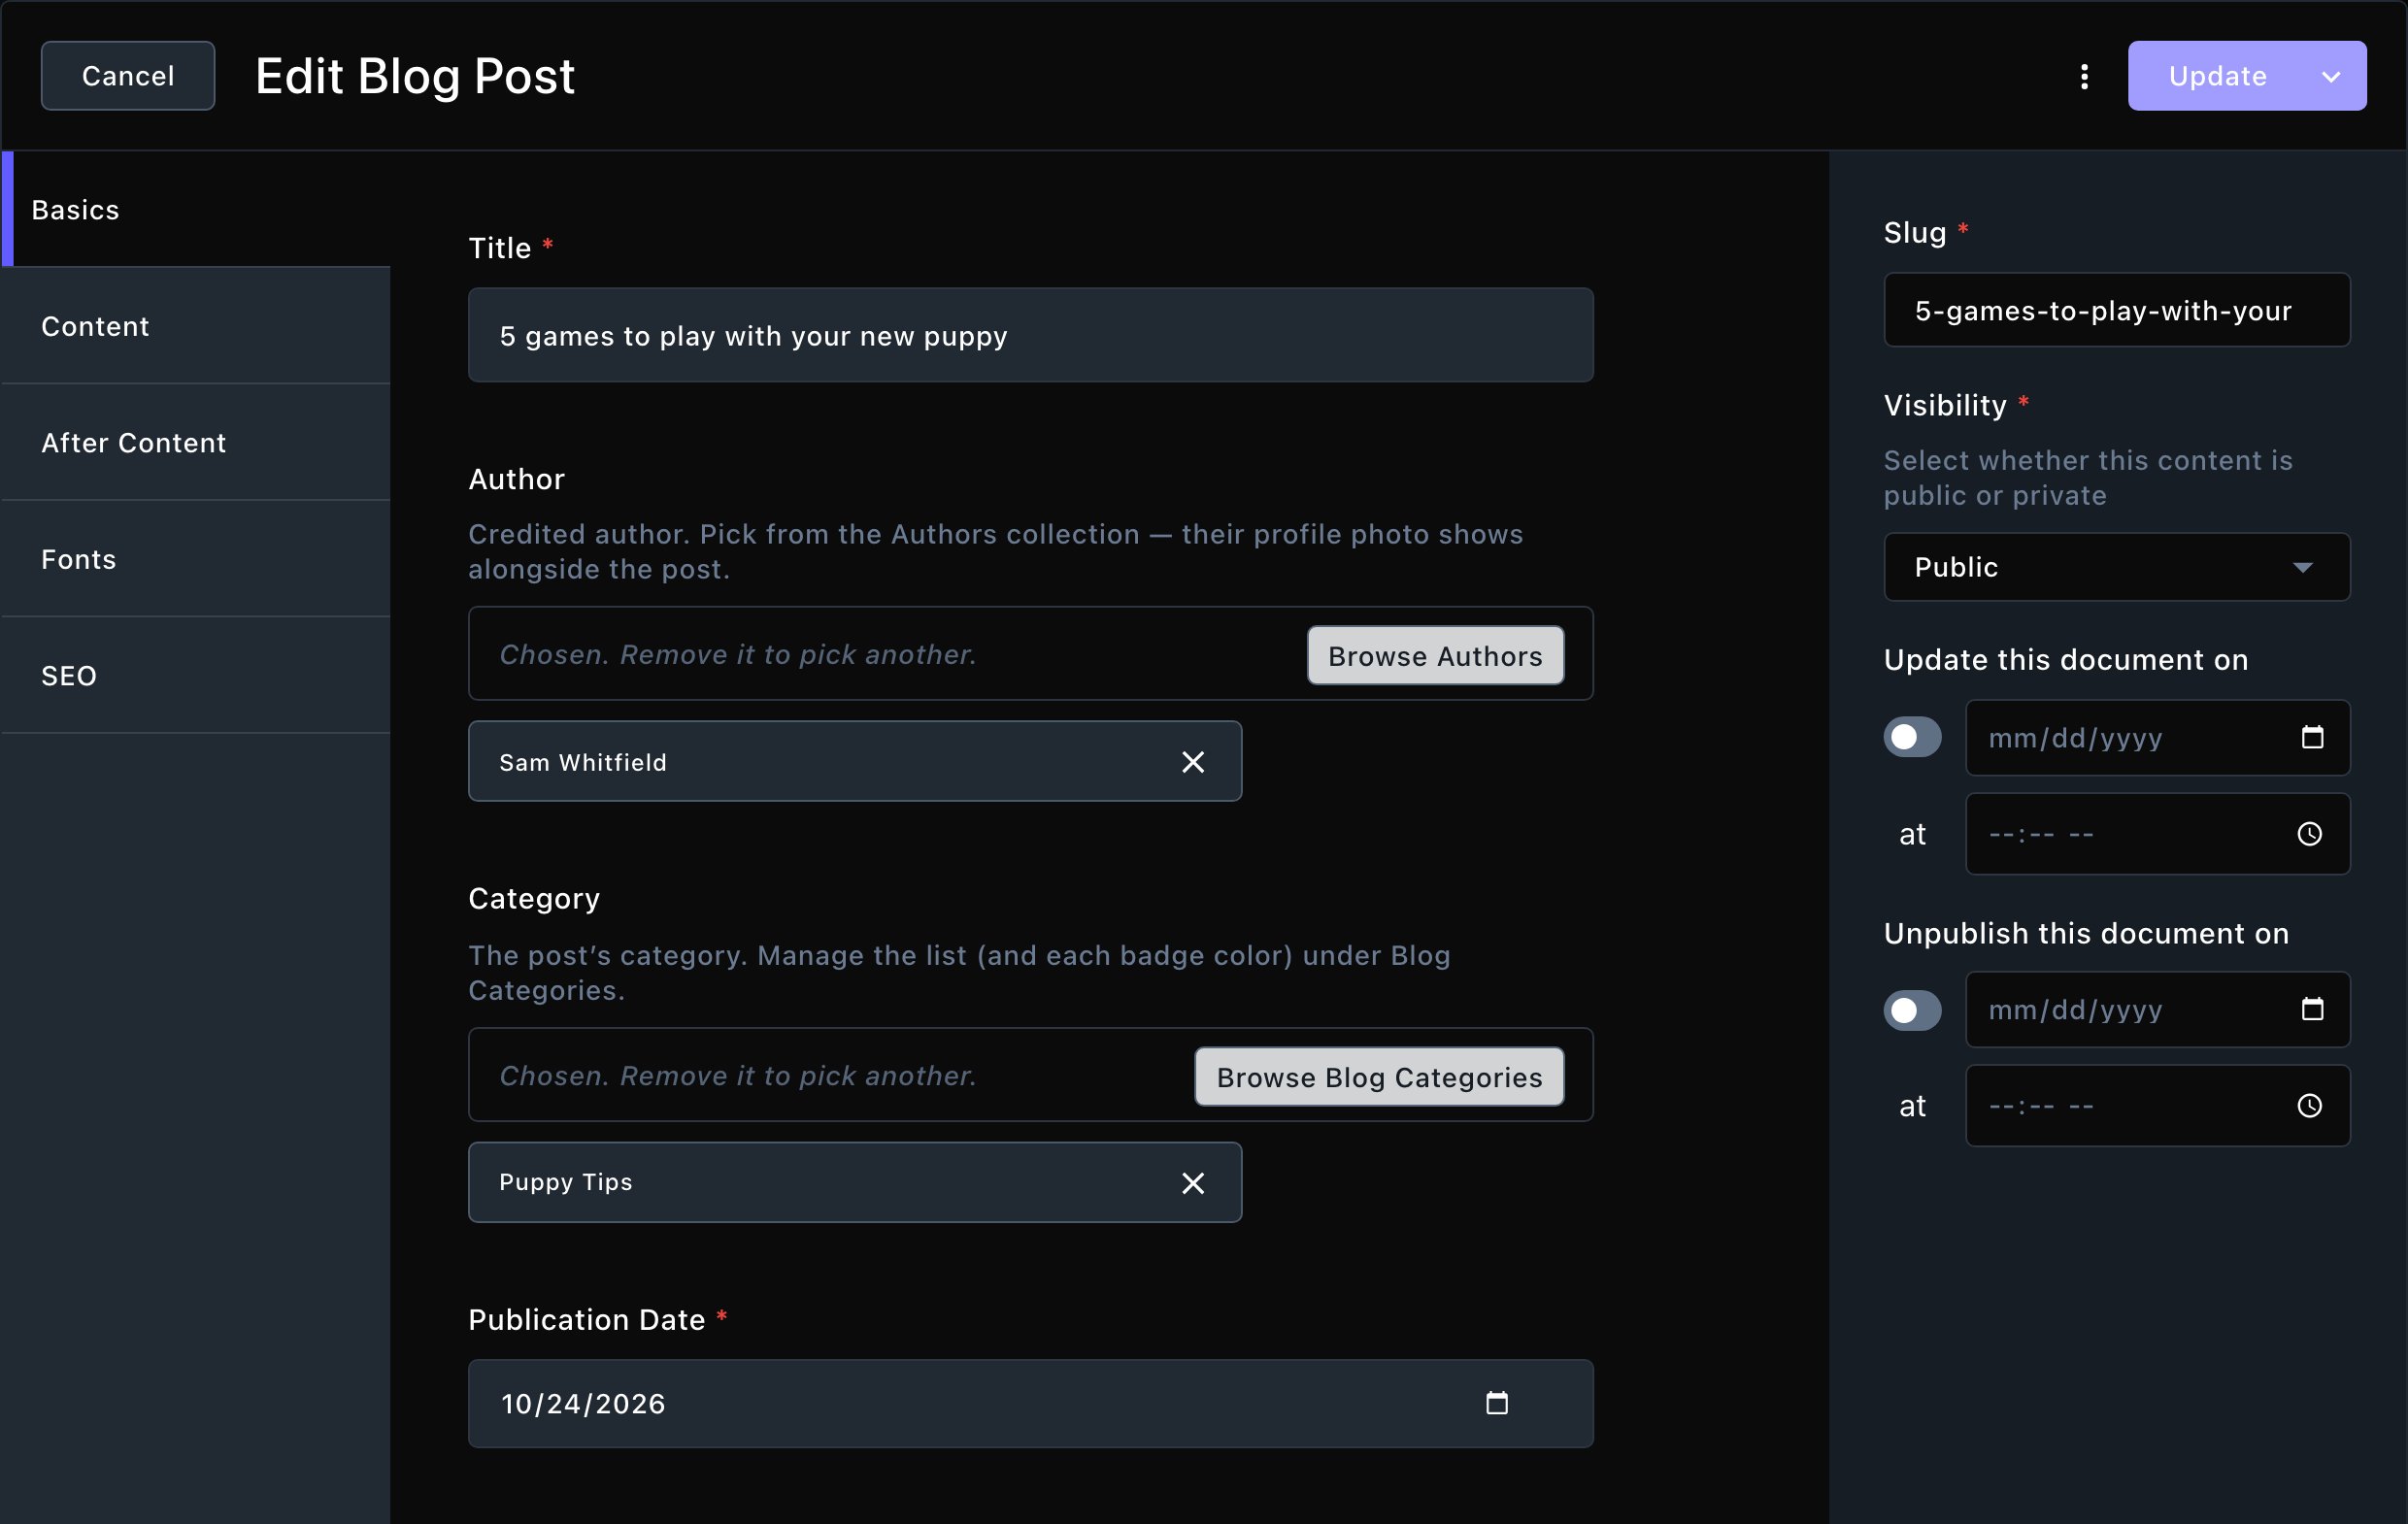
The Basics tab: title, author, category and date.
Write the teaser and pick a photo
- Excerpt: 1 or 2 sentences that sell the post. They show on your post cards, on the Blog page and in Blog Preview sections.
- Featured image: the post’s main photo, shown on its card and at the top of the post. To have FetchskiAI make one, choose AI Image Generation on the right of the Featured image label. See Image generation.
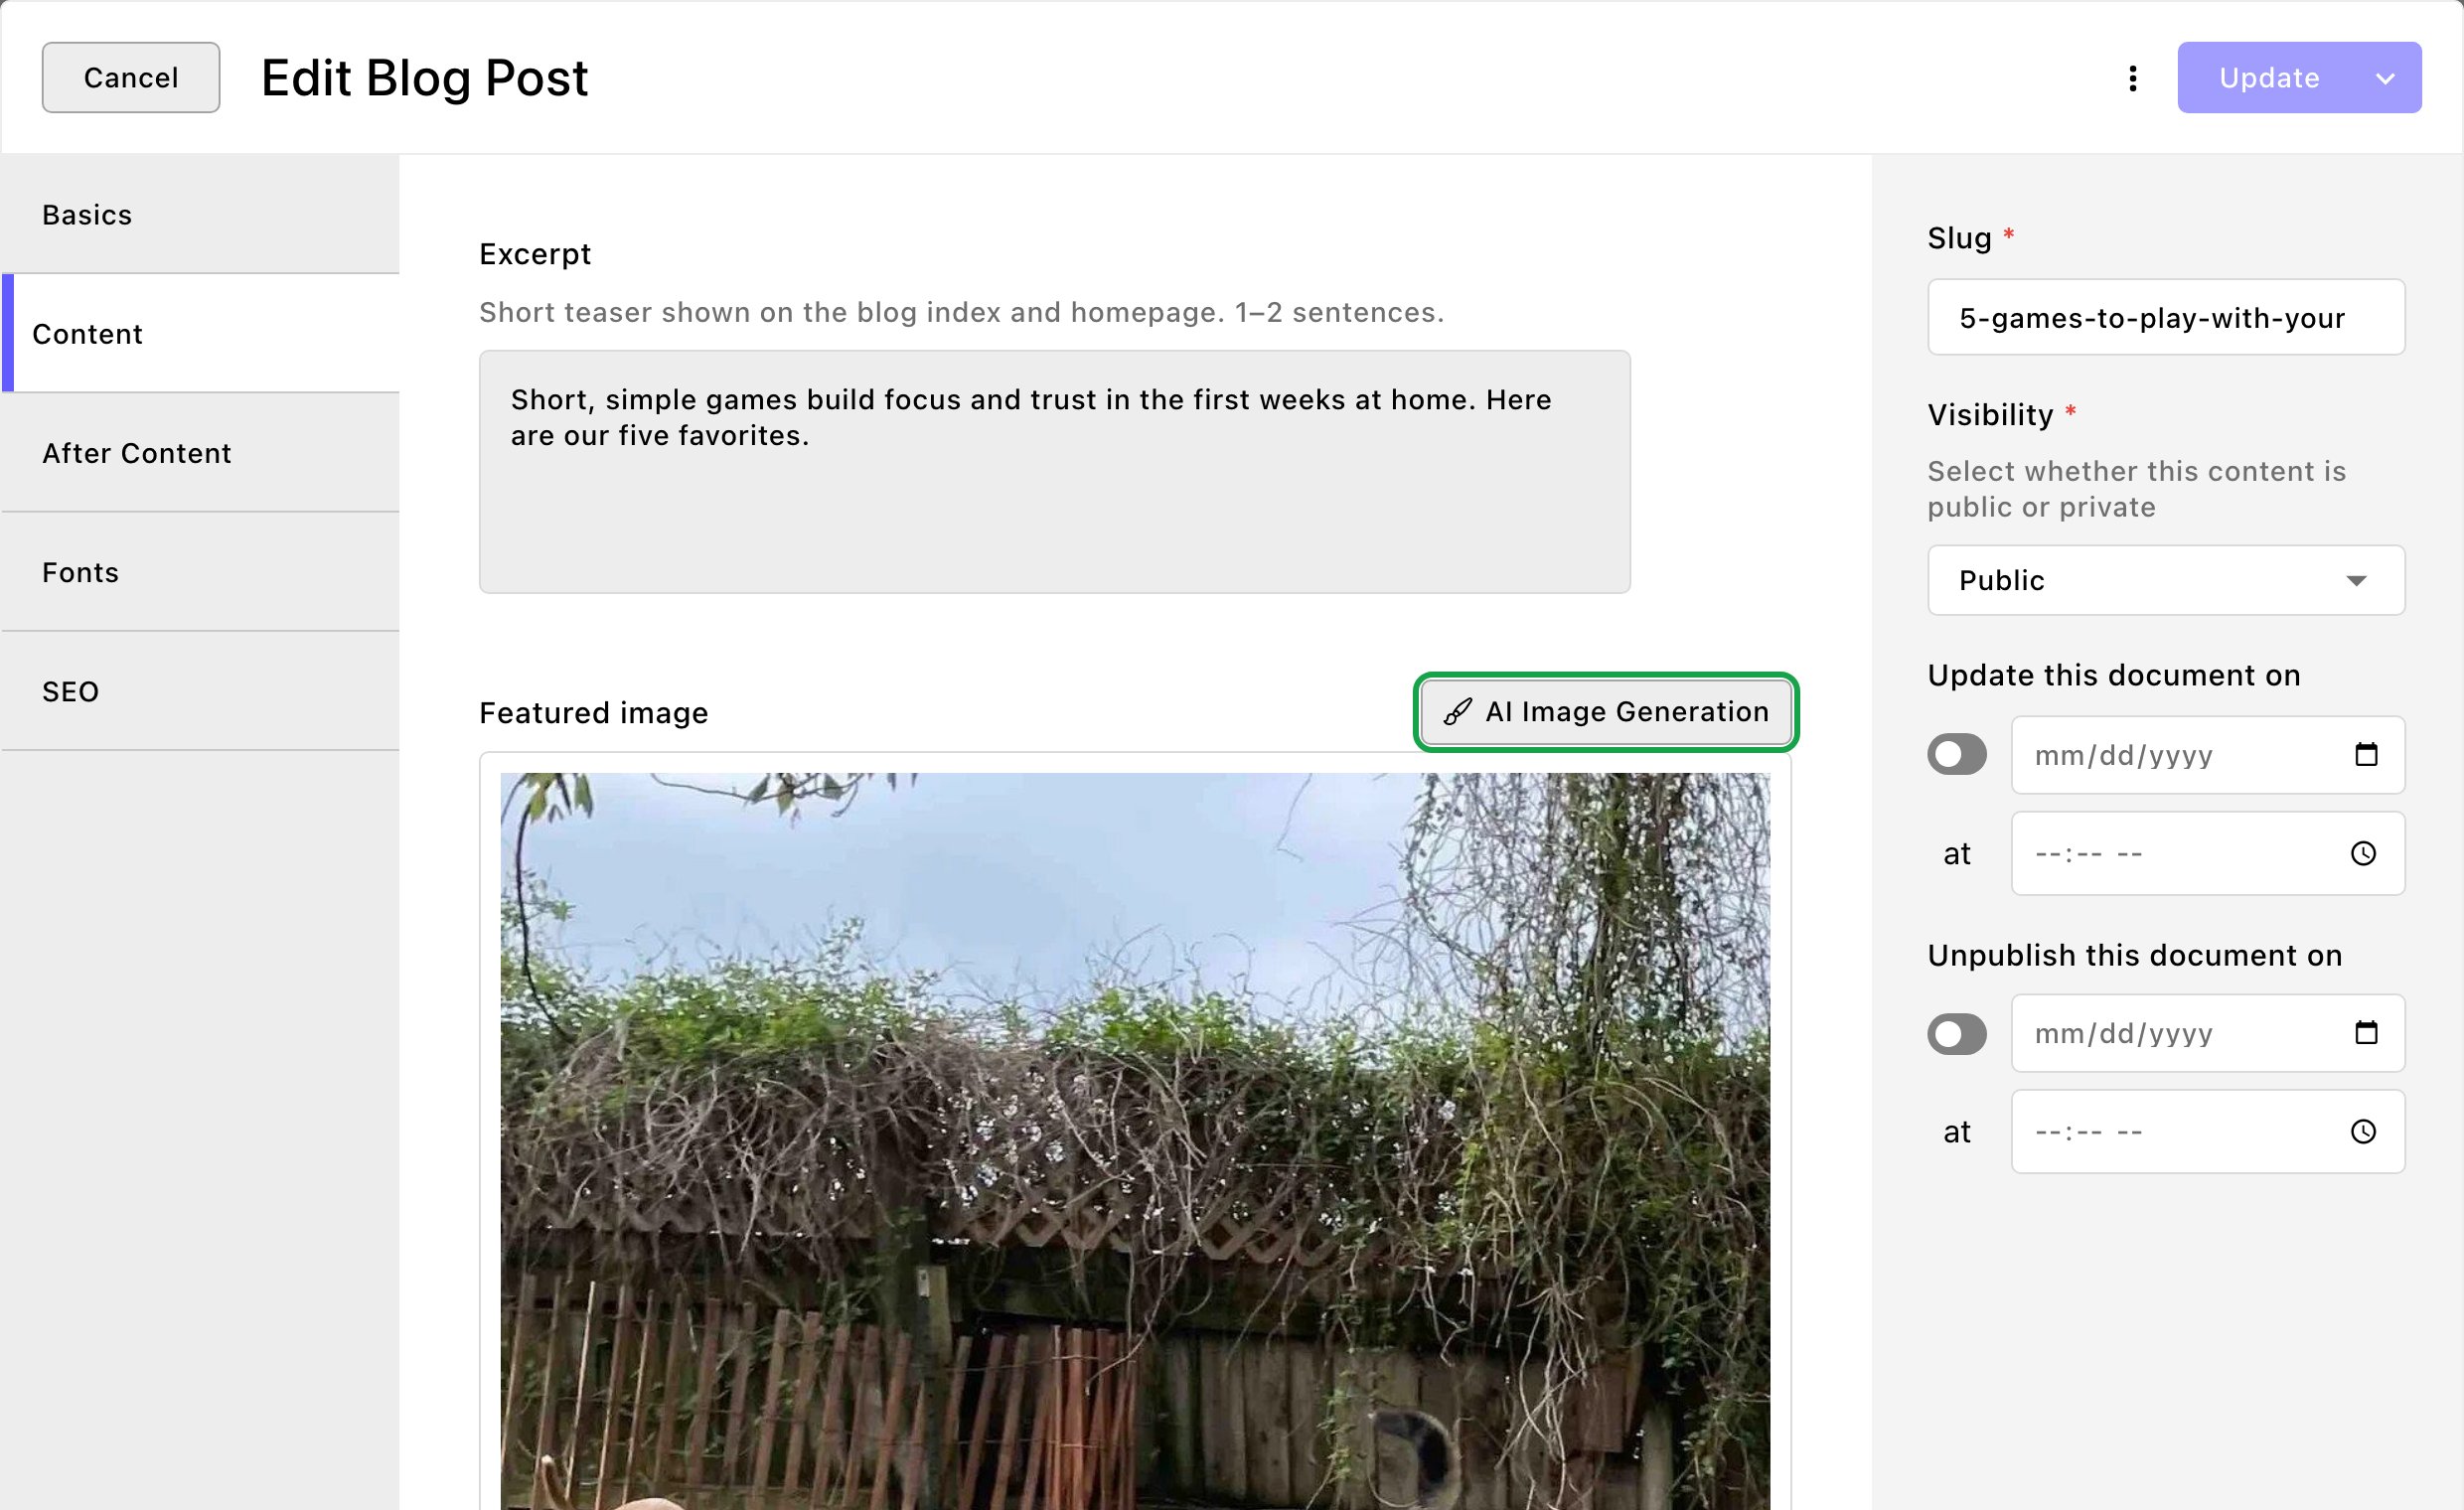
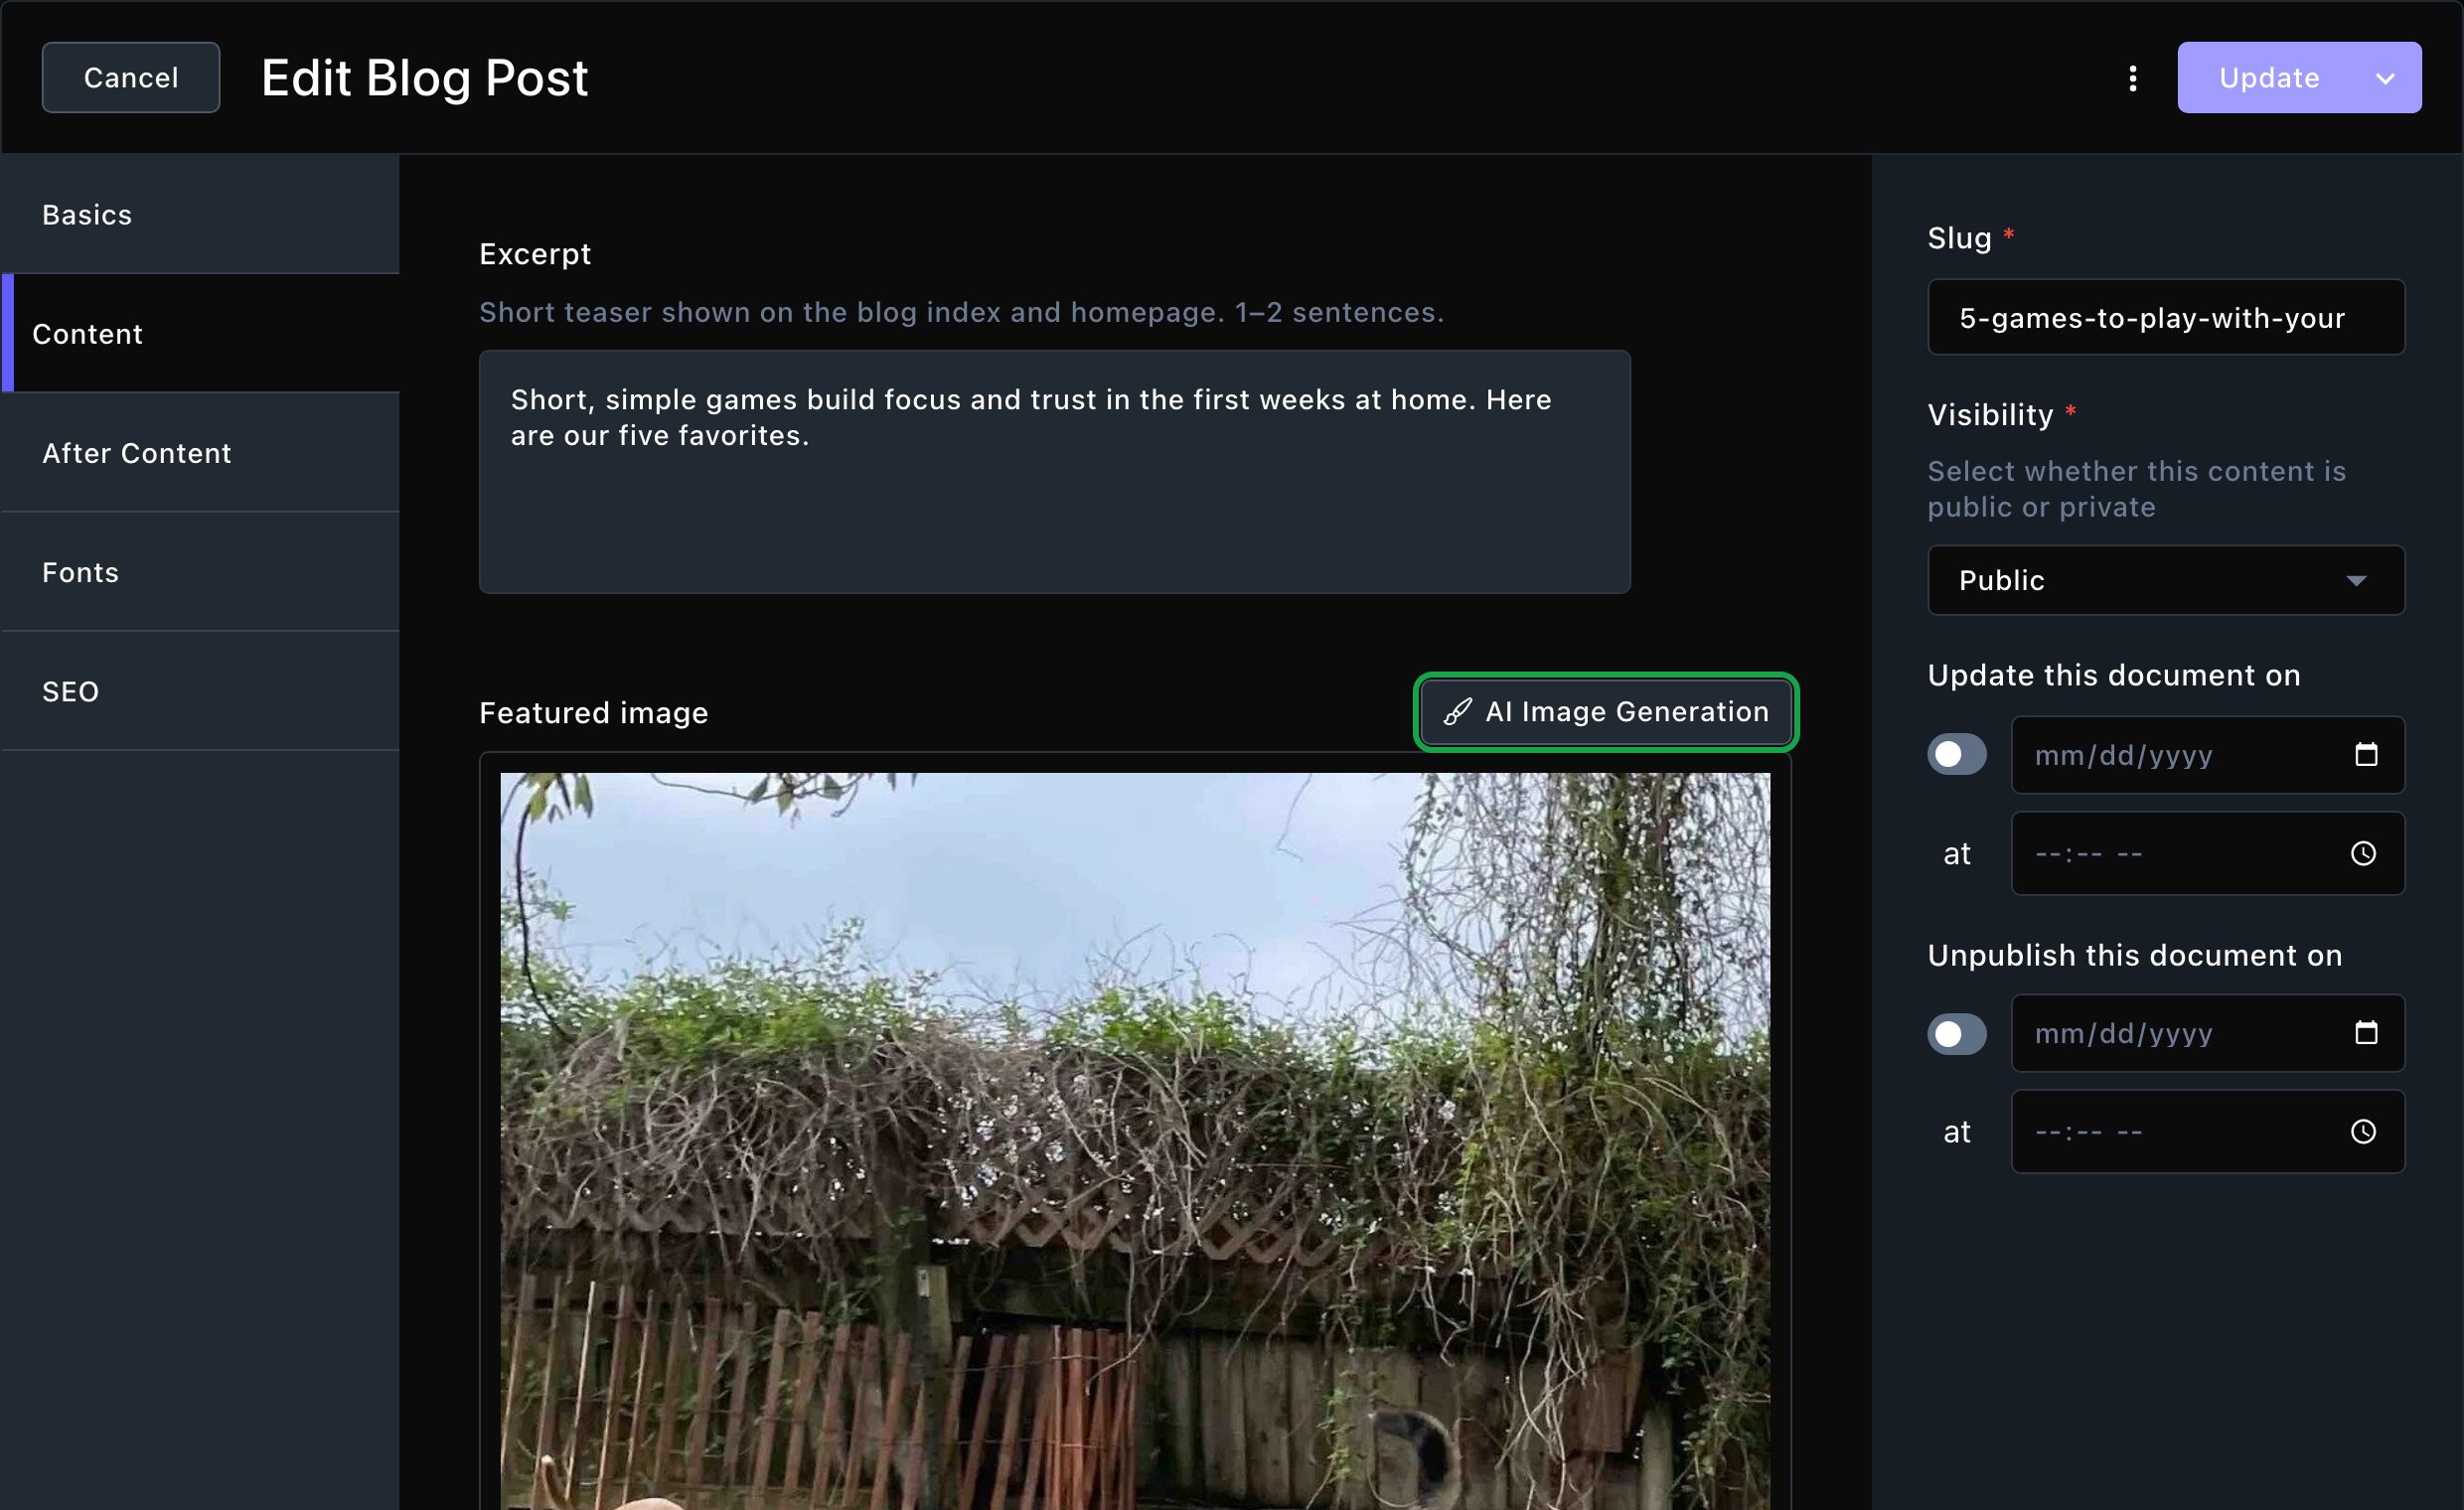
Write a short teaser and choose the photo for your post's card.
Write the post
Save it as a draft
Publish it when it's ready
Edit a post on the page
You can write a post right on your site, as you would a page. First open the post’s own page on your site:- From your Blog page: open it on your site while you’re signed in, and choose the post. Draft posts show there too while you’re signed in.
- From Blog Posts: open the post, then open More save options and choose Save Draft and Preview. Your site opens on the post.
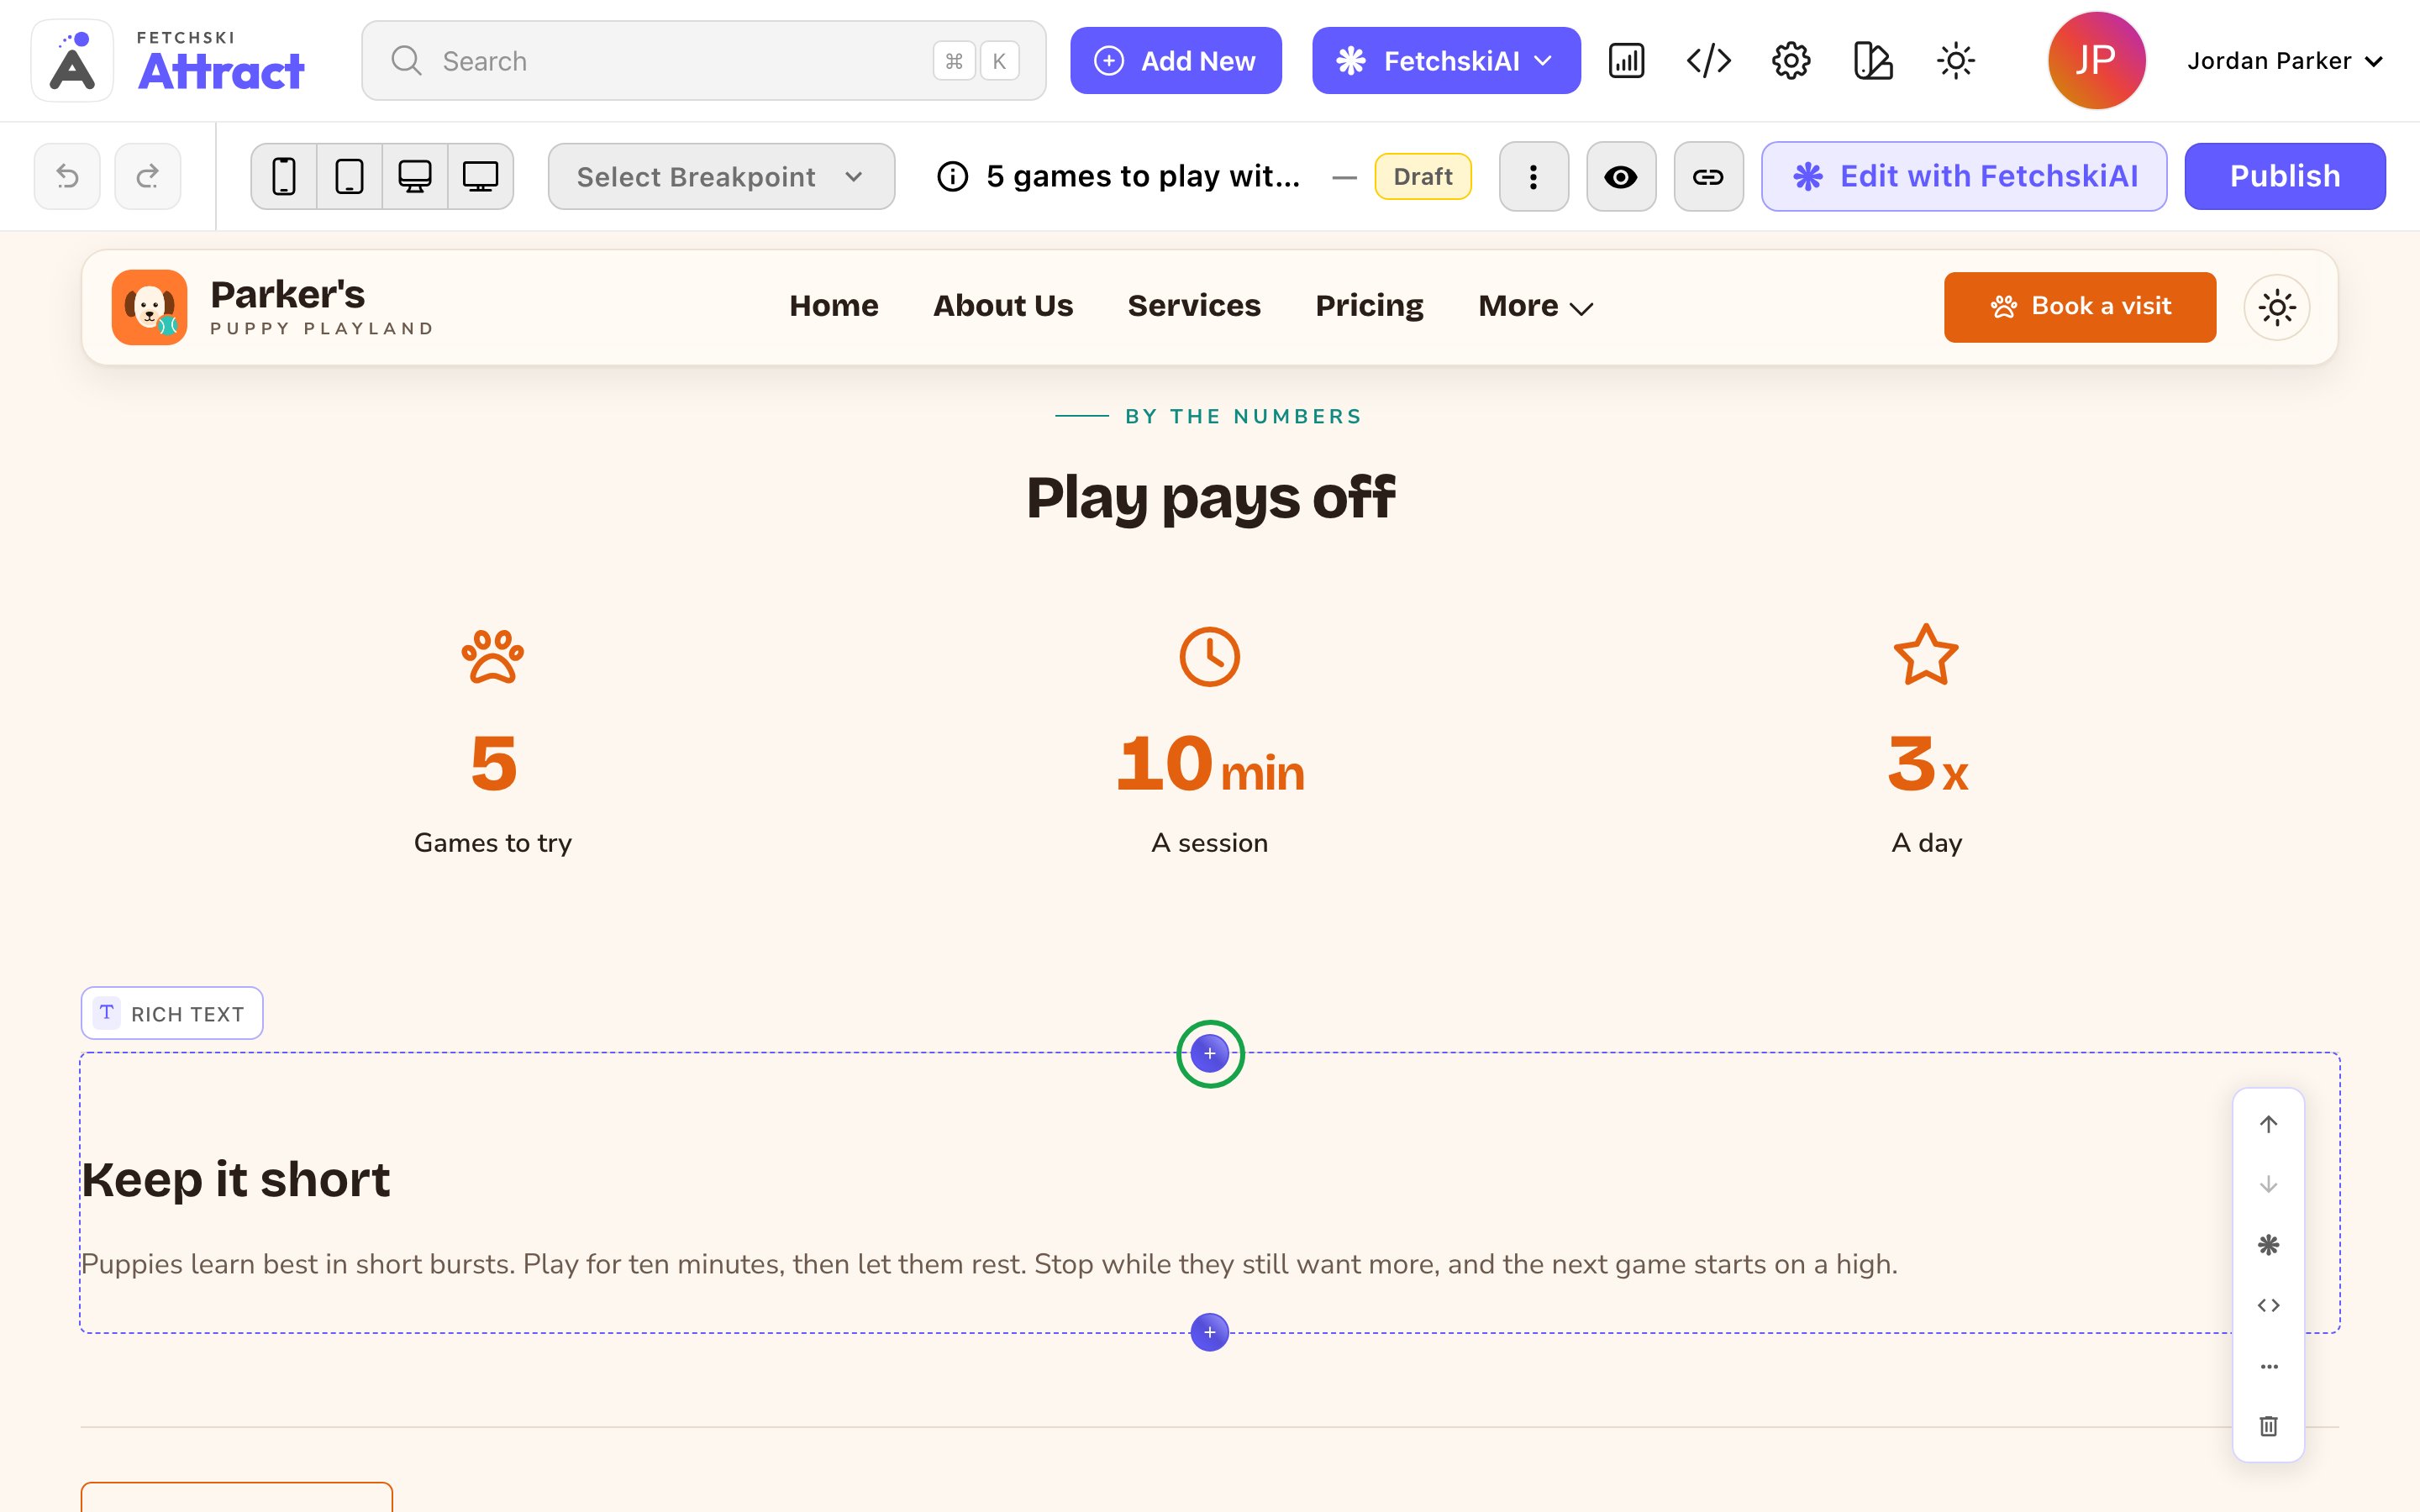
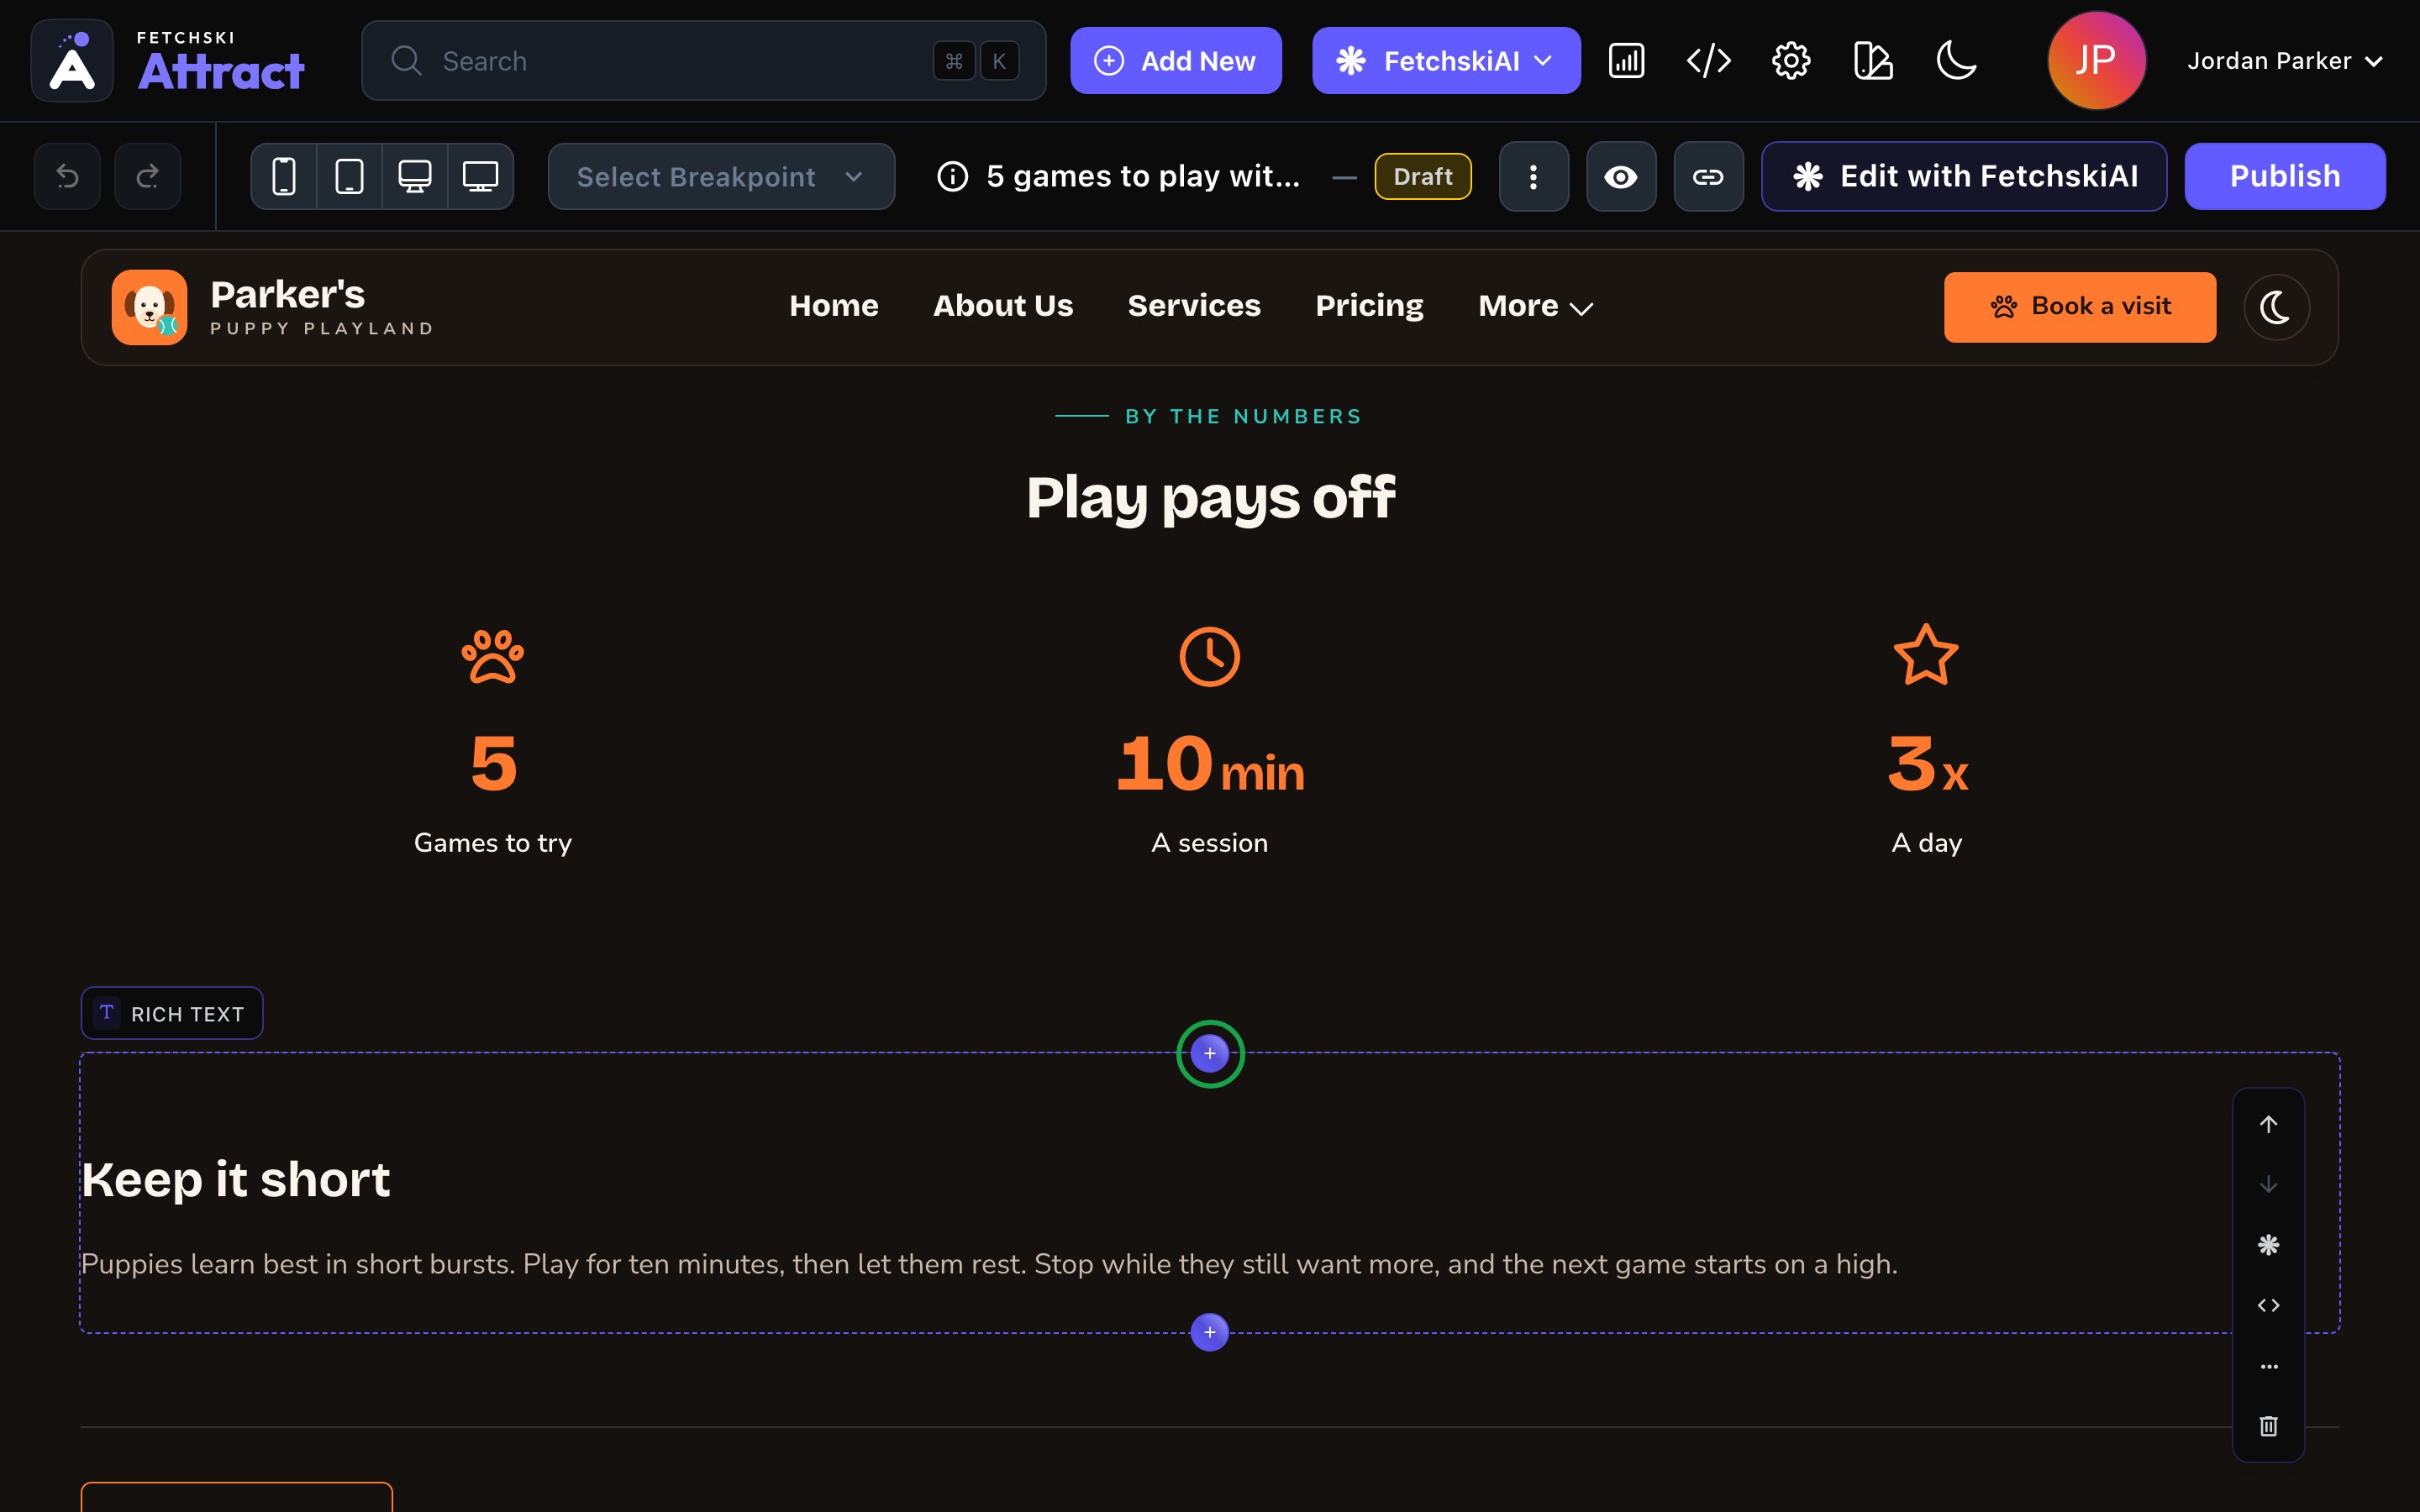
Write and add sections right on the post.
What you can put in a post
A post has 2 places for content. The Body is the article itself, at a comfortable reading width. Its Add Content menu has 3 groups:- Write: Rich Text, a photo or a video.
- Layout: columns inside the article, such as text beside a photo. See Side-by-side layouts.
- Sections: Intro / Trust, Feature Cards, Stats / By the numbers, How it works / Steps, Pricing / Packages, Media + Text block, Device mocks and FAQ.
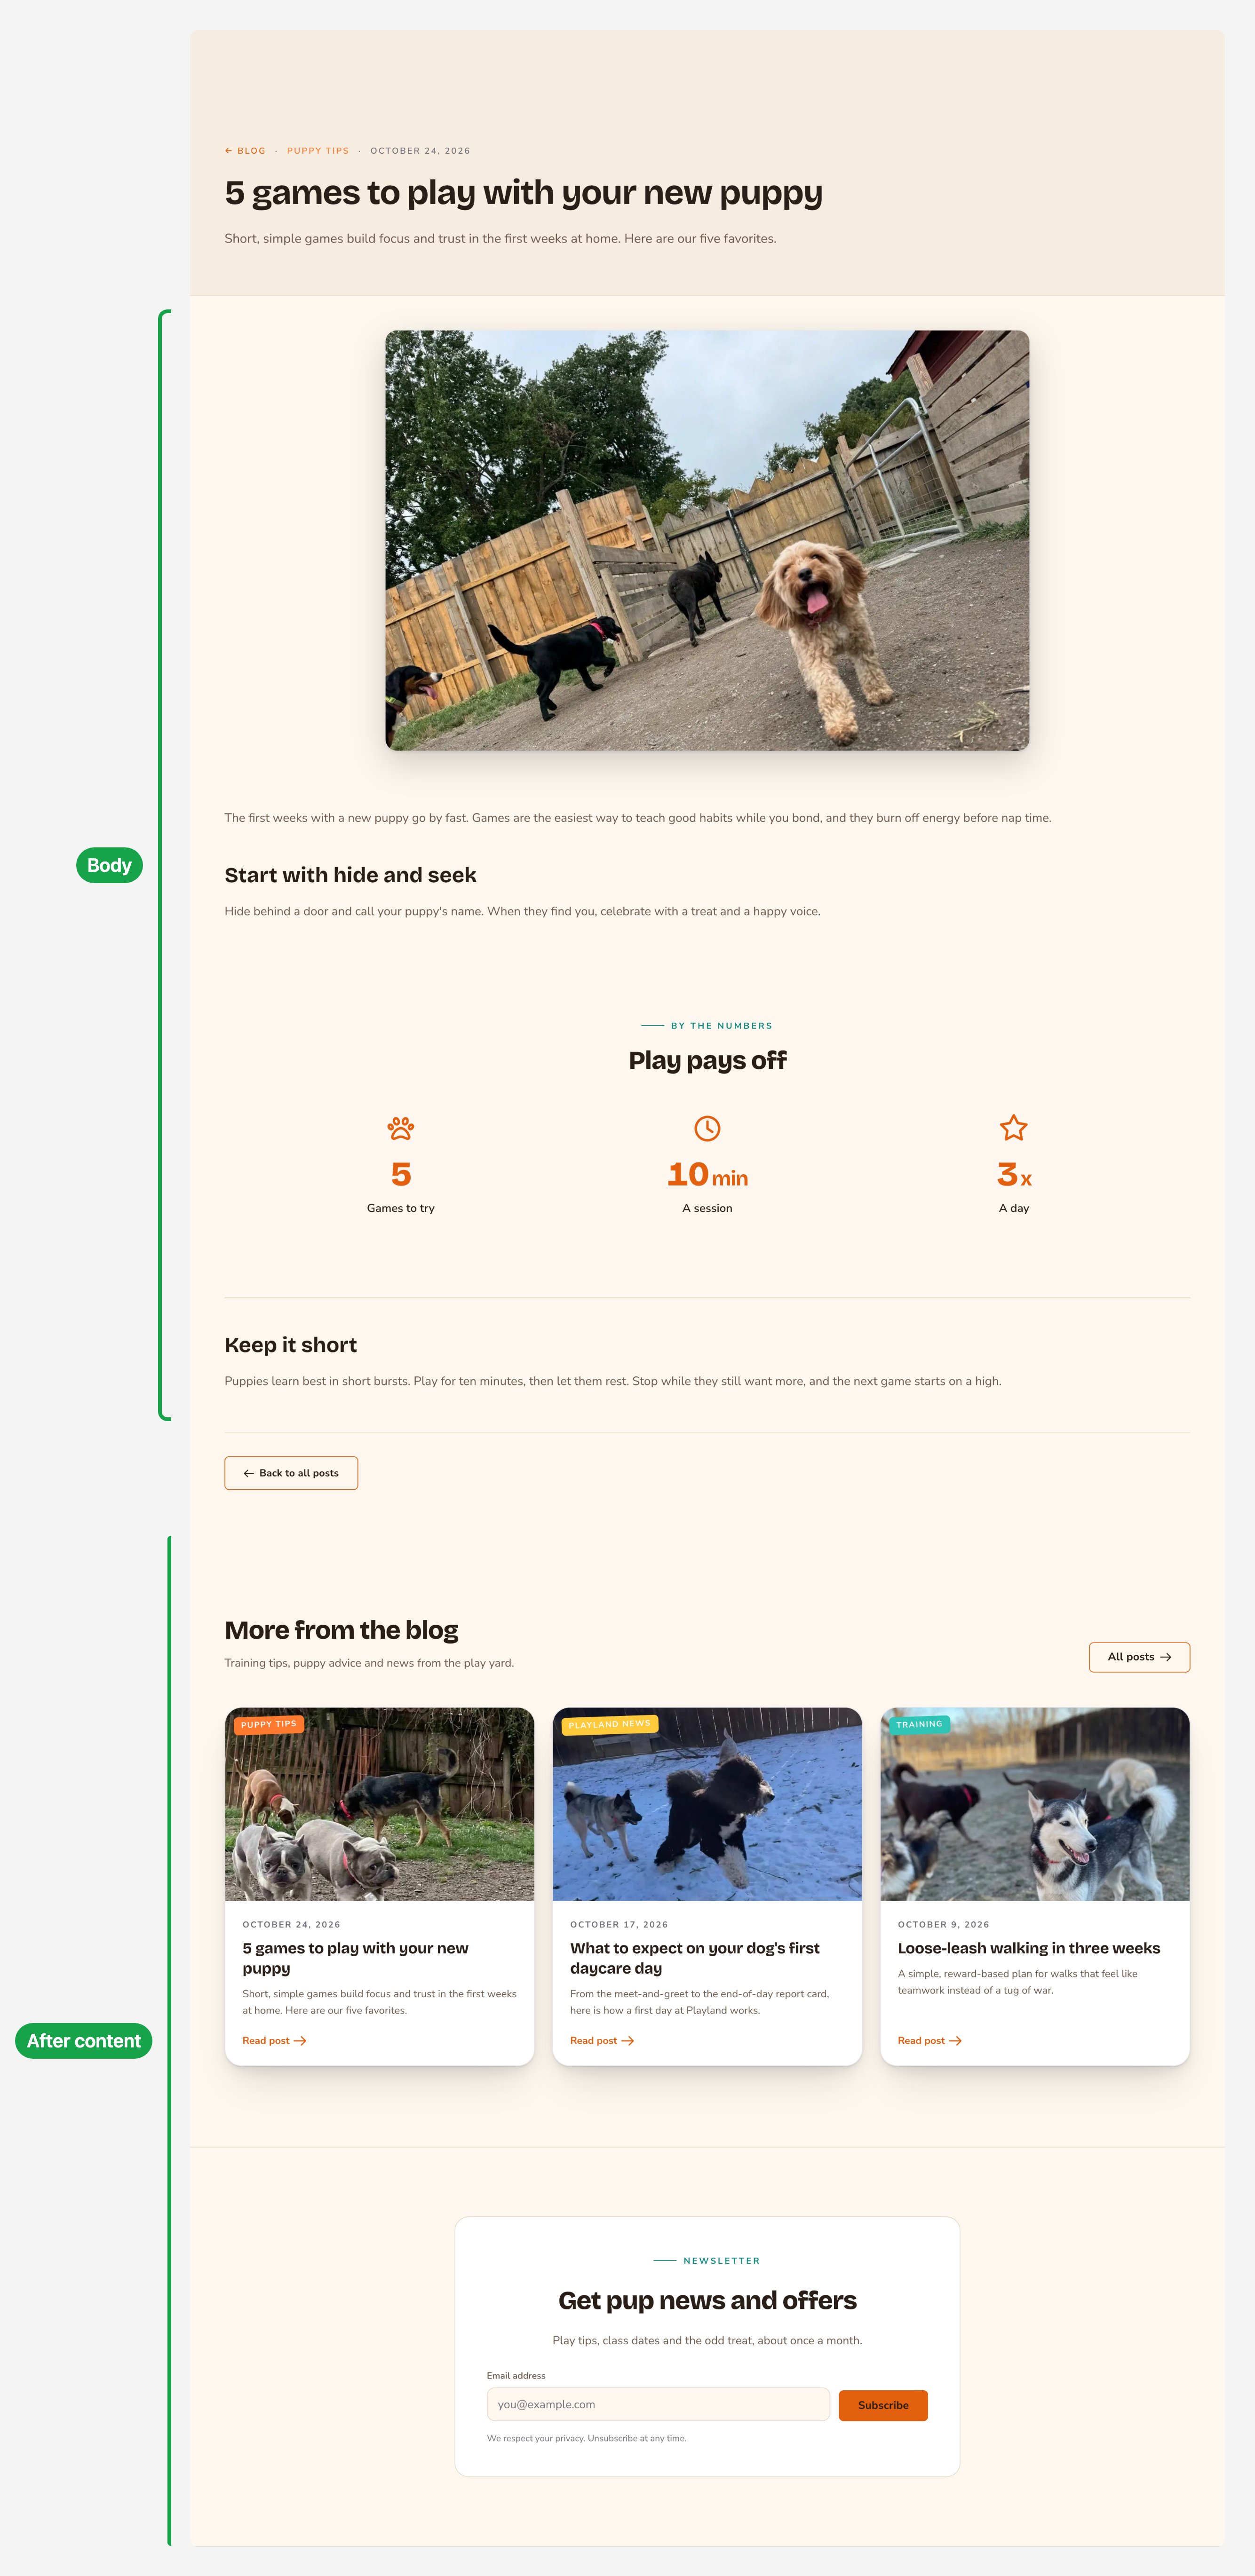
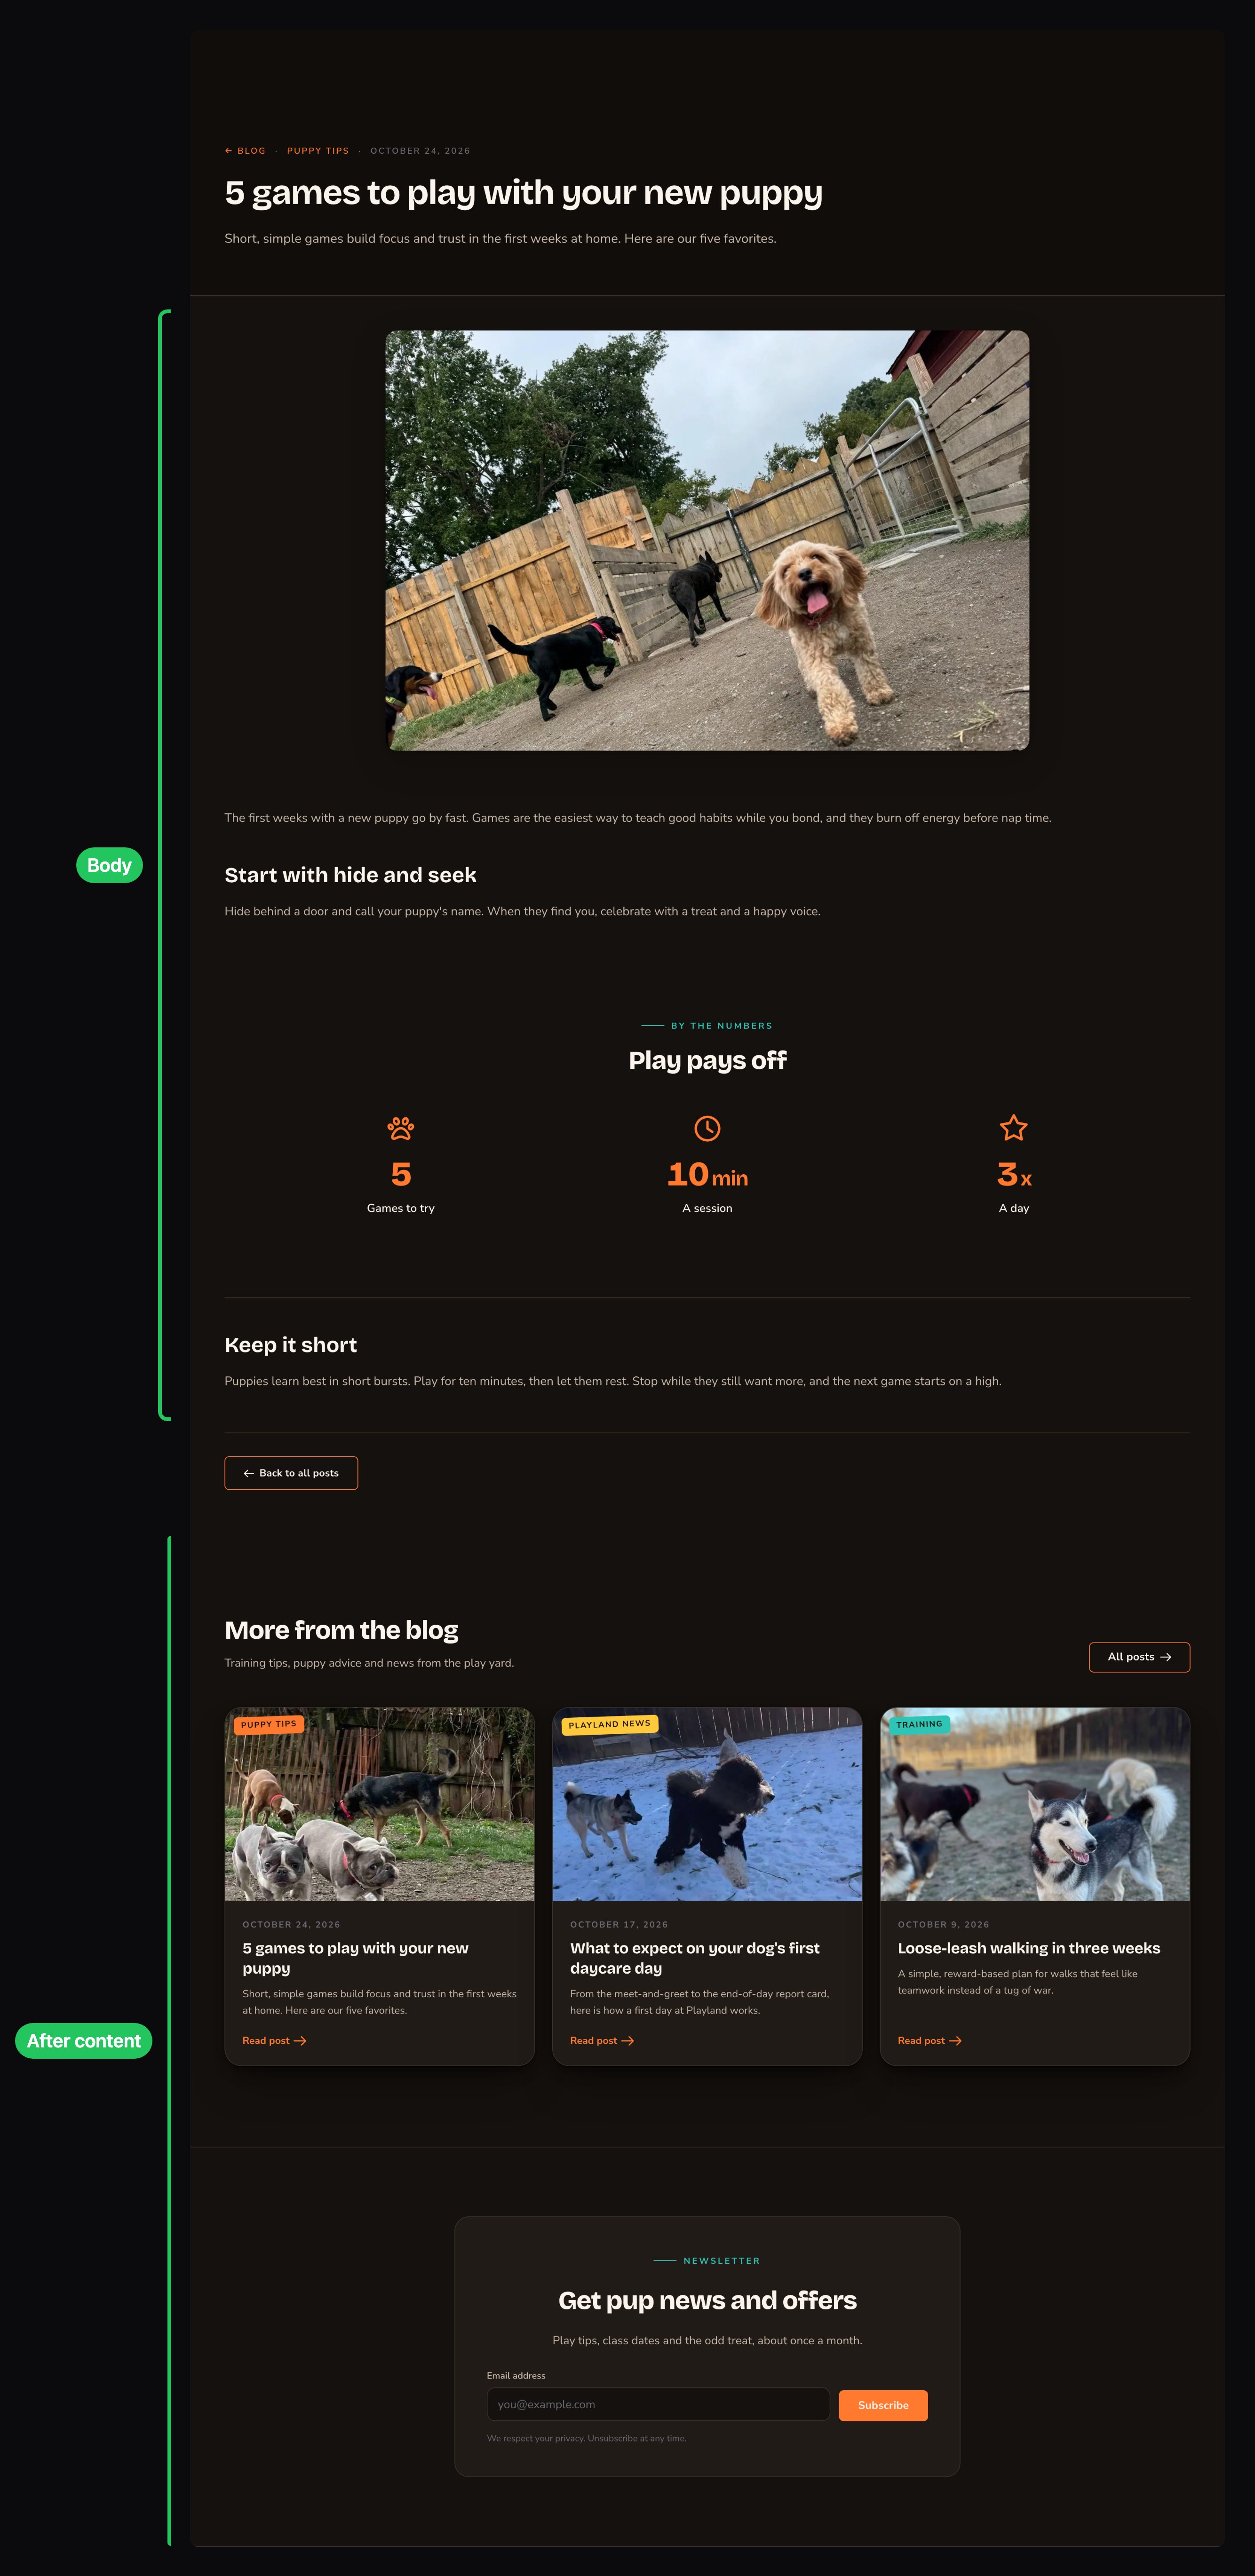
The Body is the article; After content runs full width below it.
Categories
Categories sort your posts by topic, such as “Puppy tips”, “Training” and “News”. Each one has its own badge color on your post cards.Press ⌘K (Ctrl+K on Windows) and choose Blog Categories under Manage
Choose New Blog Category and give it a Title
Pick a Badge color
Add a Description if you like
Choose Publish
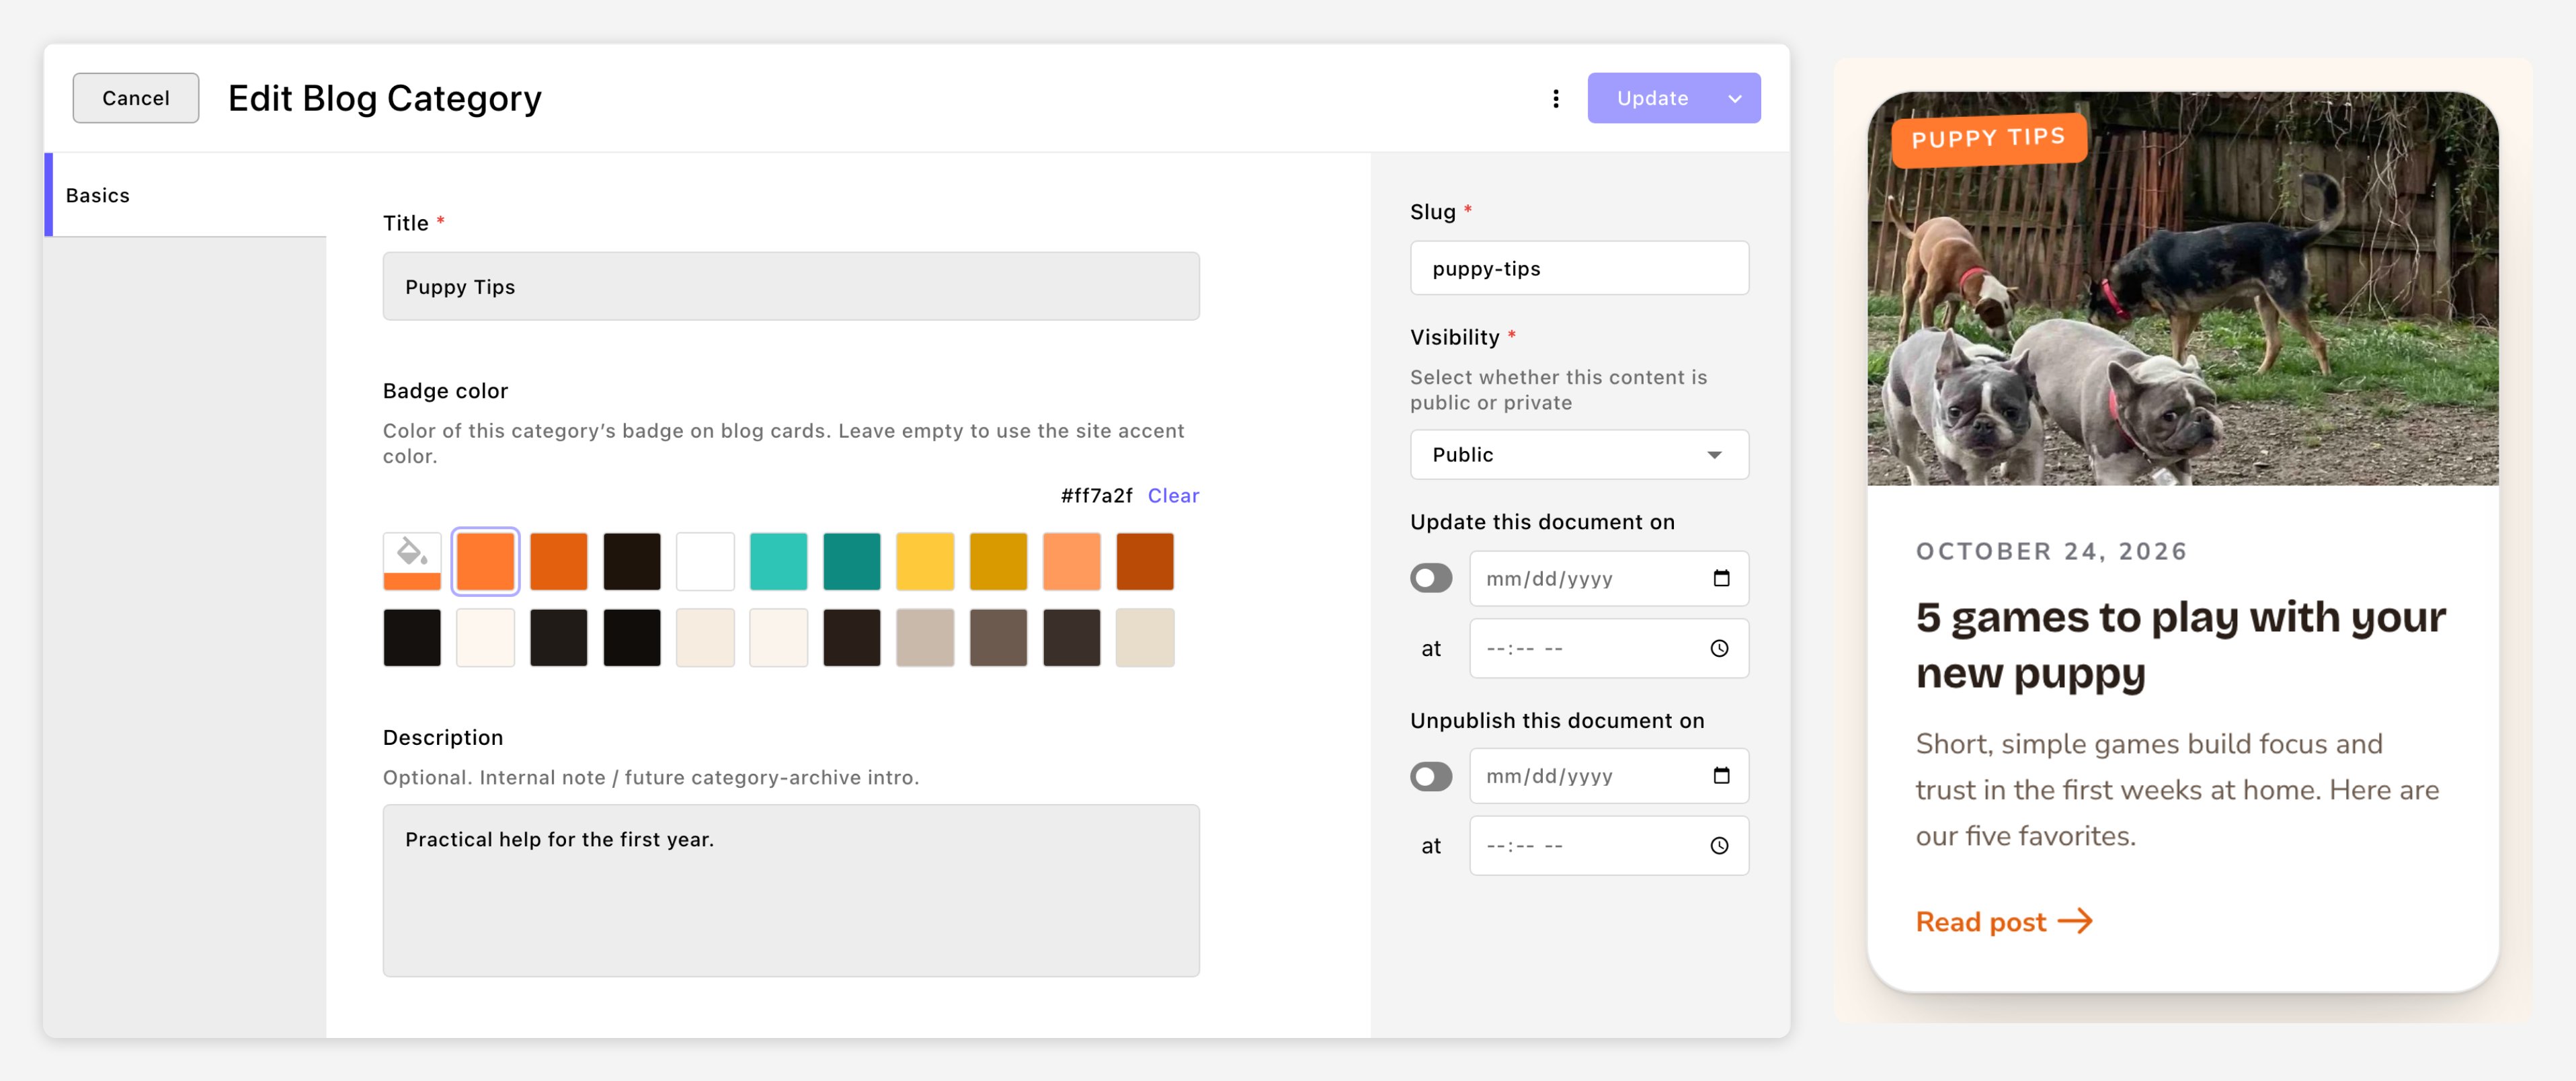
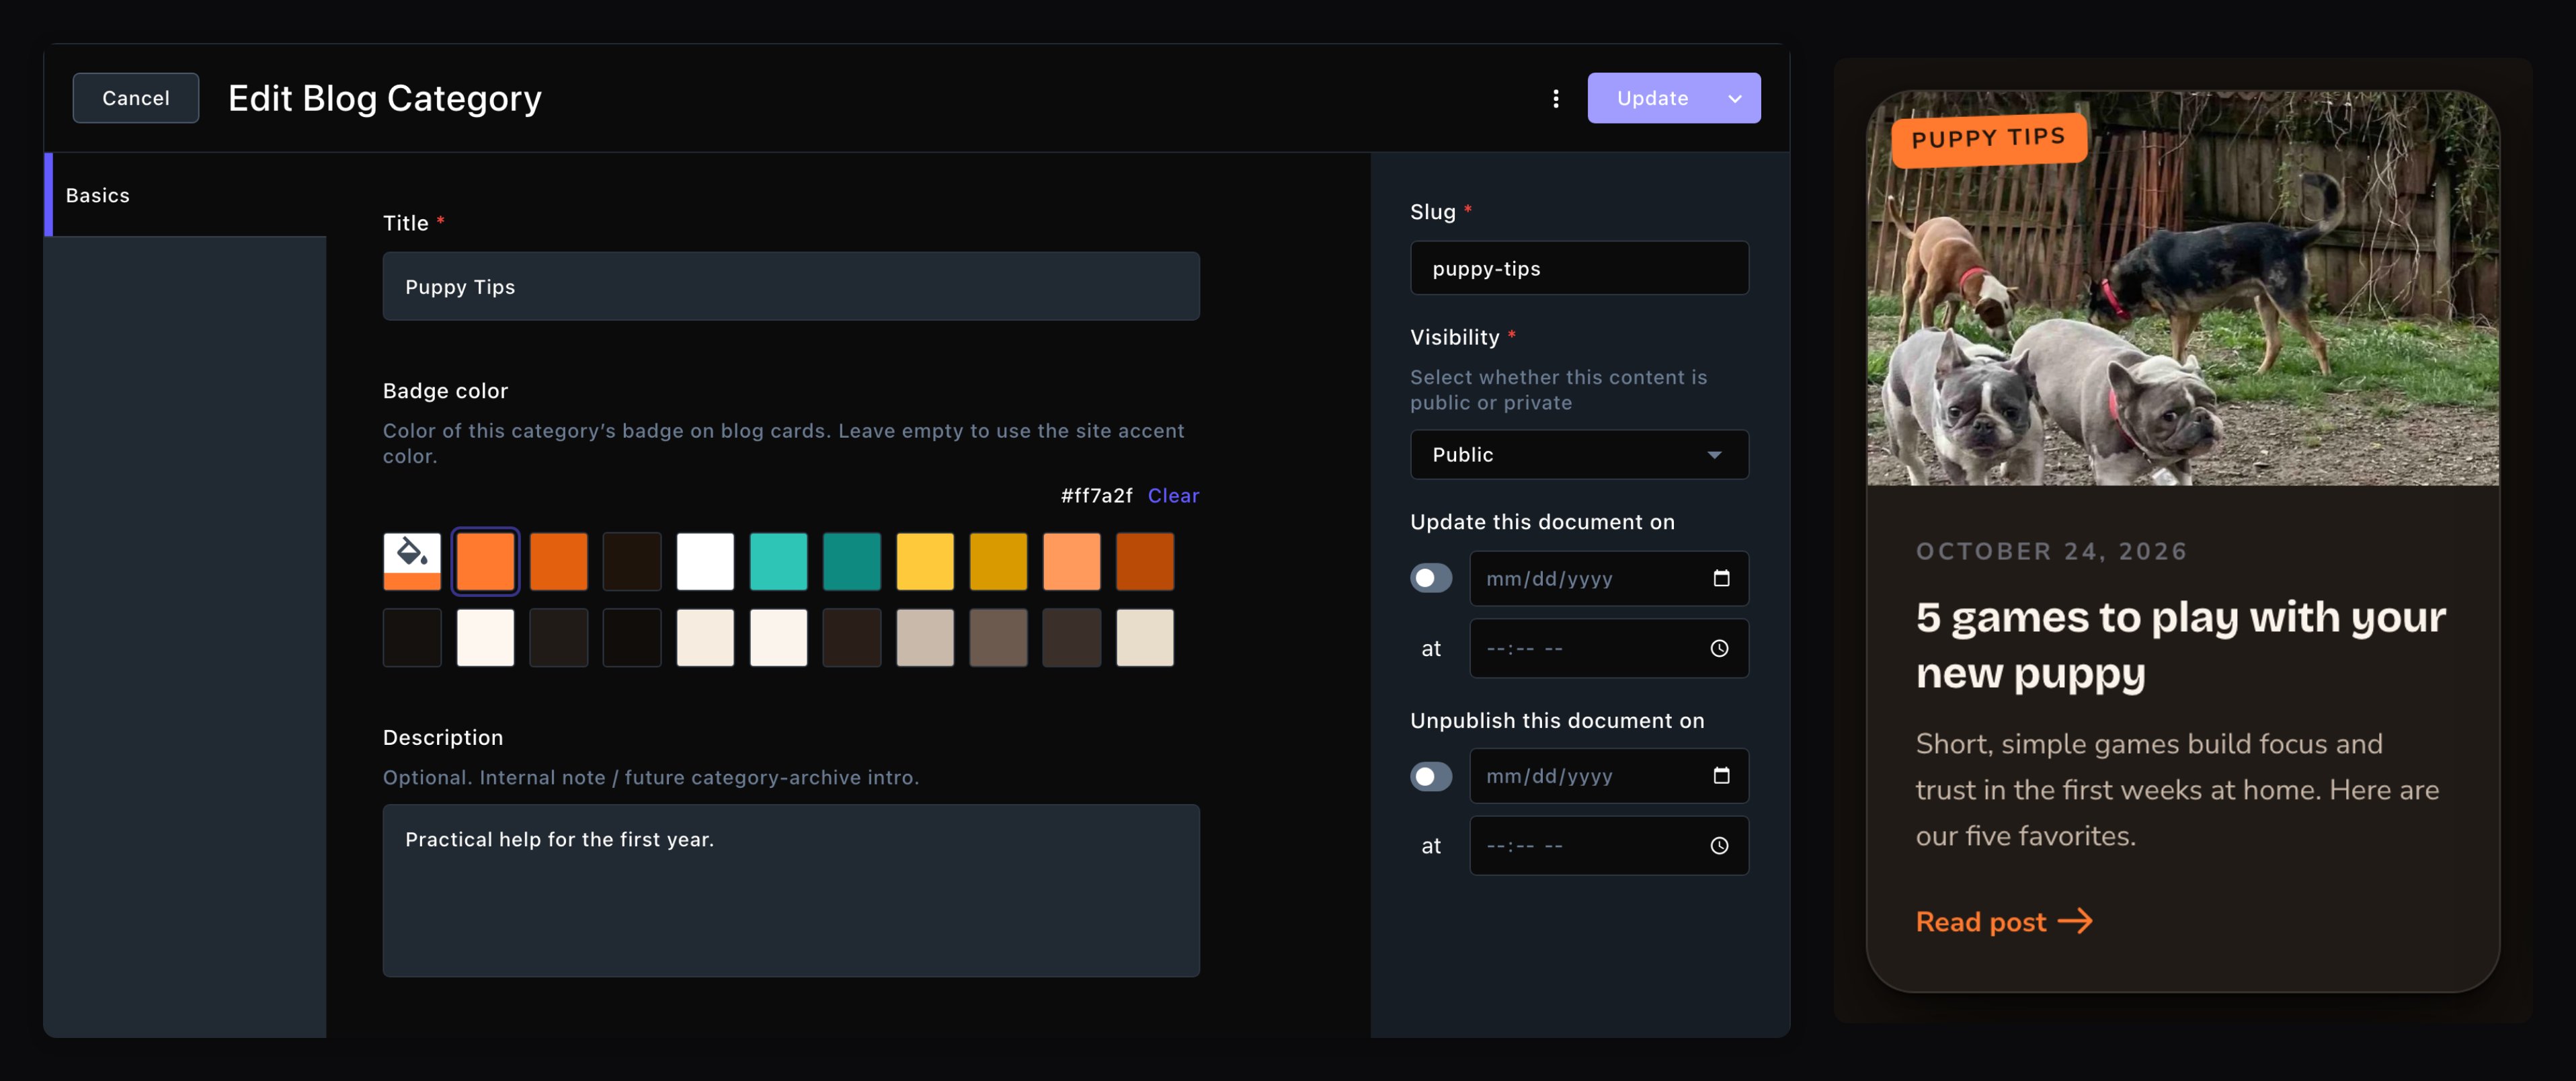
Each category's color shows on every card that uses it.
Authors
An author is the name and photo on a post’s byline. Authors are a list of their own, so you can credit people who don’t sign in, such as a guest writer.Press ⌘K (Ctrl+K on Windows) and choose Authors under Manage
Choose New Author and enter their name as the Title
Add a Short bio if you like: 1 or 2 sentences
If they sign in to Attract, choose their Login account: the account they sign in with
Choose Publish
- Show author on the site: turn it off to hide this author’s name and photo on every post that credits them.
- Show the login account’s photo: turn it off to show the name without the photo.
Your Blog page
Your Blog page lists your posts, 9 at a time, with page links below. Open it on your site and choose Edit to change it. The page has 3 parts, top to bottom:- Sections above the list. It starts with a Page Header, the page’s title band. Add any sections you like above or below it.
- The post list. A Blog Post List section that always sits in the middle. You can’t move or remove it, but you can change how it looks.
- Sections below the list. Empty at first. Add a sign-up or a call to action here.
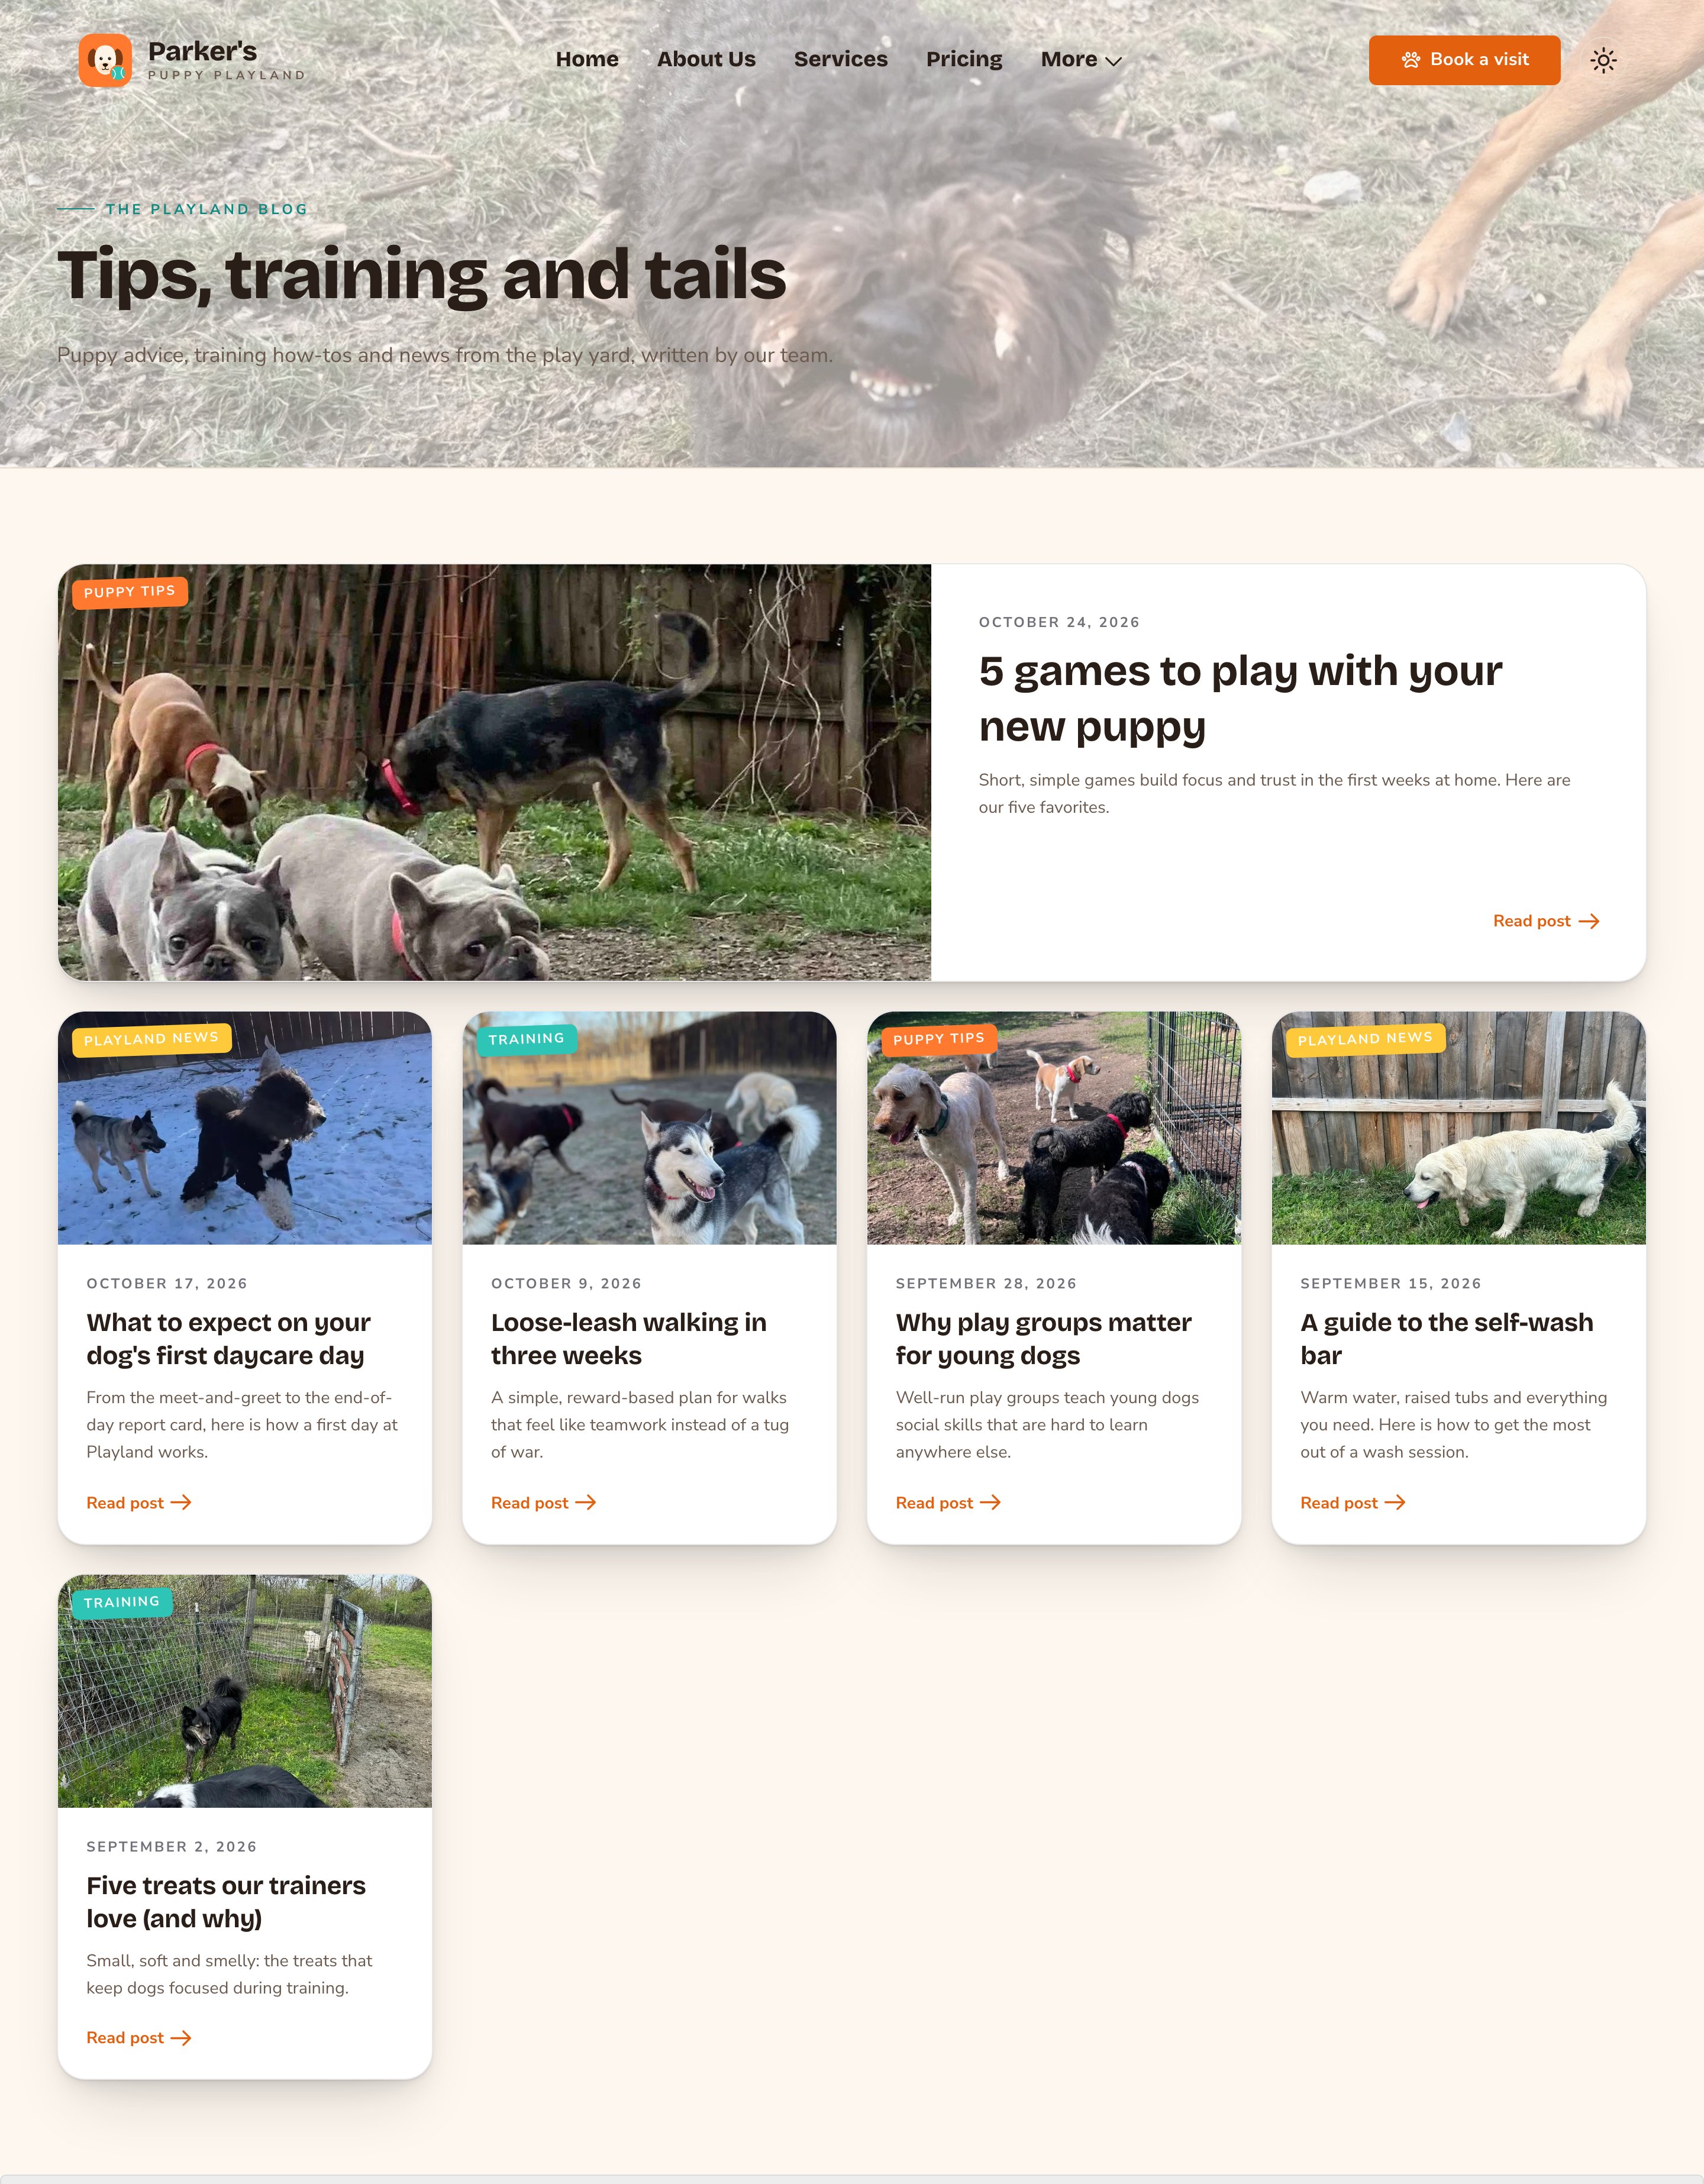
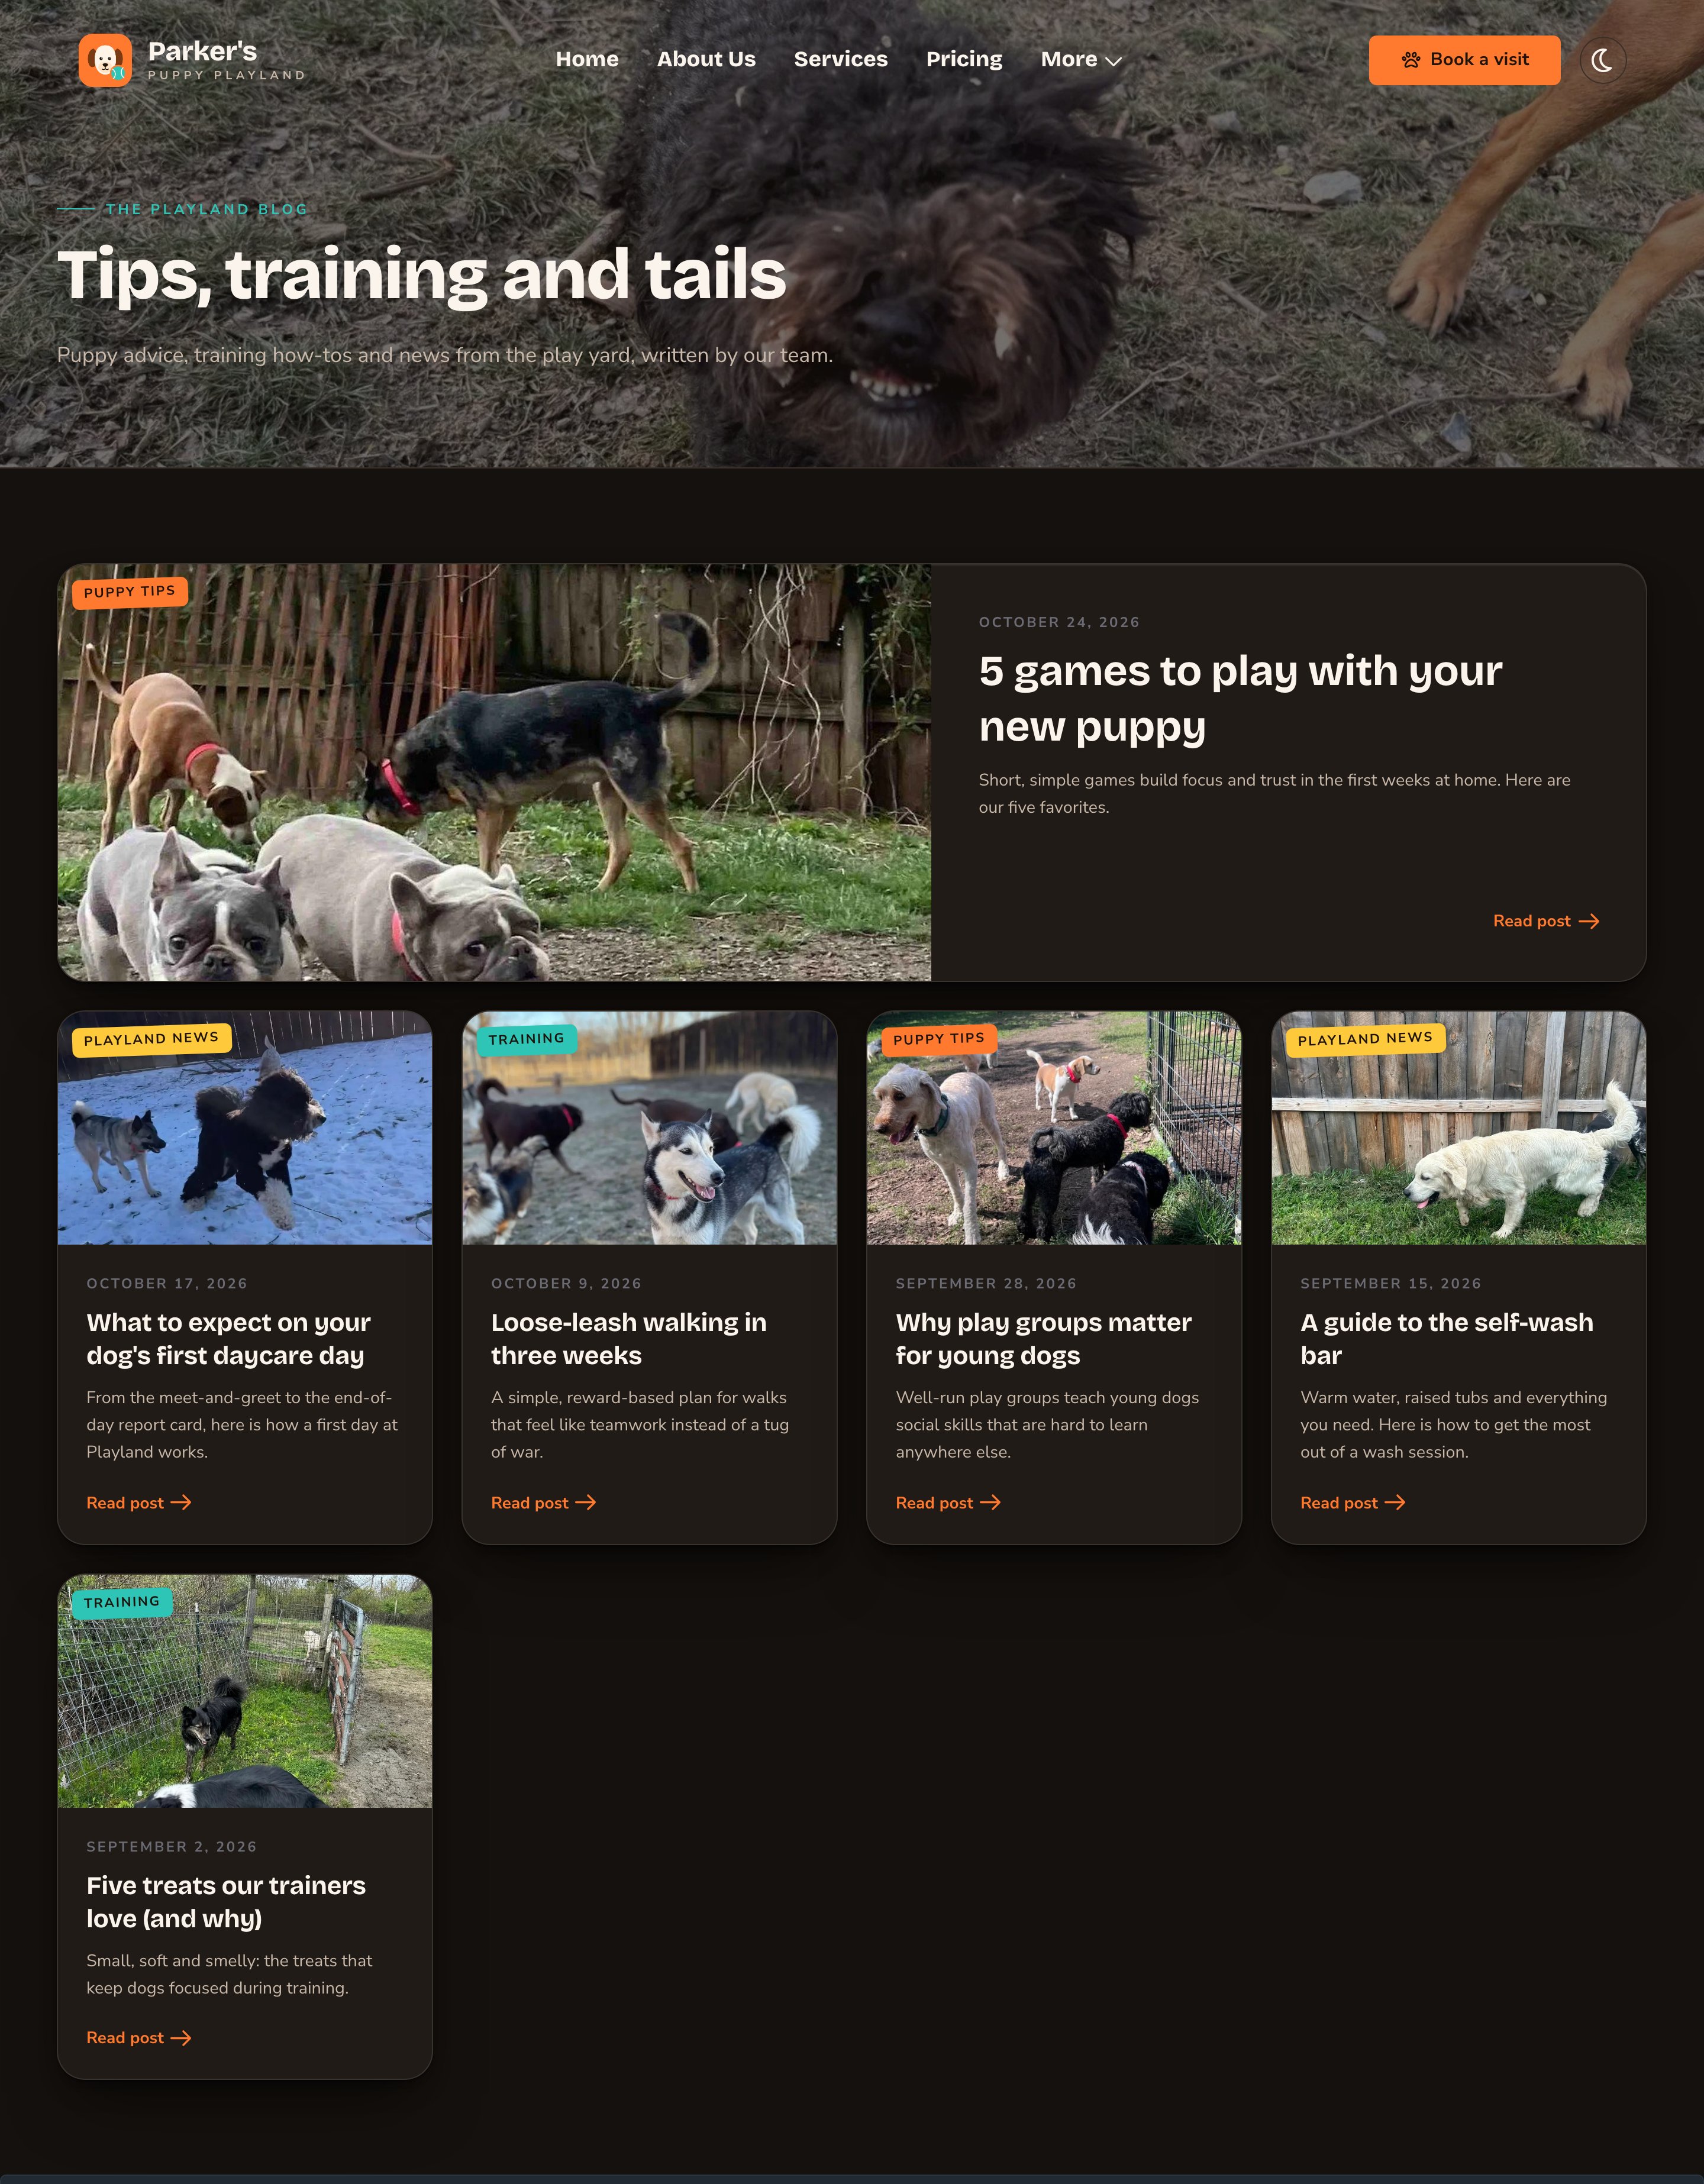
Your Blog page: a header, the post list, and any sections you add.
Change how posts are listed
Select the post list and choose Edit. On the Post List tab:- List layout: Card grid, List rows (image + text), Compact list (text only), Featured + grid (your newest post large, then a grid) or Masonry.
- Columns: Auto (fit to width), 2 per row or 3 per row, for the card grid and masonry.
- Scroll-in animation: Stagger in (fade + rise) makes the cards rise into view one by one. Choose None to keep them still. Visitors who turn on reduced motion on their device never see it.
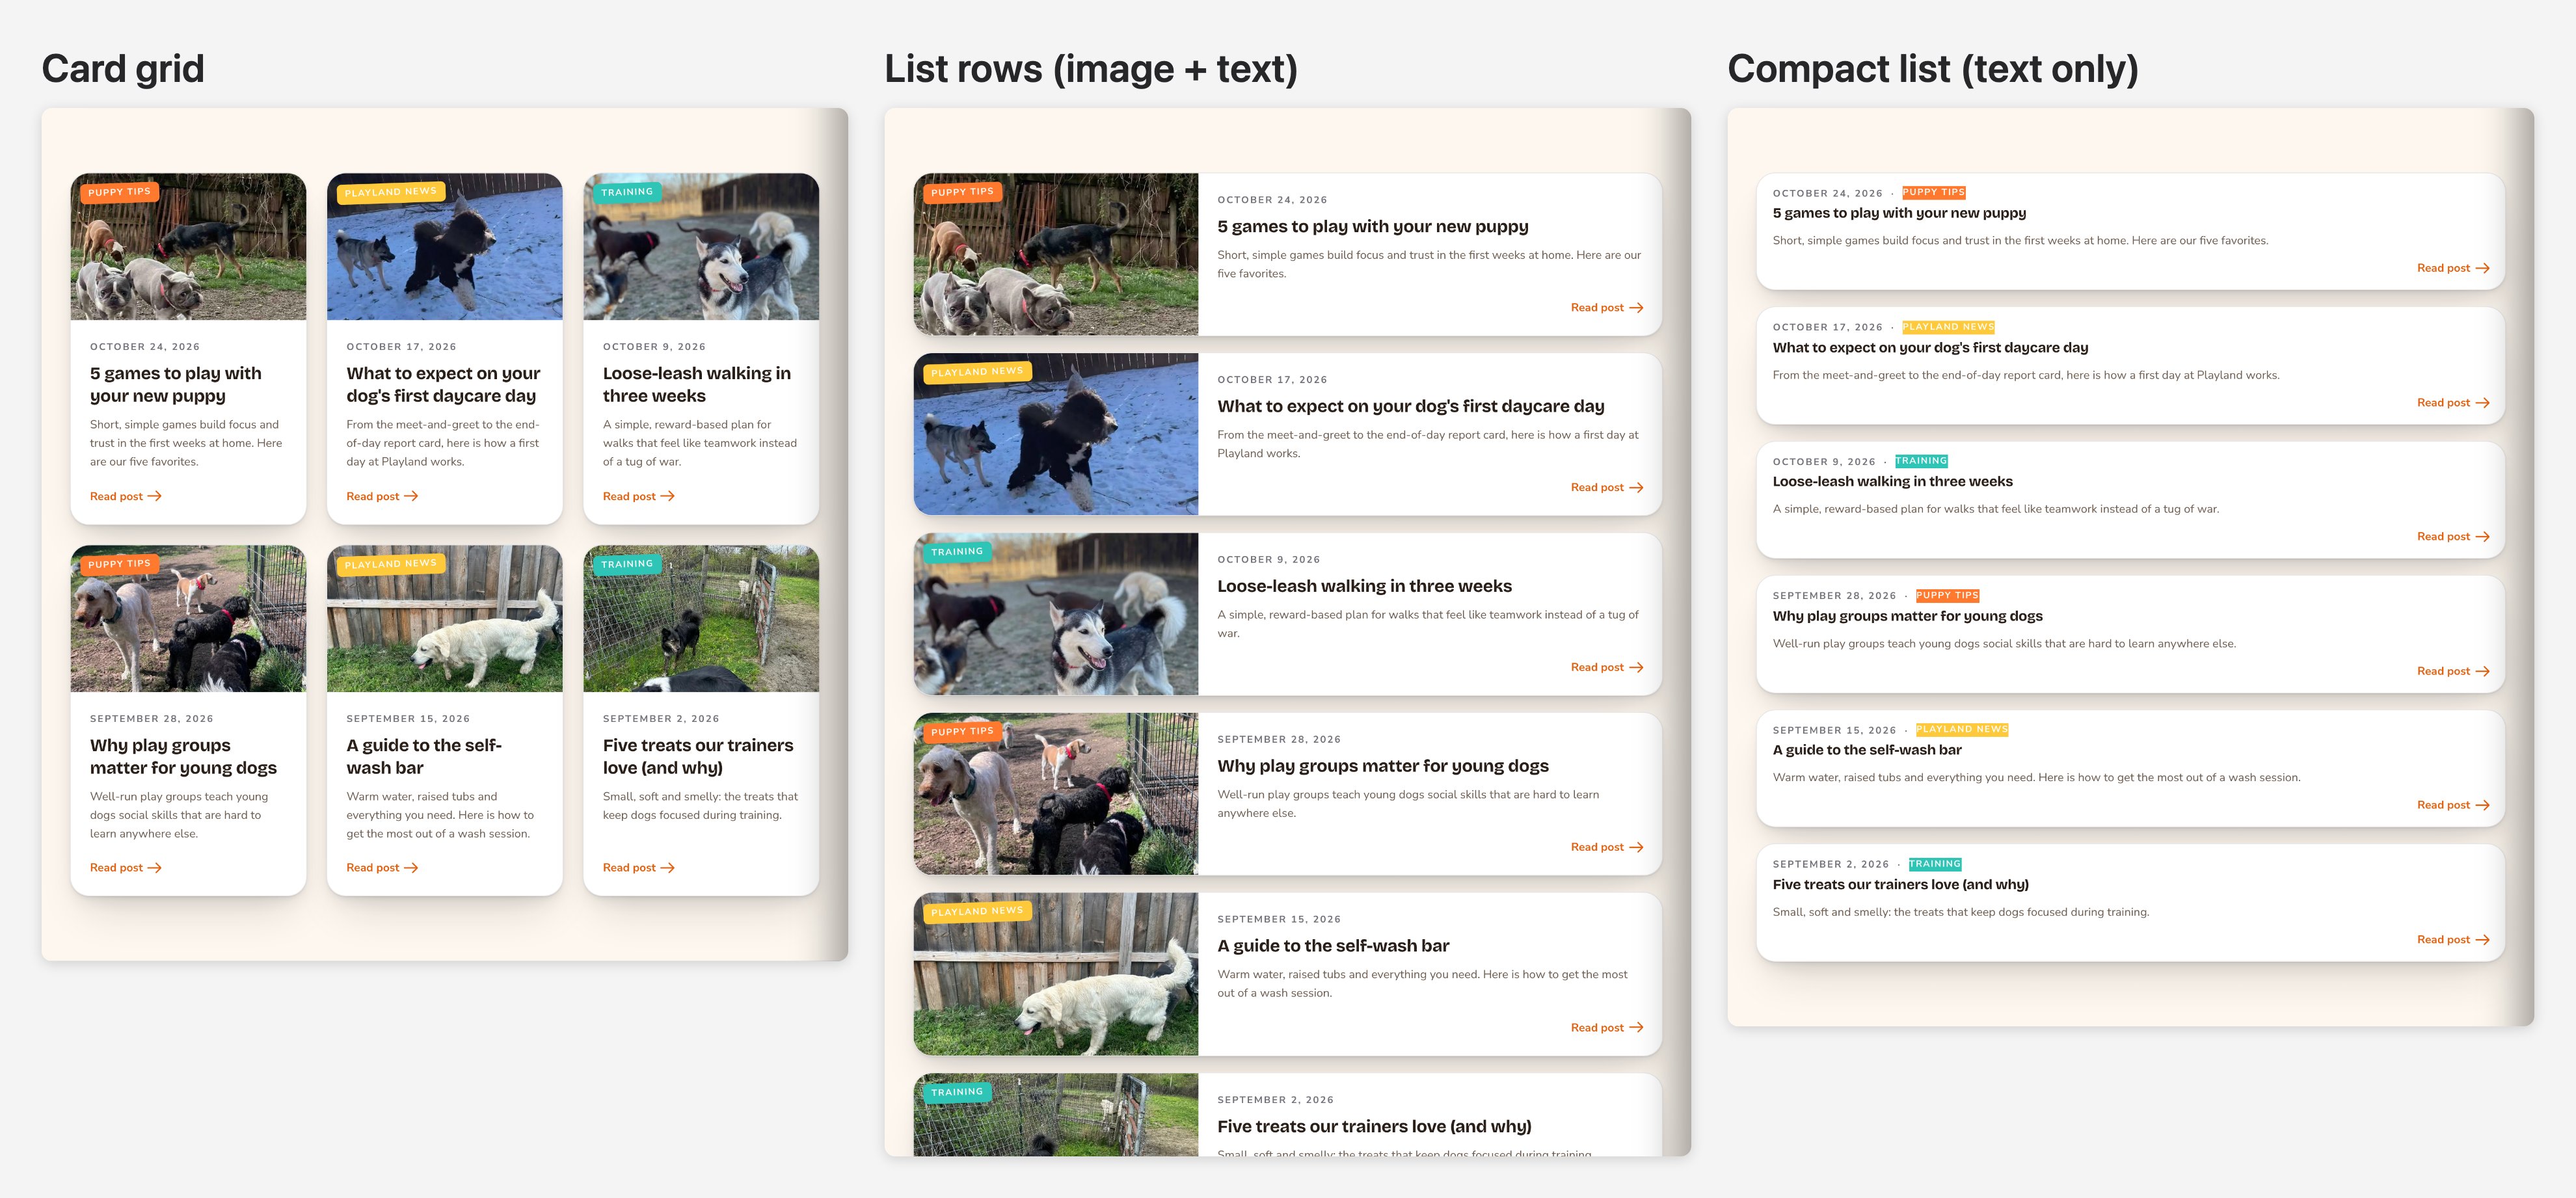
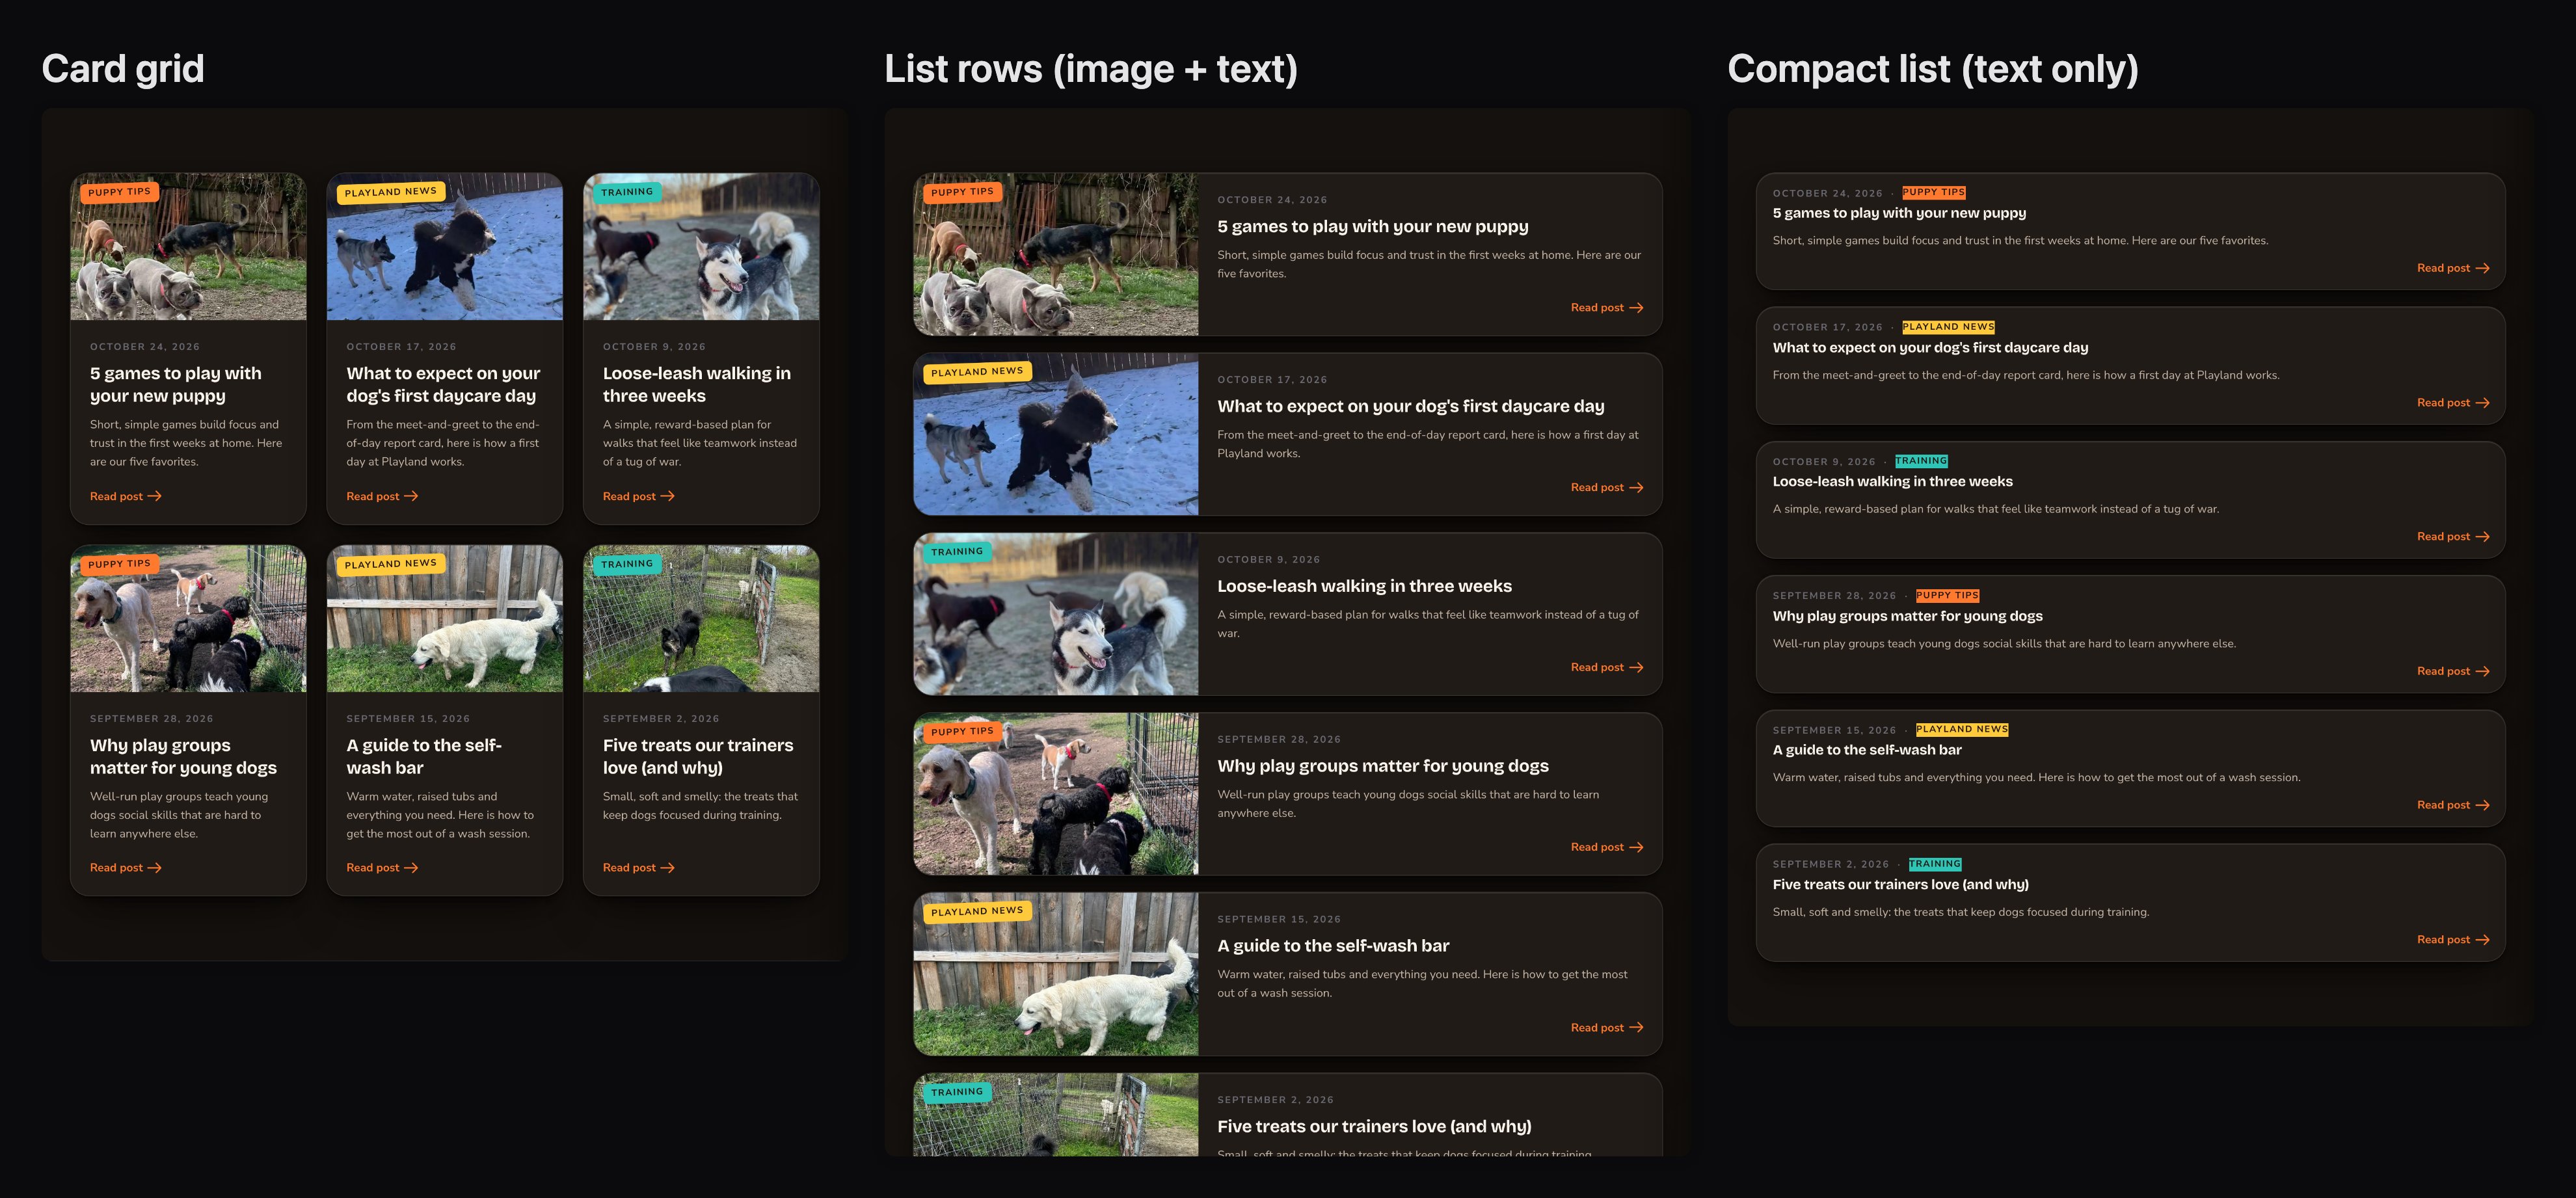
3 of the 5 ways to list your posts.
Style every post at once
The Blog page’s settings also style your posts. Open them from the edit bar: More Options (⋯) → Edit.- Reading: how every post reads. A Live preview at the top shows each change. Set Typeface for posts, Body text size, Body text weight, Content width, Line height, Heading weight, and the heading and accent colors. The accent color styles links and quotes.
- Basics: the color, weight and size of the back link at the top of every post, such as ”← Blog”.
- Post · Back button: the “Back to all posts” button at the foot of every post.
- Coming Soon: what visitors see while your blog has no posts yet: an icon and a Coming-soon message.
- Post · CSS: Post custom CSS for every post. Admins and Owners can change this tab. See Custom CSS.
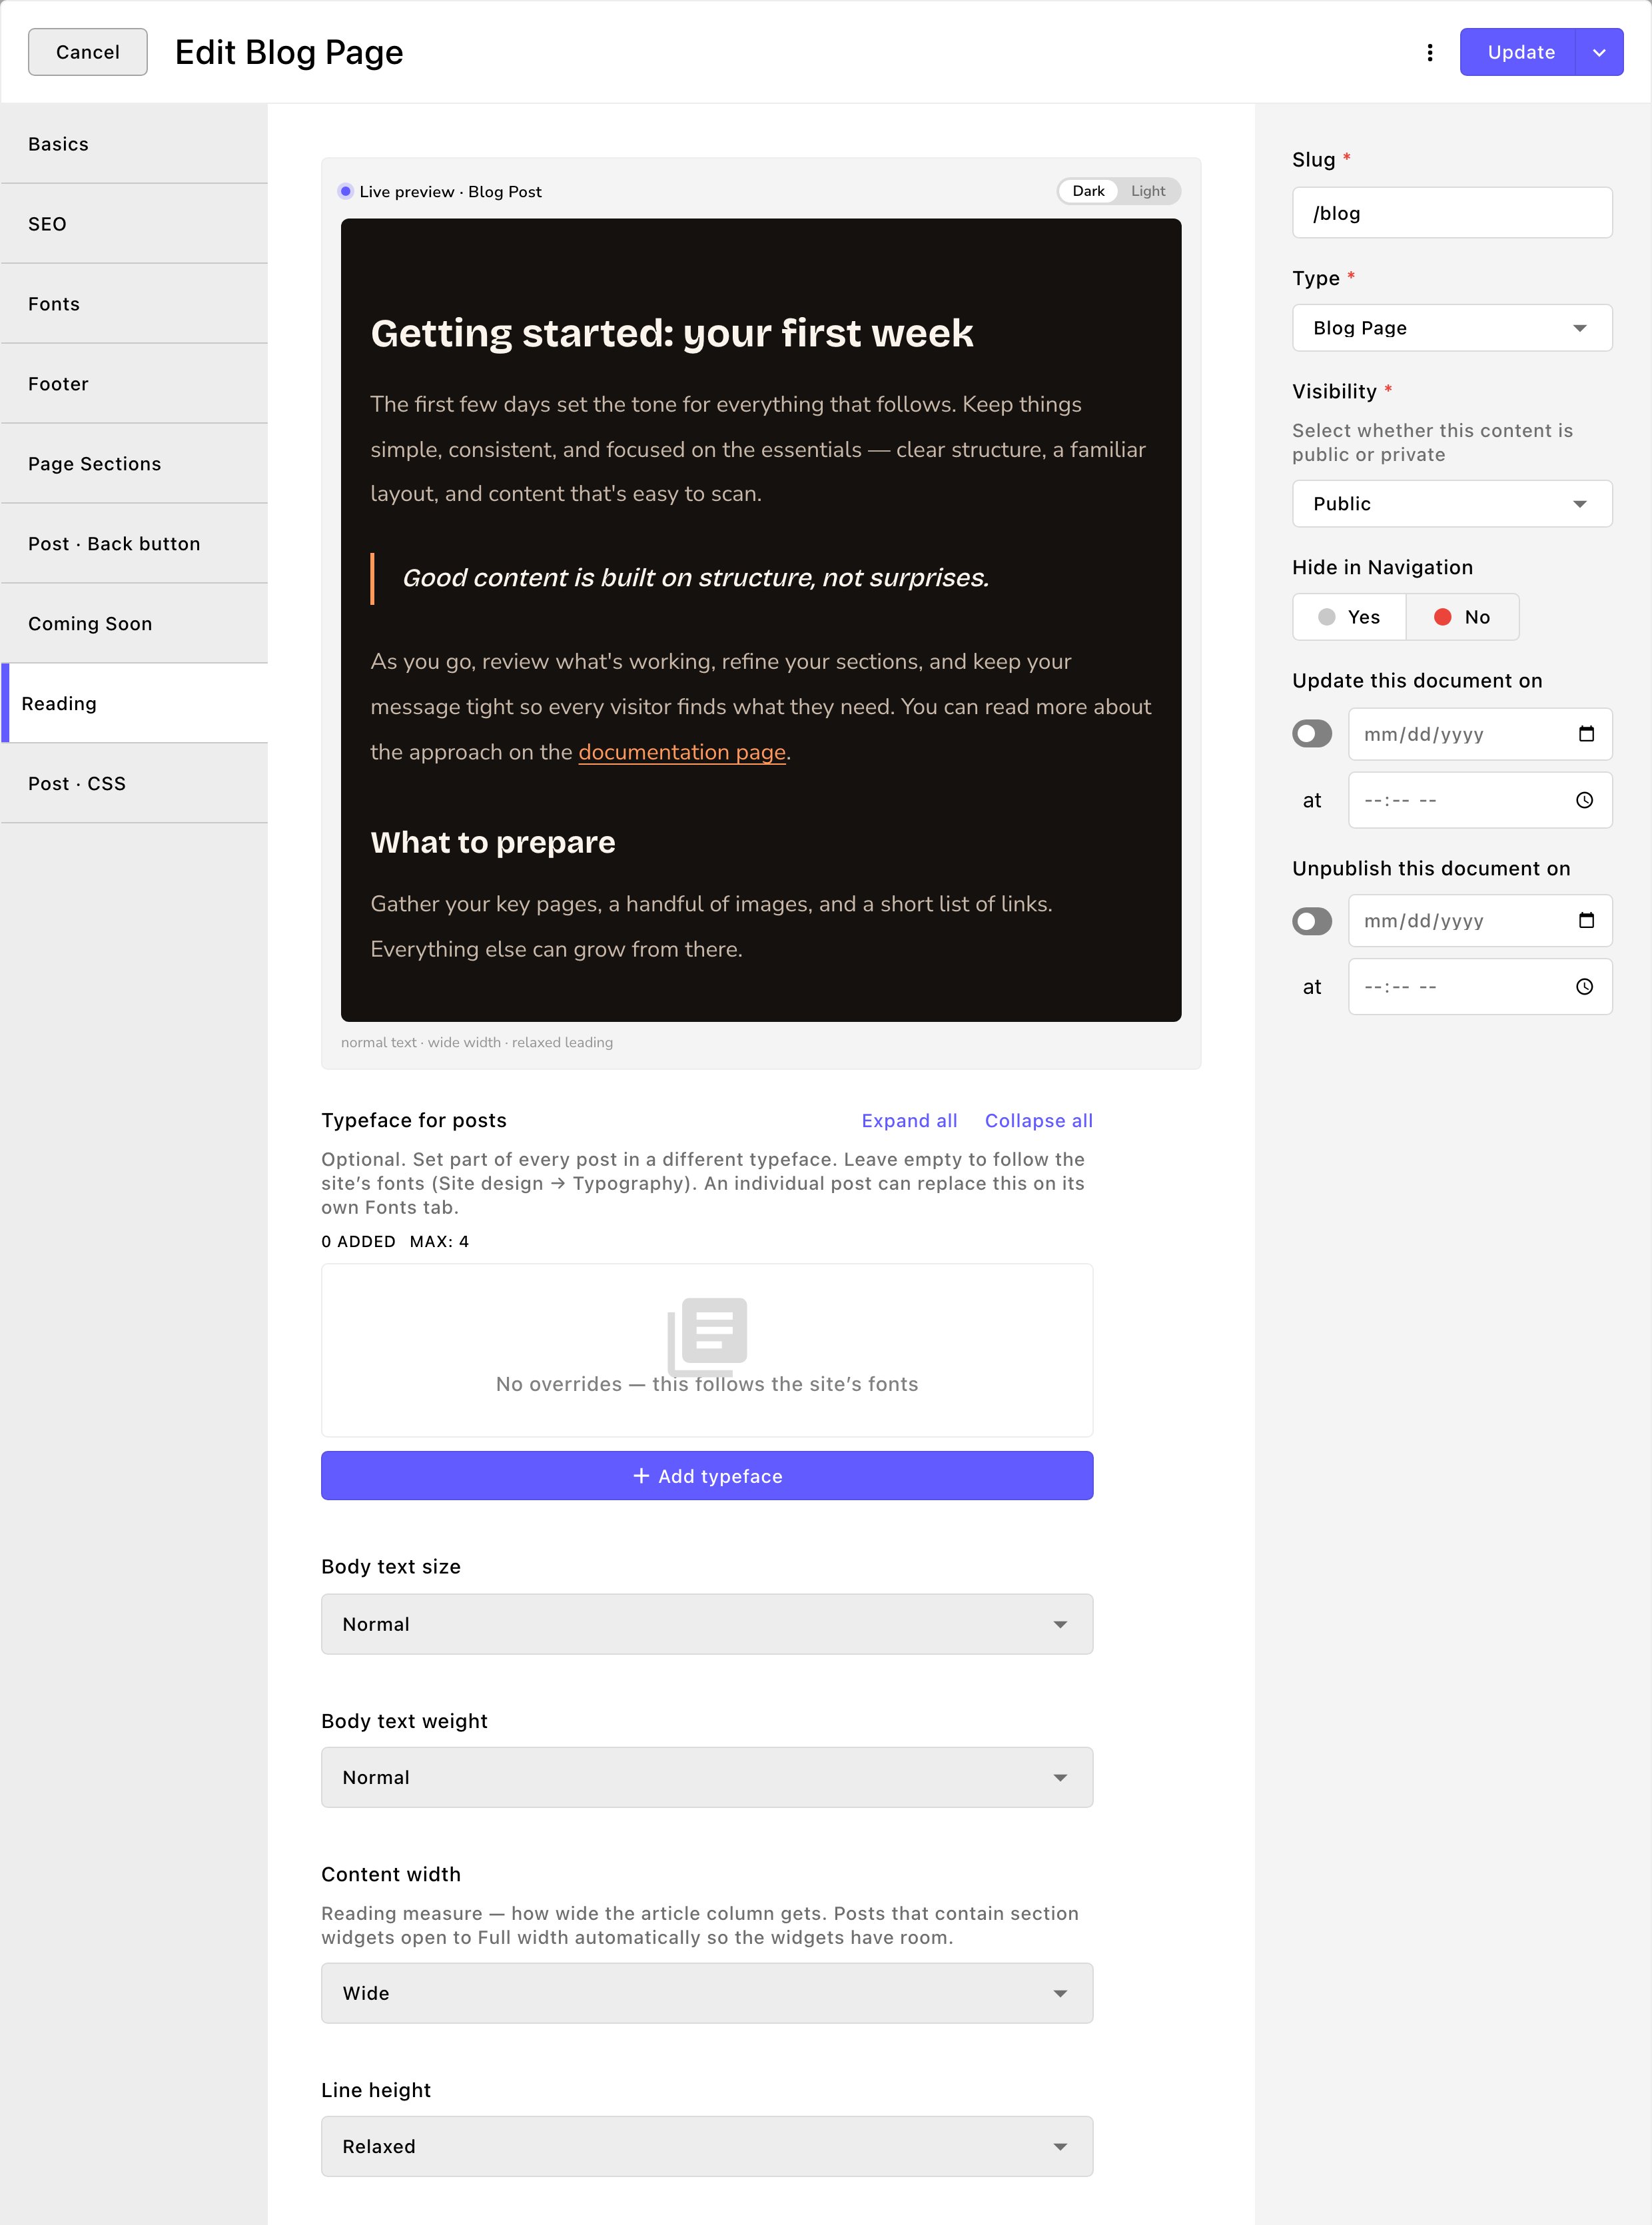
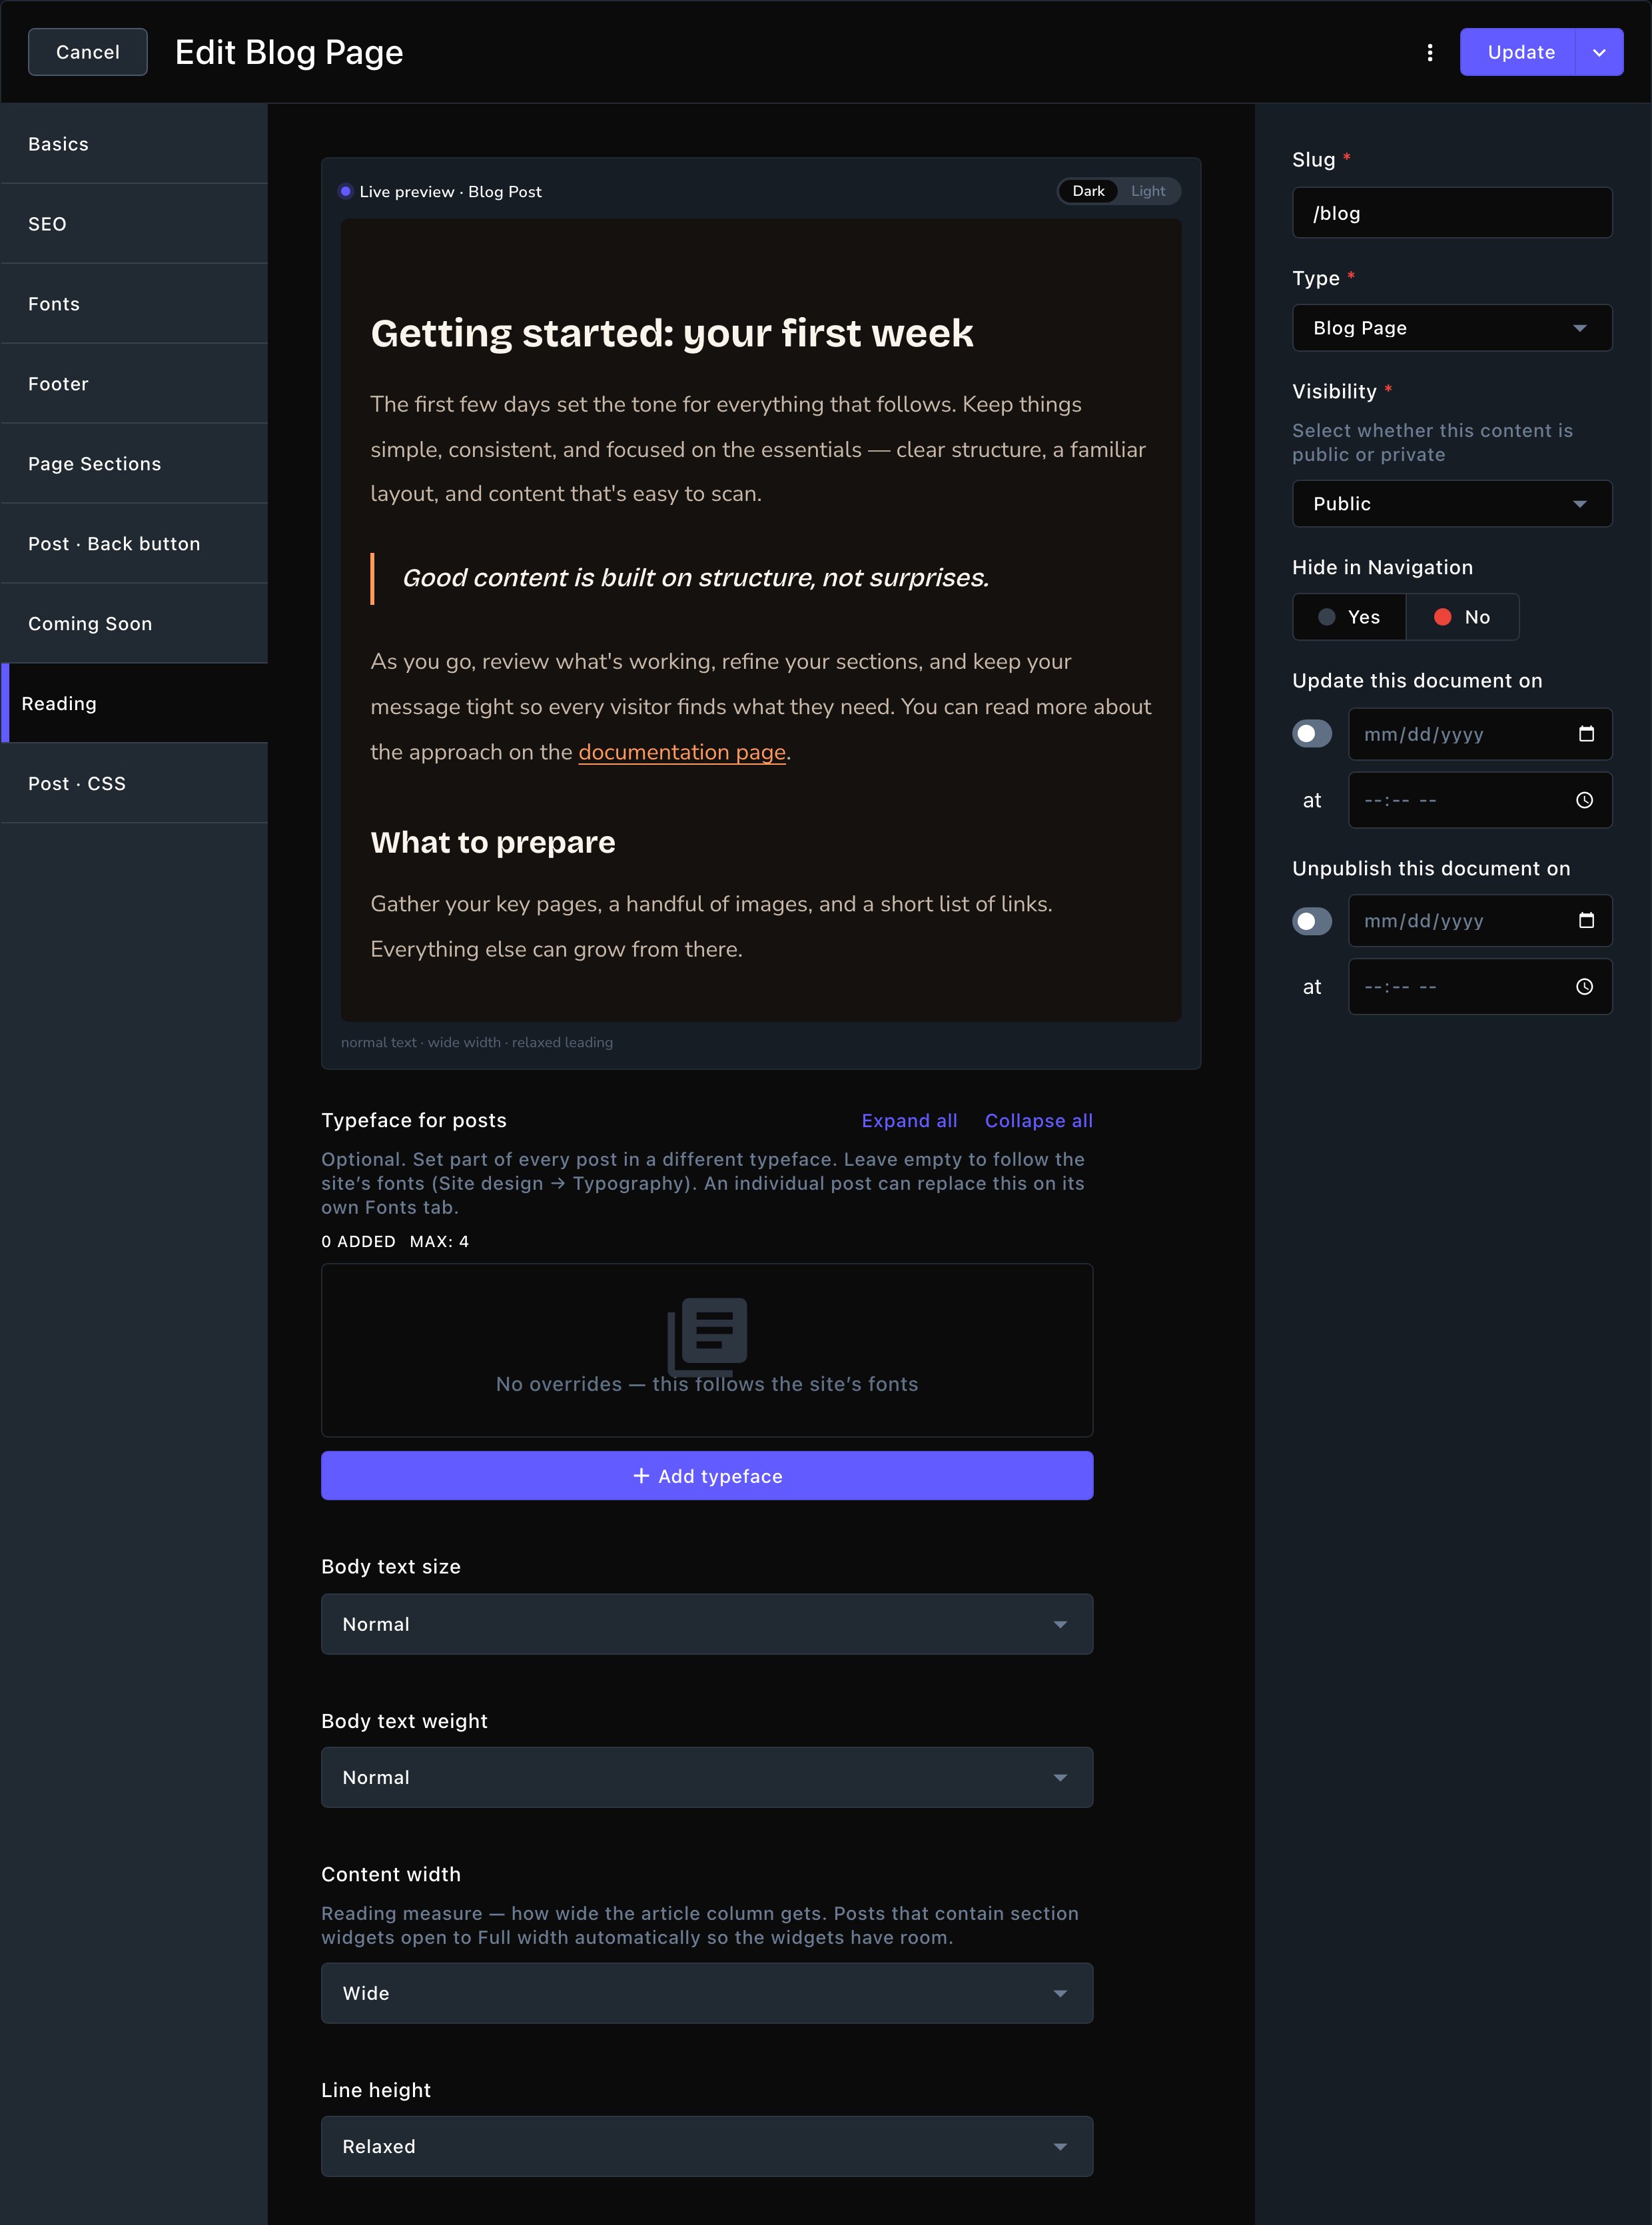
The Reading tab styles every post, with a live preview.
Import a post from Markdown
Already have a post written in Markdown, the plain-text format many writing apps and AI tools use? Import it in one step.In Blog Posts, open the ⋮ menu at the top and choose Download Template
Open the file in a plain-text editor, such as TextEdit on a Mac or Notepad on Windows
Fill in the details at the top of the file: title, category, excerpt, featured image and so on
Write the post below the second line of dashes
Back in Blog Posts, choose Import Markdown
Under Markdown / MDX file, choose Choose file… and pick your file
Under Images (optional), choose Choose image… to add up to 10 photos
Leave Publish immediately (otherwise saved as a draft) off to review the post first, or turn it on to put it live
Choose Import
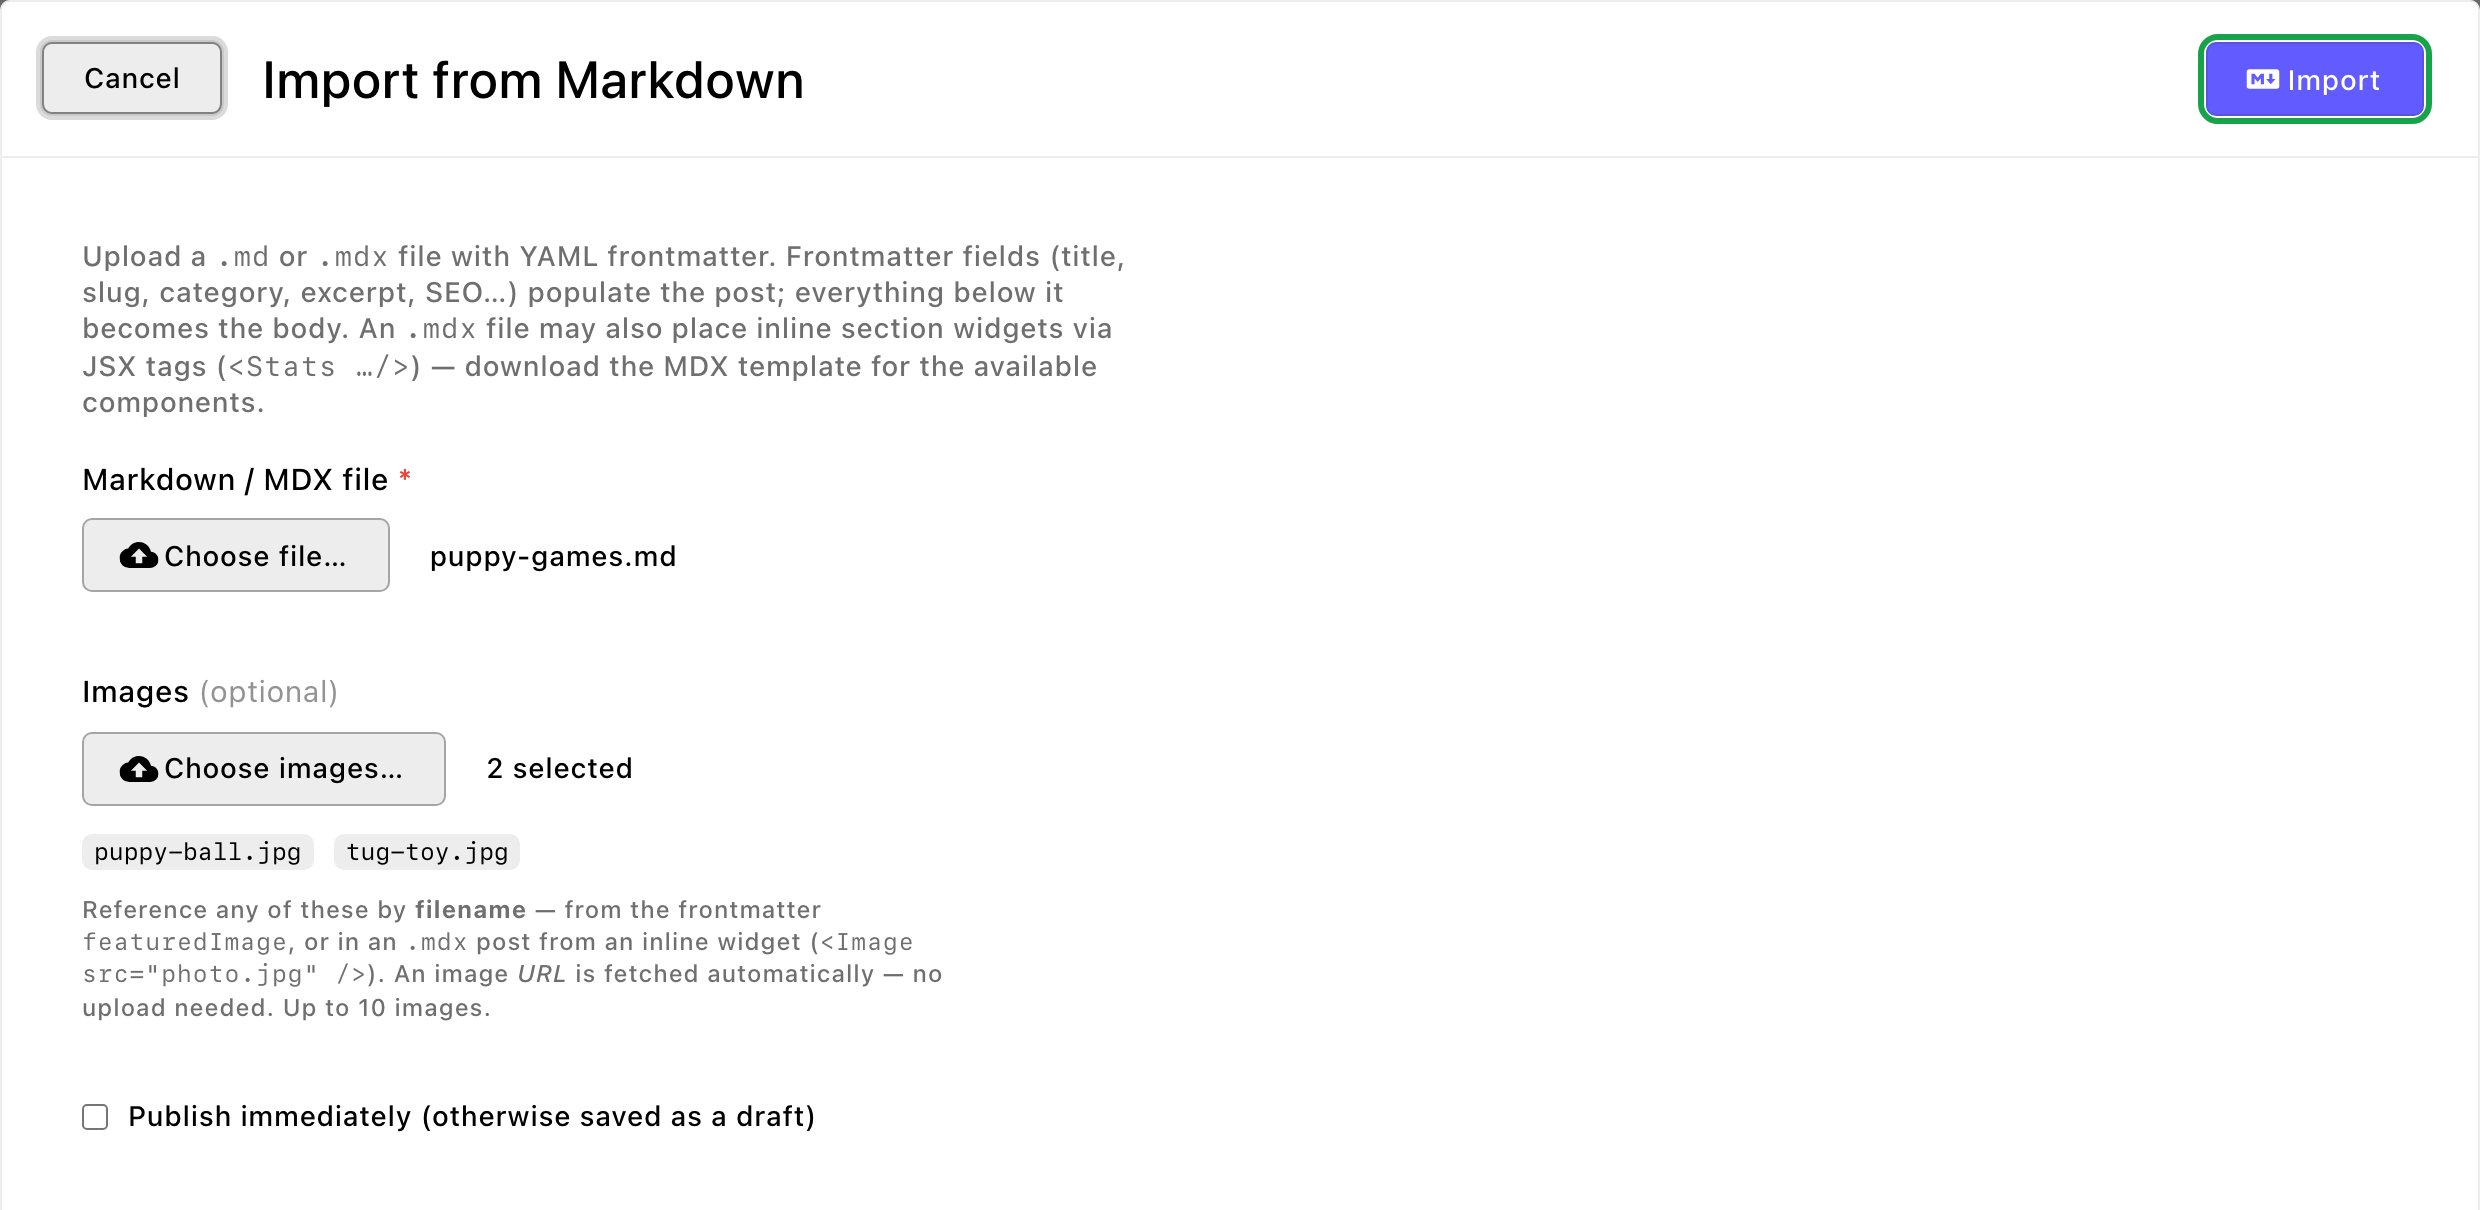
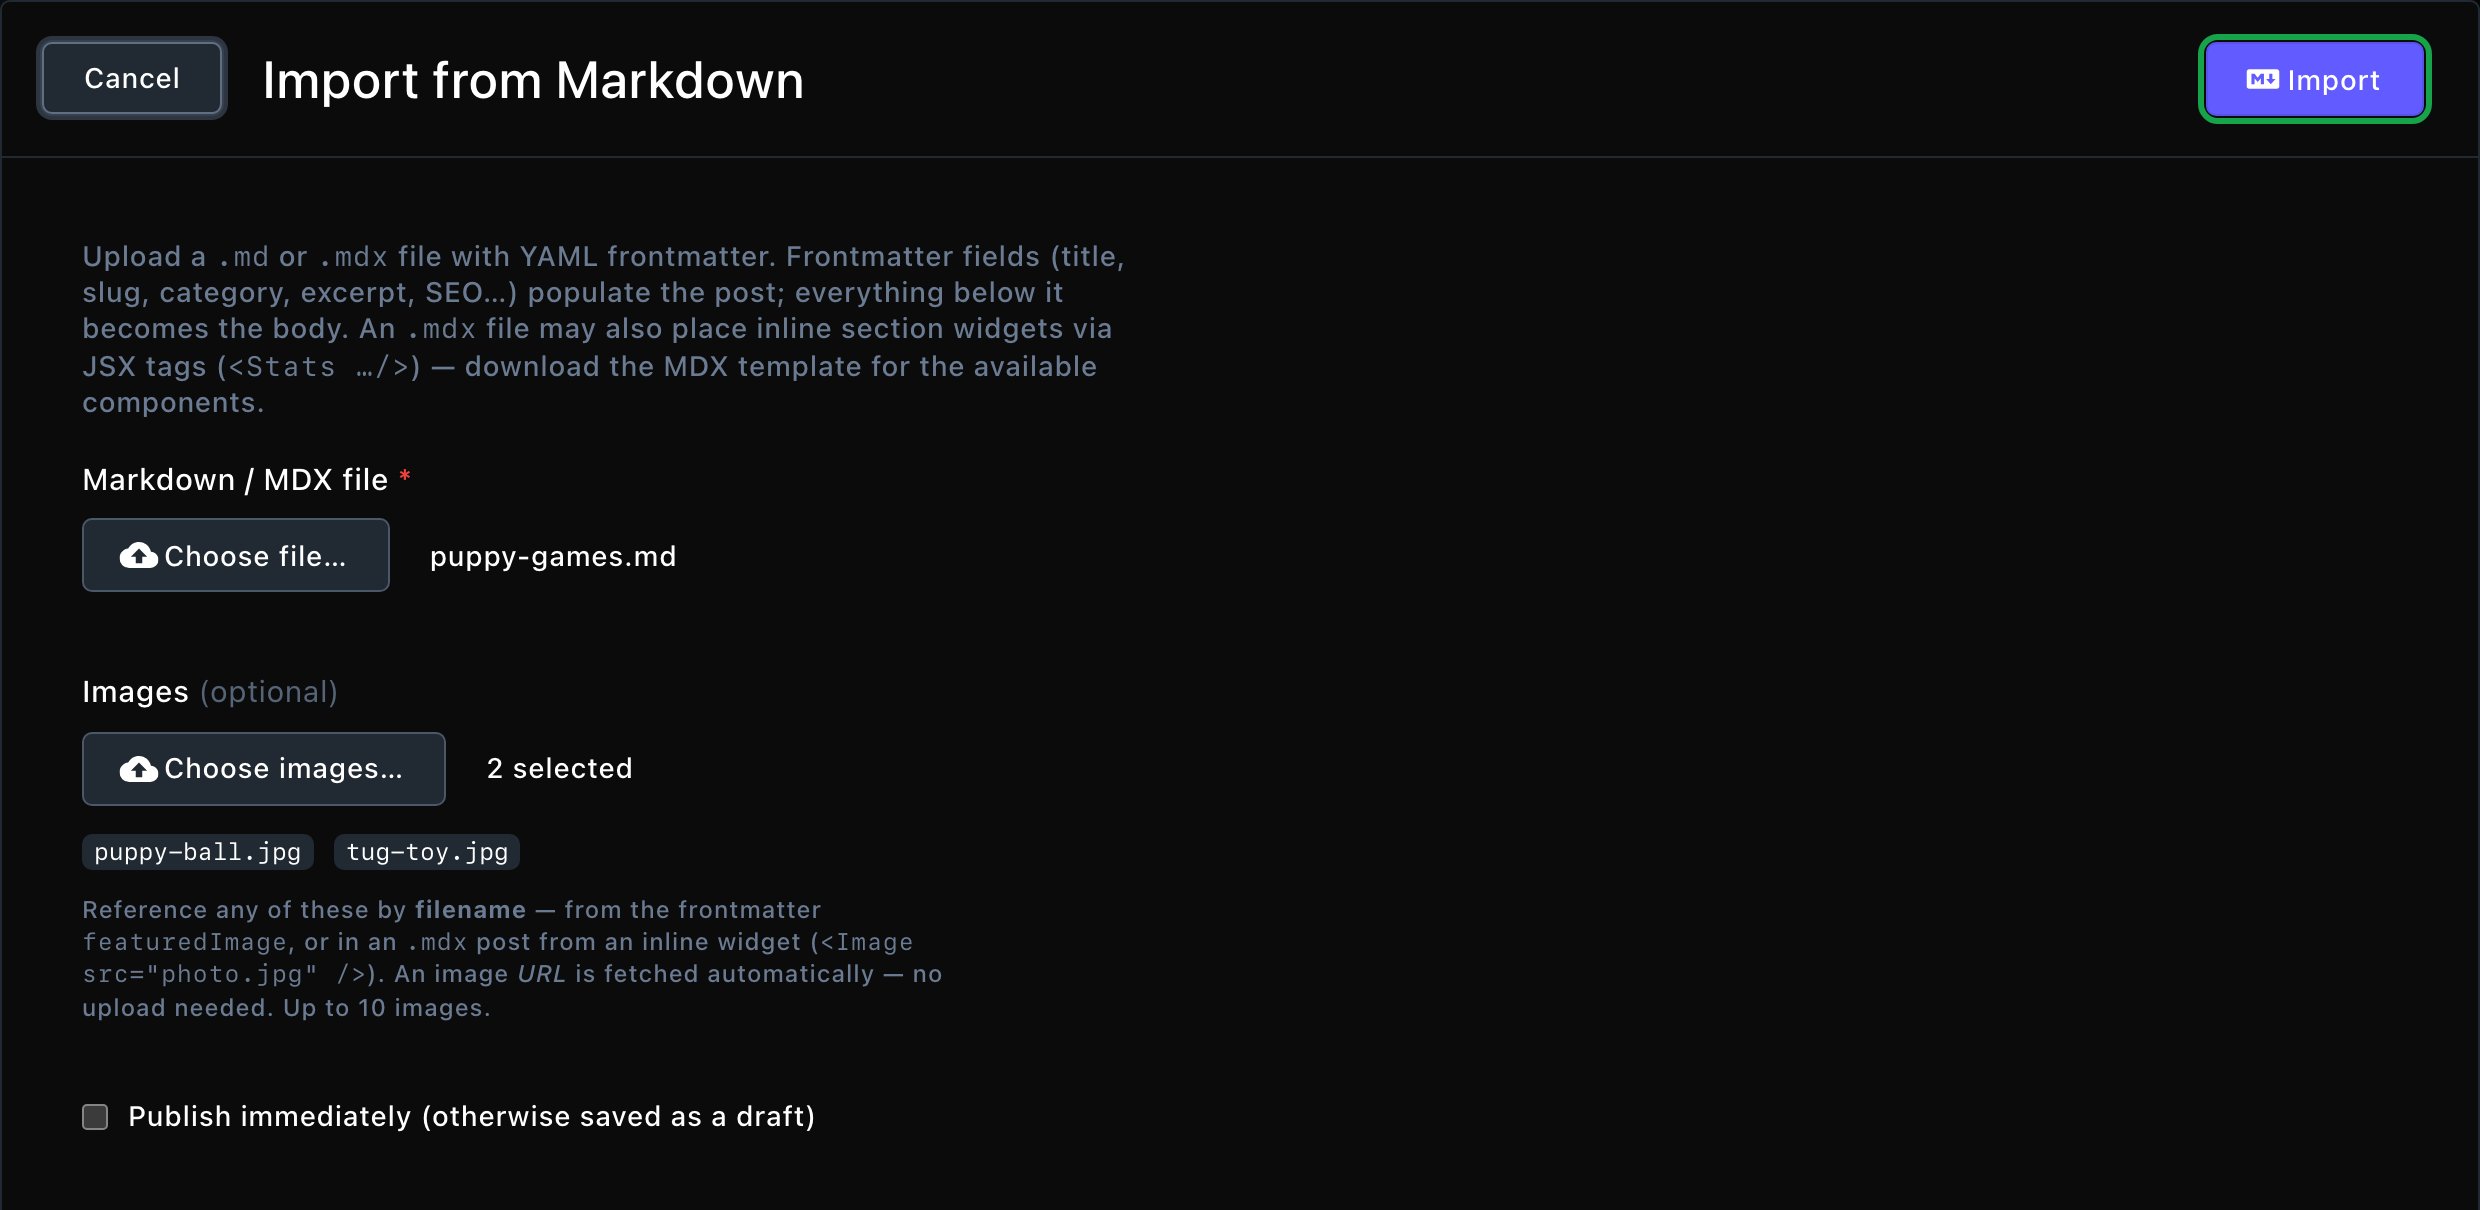
Pick your file and its photos, then import.
Place sections inside an imported post
This is optional and more advanced. MDX is Markdown with sections written into it. Your post arrives with its sections already in place, such as a Stats / By the numbers band after the first part. It’s handy when an AI tool writes the post for you: give it the template and your topic. Get the template from Download MDX Template, in the ⋮ menu at the top of Blog Posts. Its file name ends in “.mdx”. It lists every section you can use and every setting each one takes. A section in the file looks like this:- Put each section on its own lines, with a blank line before and after it.
- Use only the sections the template lists. They’re the ones a post’s Body offers, plus a photo and a divider line.
- Fill in only the settings you want to change. The rest keep their defaults.
- For a photo, write one of these:
- a web address, such as “https://example.com/yard.jpg”
- the file name of a photo you upload with the post, such as “yard.jpg”
- the title of a photo in your media library, such as “Indoor play yard”
- Video works only in sections that take a video from your Videos library: Media + Text block and Device mocks. Give a web address of an mp4 or webm file, or the title of a video in your library. This is different from the Video you add while writing, which takes a YouTube or Vimeo page address.
- Use up to 100 sections in one post.
What happens next
A published post shows on your Blog page, in Blog Preview sections, and at its own web address. Drafts stay hidden from visitors. While you edit, you also see draft posts in the list and previews, so you can check them in place.Troubleshooting
Import failed. Check the file and try again.
Import failed. Check the file and try again.
My import with sections was refused
My import with sections was refused
A post doesn't show on the Blog page
A post doesn't show on the Blog page
- Is it published? Drafts show only while you edit.
- Is its Publication Date in the future? Visitors see the post from that day on. A post scheduled to publish later shows once that time comes.
- Your Blog page shows 9 posts at a time. Look on the next page.