

 AdonisJS
Before you start
- Every new site comes with a ready-made Contact Us form. You may only need to edit it.
- Forms are built in their own window, not on the page. Placing one on a page is a separate step.
- File uploads need spam protection turned on. See File uploads below.
Create the form
Open your forms
Start a new one
Choose a starting point
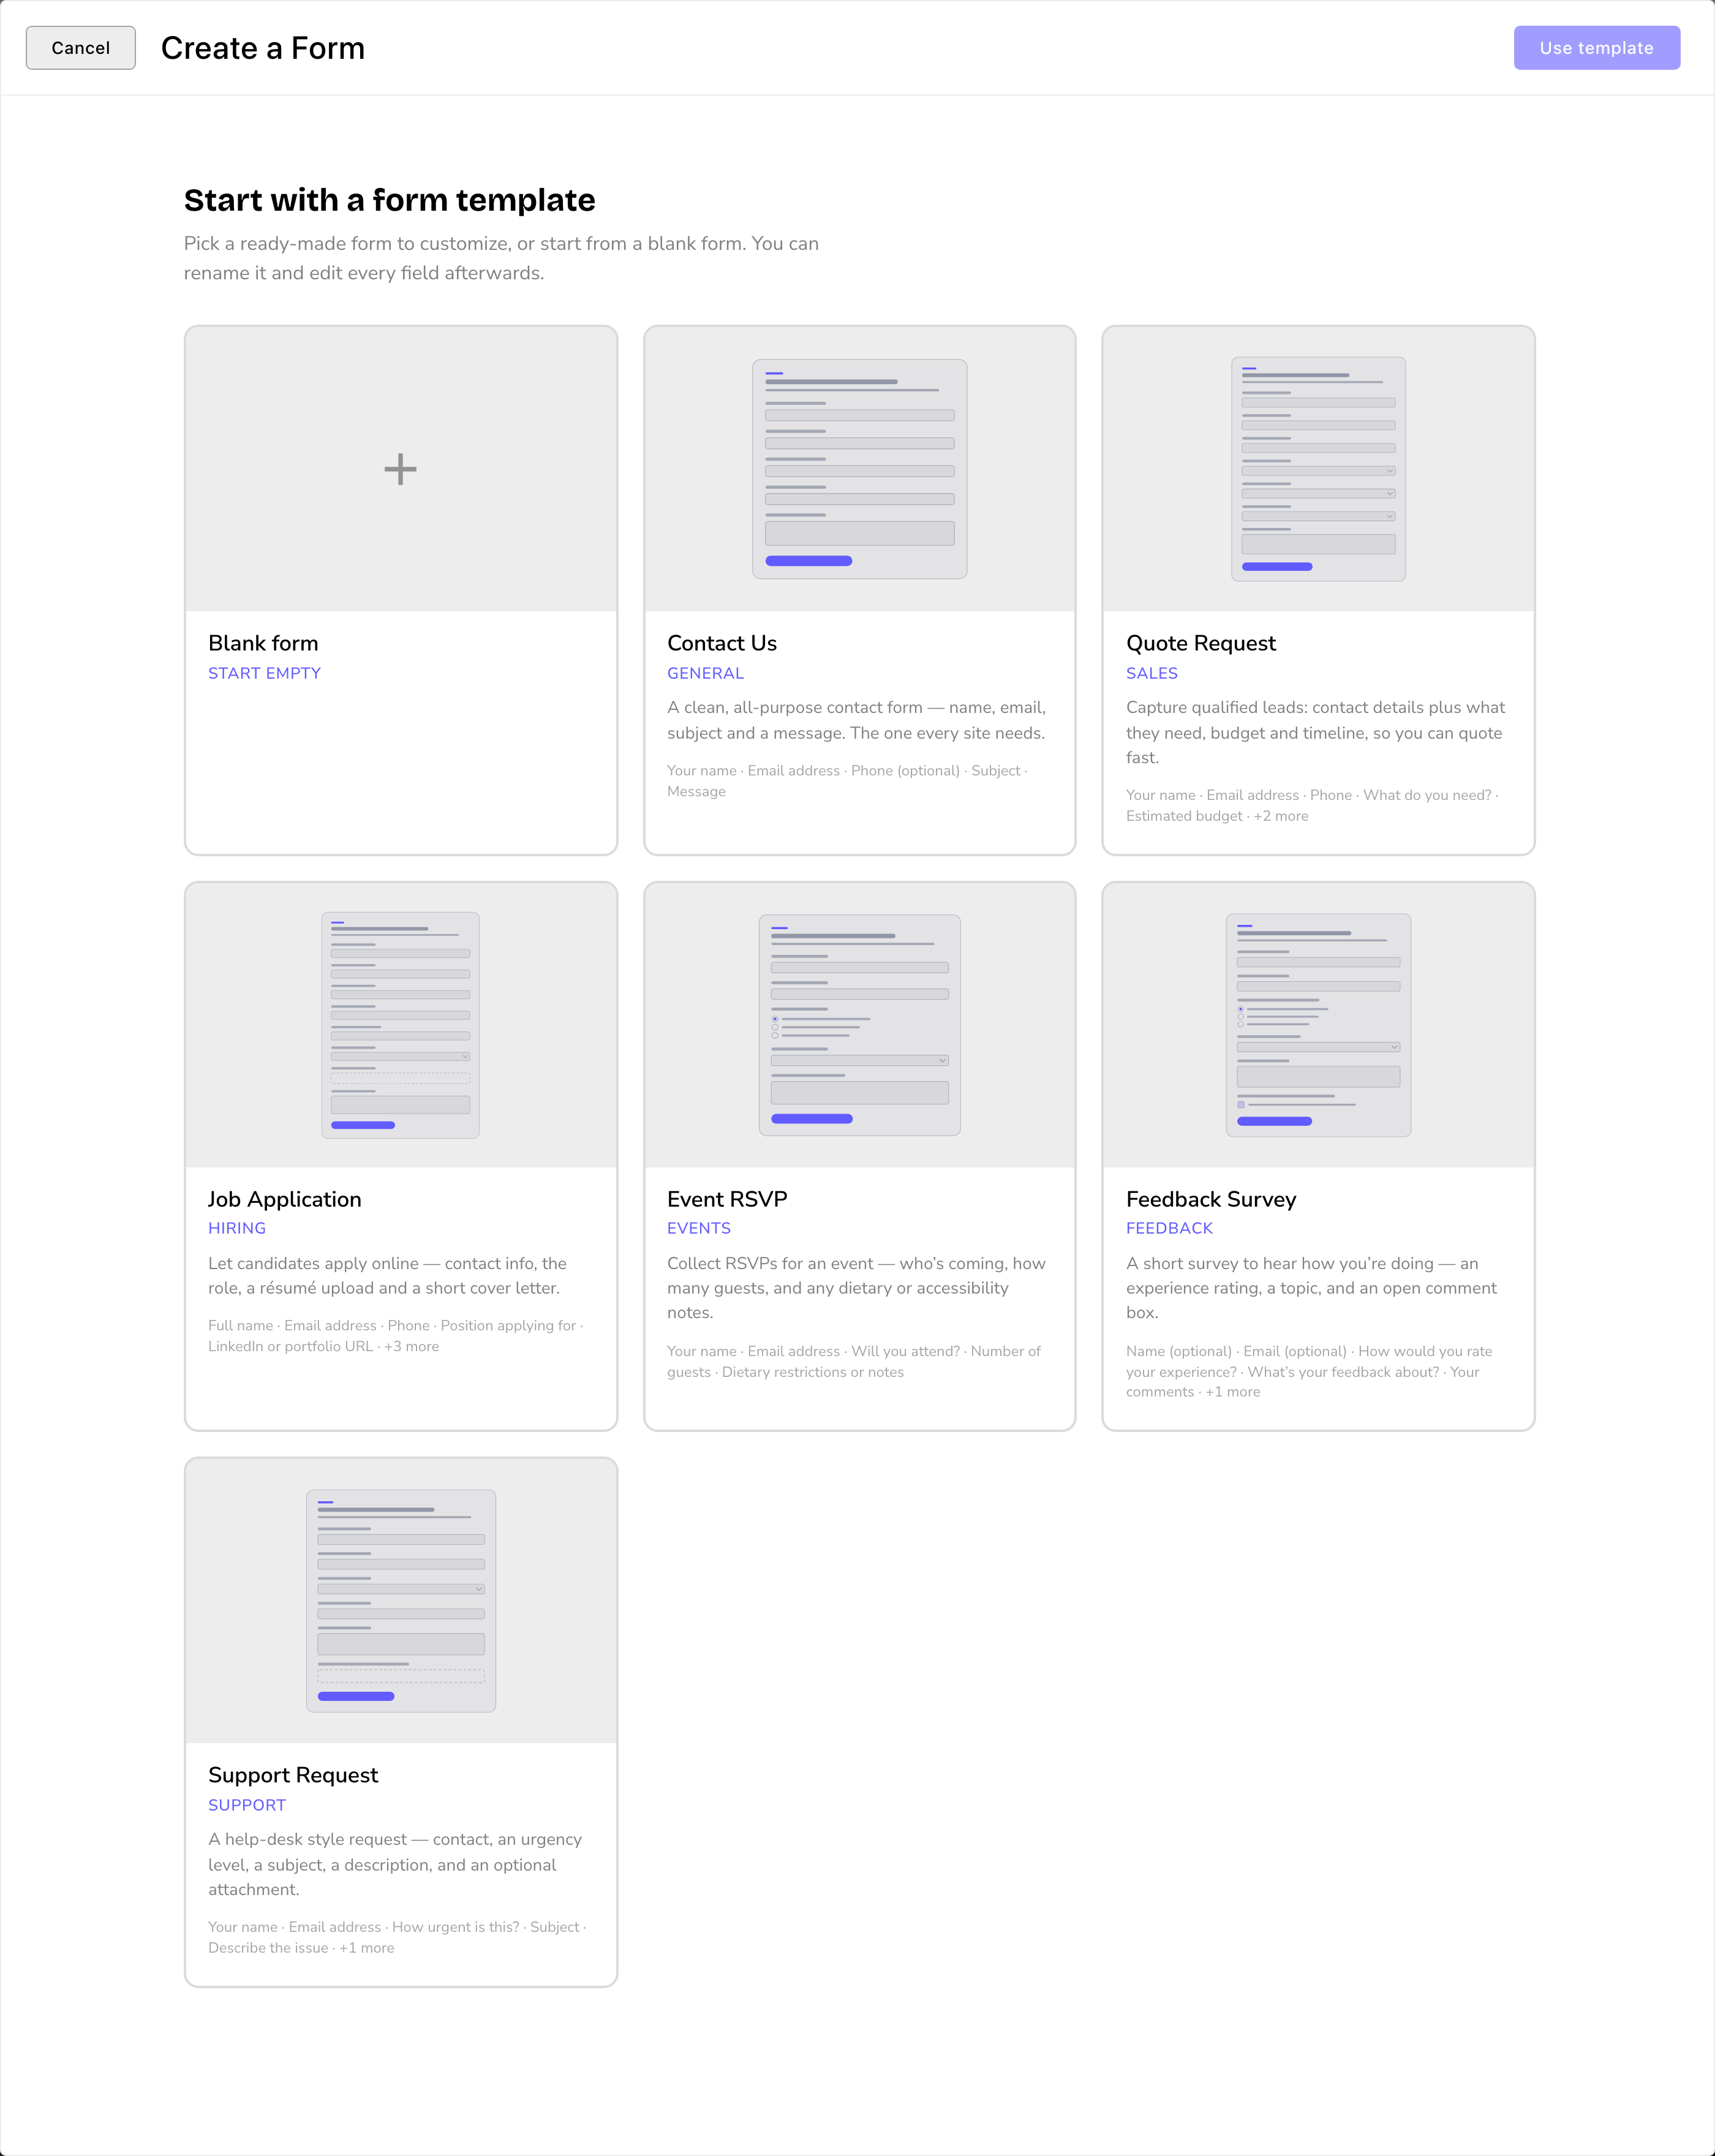
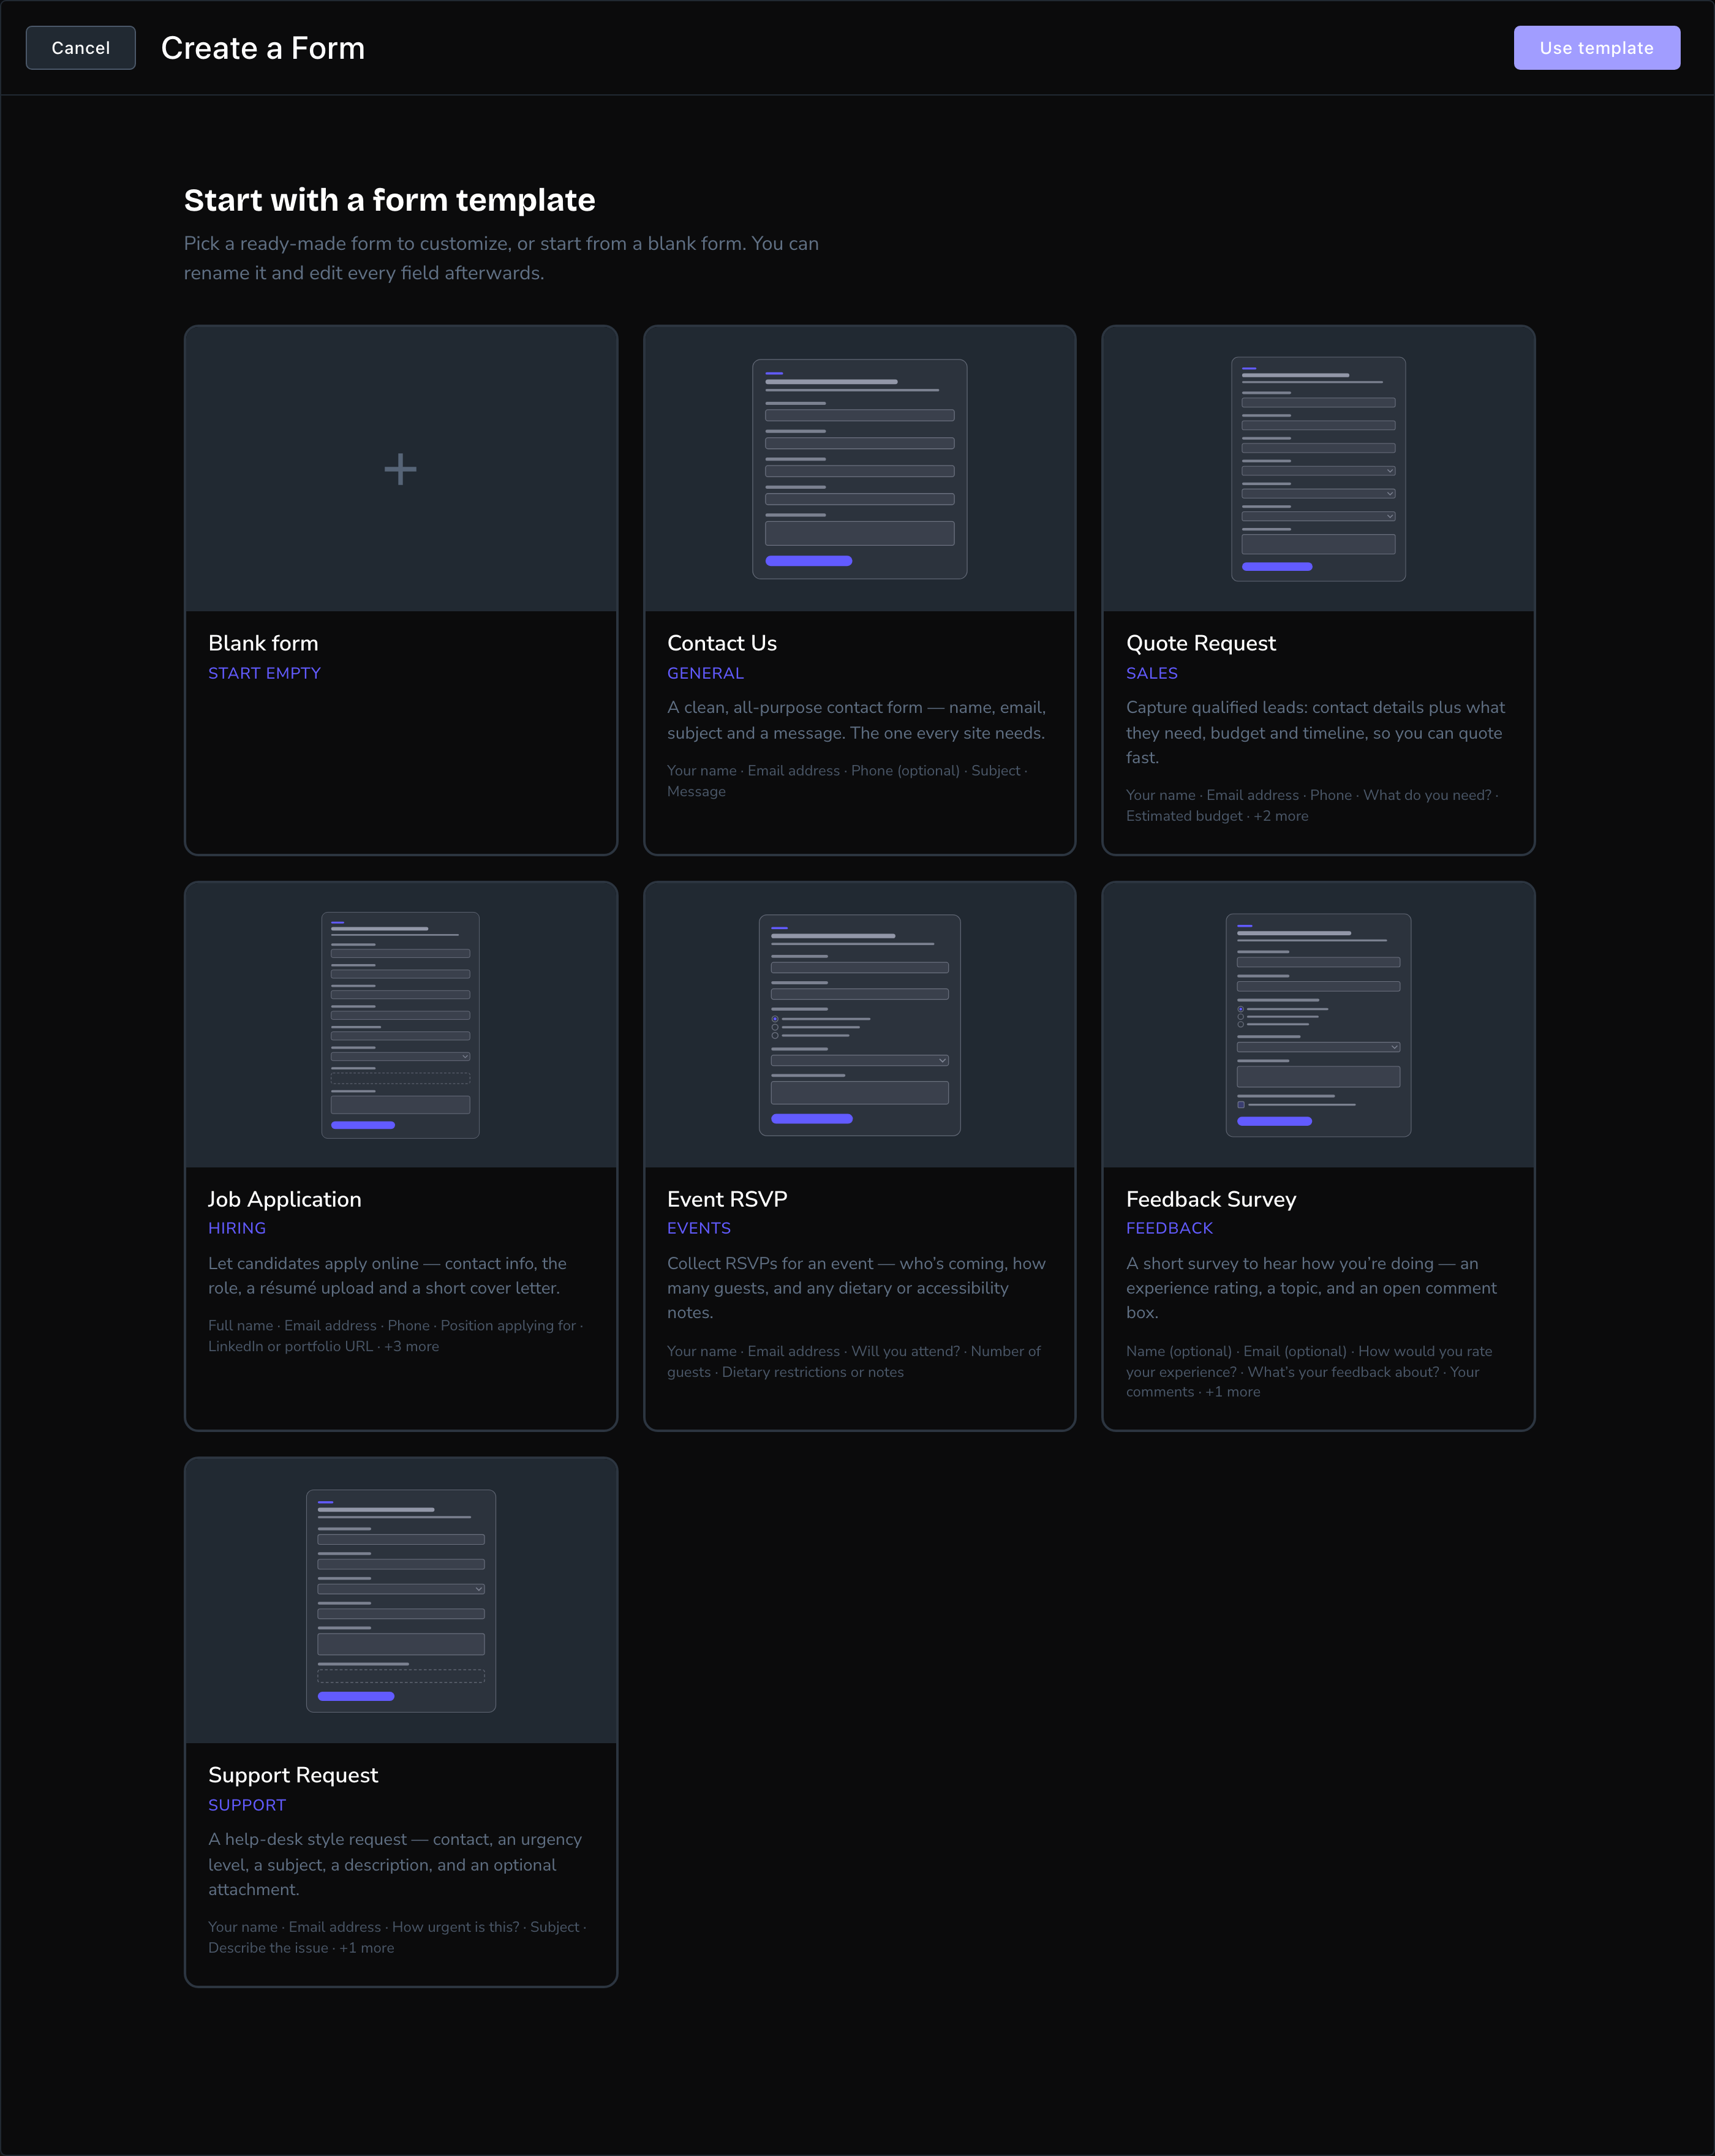
Start from a template or a blank form.
Build the fields
The form opens on its Form tab. Give it a Form name, such as “Book a trial day”, so you can find it later. Visitors don’t see this name. Below, under Form contents, is the form itself, as it will look on your site. Build it right there, the same way you build a page. You work at 2 levels here. The form window has tabs along the top: Form, After submission, Advanced and Actions. Inside the Form tab, the form’s fields sit in a section of their own, with its own editor for the heading, button and look.Add a field
Set it up
Arrange the fields
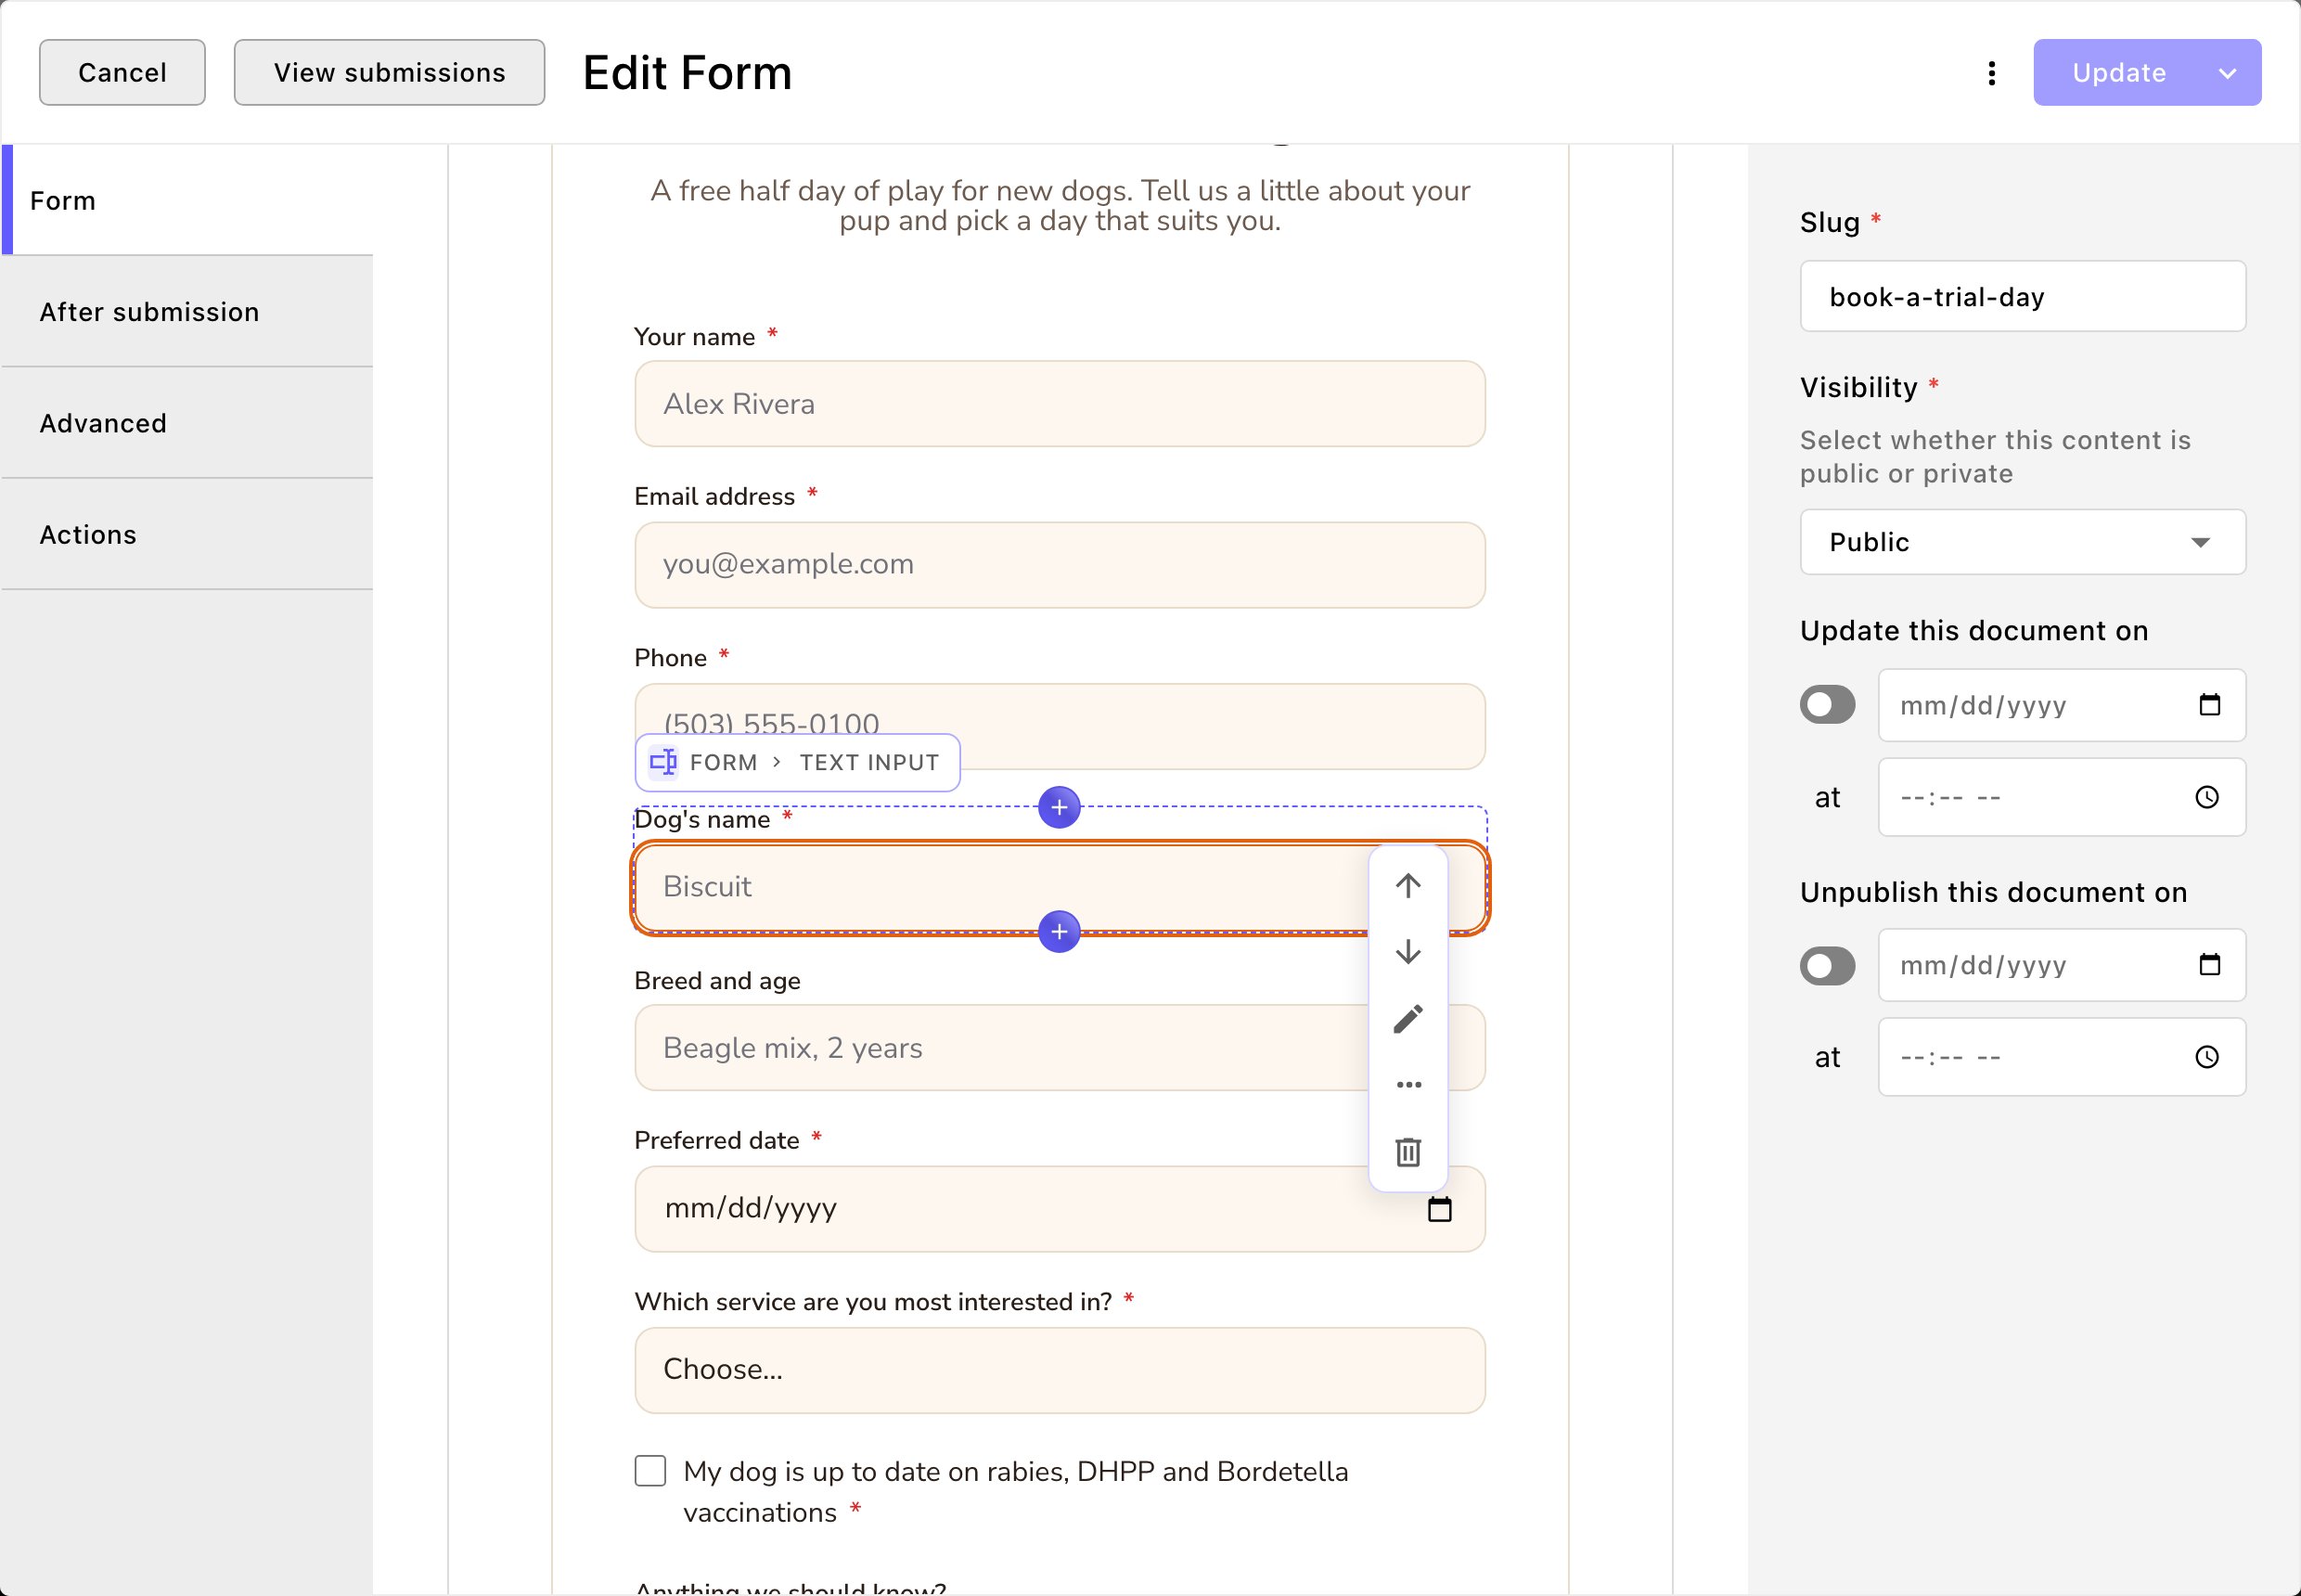
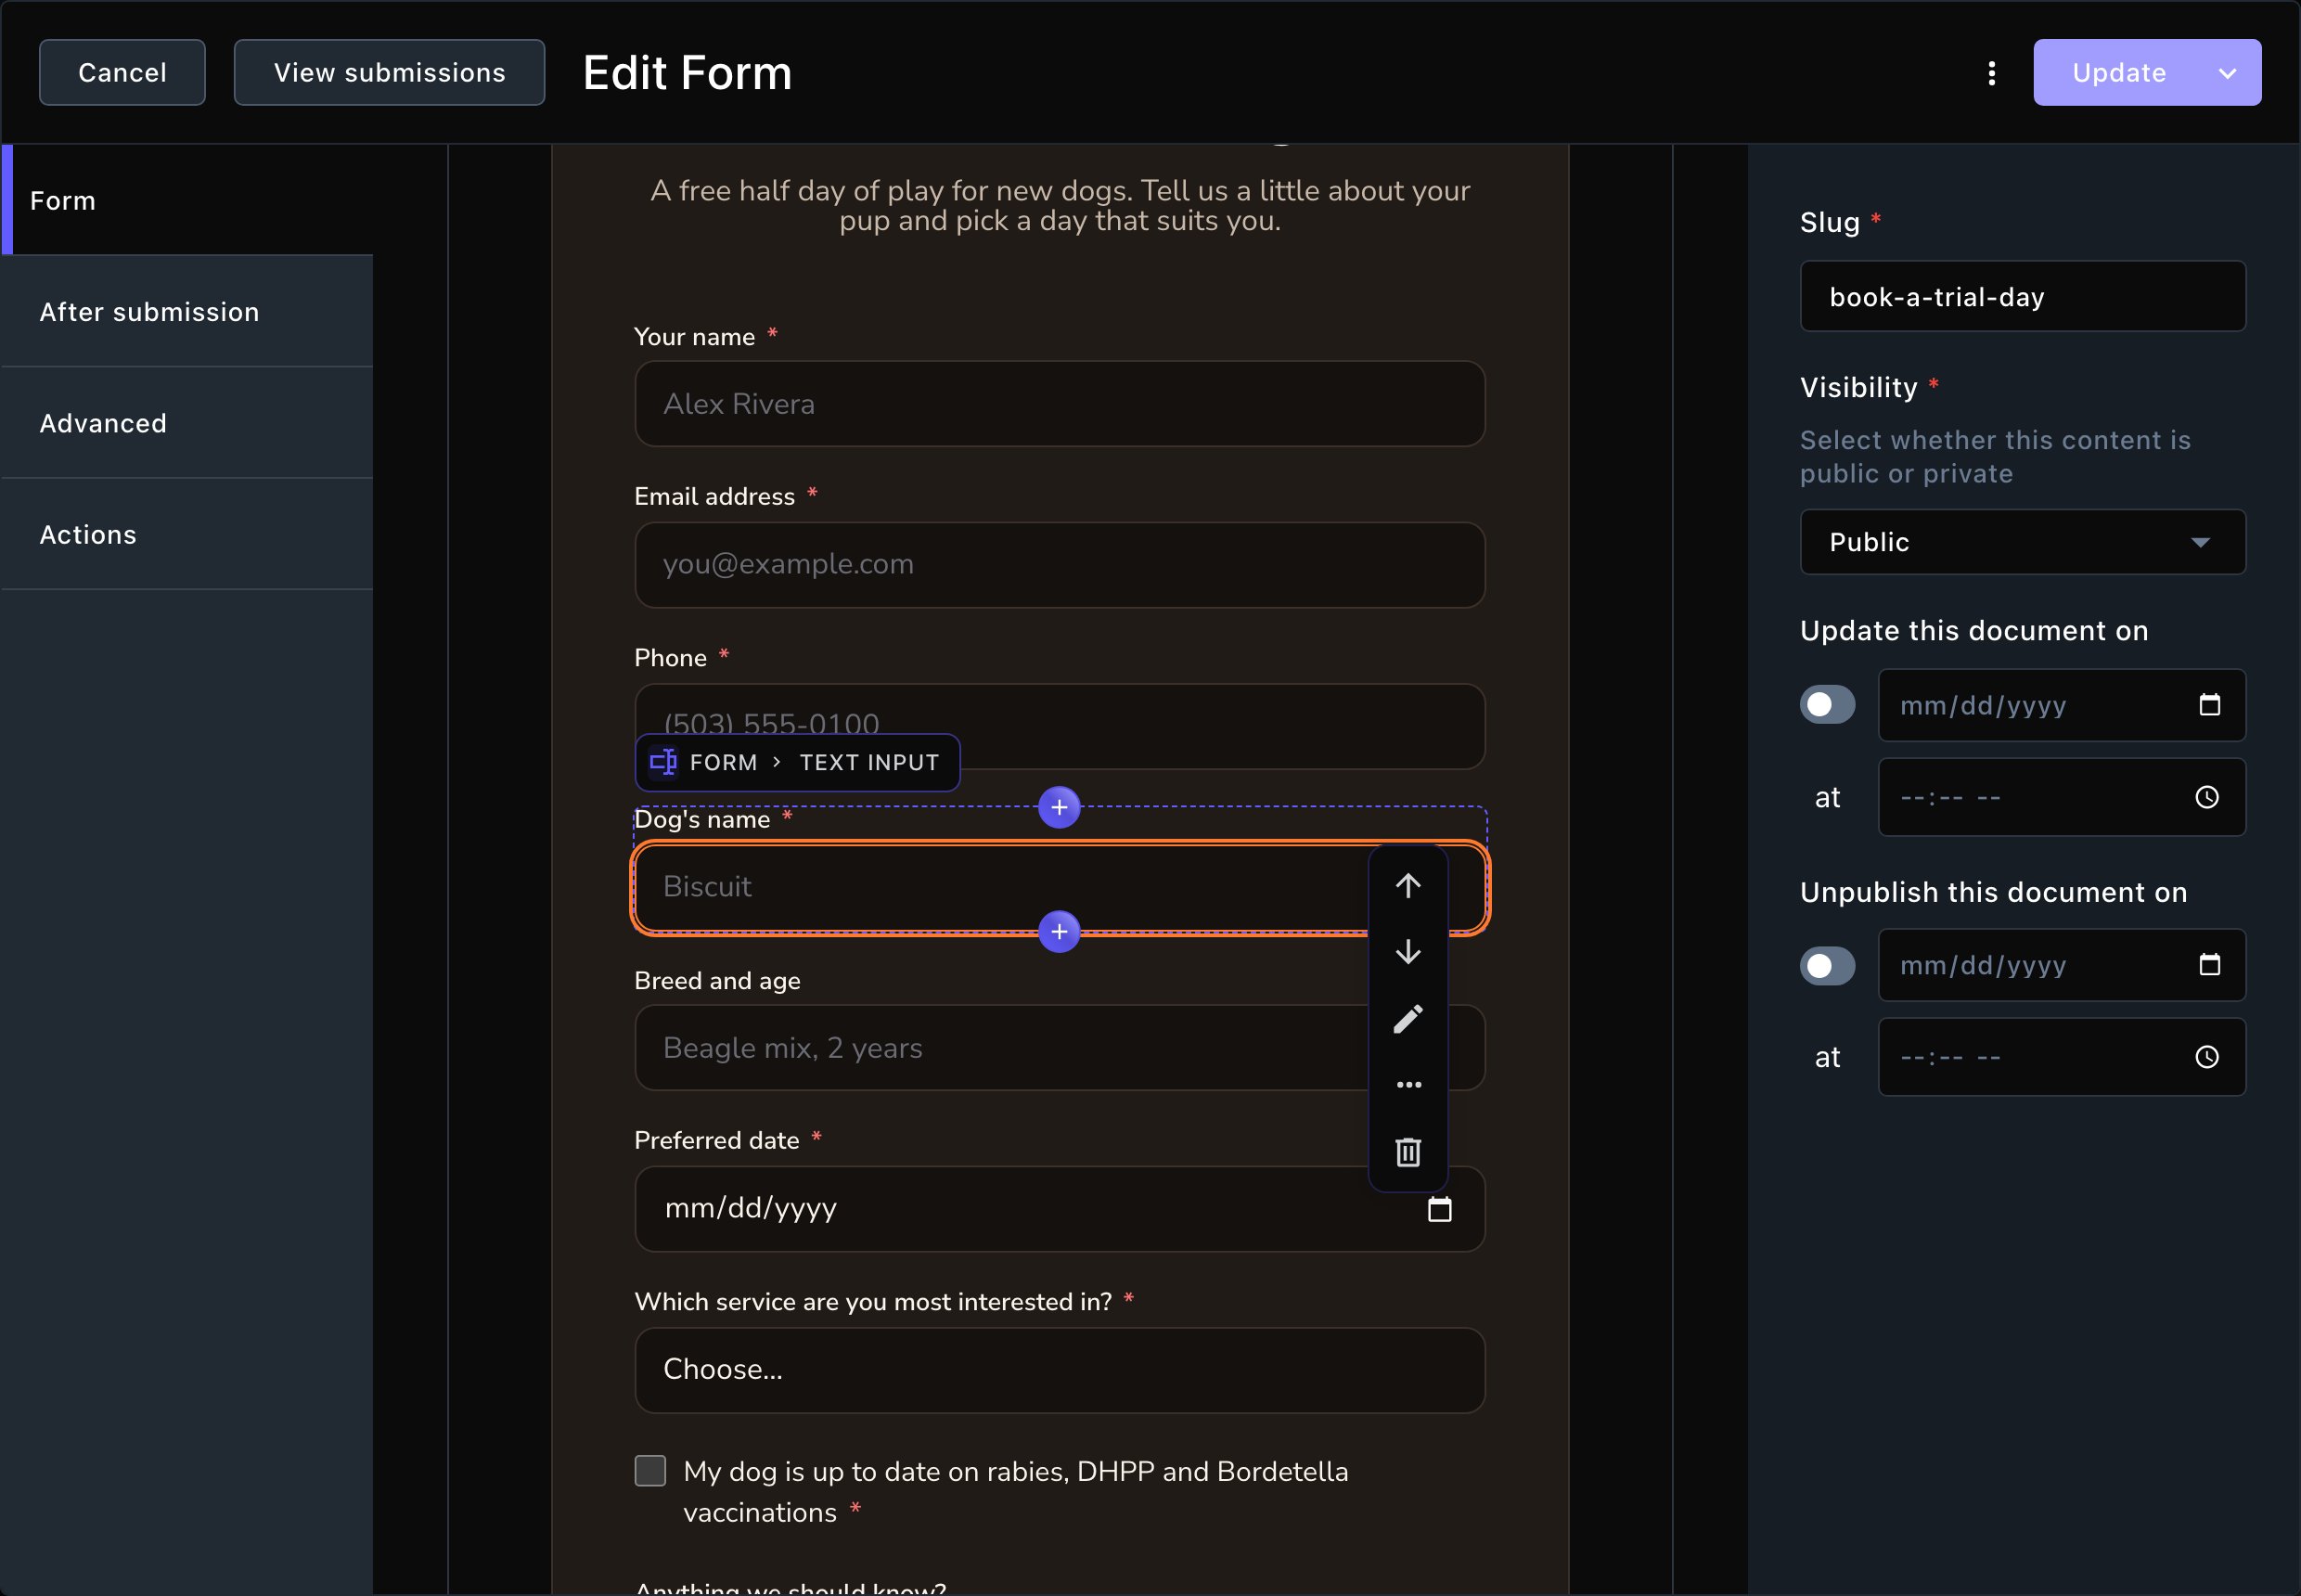
Build the form right in its window, field by field.
- Text input and Text area input: a one-line answer, or a longer message.
- Select input: a drop-down list. Visitors pick 1 choice, or several if you allow it.
- Radio input: a row of round buttons. Visitors pick exactly 1, such as “Small”, “Medium” or “Large”.
- Checkbox input: a list of tick boxes. Visitors tick as many as apply, such as “Daycare” and “Grooming”. For these 3, add each choice as its own item in the field’s editor, under its list of choices.
- Boolean/opt-in input: a single tick box, such as “Send me news and offers”.
- File attachment: lets visitors attach a file. Needs Form uploads turned on.
- Conditional field group: fields that only appear after a certain answer. For example, add a Radio input “Is this your dog’s first visit?” with the choices “Yes” and “No”. Then add a Conditional field group set to that question and the answer “Yes”, and put a Text area input “Tell us about your dog” inside it. Visitors see that box only when they choose “Yes”.
- Group and Divider: organize a long form into parts.
- Rich Text: a line of text between fields, such as a note about privacy.
Style the form
Set the form’s heading, button and look. On the Form tab, select the form section itself (the outer box around the fields) and choose Edit. The section editor opens, with these tabs:- Header: the eyebrow, Heading (it starts as “Send us a message”) and Intro above the fields.
- Band style sets the look: Plain, Raised (card) or Accent (solid band).
- You can also set Header alignment, Content width and Label spacing.
- Background: the section’s background, as on any section.
- Button: the submit button’s text and look. It starts as “Submit”.
- Submissions: leave Submissions go to empty. The form already saves its own submissions.
- CSS: custom styling. Only Admins and Owners see it.
Decide what happens after a visitor sends it
In the form window (not the section editor), open the After submission tab at the top.- Thank you message title and Thank you message content: what visitors see once the form is sent. With no title, they see “Thank you!”.
- Send a confirmation email: emails visitors to confirm their submission arrived.
- Email Address(es) for Results: who gets each submission by email.
- Primary internal email address: where a visitor’s reply to their confirmation email goes. A new form starts with the email from Site settings → Brand. Every email itself is sent from the From address in Connections. See Email notifications.
Publish the form
A new form is a draft. Choose Publish to make it live. Contributors choose Submit instead, for an Editor to publish. Visitors can’t see or send a form until it’s published.Put the form on a page
Open the page, choose Edit in the edit bar, and choose a + (Add Content) where the form should go
In the Conversion group, choose Form
Edit the new section
Publish the page with Update
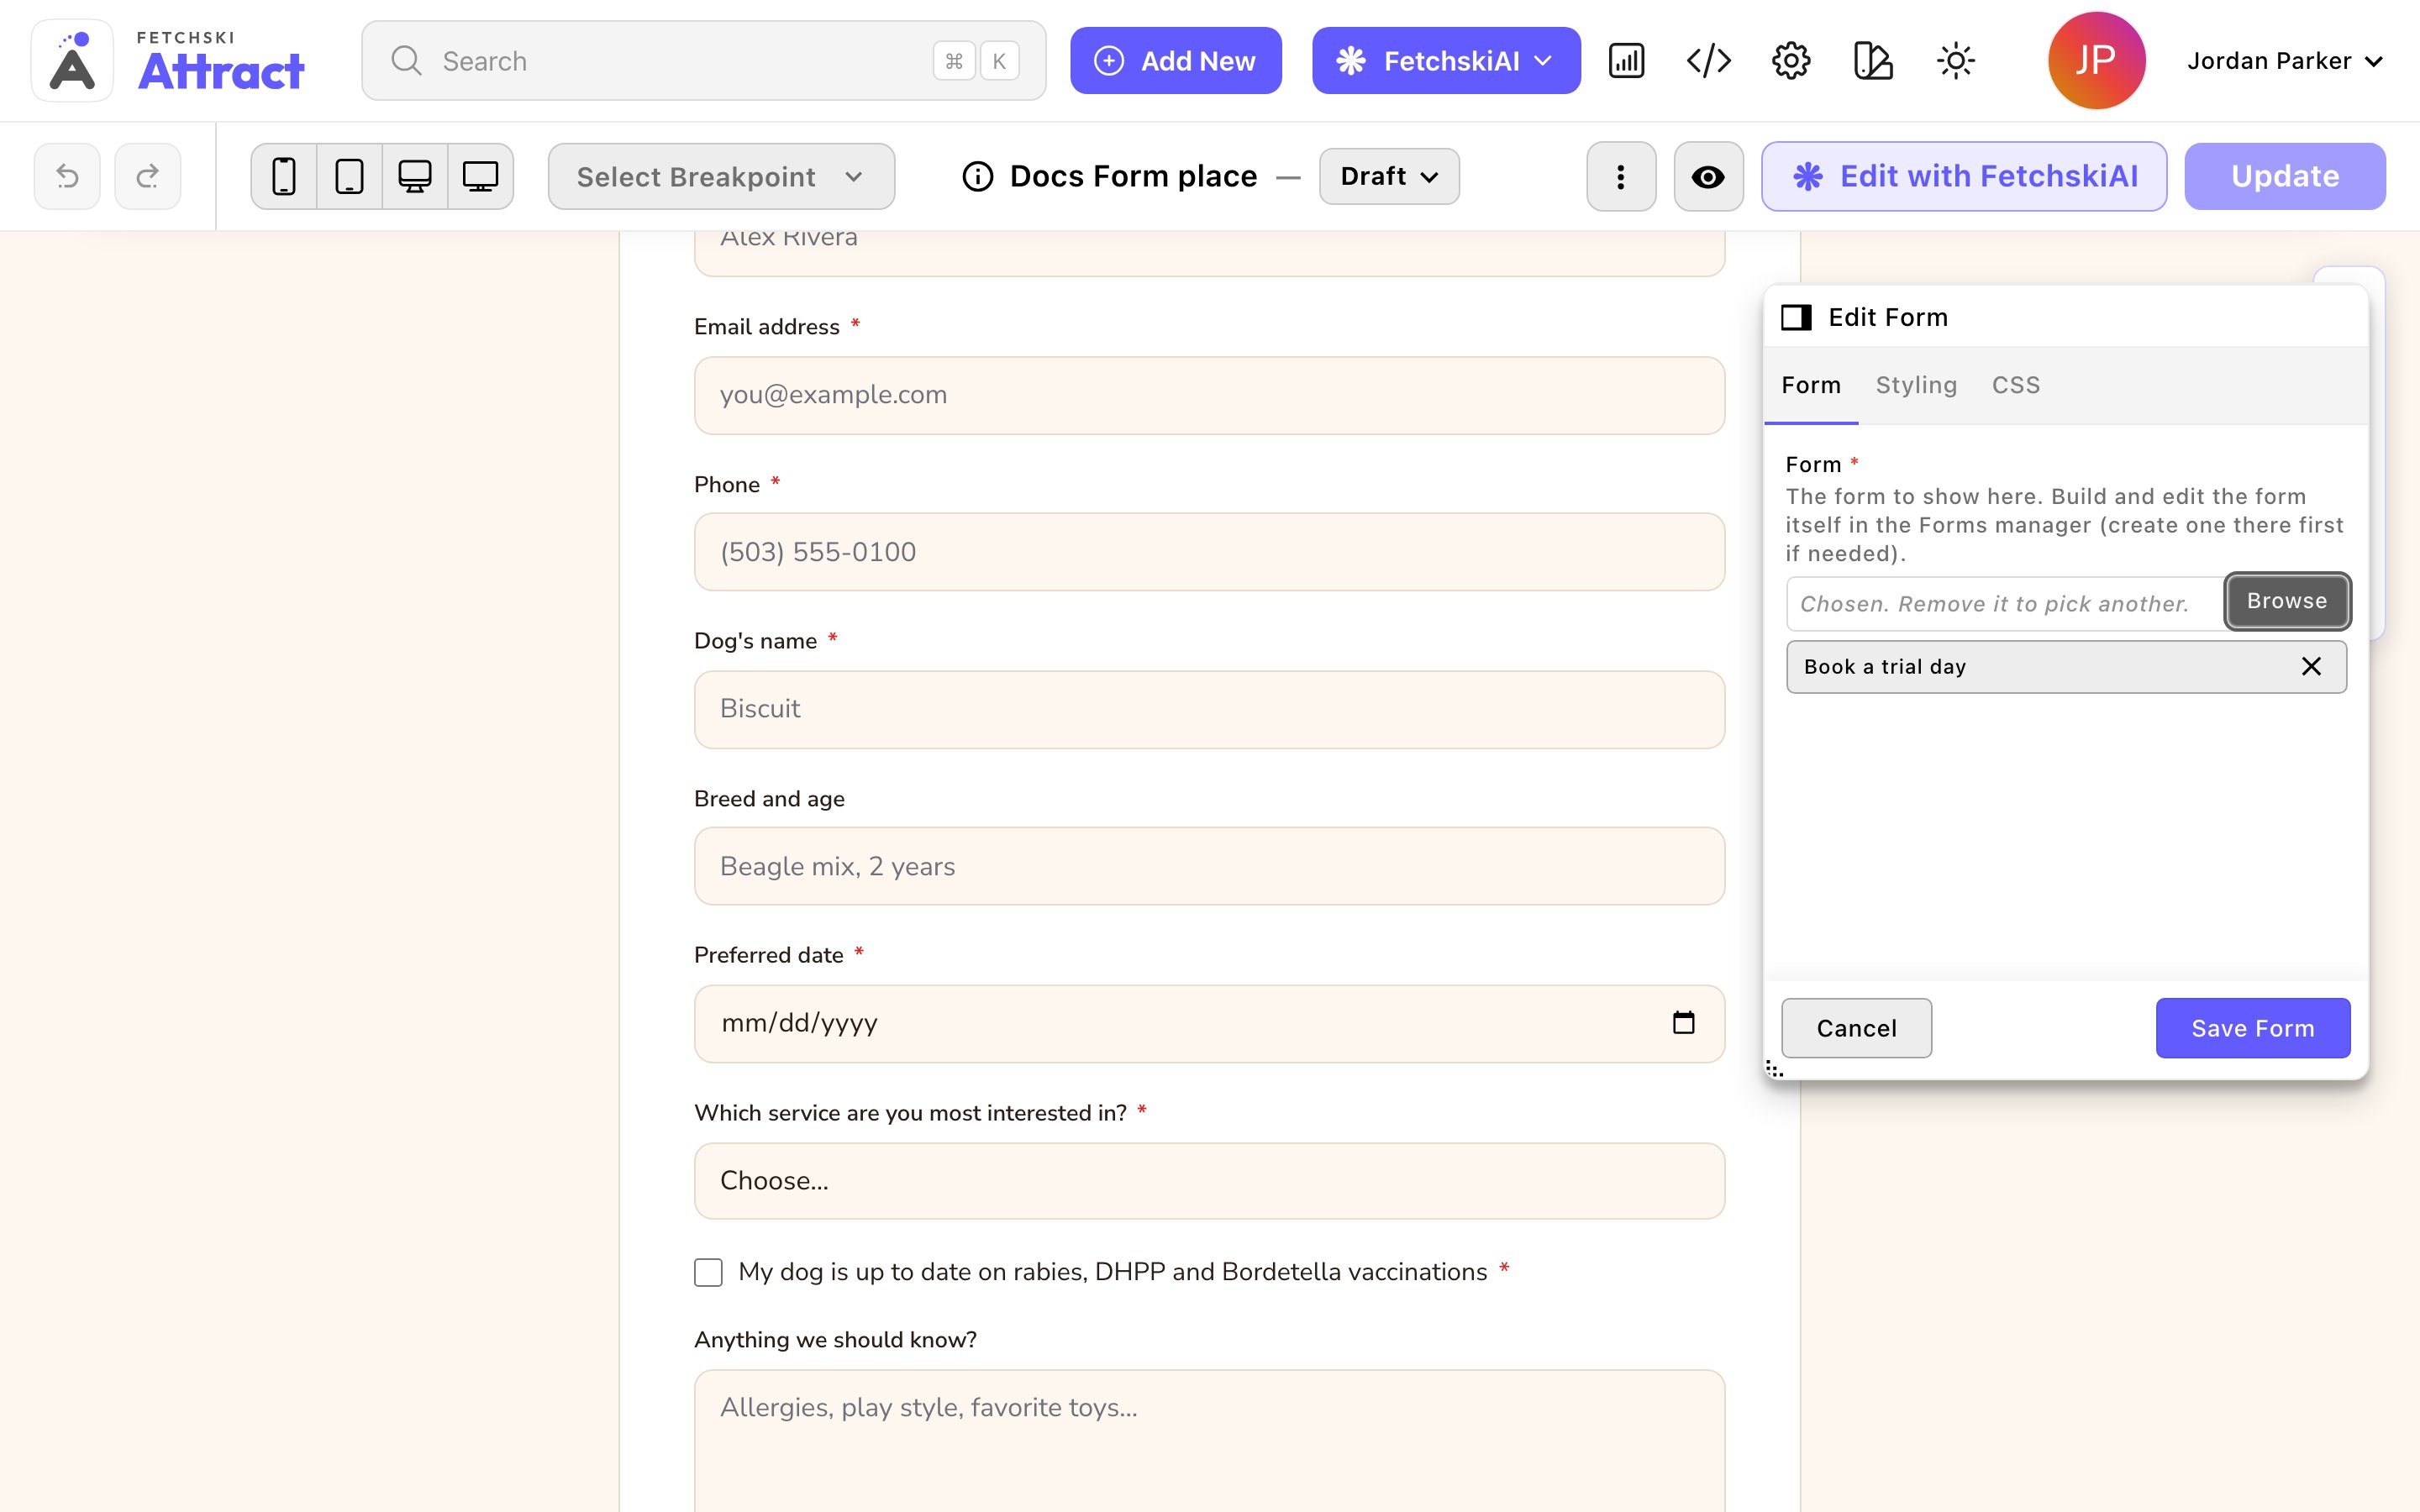
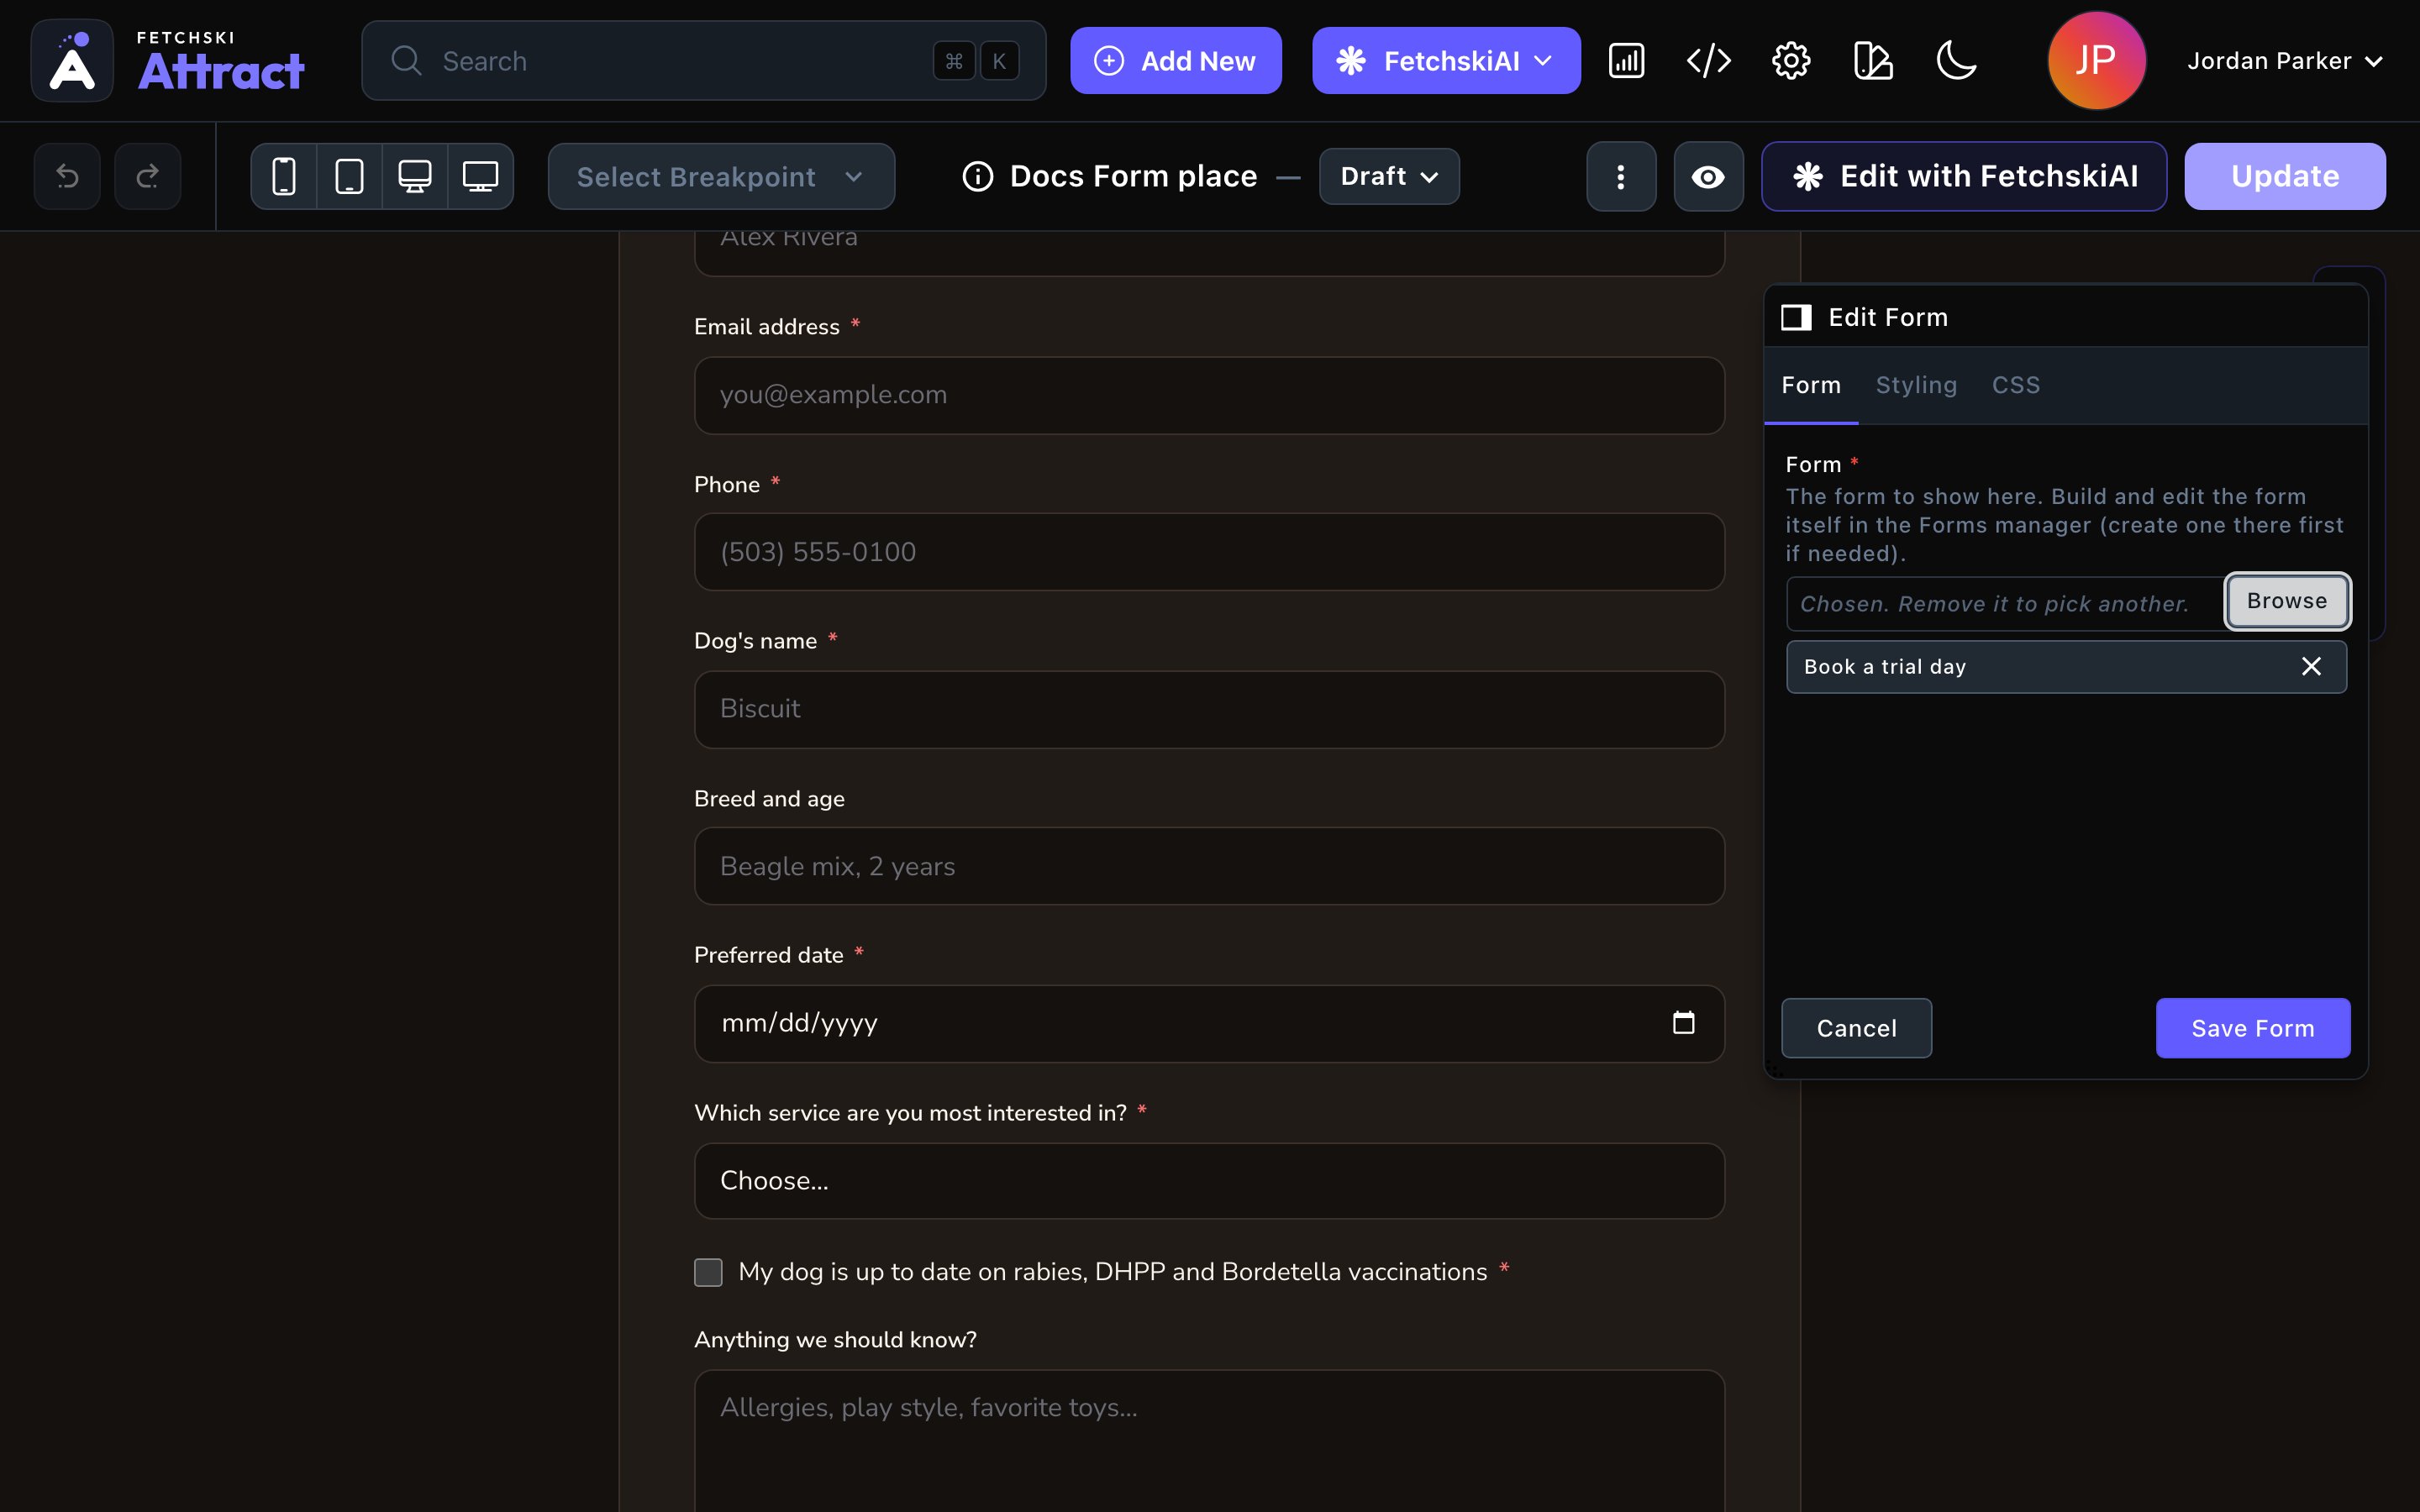
Place the form with a Form section and choose which form it shows.
Test it
While you’re signed in, the form on the page is a preview, so you can’t send it.Keep your signed-in window open
Fill in the form there and send it
Back in your signed-in window, open the command palette and choose View Form Submissions (F, then S)
File uploads
Let visitors attach files, such as a résumé or a photo. Until you turn uploads on, a File attachment field shows “File uploads are not currently accepted.” The rest of the form still works. Who can do this: Admins and Owners.In the toolbar, choose Site settings, then the Form uploads tab
Turn on Accept file uploads on public forms
Set the limits: Max files per submission (it starts at 3; up to 8) and Max size per file (MB) (it starts at 5; up to 10)
Under Allowed file types, tick what to accept
- Images — JPG, PNG, WebP, GIF (no SVG)
- PDF documents
- Office documents — Word & Excel (.doc/.docx/.xls/.xlsx)
- Plain text — TXT, CSV
Choose Update
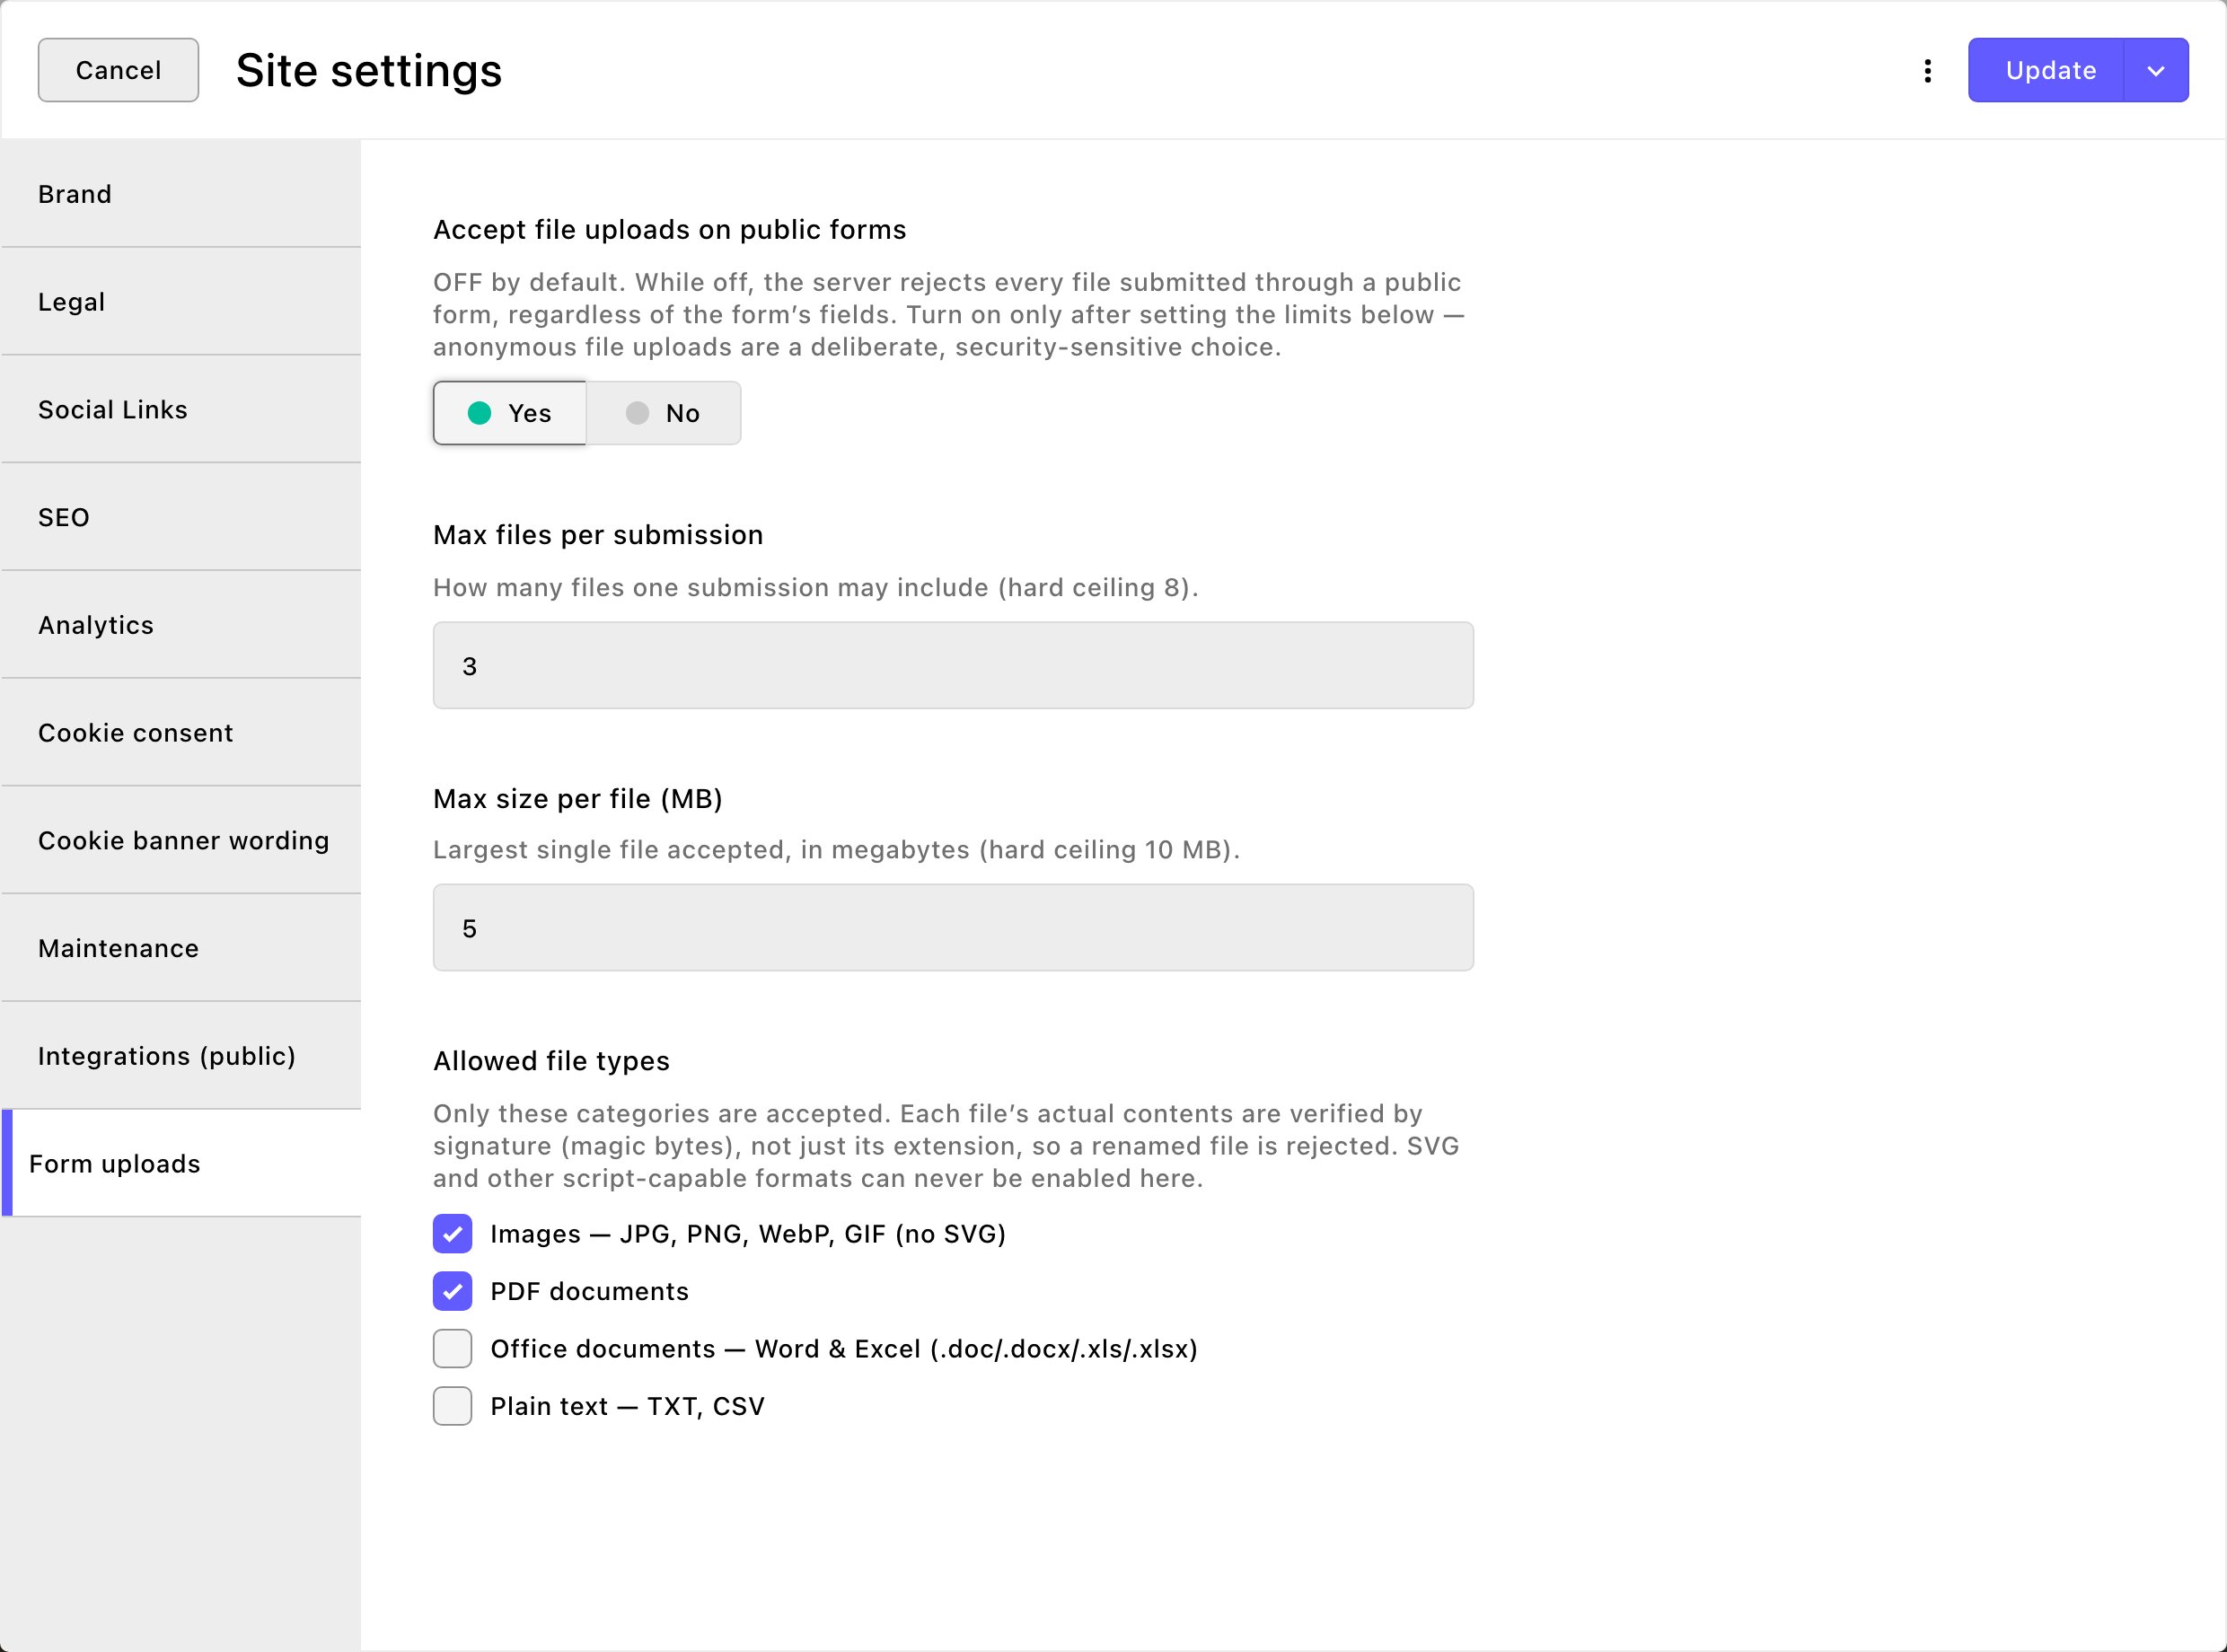
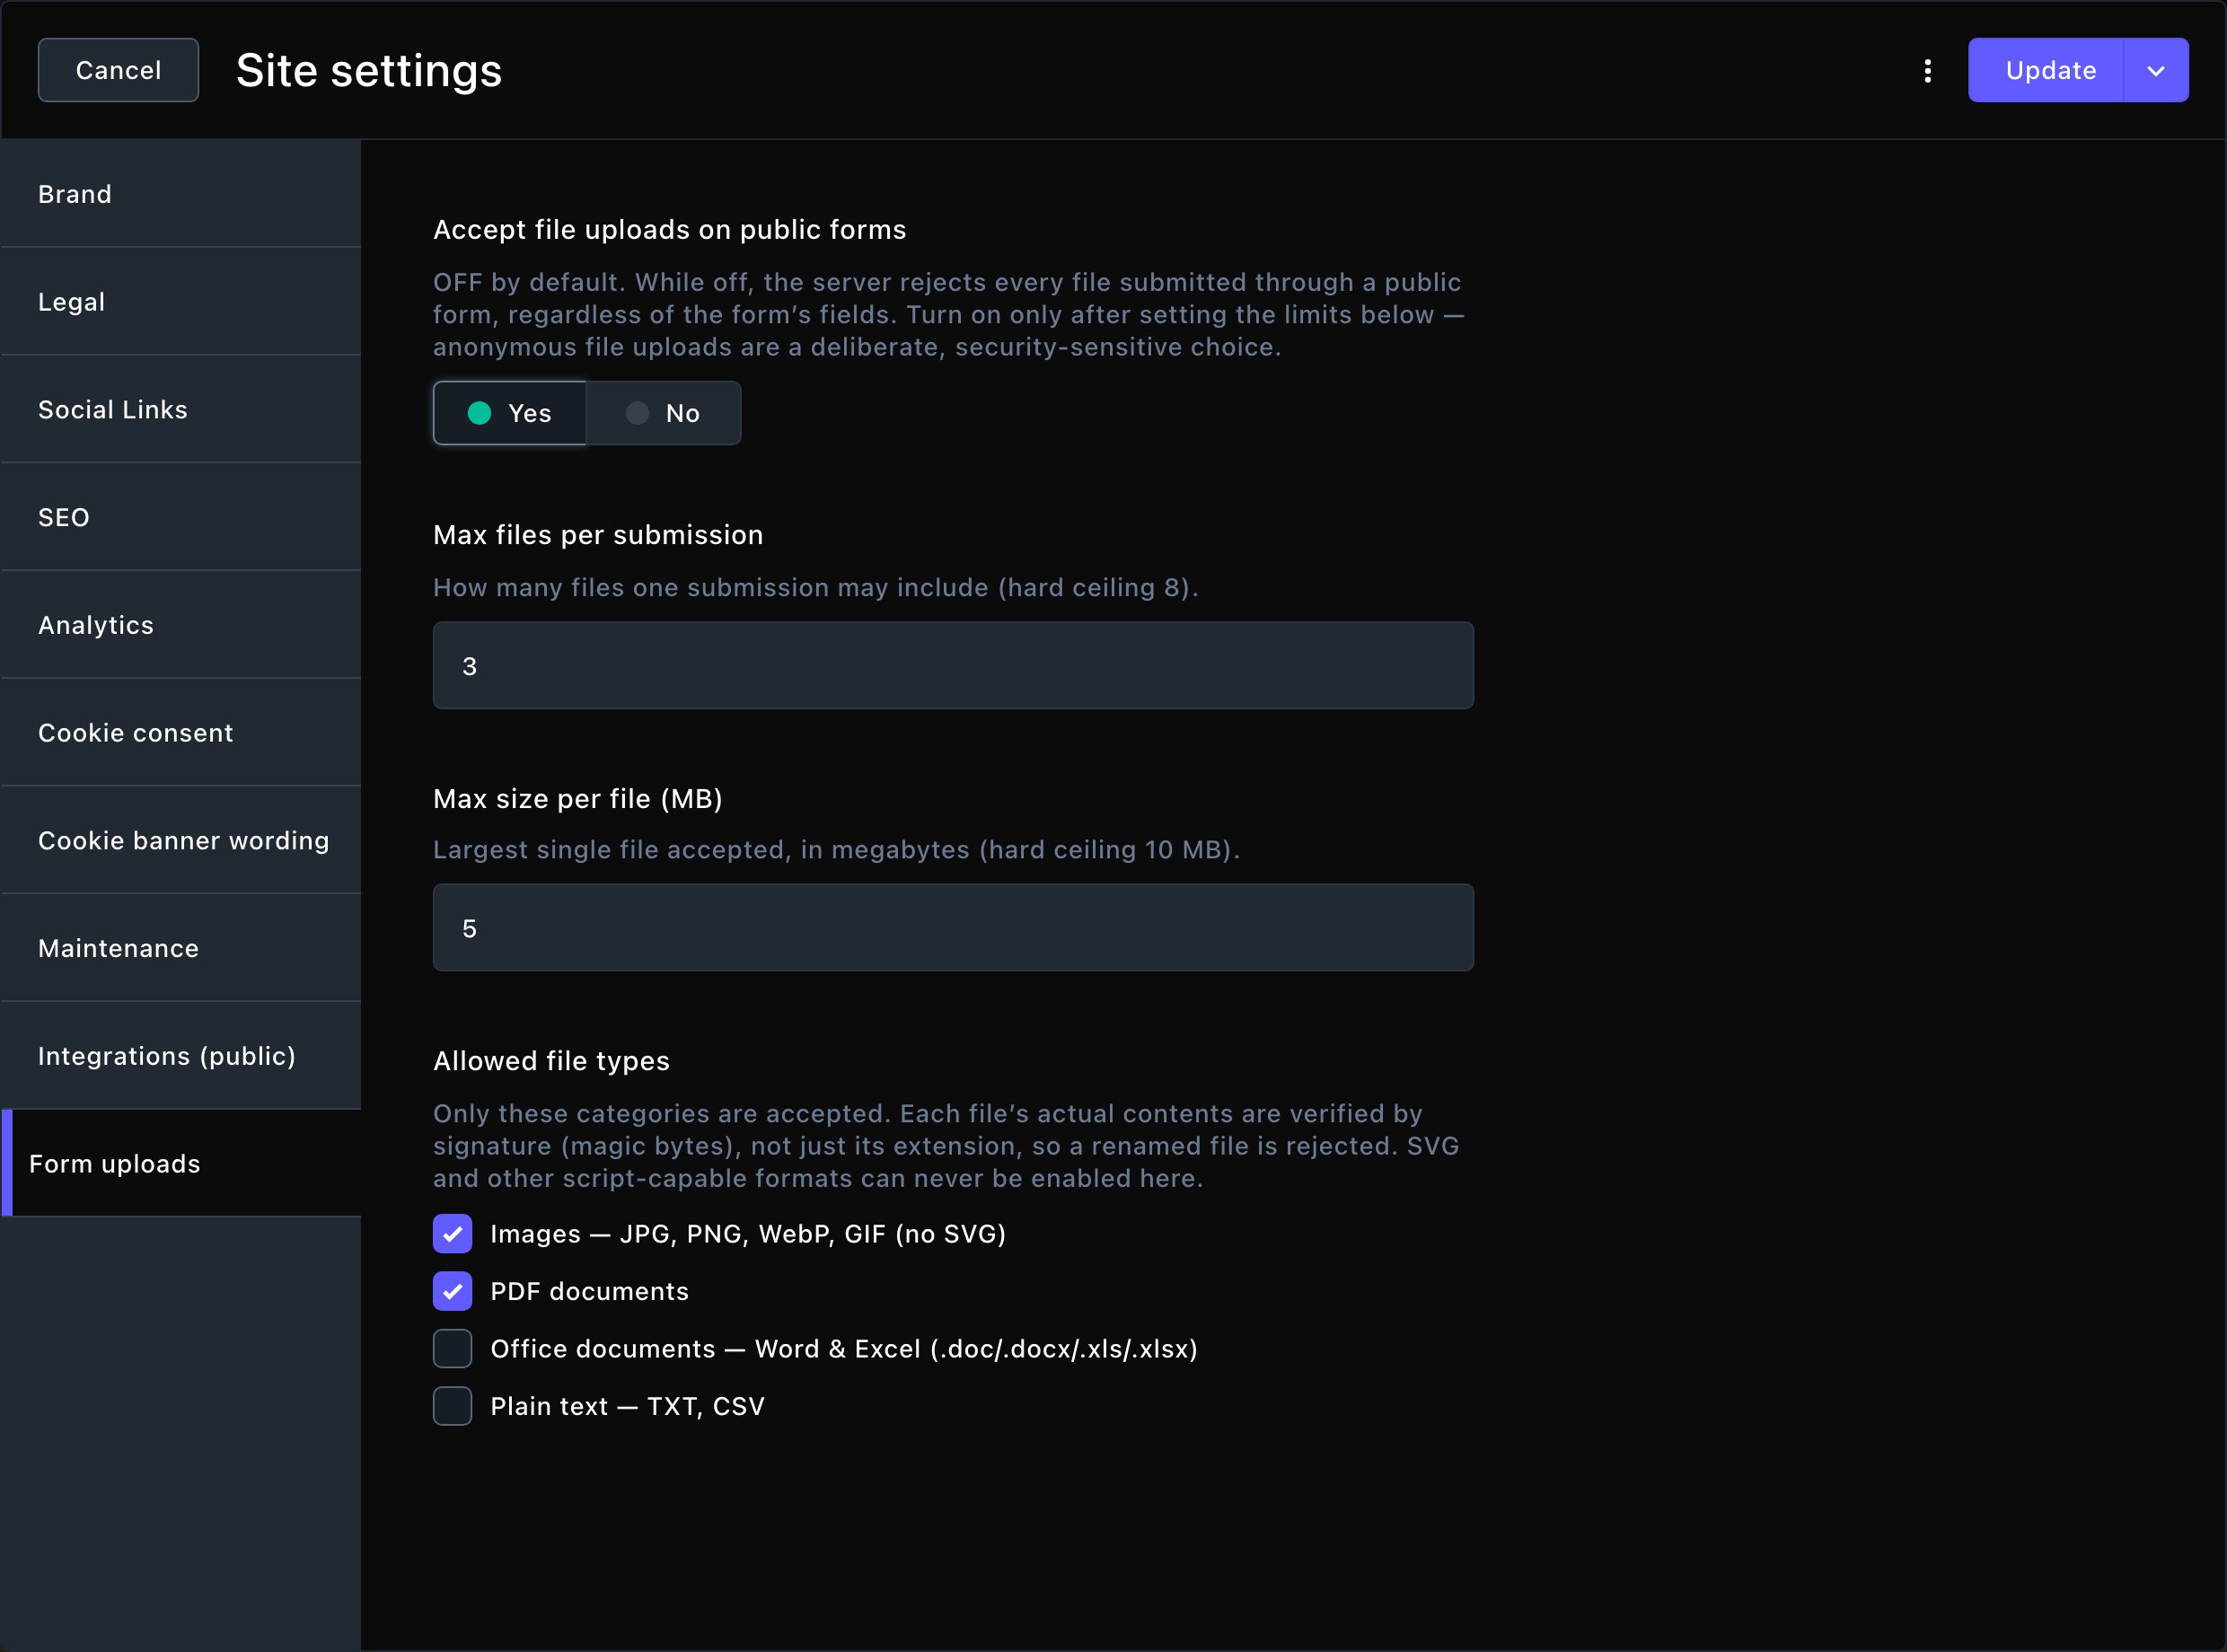
Form uploads: off until you turn them on.
.exe renamed to .pdf, is turned away.
Uploads also need spam protection set up in Connections → Spam protection. Without it, visitors see “File uploads are temporarily unavailable.” See Spam protection.
What happens next
Each submission is saved in the Form Submissions window. Admins and Owners find them with View Form Submissions, or View submissions at the top of the form’s window. To change a published form, edit it and choose Update. The change shows on every page with that form.Troubleshooting
The form doesn't show on the page
The form doesn't show on the page
- no form is chosen on the section’s Form tab (signed in, you see a reminder to choose one);
- the form has no fields yet;
- the form or the page isn’t published yet.
This form has no submission target.
This form has no submission target.
A visitor's file was turned away
A visitor's file was turned away
- “File uploads aren’t currently accepted.”: uploads are off. An Admin turns them on in Form uploads.
- “Too many files — please attach at most 3.”: the visitor went over Max files per submission.
- “This file type isn’t accepted.”: that type isn’t ticked under Allowed file types.
- “This file is too large (max 5 MB).”: the file is over Max size per file (MB).
- “This file’s contents don’t match its type.”: the file isn’t what its name says, often because its ending was changed (such as a
.exerenamed to.pdf). - “This PDF contains active content (scripts or launch actions) and can’t be accepted.”: the PDF holds built-in scripts. The visitor can open it, choose Print, then save it as a PDF, which makes a copy without them, and try again.
- “This image couldn’t be processed. Please upload a different file.”: the image is damaged or unusual. Another copy usually works.
Too many submissions. Please wait a moment and try again.
Too many submissions. Please wait a moment and try again.