Every page is a stack of sections: a Hero, some feature cards, a FAQ, a form. You add them, arrange them and remove them right on the page, and you see the result as you go. Who can do this: anyone who can edit the page. Contributors’ changes wait for an Editor to publish them.

Before you start

  • Sign in, then open the page you want to change on your site.
  • In the edit bar at the top, choose Edit. If you see Preview there instead, you’re already editing.
  • You’re working on the page’s draft. Visitors keep seeing the published version until you choose Update.

Add a section

1

Find the spot

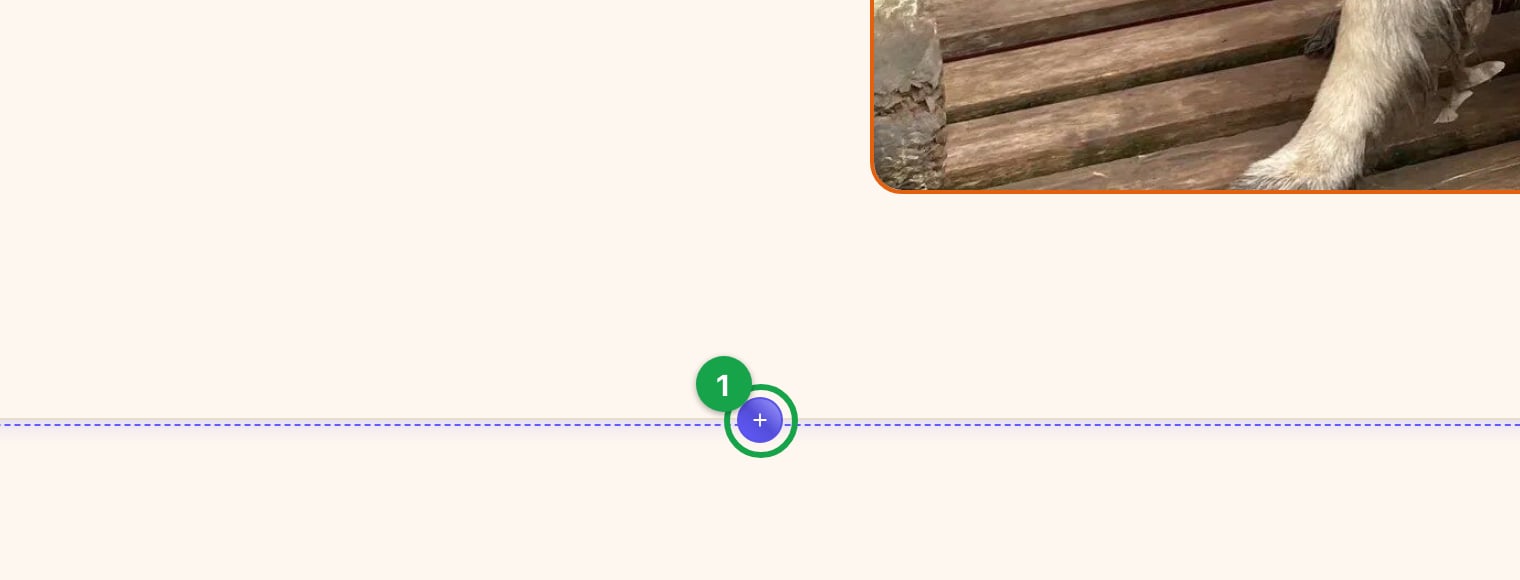
Select the section next to where the new one should go. A round + button (Add Content) appears on its top and bottom edges. On an empty page, the Add Content button sits in the middle.
A selected Intro / Trust section on Parker's page with its name tag, its side toolbar, and the round + buttons on its top and bottom edges; the bottom + ringed with badge 1.A selected Intro / Trust section on Parker's page with its name tag, its side toolbar, and the round + buttons on its top and bottom edges; the bottom + ringed with badge 1.

Select a section to see where you can add one.

2

Open the menu

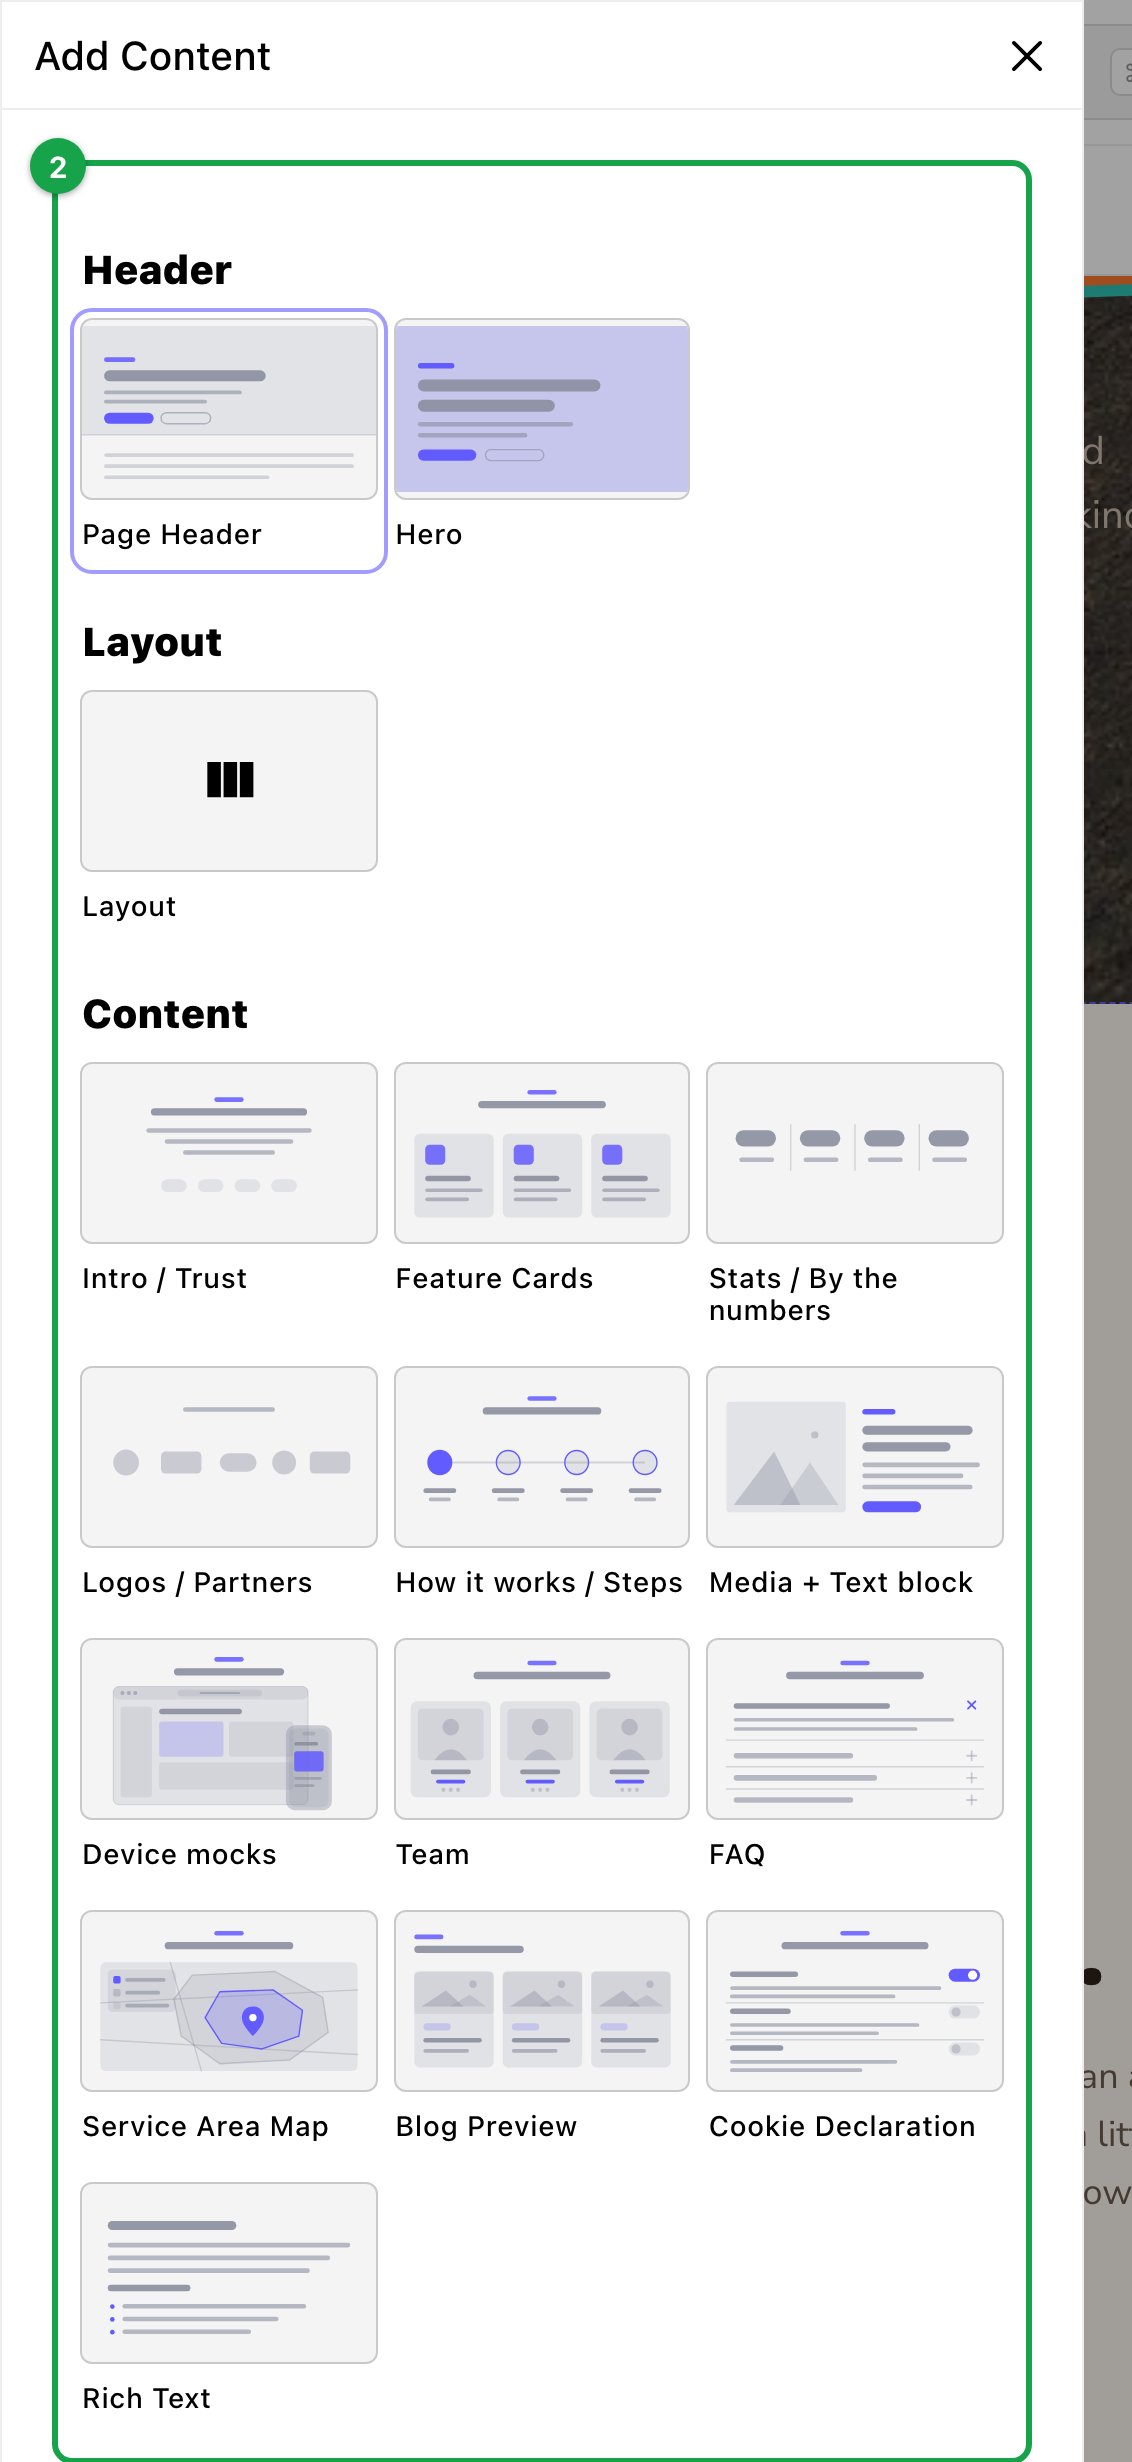
Choose the + above or below. The Add Content menu opens, with the sections grouped: Header, Layout, Content, Social proof, Gallery and Conversion. Each tile has a small preview.
The Add Content menu open with its six groups and preview tiles; badge 2.The Add Content menu open with its six groups and preview tiles; badge 2.

The Add Content menu, grouped by what each section is for.

3

Choose a section

It appears on the page with sample text, ready to edit.
4

Make it yours

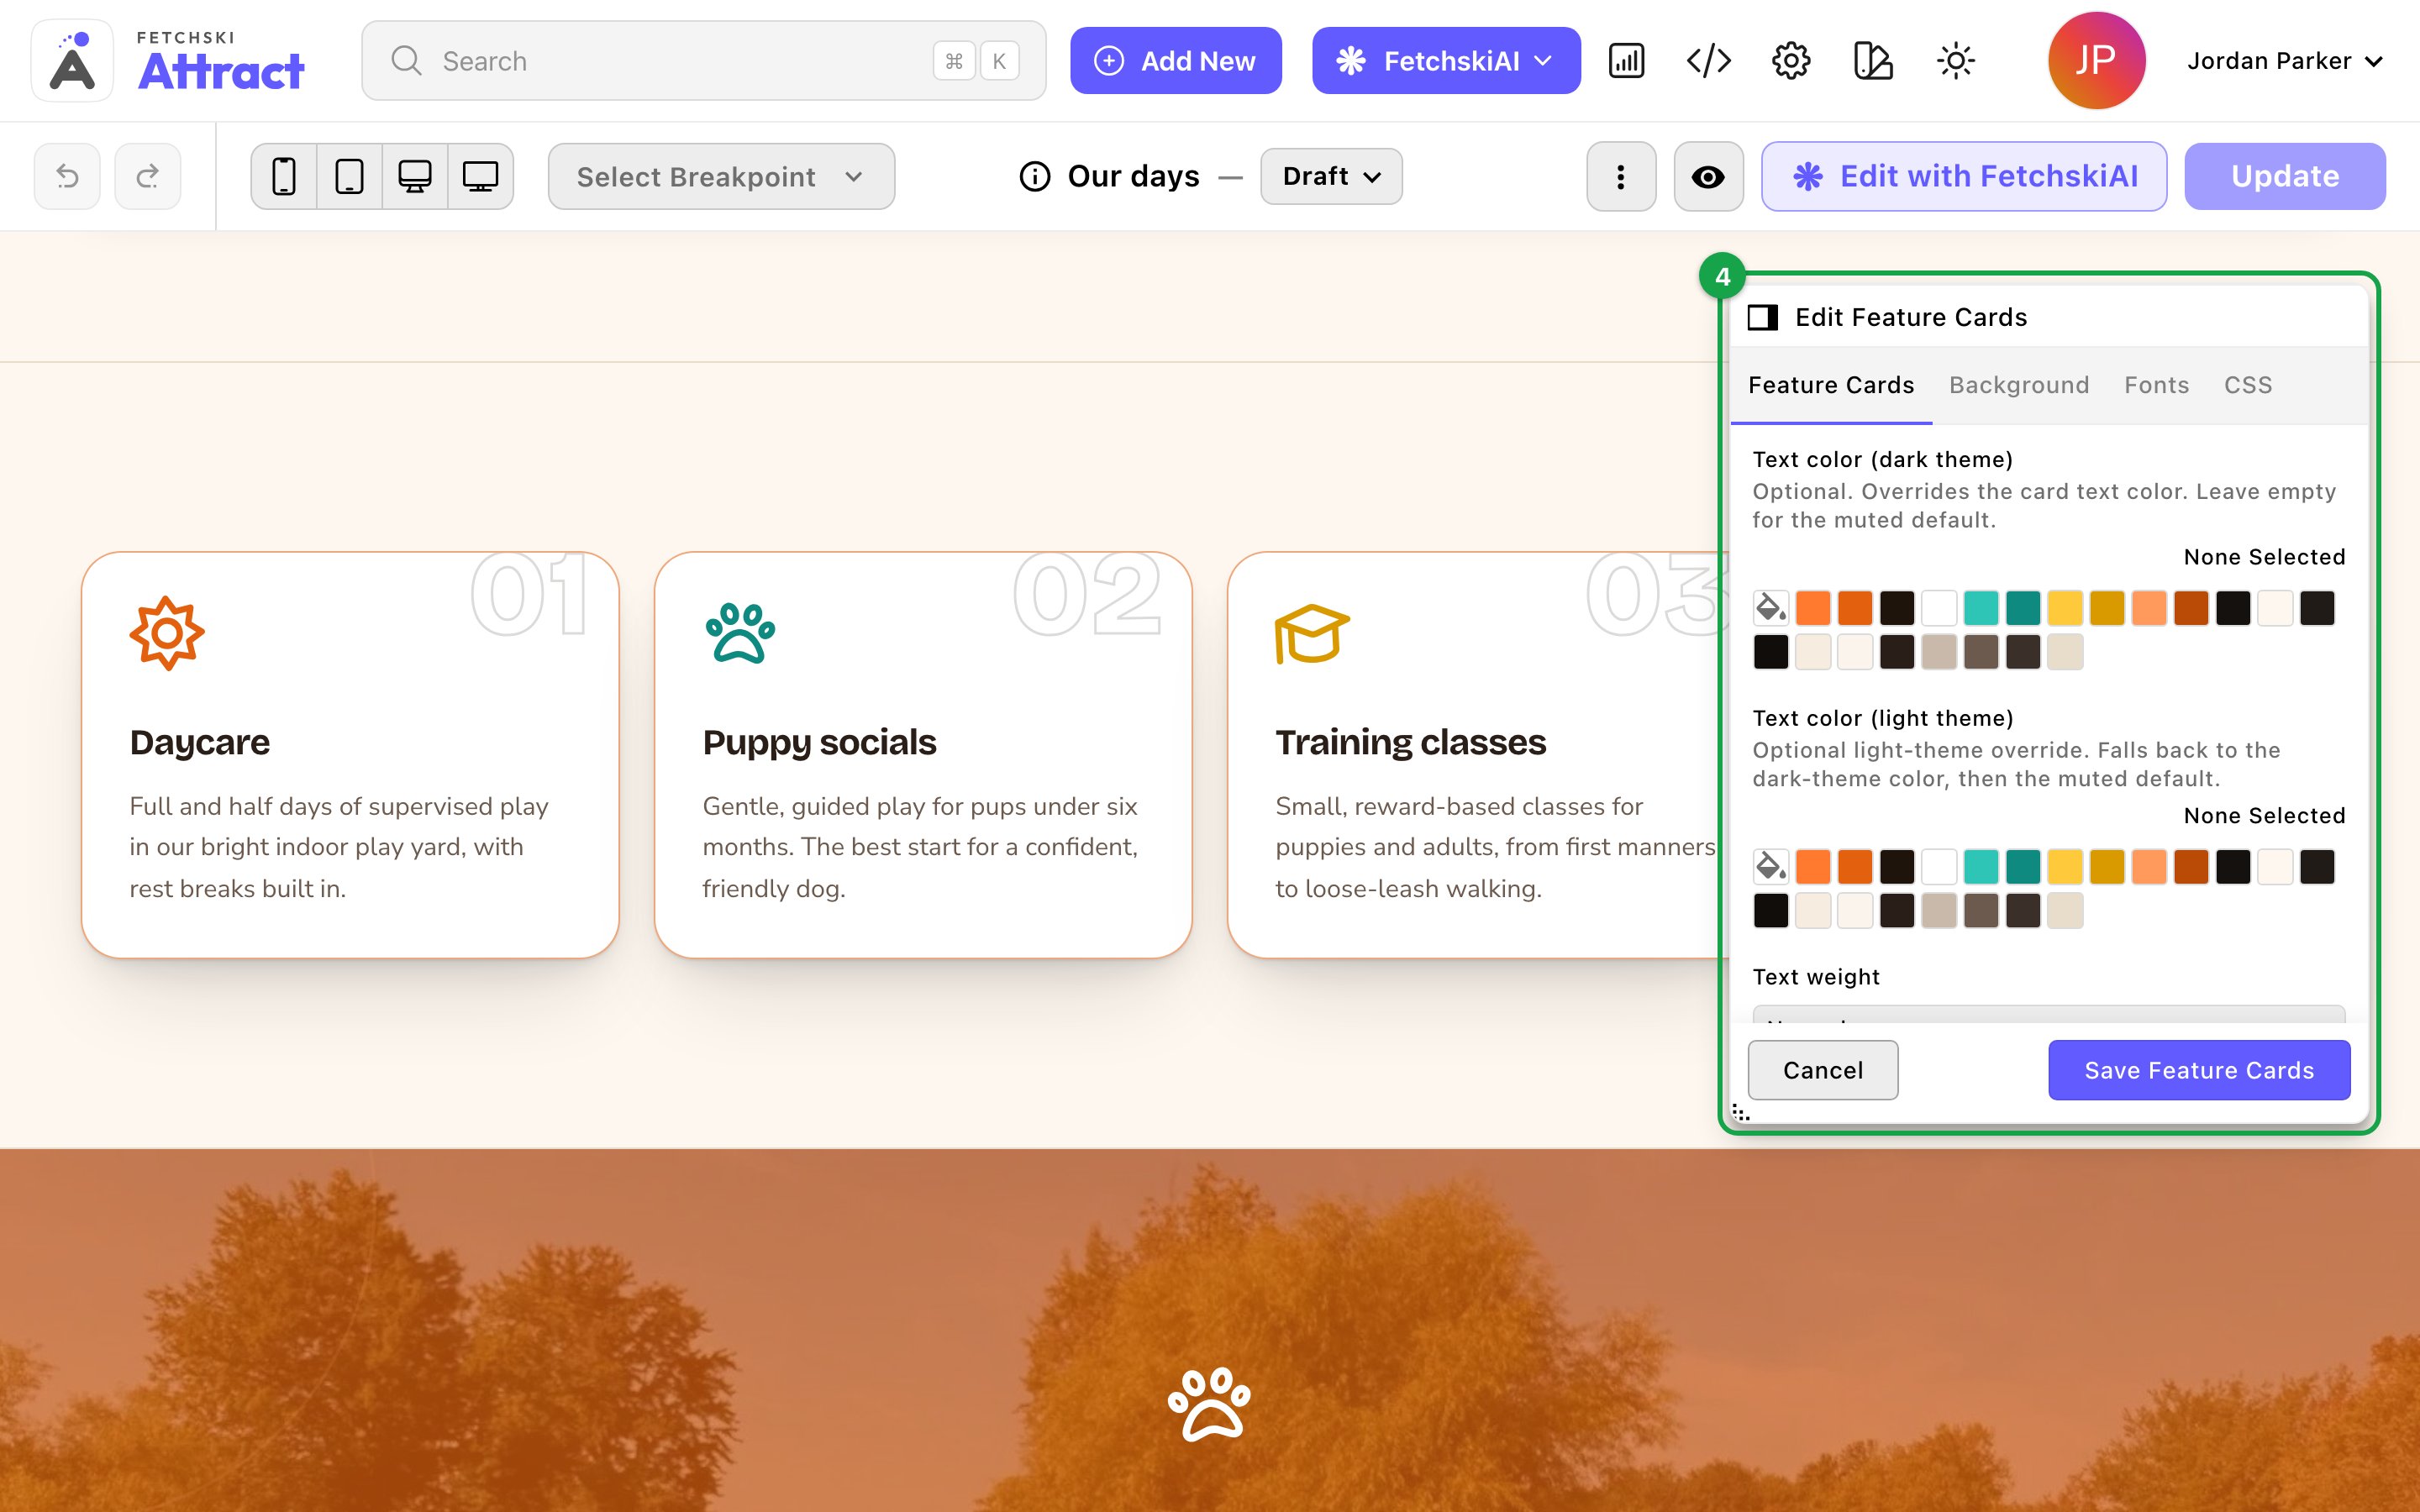
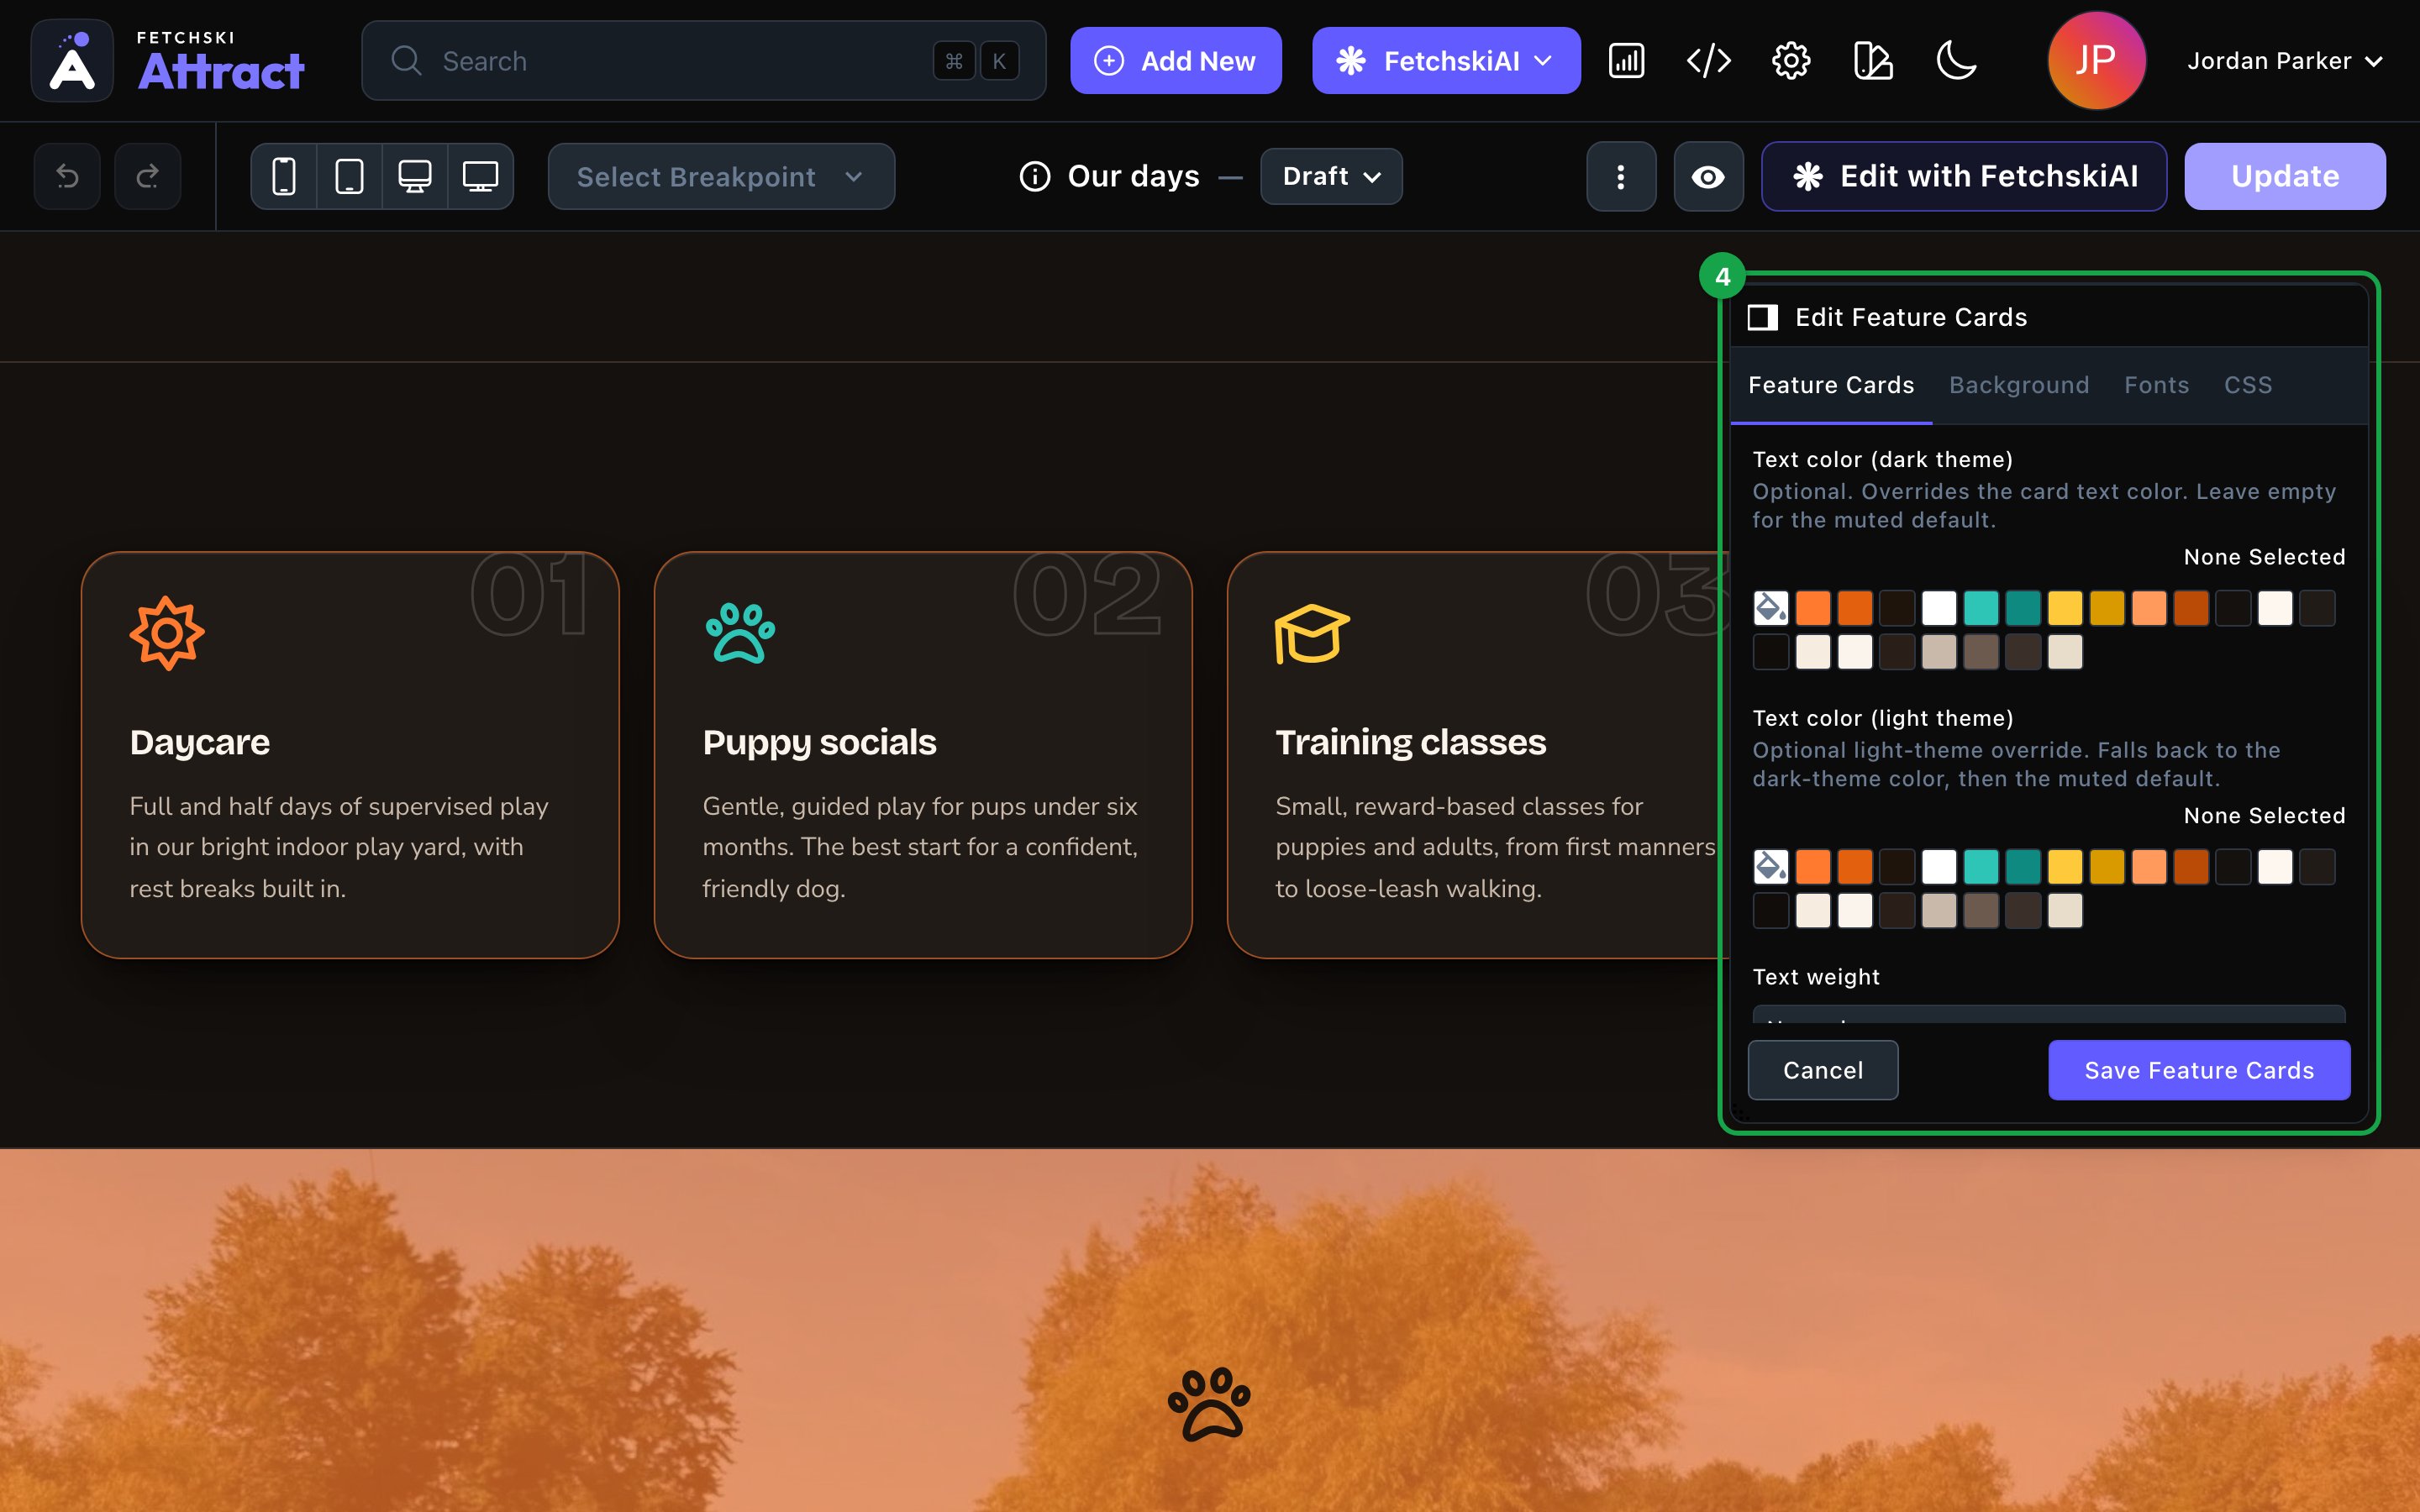
In the section’s side toolbar, choose Edit (the pencil). The editor opens beside the page. Change the text, pictures and options, and watch the page update as you go.Each change goes into the page’s draft as you make it, so you can close the editor when you’re done. Visitors see your changes only after the page is published.
The new Feature Cards section's editor open beside the page, the first card's title changed to "Daycare", the page showing the change; badge 4 on the editor.The new Feature Cards section's editor open beside the page, the first card's title changed to "Daycare", the page showing the change; badge 4 on the editor.

Edit a section and the page updates beside the editor.

Move a section

1

Select the section

2

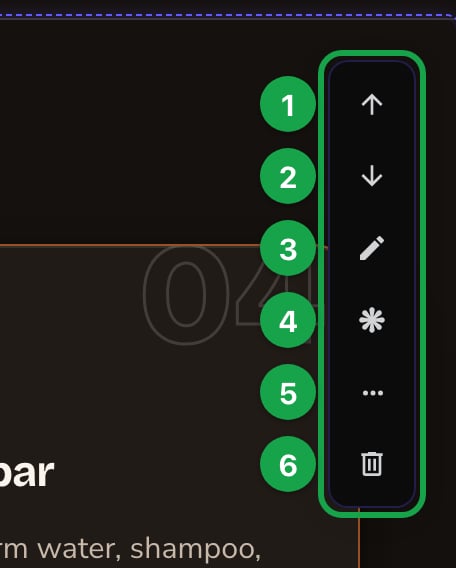
In its side toolbar, choose Nudge Up or Nudge Down
Each click moves it one place.
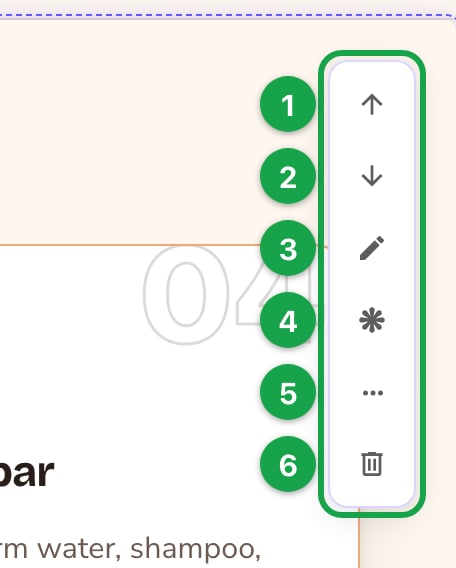
The side toolbar of a selected section, with its buttons labeled by numbered badges: Nudge Up, Nudge Down, Edit, Edit with FetchskiAI, More Options, Remove.The side toolbar of a selected section, with its buttons labeled by numbered badges: Nudge Up, Nudge Down, Edit, Edit with FetchskiAI, More Options, Remove.

The side toolbar: move, edit, more options and remove.

To move a section a long way, cut it and paste it in its new place:
1

Select the section

In its side toolbar, choose More Options (the three dots), then Cut.
2

Select a section next to the new spot and choose the + above or below it

3

At the top of the Add Content menu, choose the section you cut

Copy a section

1

Select the section

In its side toolbar, choose More Options (the three dots), then Copy.
2

Choose the + where the copy should go

This can be on another page.
3

At the top of the Add Content menu, choose the section you copied

Copying is the quickest way to build a second section that matches the first. To copy it right below itself, open the command palette (⌘K, or Ctrl+K on Windows) with the section selected and choose Duplicate Widget.

Remove a section

1

Select the section

2

In its side toolbar, choose Remove (the trash can)

It disappears from the draft. Visitors still see it until you choose Update. Removed one by mistake? Choose undo (the curved arrow at the top left of the edit bar).
The left end of the edit bar with the undo and redo arrows, undo ringed, after a section was removed.The left end of the edit bar with the undo and redo arrows, undo ringed, after a section was removed.

Undo brings back a section you removed.

What happens next

Your changes stay in the page’s draft until someone publishes it with Update. On a page that was never published, the button says Publish. Editors, Admins and Owners can publish. Contributors submit their changes for review instead. See Drafts, publishing and scheduling.

Troubleshooting

Every page needs exactly one main heading. It comes from a Page Header or a Hero section. When neither is on the page, publishing stops with this message:“This page has no main heading. Add a Page Header section (or a Hero) at the top of the page, then publish again.”Add a Page Header or a Hero from the Header group, then publish again.
A page can’t have two main headings. When it has two Page Headers, two Heroes, or one of each, publishing stops with this message:“This page has more than one main heading: a Page Header and a Hero section (or two of either) each render one. Keep exactly one of them on the page, then publish again.”Remove the extra one, then publish again.
Some places only take some sections. A column of a Layout section takes a shorter list:
  • Rich Text, images and videos
  • Intro / Trust, Stats / By the numbers and How it works / Steps
  • Pricing / Packages, FAQ and Device mocks
A blog post’s body offers its own shorter list.
Look at the edit bar at the top. If it shows Preview, you’re already editing: select a section to see its side toolbar and + buttons. If it shows Edit, choose it first. If there’s no Edit button at all, you need permission to edit the page: ask an Admin to give you an editing role.

Two ways to edit

on the page or in the page settings window.

Side-by-side layouts

put sections in columns.

All sections

what each section does.

Drafts, publishing and scheduling

make your changes live.