

 AdonisJS
Before you start
- Ask the developer or the service what it needs: which parts of your site it reads or changes, or which events it wants to hear about.
- Have somewhere safe ready to paste a secret, such as a password manager. Keys and secrets are shown only once.
Create an API key
1
Open API Keys
Open the command palette (⌘K, or Ctrl+K on Windows) and choose Go to API Keys. The shortcut is G then K (press G, let go, then press K, while you’re not typing in a box; see Keyboard shortcuts).
2
Start a key
Choose Create API Key.
3
Name it
In Label, say what it’s for, such as “Translation service”.
4
Choose what it may do
In Scopes, give the key only what the other system needs. A scope is one thing the key is allowed to do, such as Blog posts: read. Ask the developer or the service which scopes it needs. Then choose how to give them:
- Start from a pack: pick a Scope Pack in the list, and every scope in it is given to the key. Each Recipe in these docs names its pack, such as Site translation. The scopes show under Granted. To add or remove any, choose Edit scopes to open the full list.
- Pick scopes one by one: check each scope yourself in the full list.
- The list is nested. A scope with others indented beneath it covers all of them. Content — everything includes Blog posts: read and every other content scope. Check a broad one only when the other system truly needs all of it.
- For example: a system that only shows your blog posts elsewhere needs Blog posts: read, not Content — everything.
- Changes are drafts. A key that changes content changes drafts. To put them live, it also needs a publish scope, such as Blog posts: publish.
5
Add limits (optional)
- Expires: after this date the key stops working.
- Request signing: Token only to start. Signing is an extra check the developer sets up on their side, proving each request really comes from their system.
- Allowed addresses: leave it empty, and contact Fetchski Support before you use it. Until Fetchski sets your site up for it, a key with addresses listed is refused everywhere.
203.0.113.10. A range looks like 203.0.113.0/24.- Reads per minute and Writes per minute: how many requests the other system may make with this key each minute, 600 and 120 to start. They count the system’s requests, not your visitors.
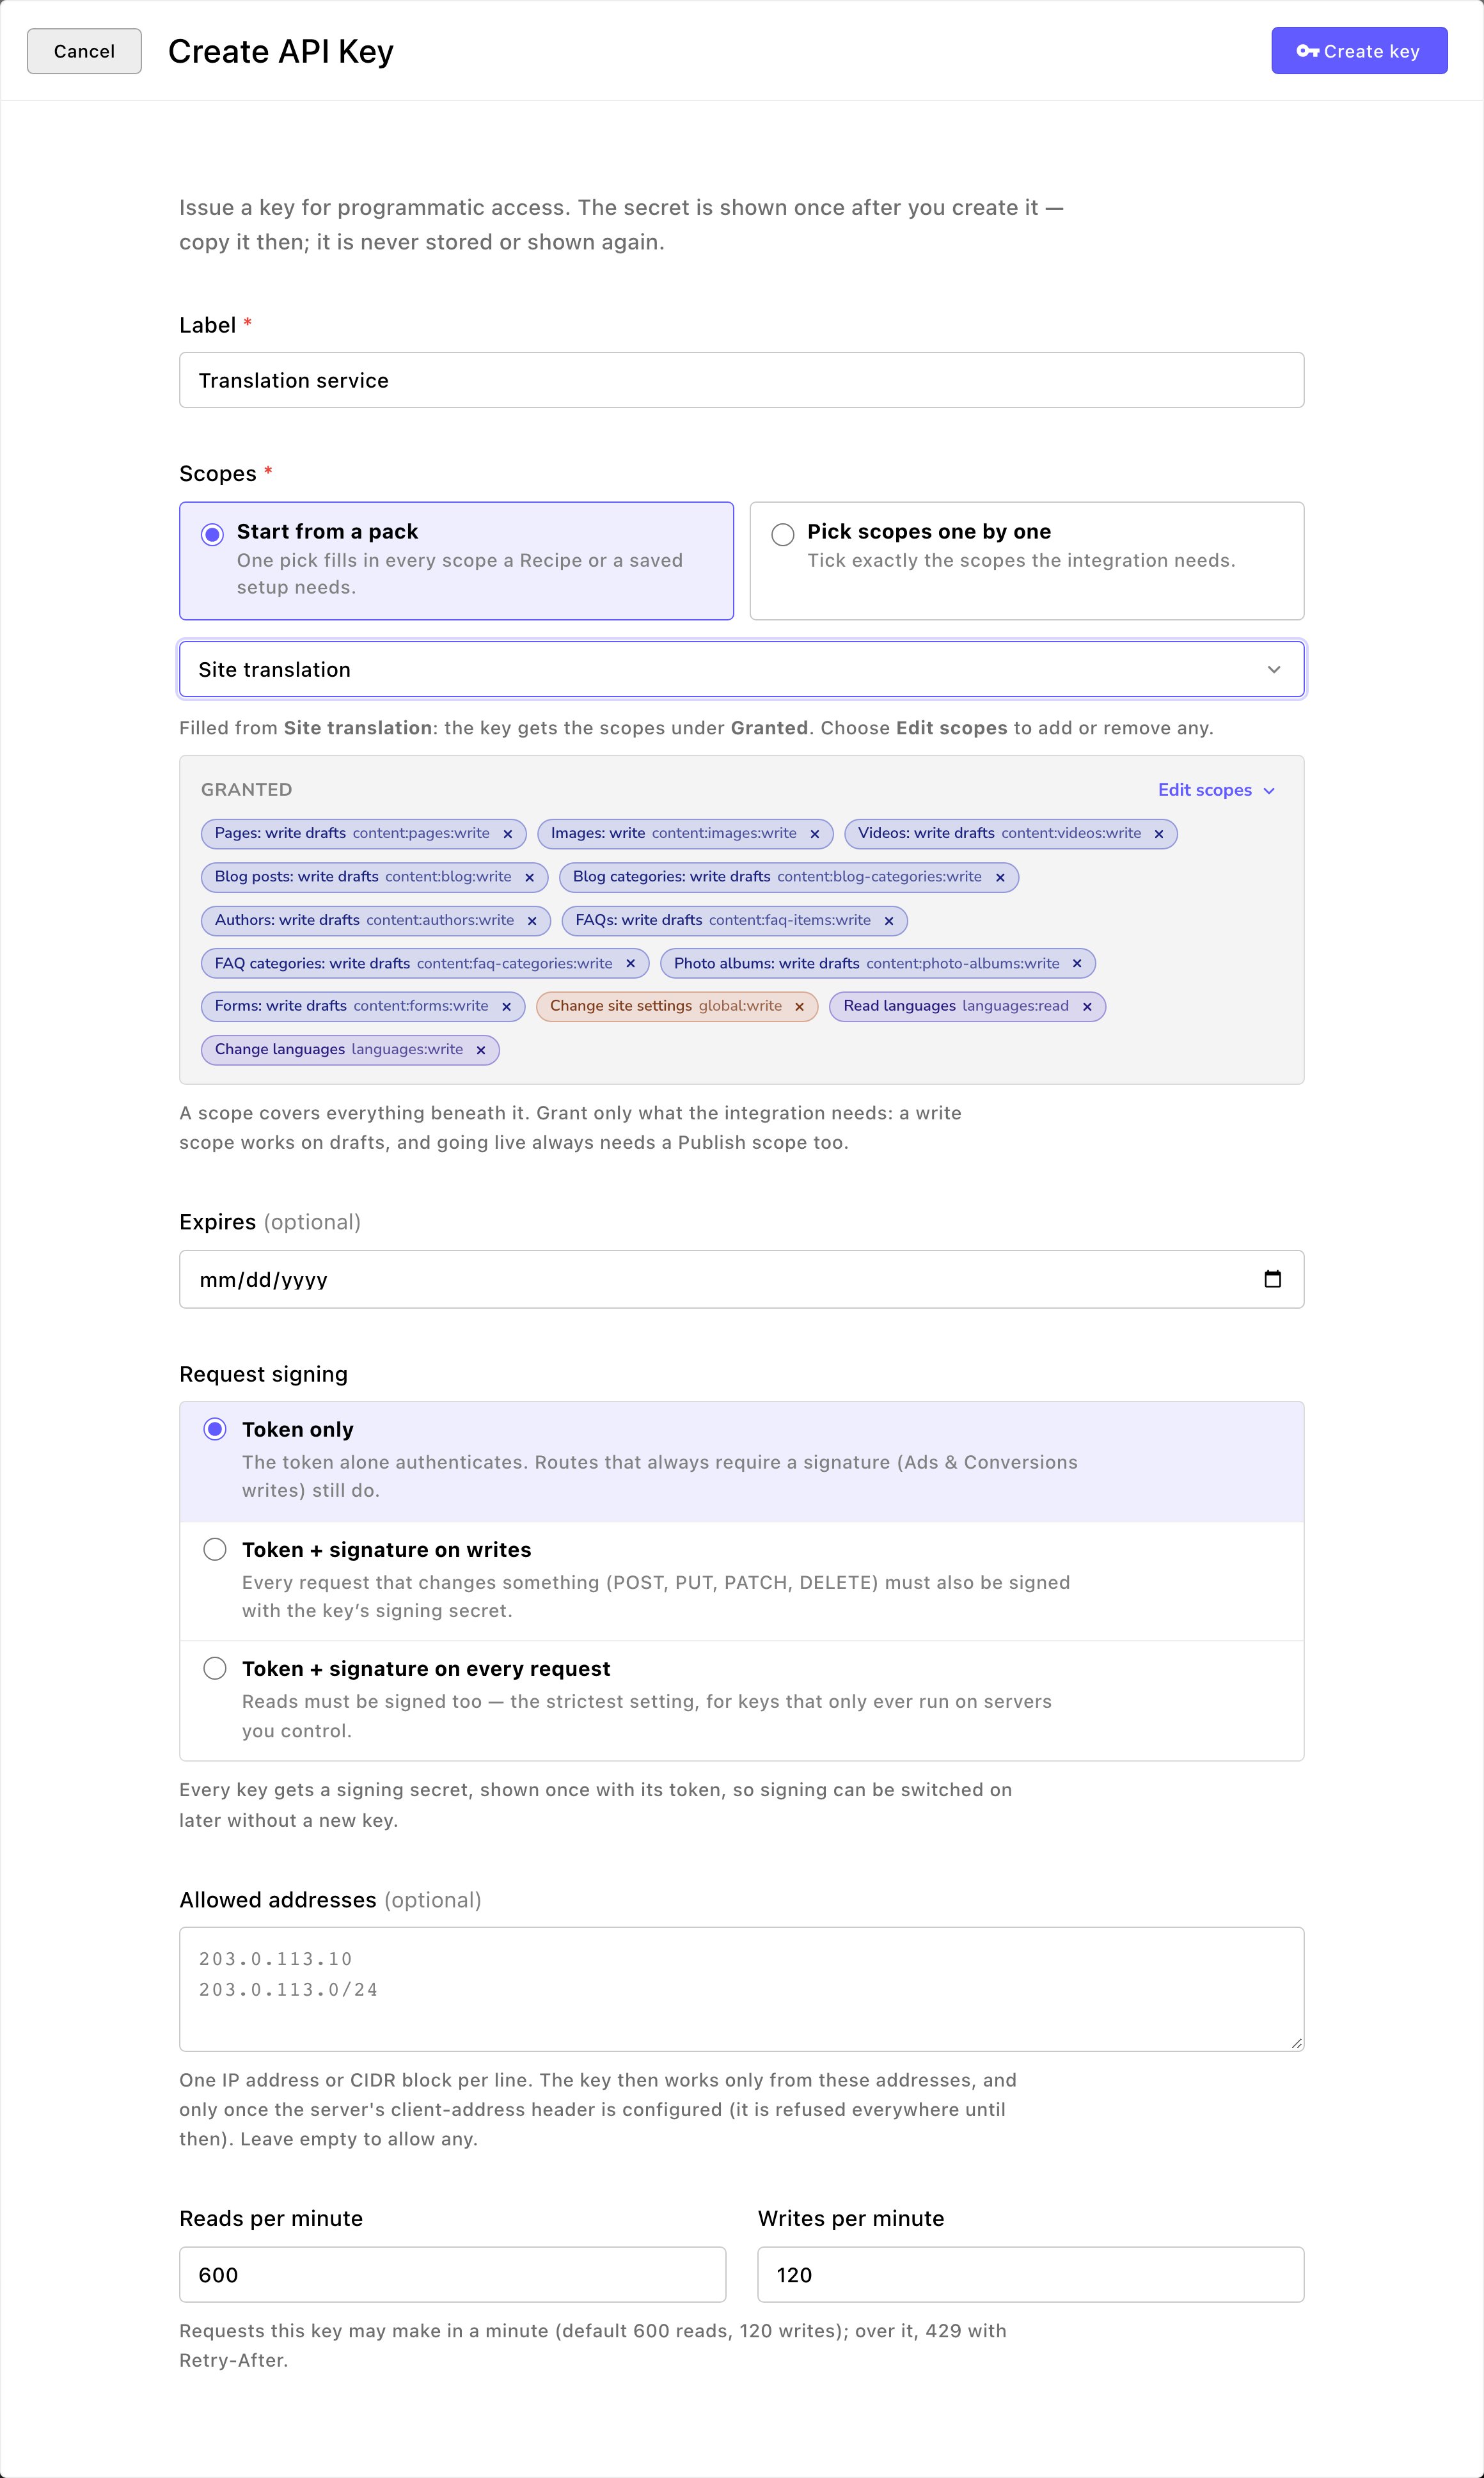
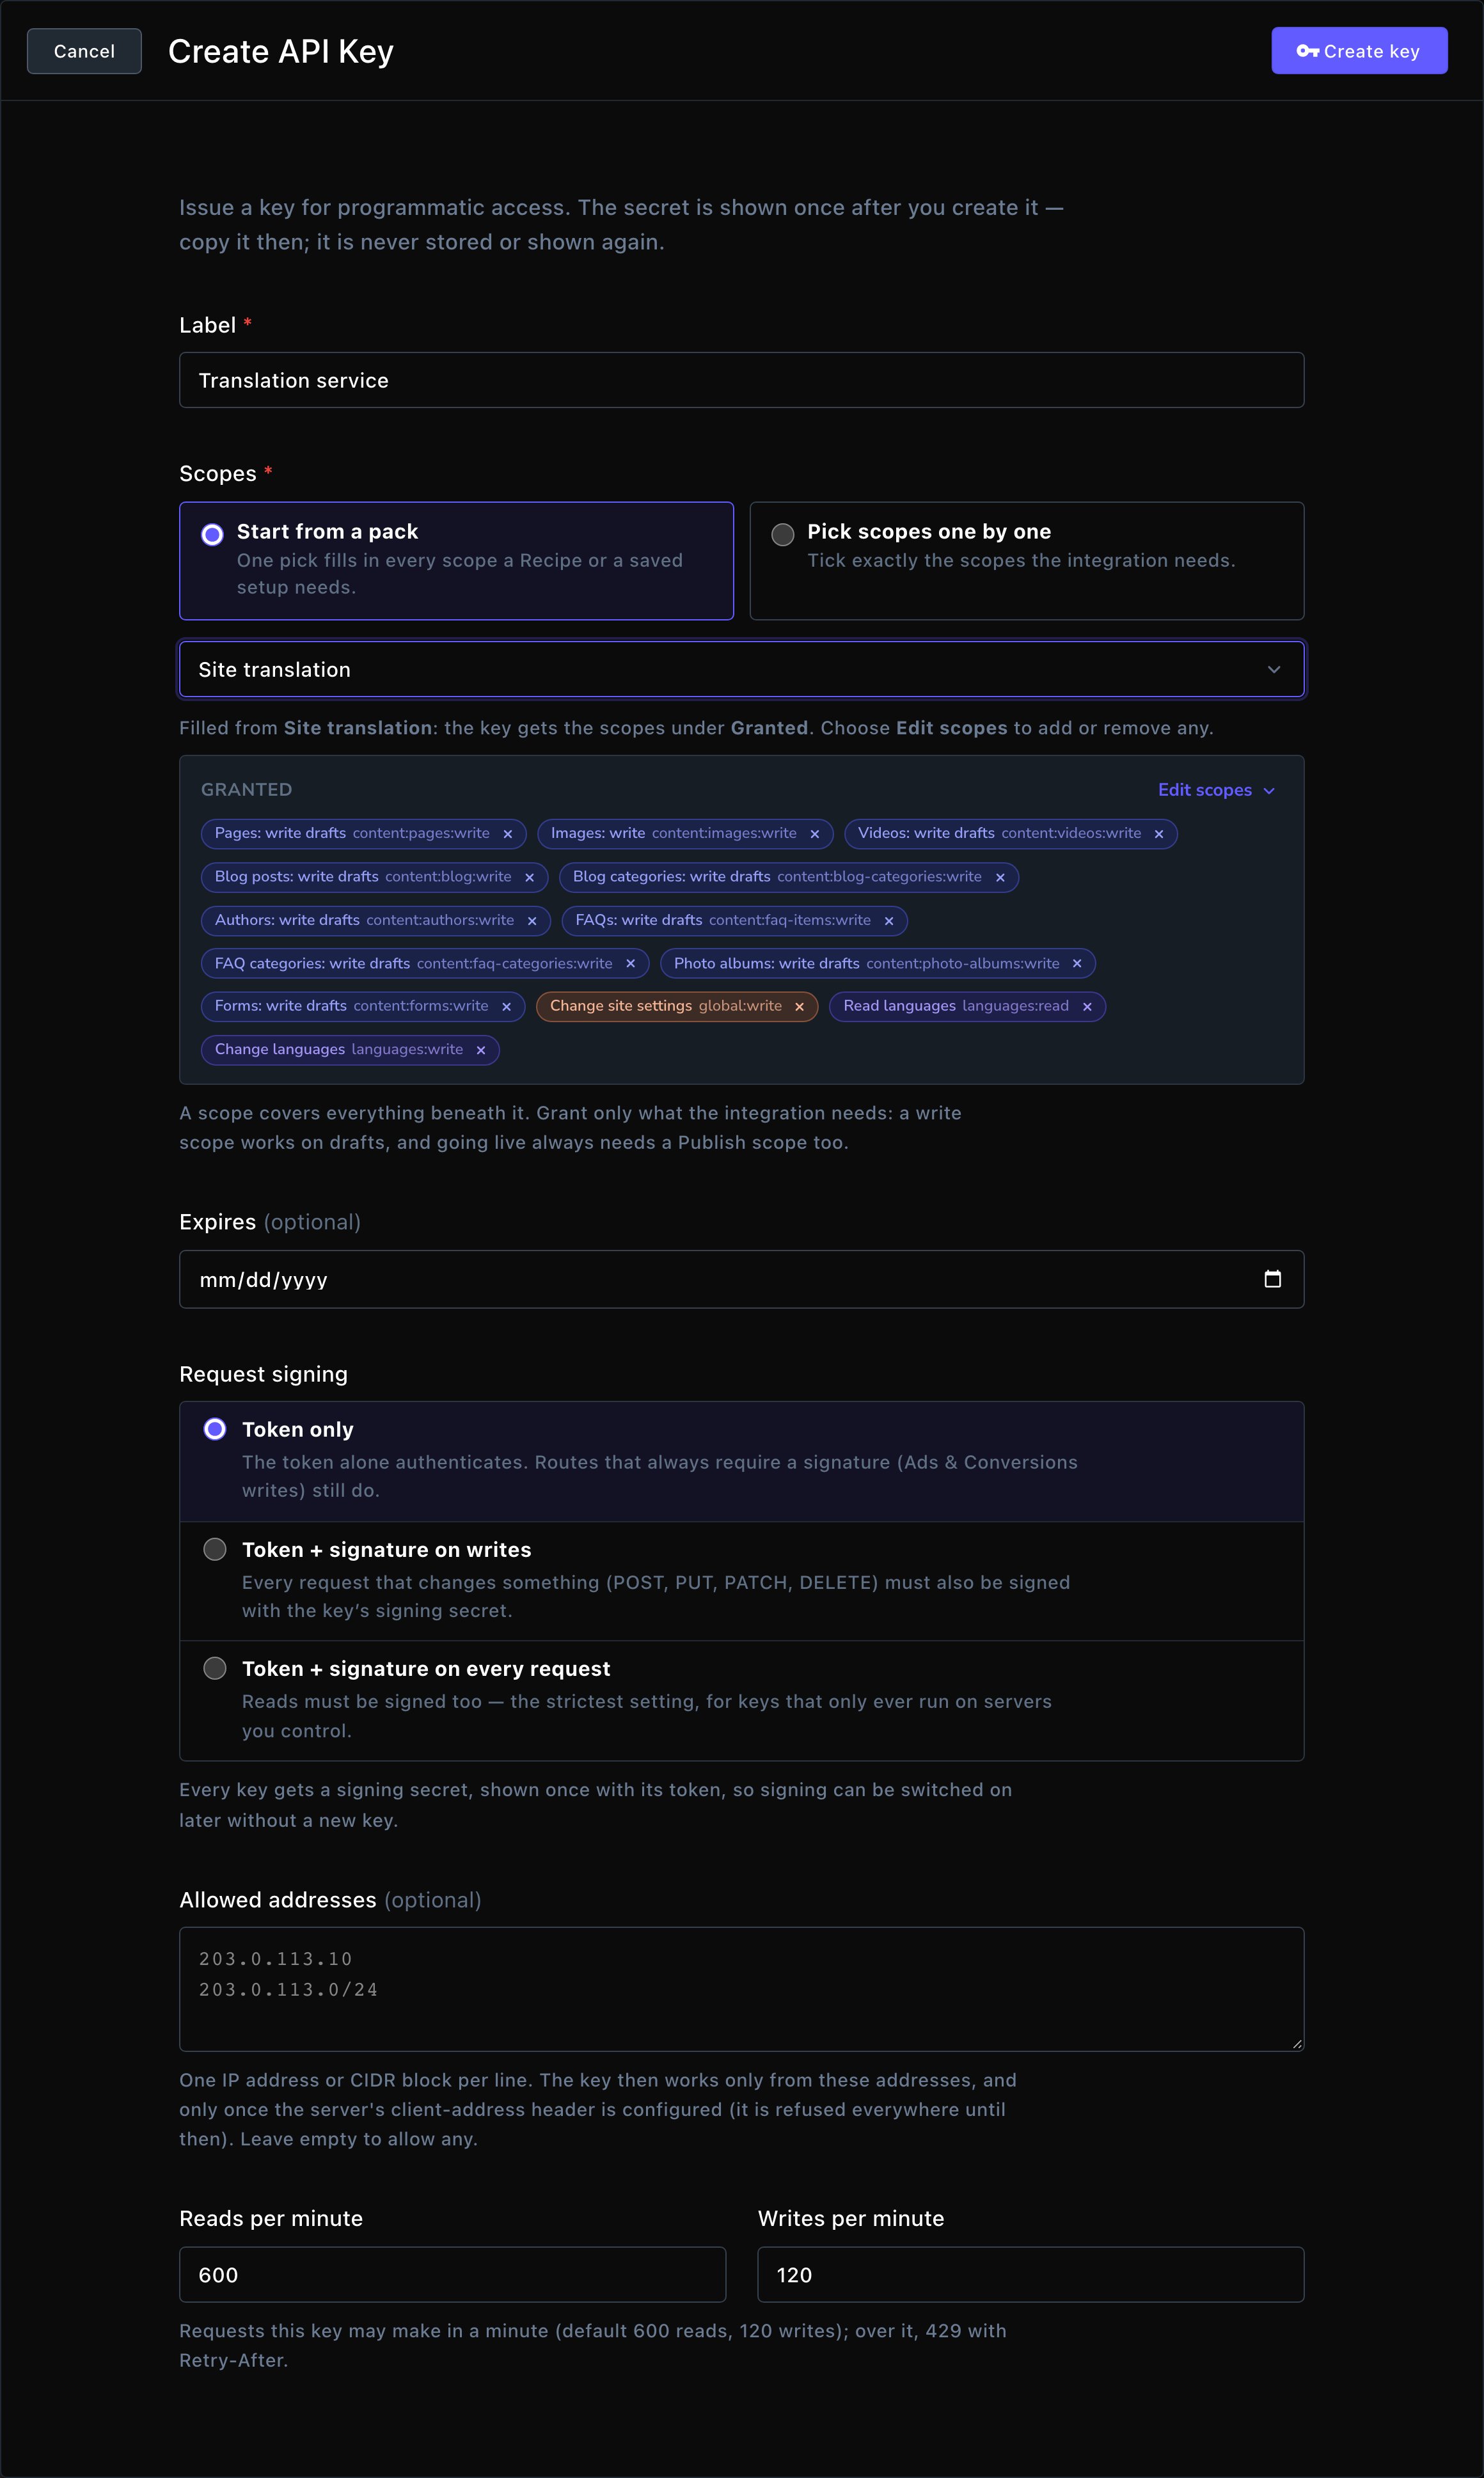
Give a key only what the other system needs.
6
Create it
Choose Create key. You see “Your API key is ready”, with its Secret token and its Signing secret.
7
Copy both now
Choose Copy next to each and hand them to the developer safely. They’re never shown again.
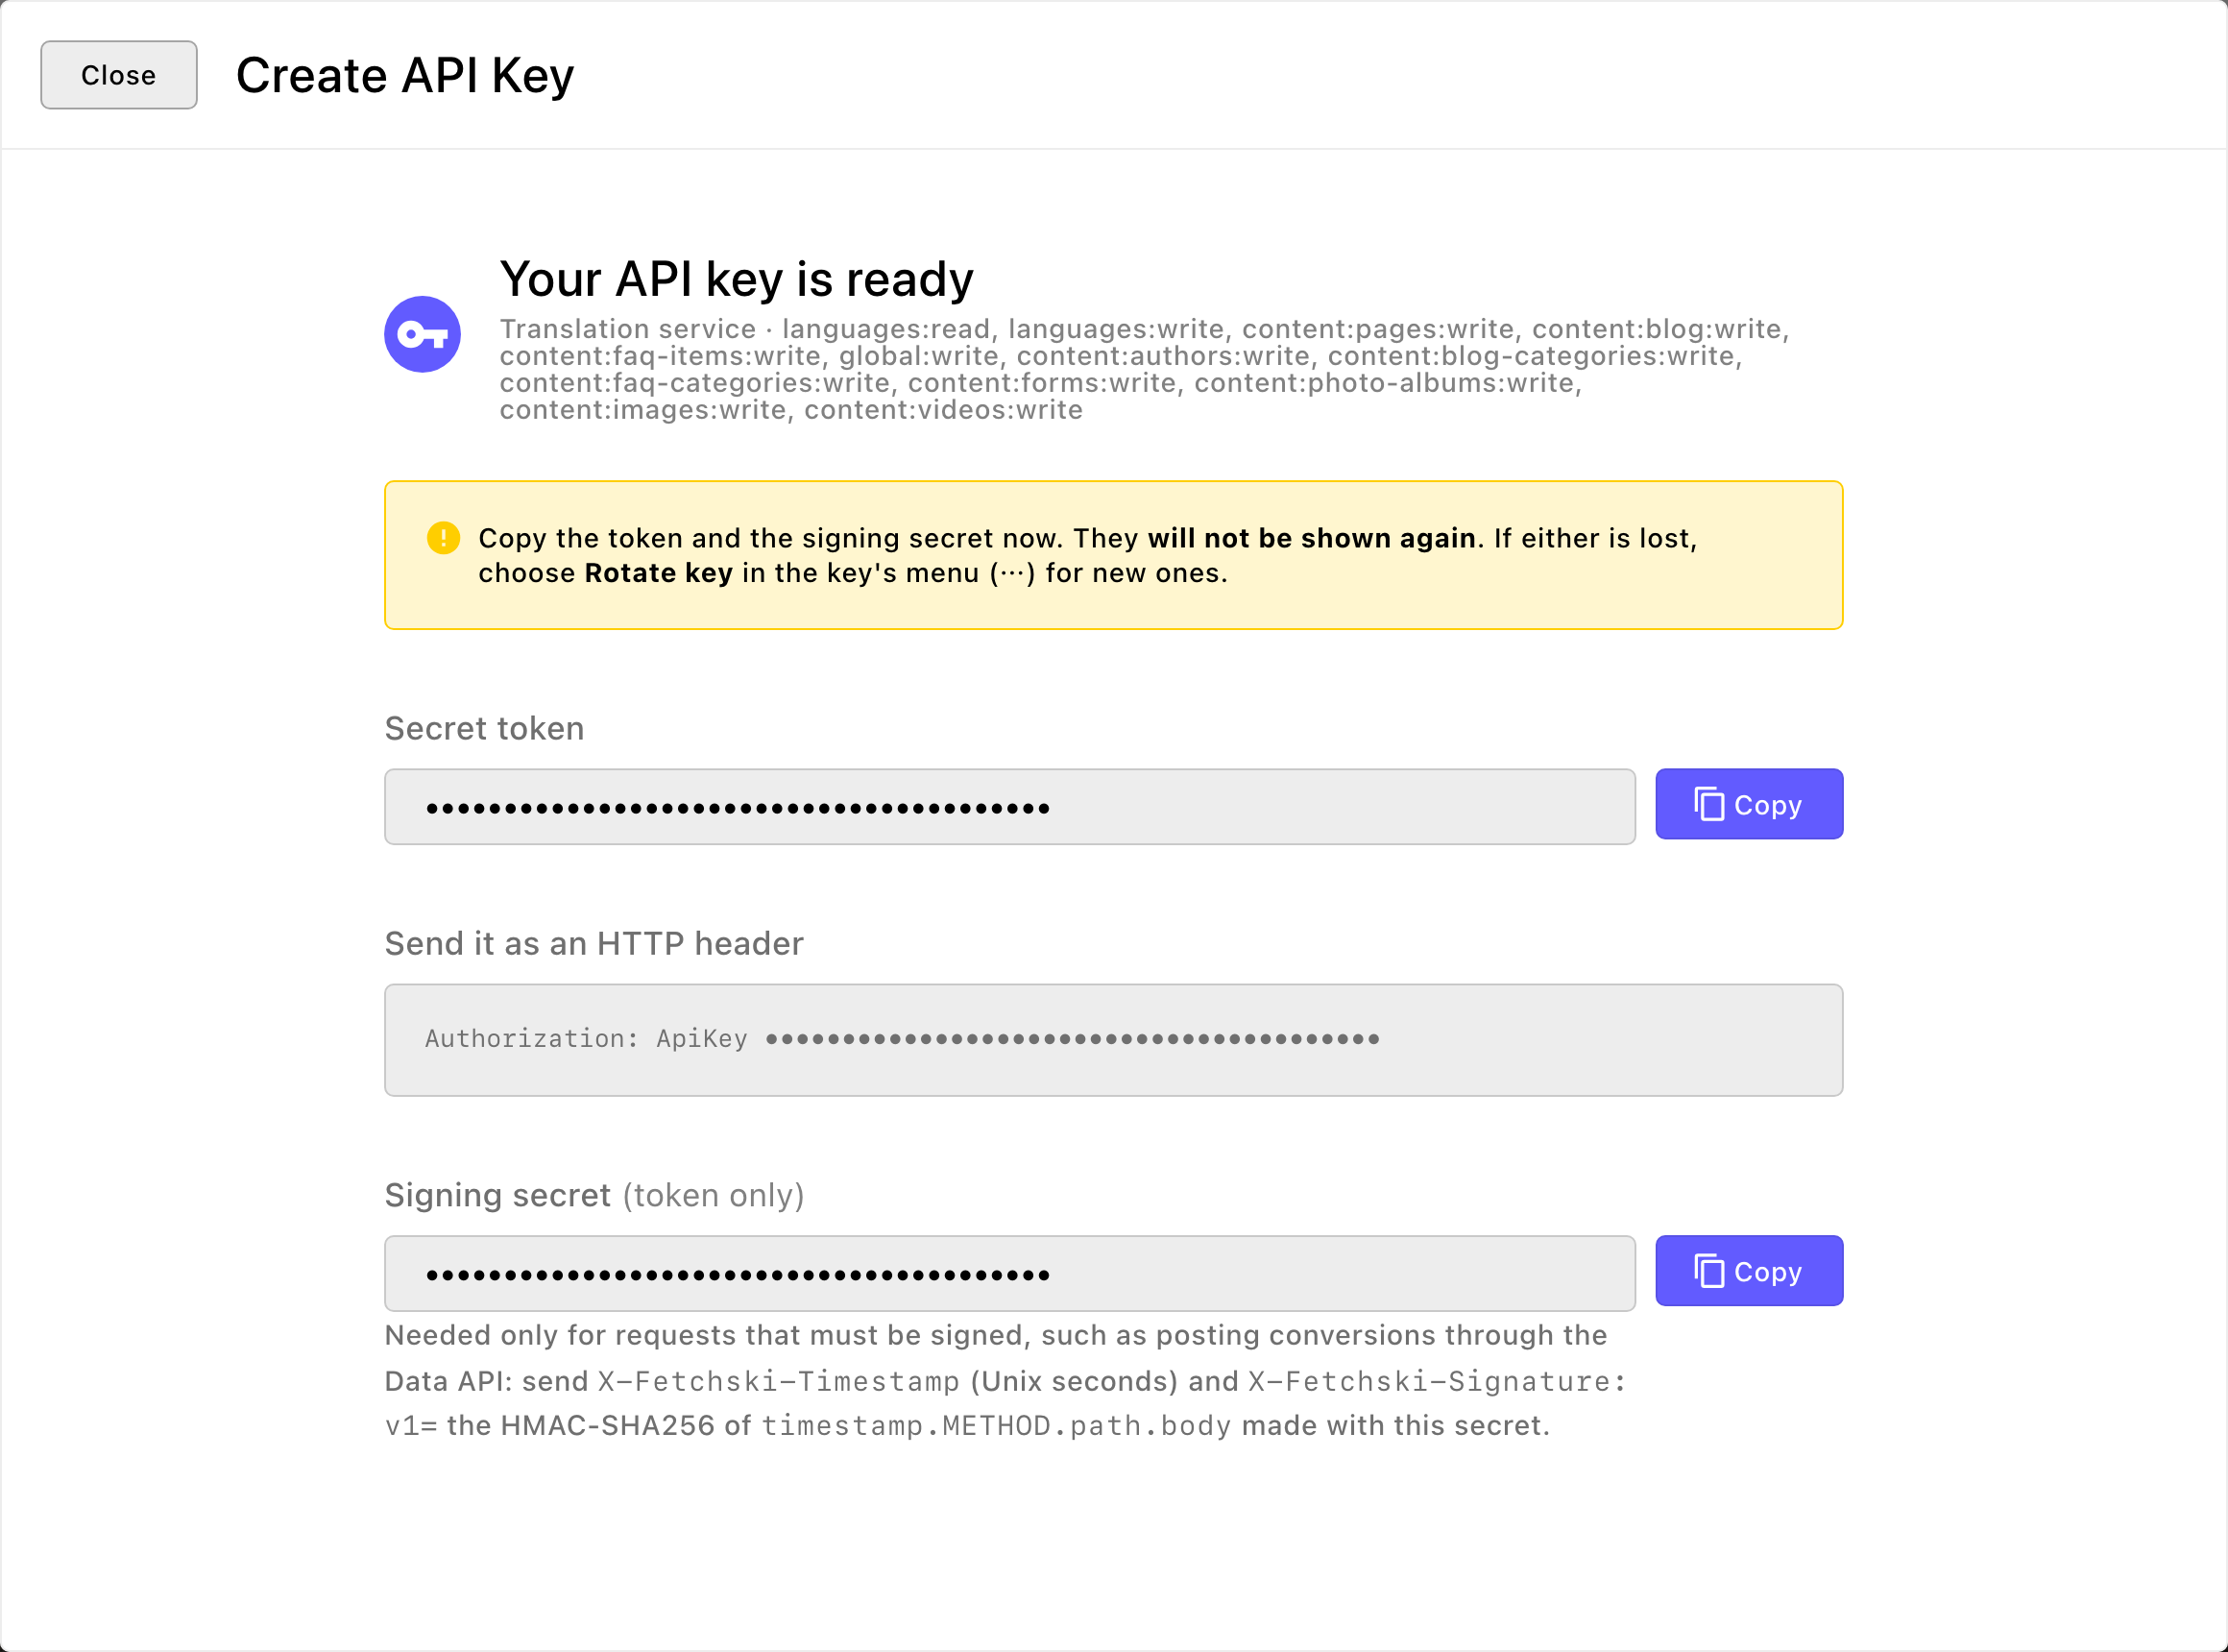
Copy the token and signing secret now. They won't be shown again.
Manage your keys
The API Keys list shows each key’s Label, Key ID, whether it’s Enabled, and when it was Last used. Open a key to change it. Its Settings, Security and Details tabs hold the same choices you made when you created it.- Stop a key at once: turn off Enabled and save. Its record stays, so you can turn it back on.
- Lost the token, or worried it leaked? It can’t be shown again, so open the key’s menu (⋯) and choose Rotate key. The key gets a new token and a new signing secret, shown once, and the old ones stop working at once. Its label, scopes and security settings stay the same. Give the new token to the developer straight away.
- You can give only what you have. A key can’t hold a scope your own role doesn’t allow. A pack that needs one stays in the list but can’t be picked, and it says which scopes it needs.
Scope Packs
A Scope Pack is a named set of scopes, so a key for a common job takes one pick instead of a dozen checks. Open them with the Scope Packs button at the top of Manage API Keys, or from the command palette with Scope Packs. The shortcut is G then Shift+K. The API Keys button at the top of Scope Packs takes you back.- Default packs come with your site, one for each Recipe in these docs, such as Site translation or Content rewrites. The Kind column says Default, or Default (edited) once someone has changed one.
- Make your own: choose New Scope Pack, give it a Name and a short Description, check its Scopes and save. It’s in the list on the Create API Key window from then on.
- Change or remove a pack like any other item. A key made from a pack keeps its own scopes: changing or deleting the pack never changes a key.
- Packs follow your role, too. A pack can only hold scopes you could give a key yourself. A pack holding one you can’t give opens read-only for you, so only someone who holds those scopes can change or remove it.
- Put the defaults back: choose Restore default packs. Deleted default packs come back and edited ones go back to how Fetchski ships them. Packs you made yourself aren’t touched.
Send events with a webhook
1
Open Webhook Destinations
In the command palette, choose Go to Webhook Destinations. The shortcut is G then W.
2
Start one
Choose Create webhook destination.
3
Say where to send
- Name: for your own reference, such as “CRM”.
- URL: the address the other system gave you. It must start with https://.
4
Choose the events
Check at least one:
- Under Forms: Form submitted, a visitor sent a form.
- Under Conversions: Conversion recorded, Delivery outcome (a send to an ad platform finished) and Conversion adjusted (a conversion was changed or canceled).
5
Pick the format
With a form event checked, Form submission format appears. Keep the first choice, the standard format most systems read. Choose Form-encoded only if the other system or its developer asks for it.
6
Narrow it (optional)
Open Filters to send only some events: Only these forms, Only these Conversions or Only conversions reported to some ad platforms. Leave a filter empty to send everything it covers.
7
Create it
Choose Create destination. Its Signing secret appears once. Copy it and give it to the developer. The other system uses it to check that each delivery really came from your site.
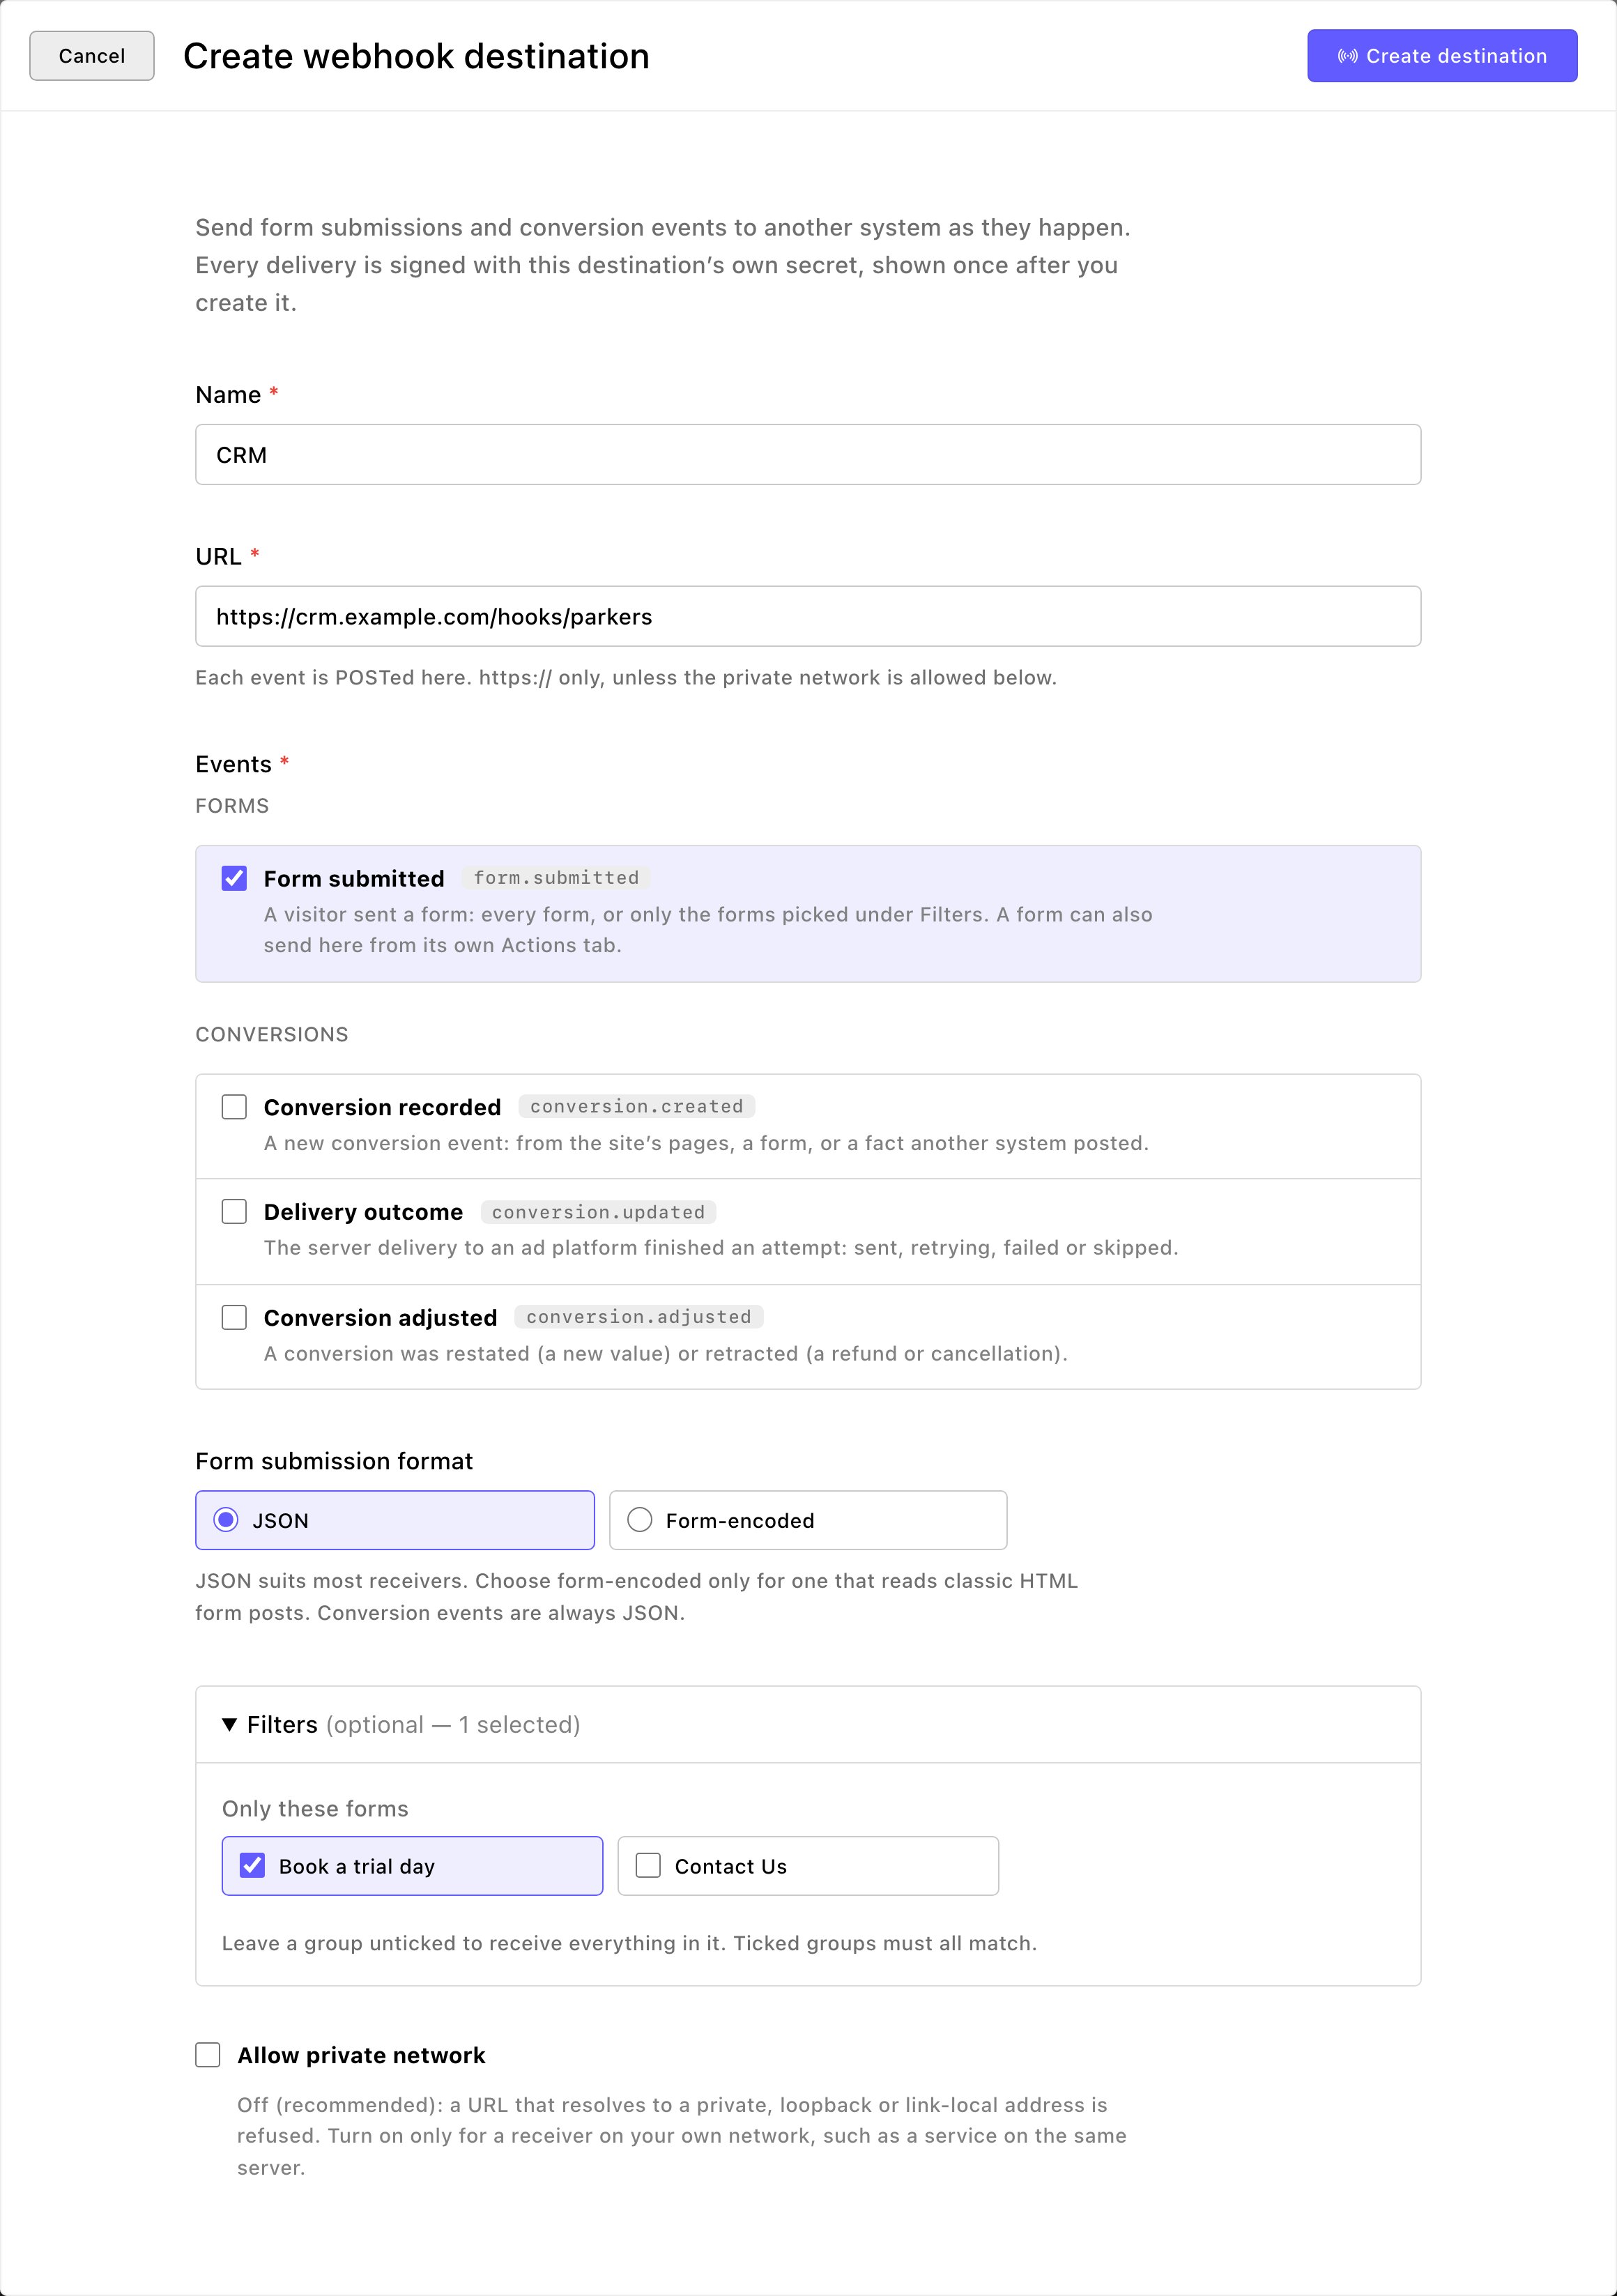
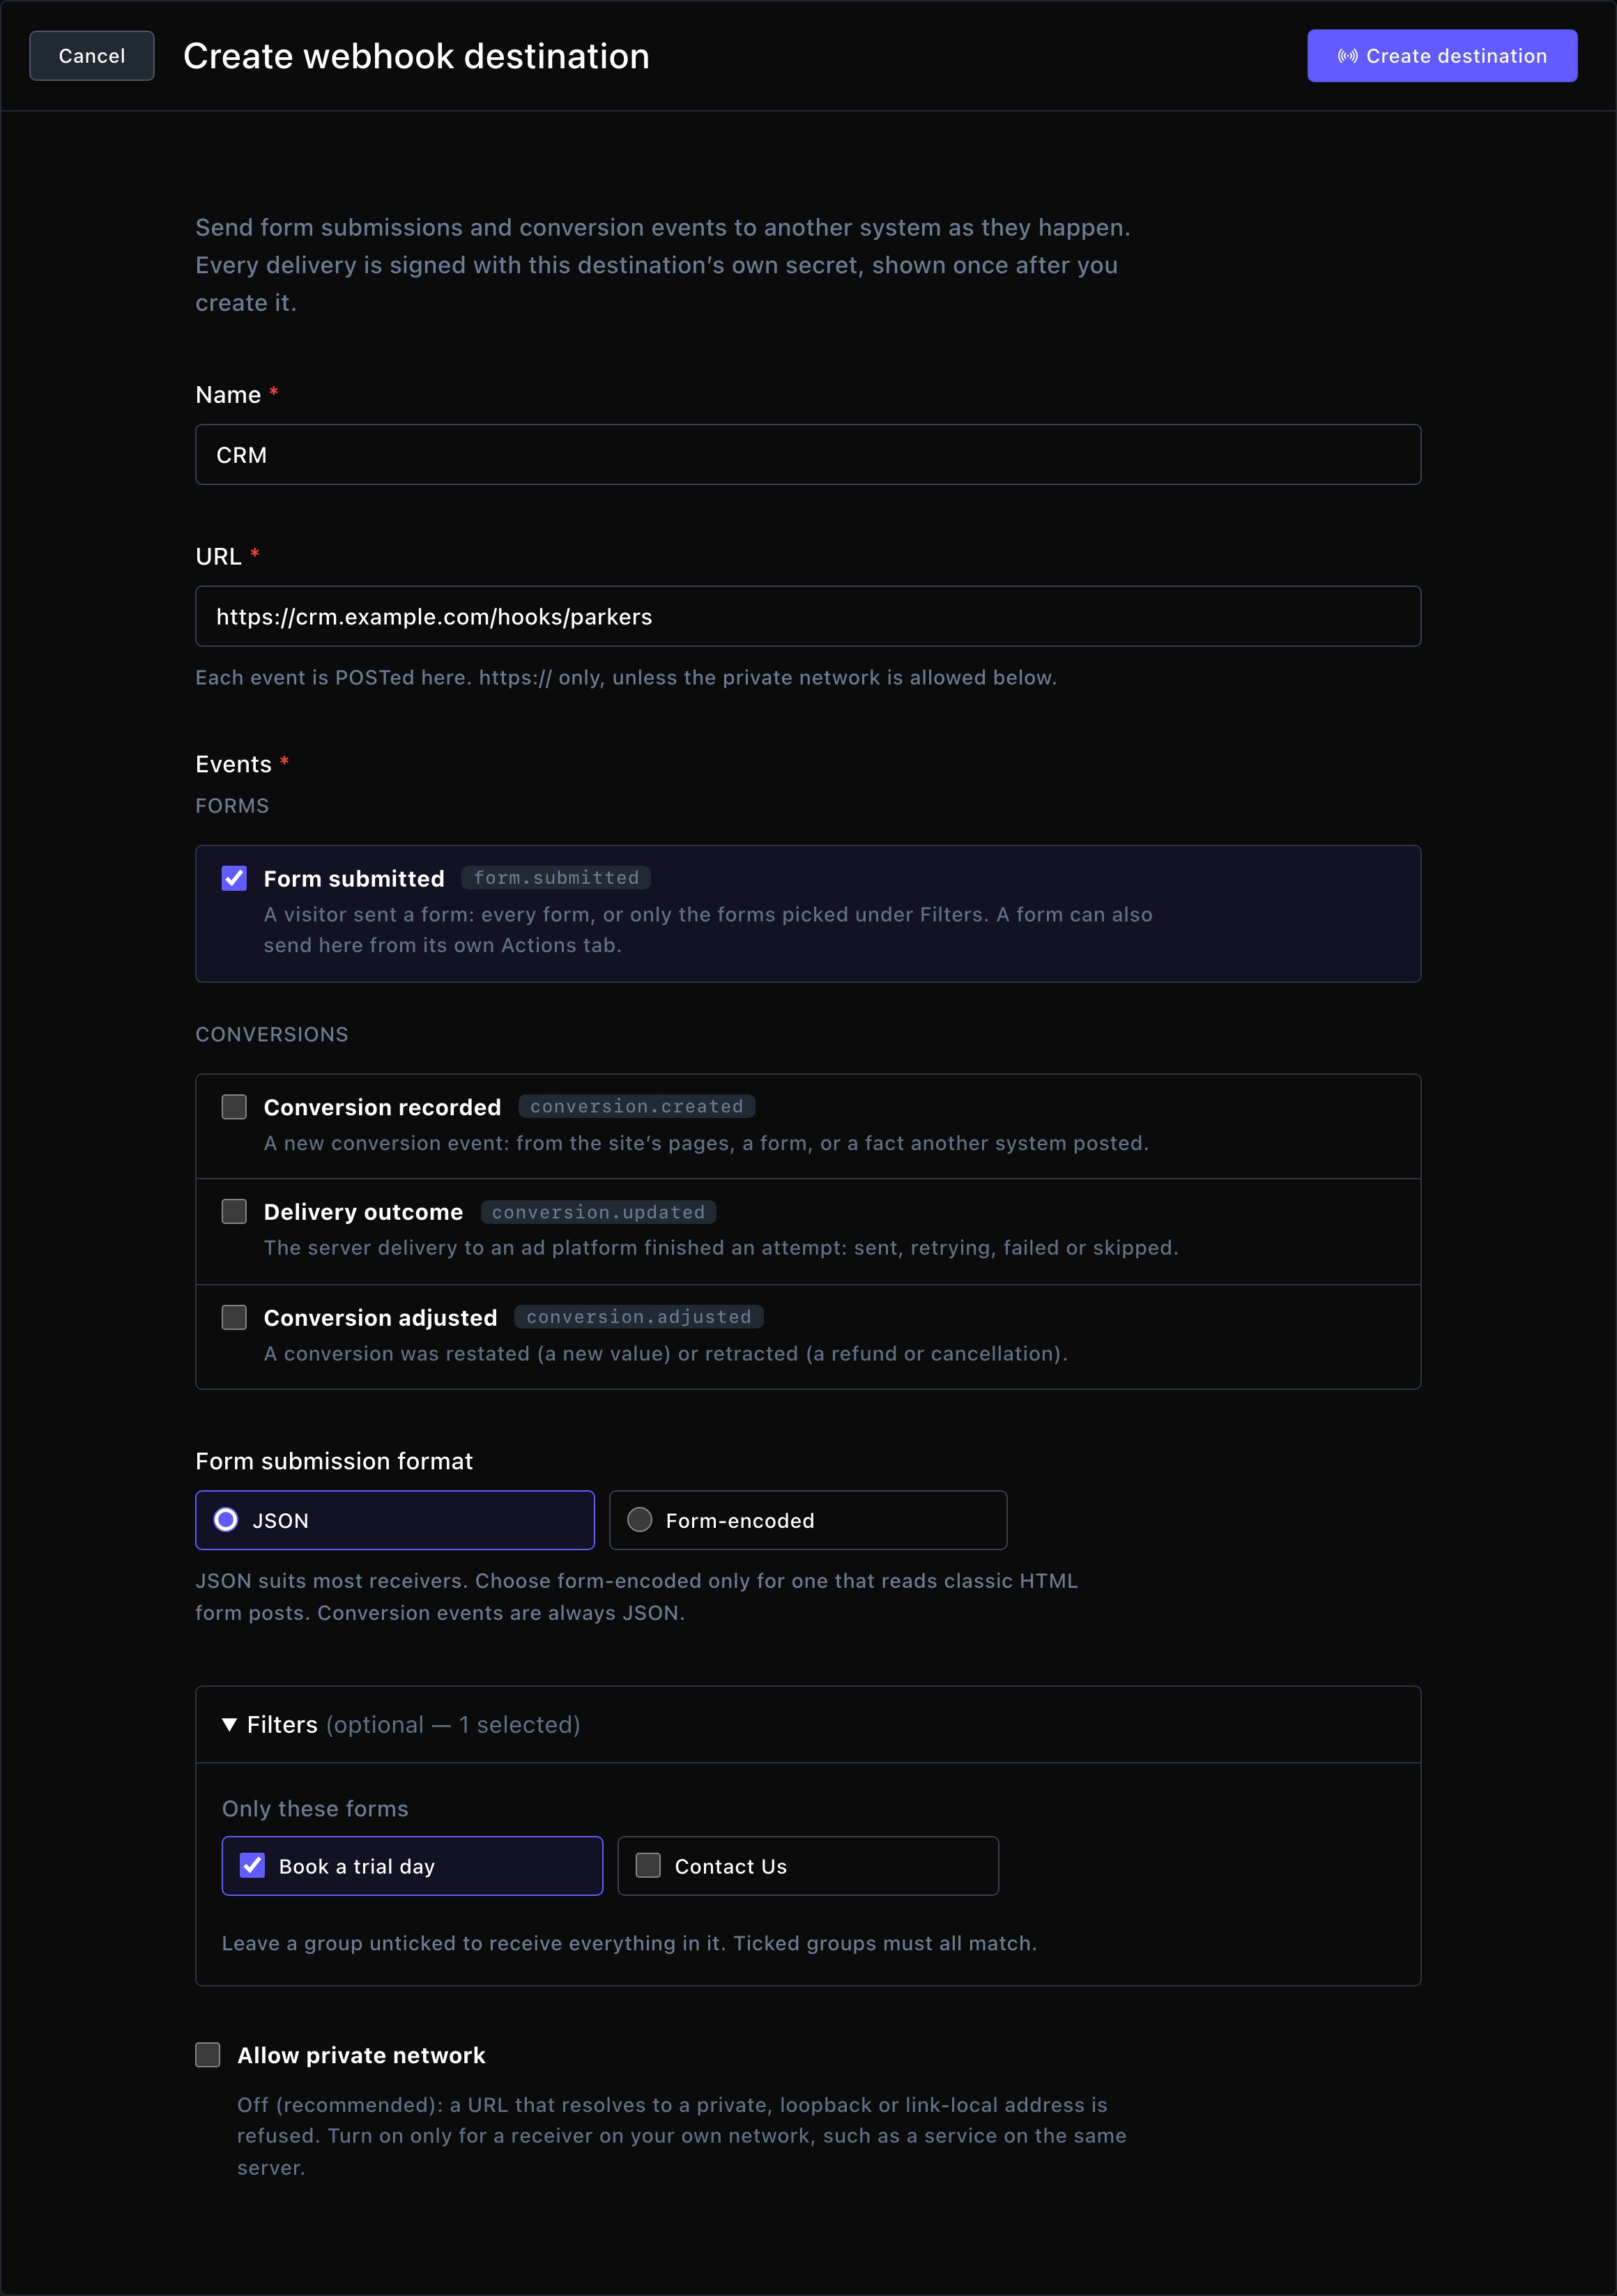
Choose the events, and optionally which forms or conversions.
Send a form to a webhook
A form can also pick a destination itself. In the form’s editor, open the Actions tab, add Send to webhook, and choose the Webhook destination. This works even if the destination doesn’t subscribe to Form submitted. Each submission reaches a destination once, however it was chosen. See Build a form.Check deliveries
Open a destination and go to its Deliveries tab. It lists recent deliveries, newest first, kept for 30 days: when, the event, its status and the other system’s answer.- Send test event sends a sample now and shows the answer. It works even while the destination is paused or off.
- It worked: you see “Test delivered — the receiver answered HTTP 200 in …”, with a number and a time. Any answer in the 200s is a success.
- It didn’t: you see “Test not delivered:” followed by the reason. The same reason shows in the delivery’s row in the list.
- What to fix yourself: a mistyped URL, or an event or filter you didn’t mean to set. Anything else, such as the other system refusing the sample, send to that system’s developer with the reason shown.
- Rotate signing secret makes a new secret, shown once. The old one keeps working beside it for 24 hours, so the other system can switch over without missing anything.
- Refresh loads the latest deliveries.
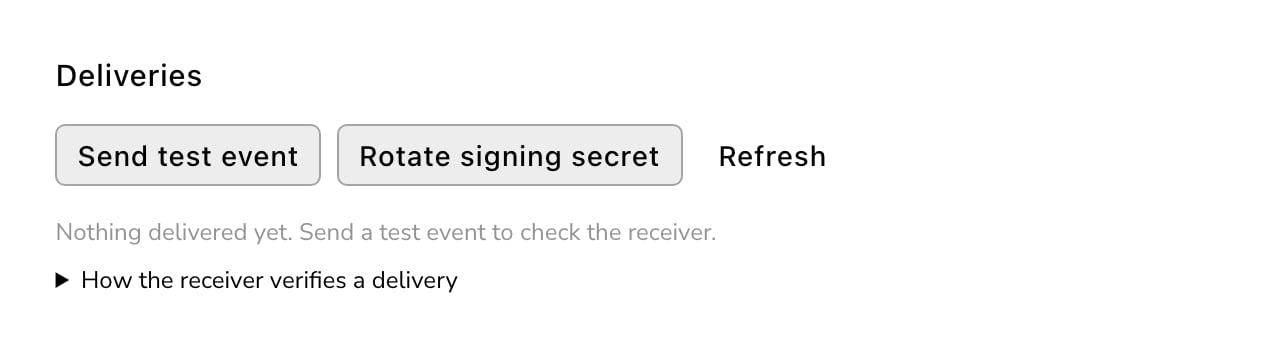
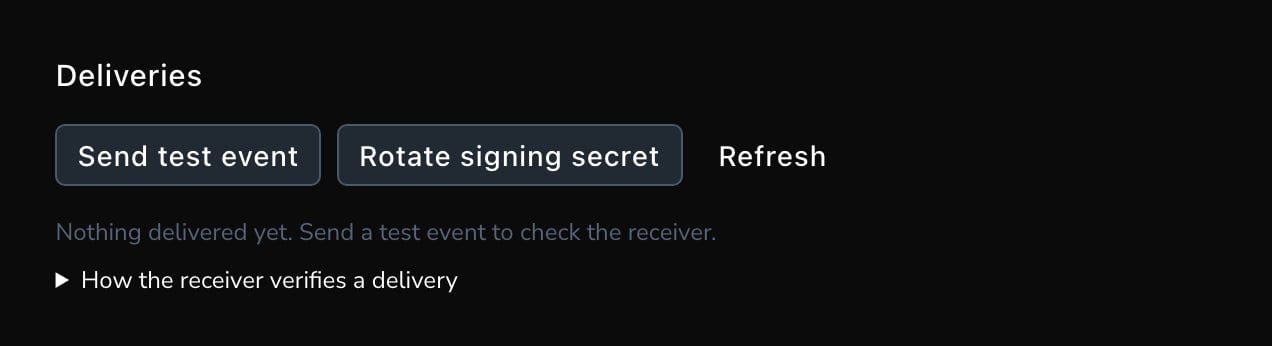
Every delivery and how the other system answered.
When deliveries fail
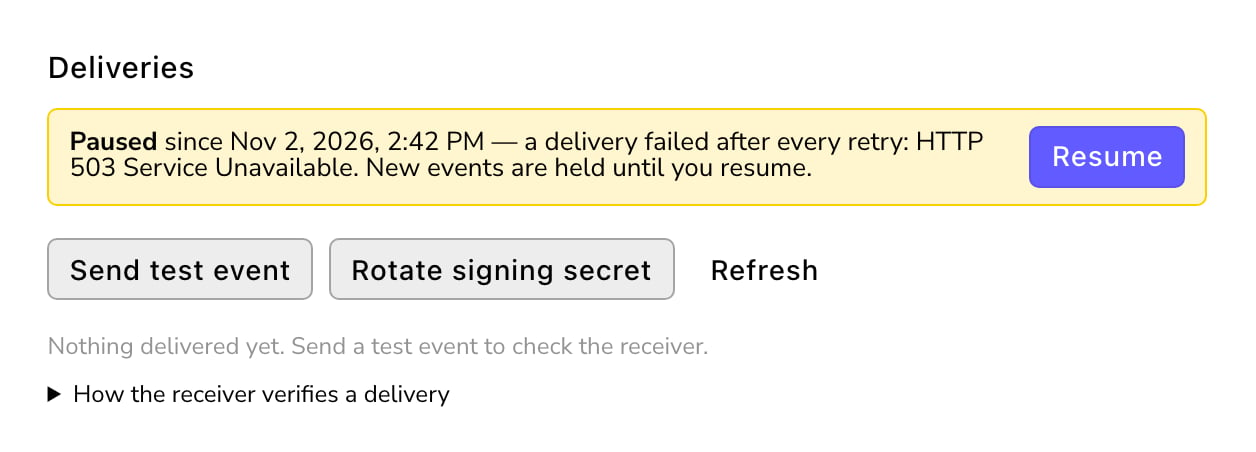
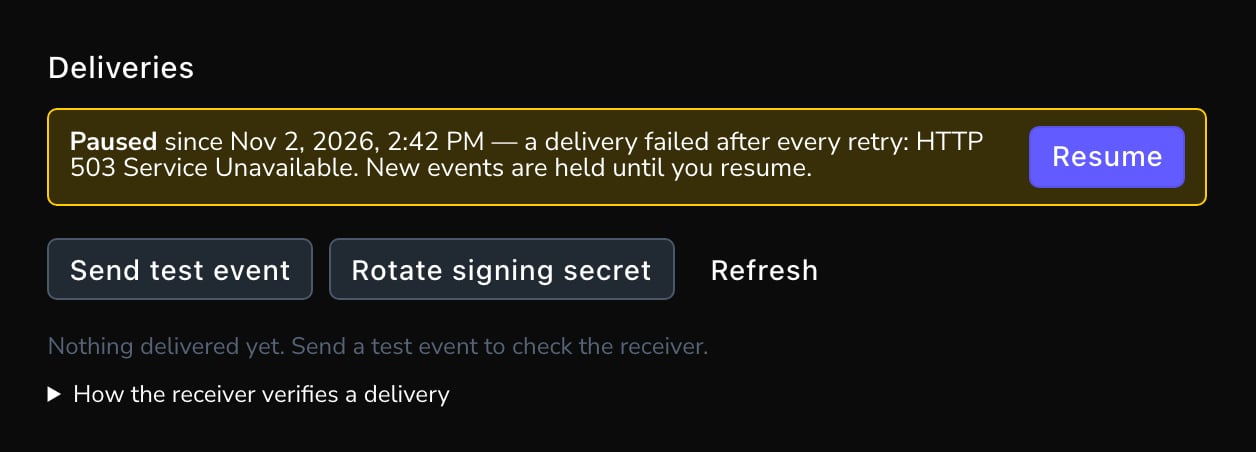
If the other system doesn’t answer, Attract tries again: up to 7 attempts over about a day and a half. If every attempt fails:- the destination is paused, and its Deliveries tab says why;
- new events wait for it, as Held (paused);
- everyone who manages webhooks gets a notification.
Fix the cause, then resume.
Good to know
- Switching a destination off with Enabled cancels anything it still had waiting.
- Custom headers and Allow private network are advanced settings on the Advanced tab. Leave them as they are unless the other system’s administrator gives you values for them.
- Custom headers: extra details sent with every delivery, such as a password the other system asks for. Add exactly what its administrator gives you. Values are hidden once saved.
- Allow private network stays off unless the other system runs on the same private network as your site, such as a service on the same server. While it’s off, Attract refuses addresses inside private networks.
- A webhook never holds up your site. A delivery problem never stops a form from sending or a conversion from being recorded.
Troubleshooting
I lost the signing secret
I lost the signing secret
It can’t be shown again. Open the destination’s Deliveries tab and choose Rotate signing secret. Give the new one to the developer within 24 hours.
The developer gets refused with my key
The developer gets refused with my key
Check the key is Enabled and not past Expires. Check its Scopes cover what the system is doing. If you listed Allowed addresses, see Allowed addresses under “Create an API key”.
I don't see API Keys or Webhook Destinations
I don't see API Keys or Webhook Destinations
They’re for Admins and Owners. Ask one of them for the Issue and manage API keys or Manage webhook destinations permission.
Related
Quickstart
the developer’s first call with your key.
Conversion tracking
the conversions webhooks can send.
Form submissions
every form your site receives.
People & Roles
who can manage keys and webhooks.