

 AdonisJS
Before you start
- Sign in to your site.
- The library has 3 parts, each with its own window: Images, Videos and Files (documents such as PDFs).
- Each part can be sorted into folders. See Folders.
Open the library
Open the command palette (⌘K, or Ctrl+K on Windows) and choose Images, Videos or Files. Or use a shortcut while you’re not typing in a box. Press G, let go, then press I for Images, V for Videos or F for Files. The window opens as Manage Images, Manage Videos or Manage Files. On the left is the folder list. In the middle are your folders and files.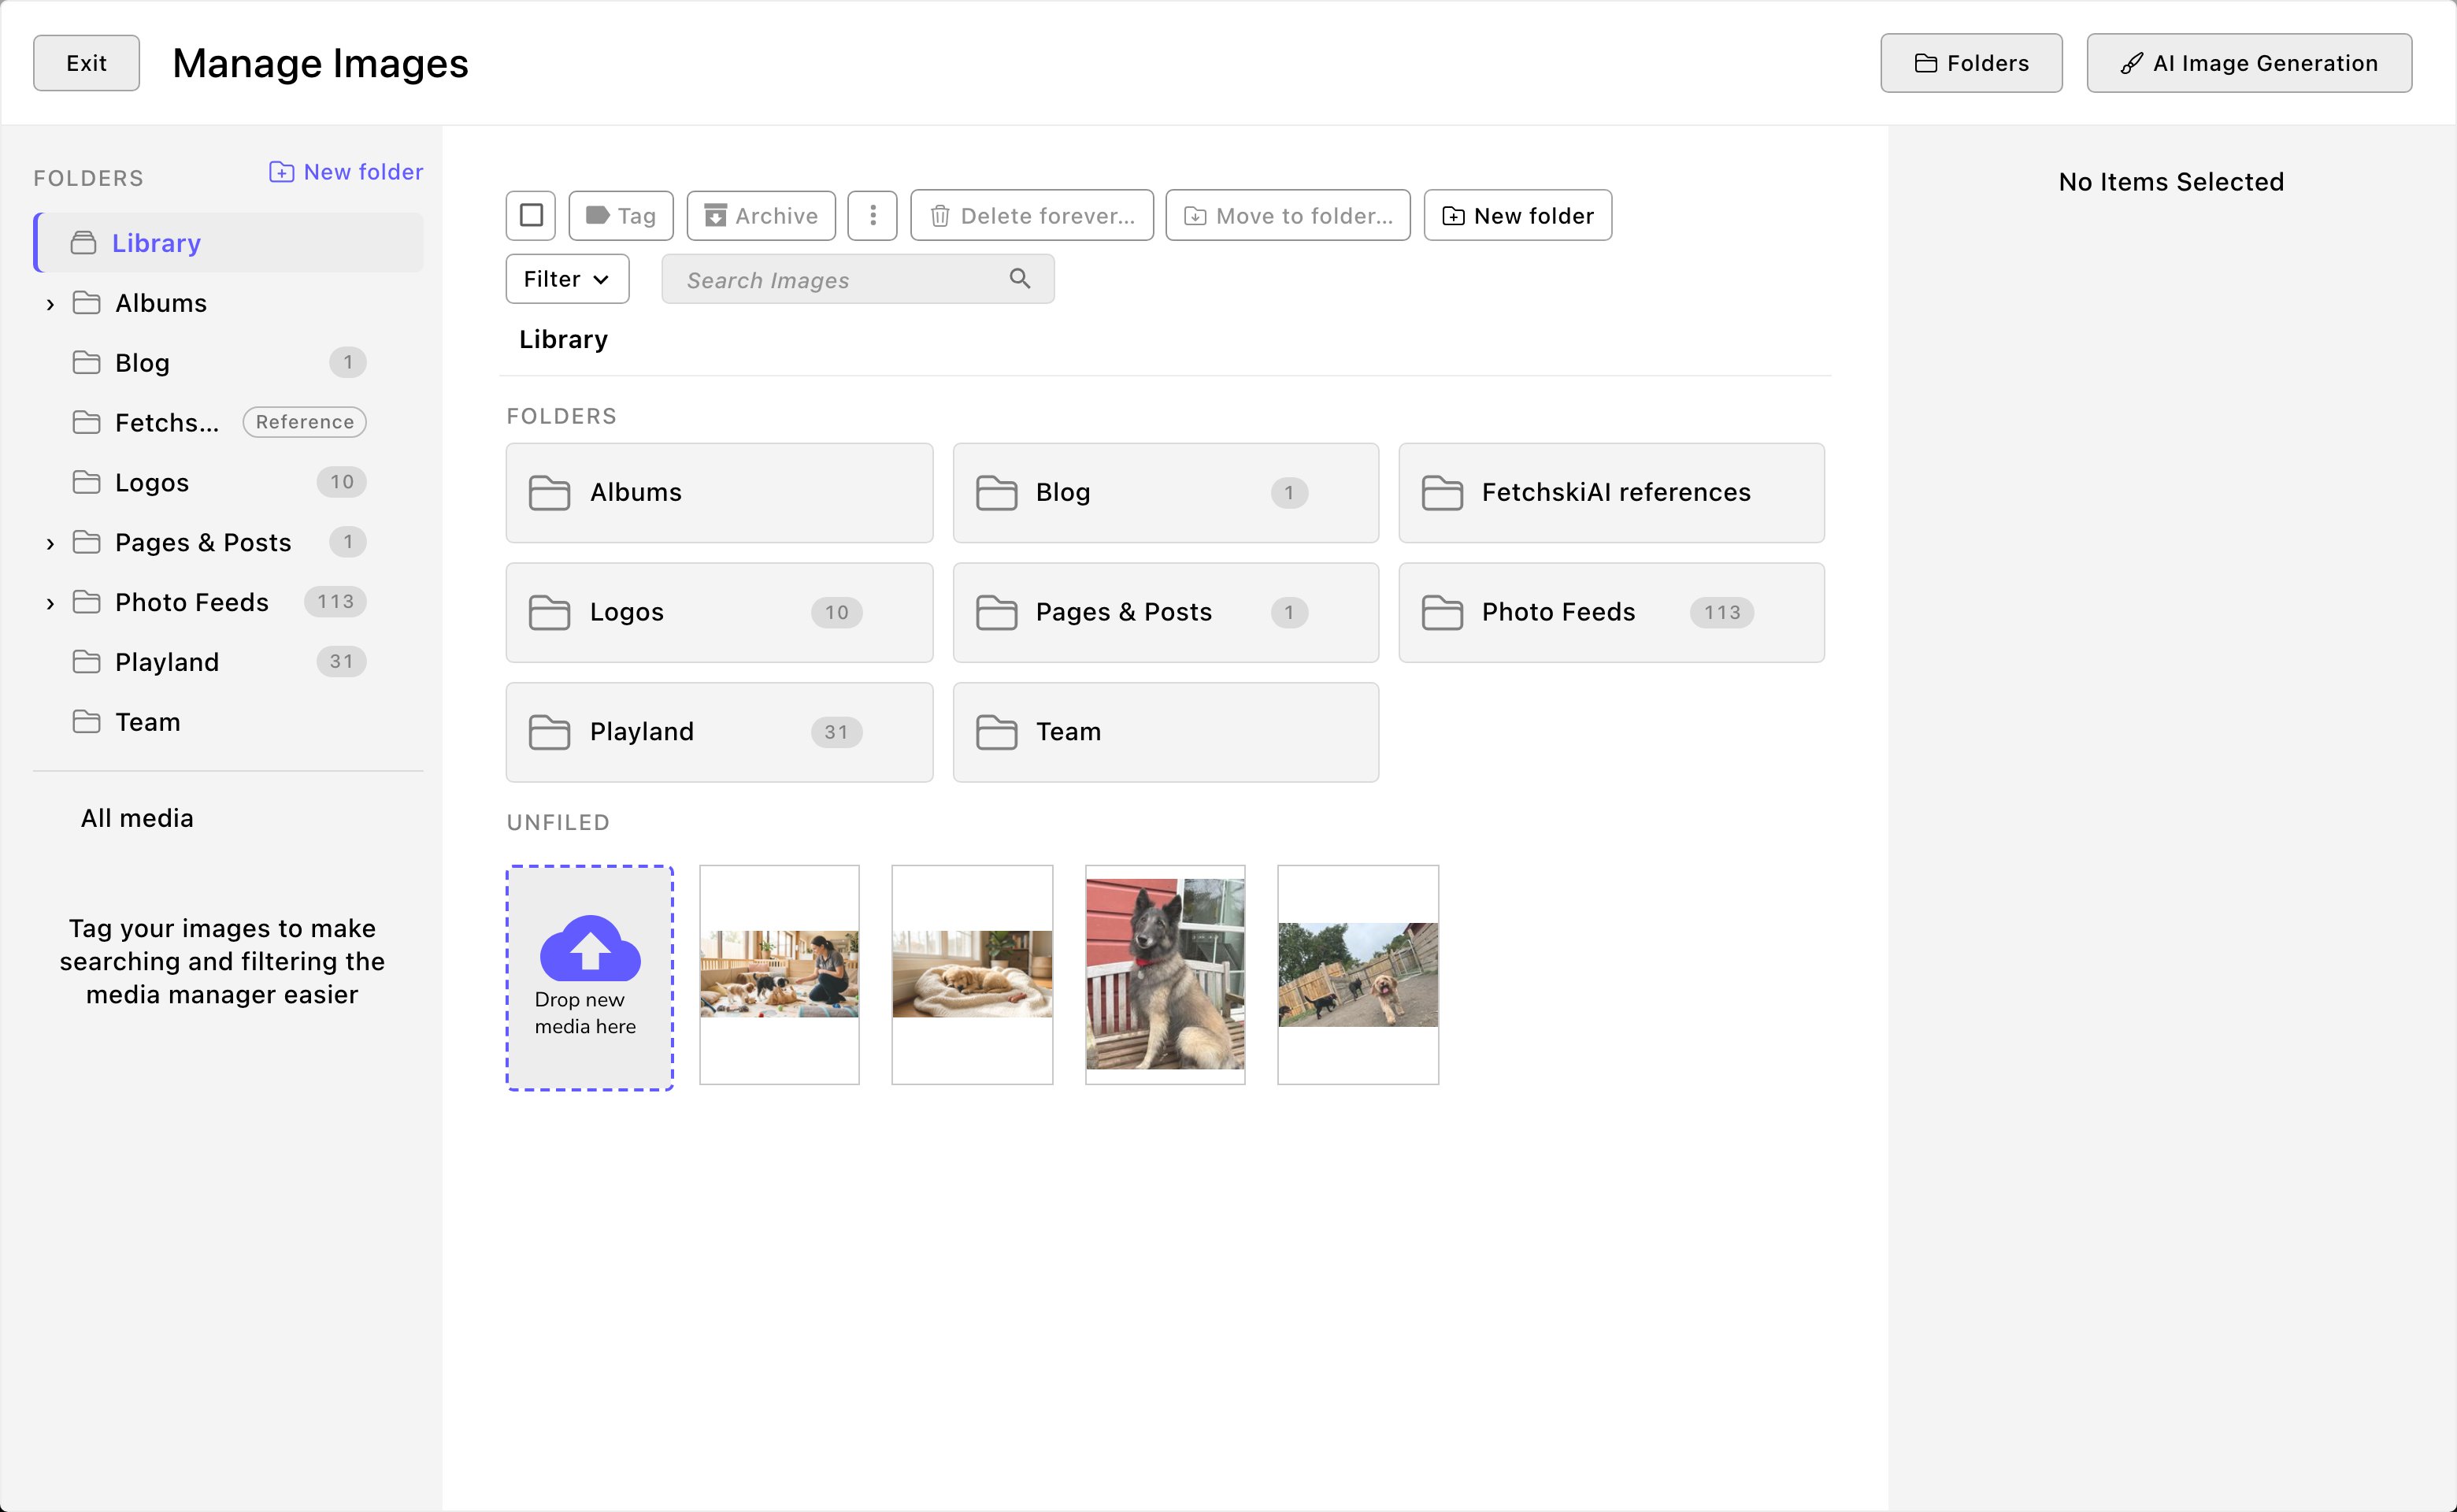
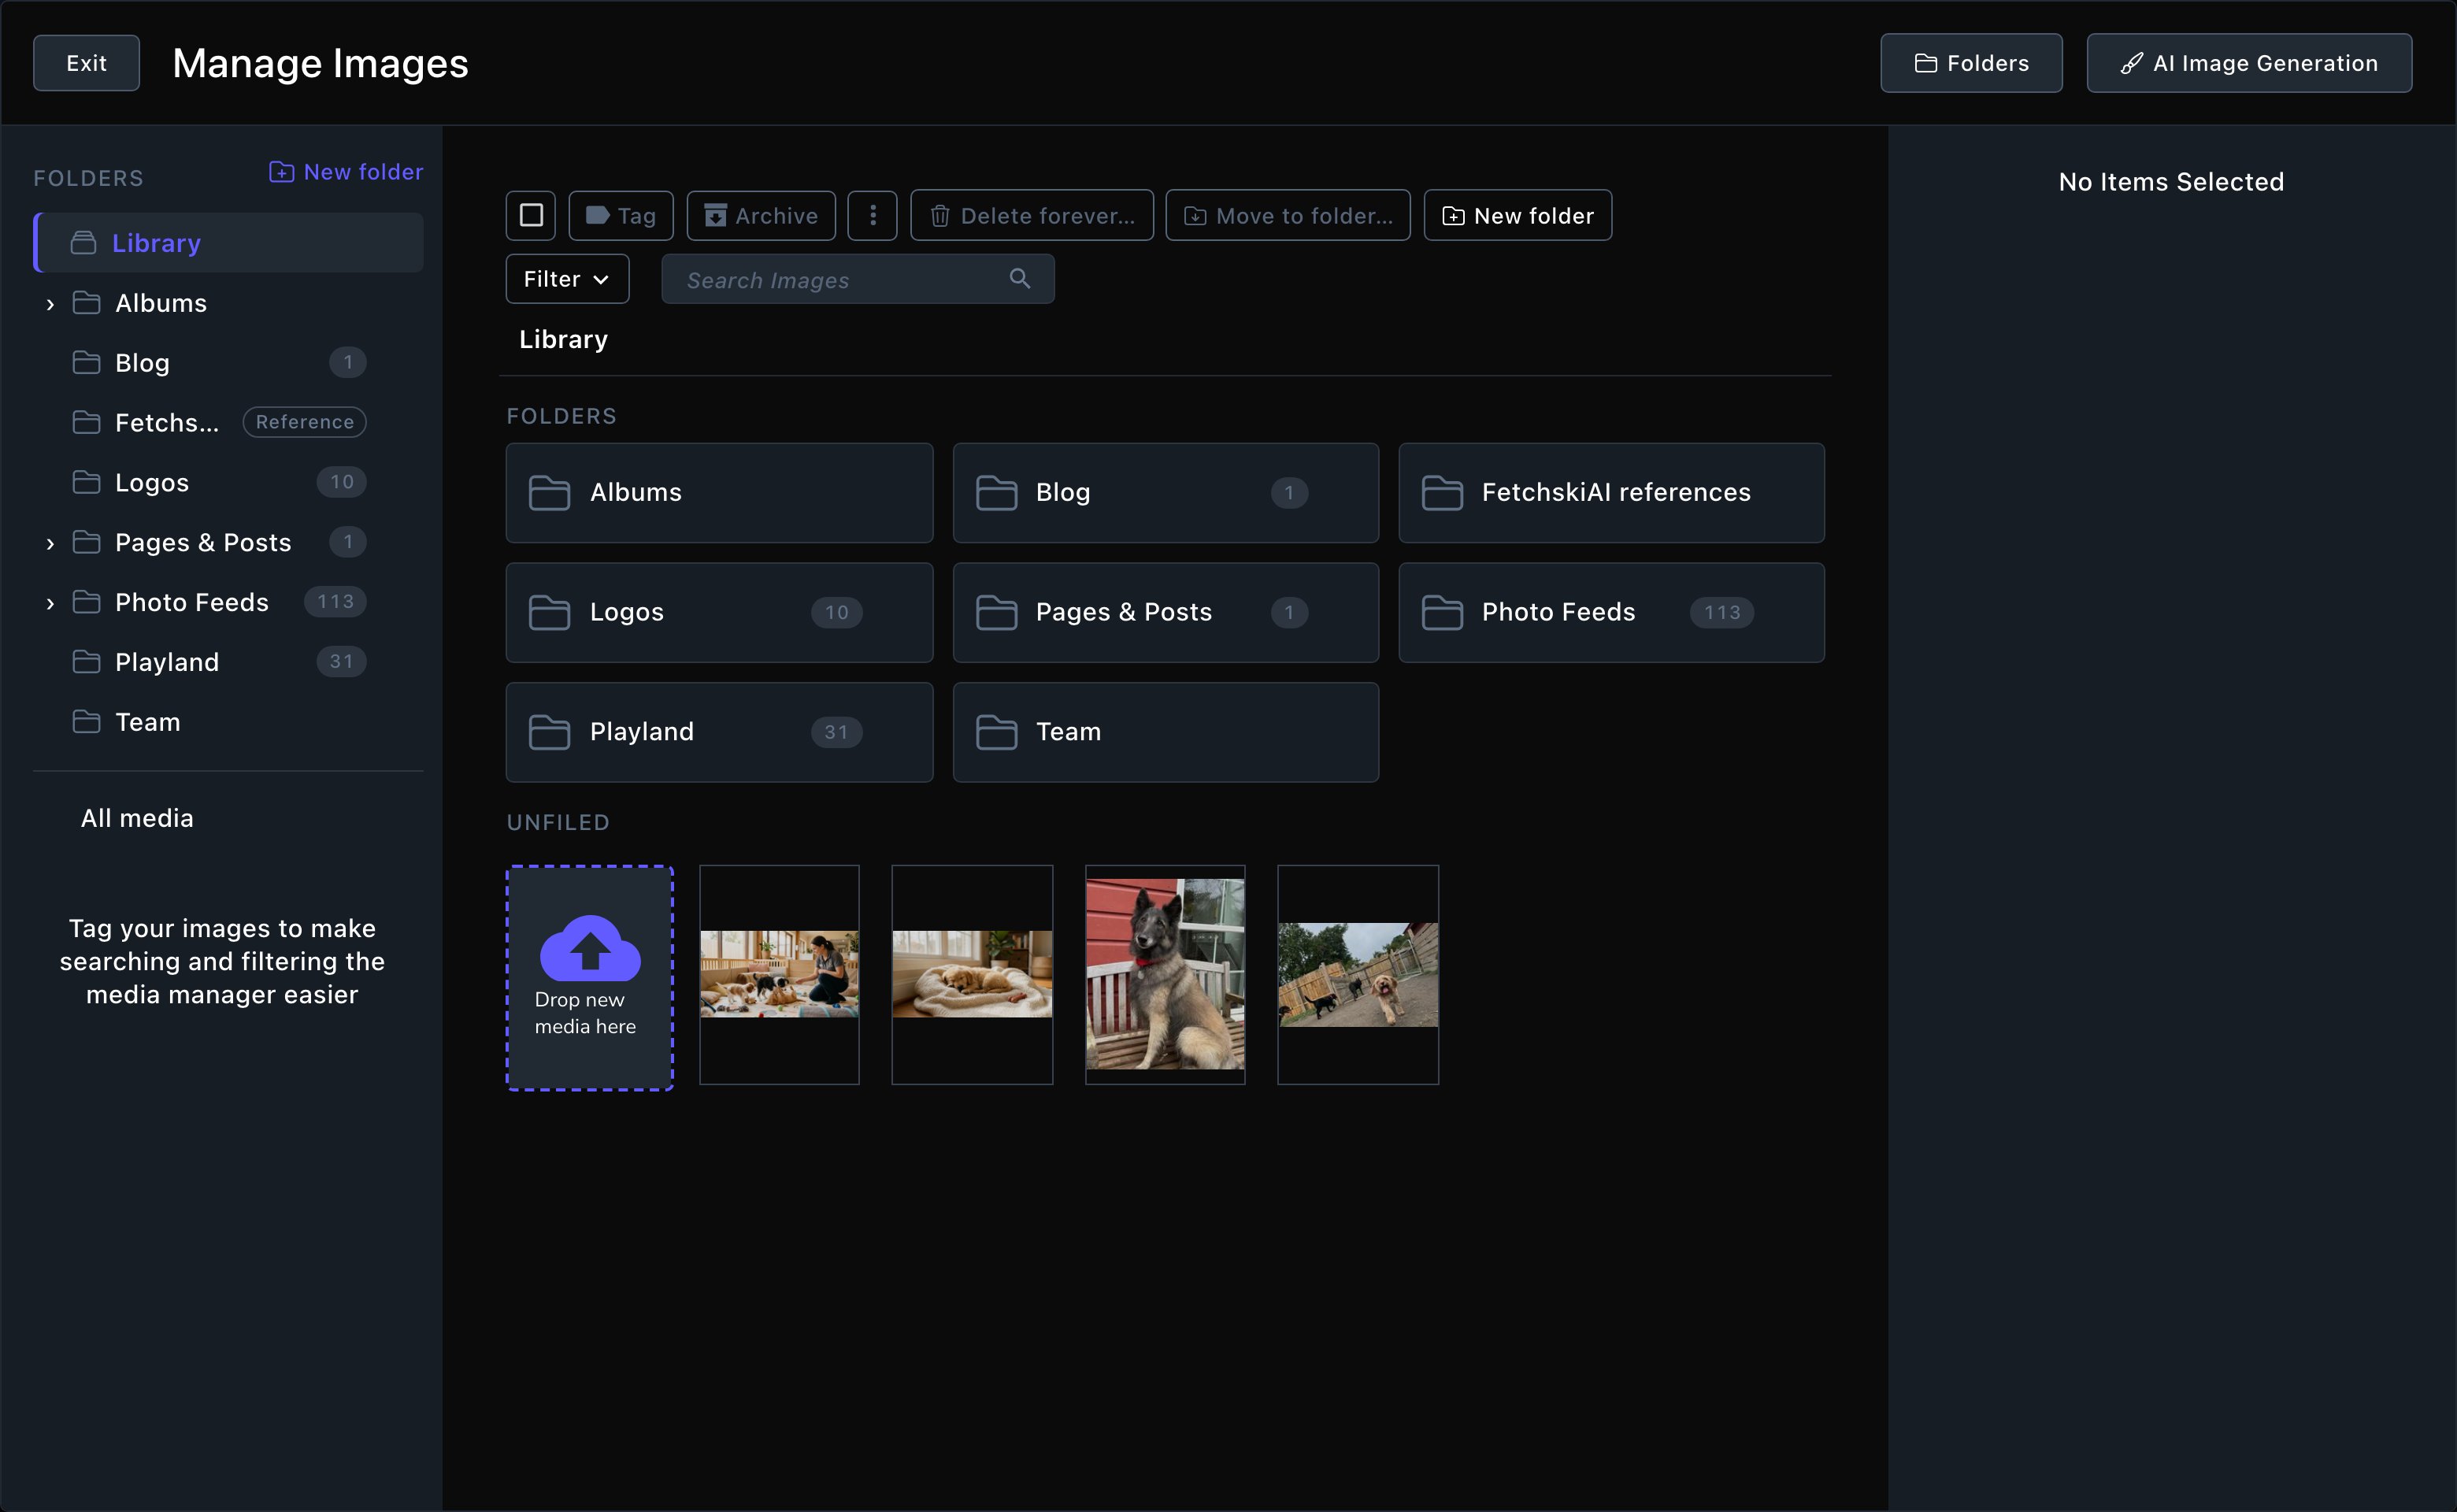
The Images window opens on Library: your folders first, then anything not in a folder.
Find a file
- Library at the top of the folder list shows your folders, then the files that aren’t in any folder, under Unfiled.
- Choose a folder to see what’s in it. The path above the grid shows where you are, such as Library › Events › Summer splash day. Choose any part of the path to go back up.
- All media at the bottom of the folder list shows every file in one list, whatever folder it’s in.
- To search, type in the search box. You search the folder you’re in and the folders inside it. Choose Search everywhere to search the whole library.
Upload images
Open the folder
Add the files
Wait for the upload
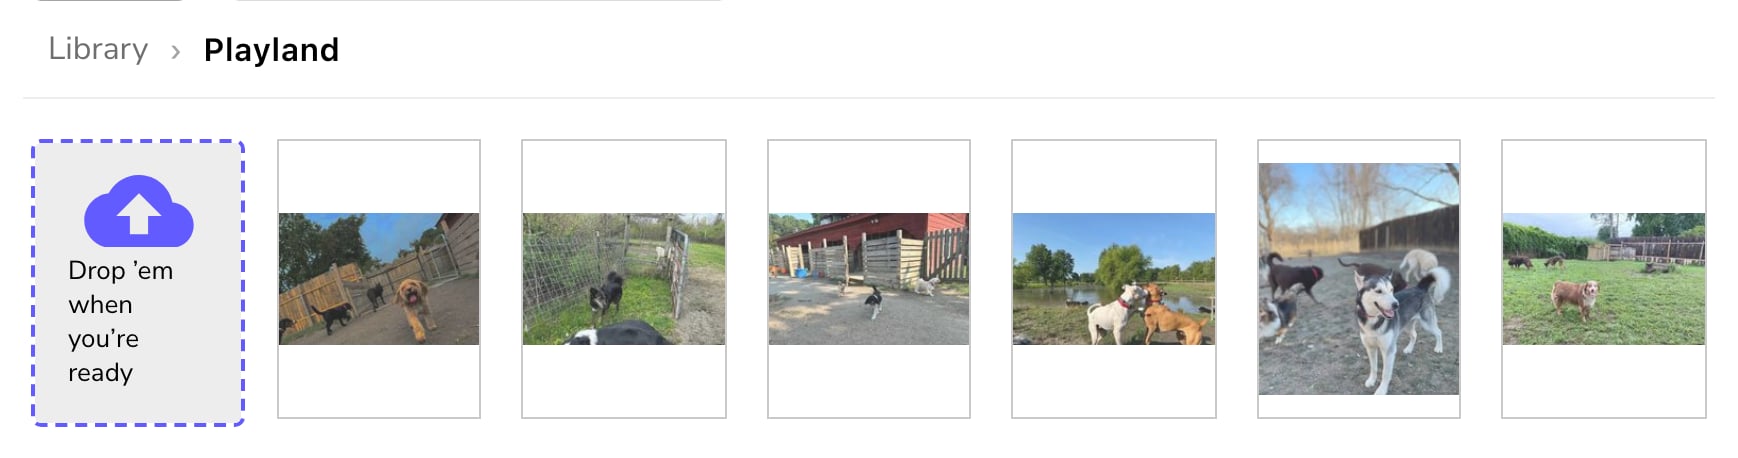
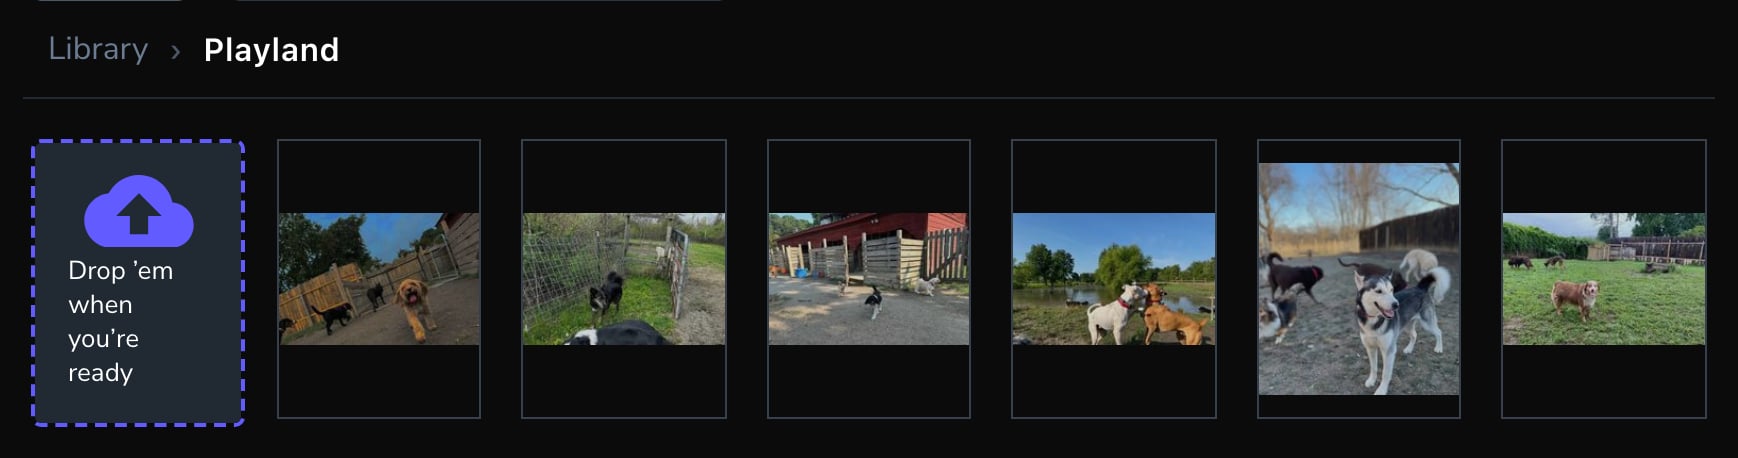
Drop images into the folder you're viewing.
Add a video or a file
Videos and files are added one at a time, each with its own details.Open Videos (or Files) and choose New Video (or New File)
Give it a title and choose the file
For a video, add a Poster / fallback image
To put it in a folder, choose one under Folder (on the Basics tab for a video, the Organize tab for a file)
Finish it
- A file: save it. It’s ready to choose in any section straight away.
- A video: choose Publish. A video is a draft until it’s published, like a page, and you can choose it in a section once it’s published. Contributors choose Submit instead, for an Editor to publish.
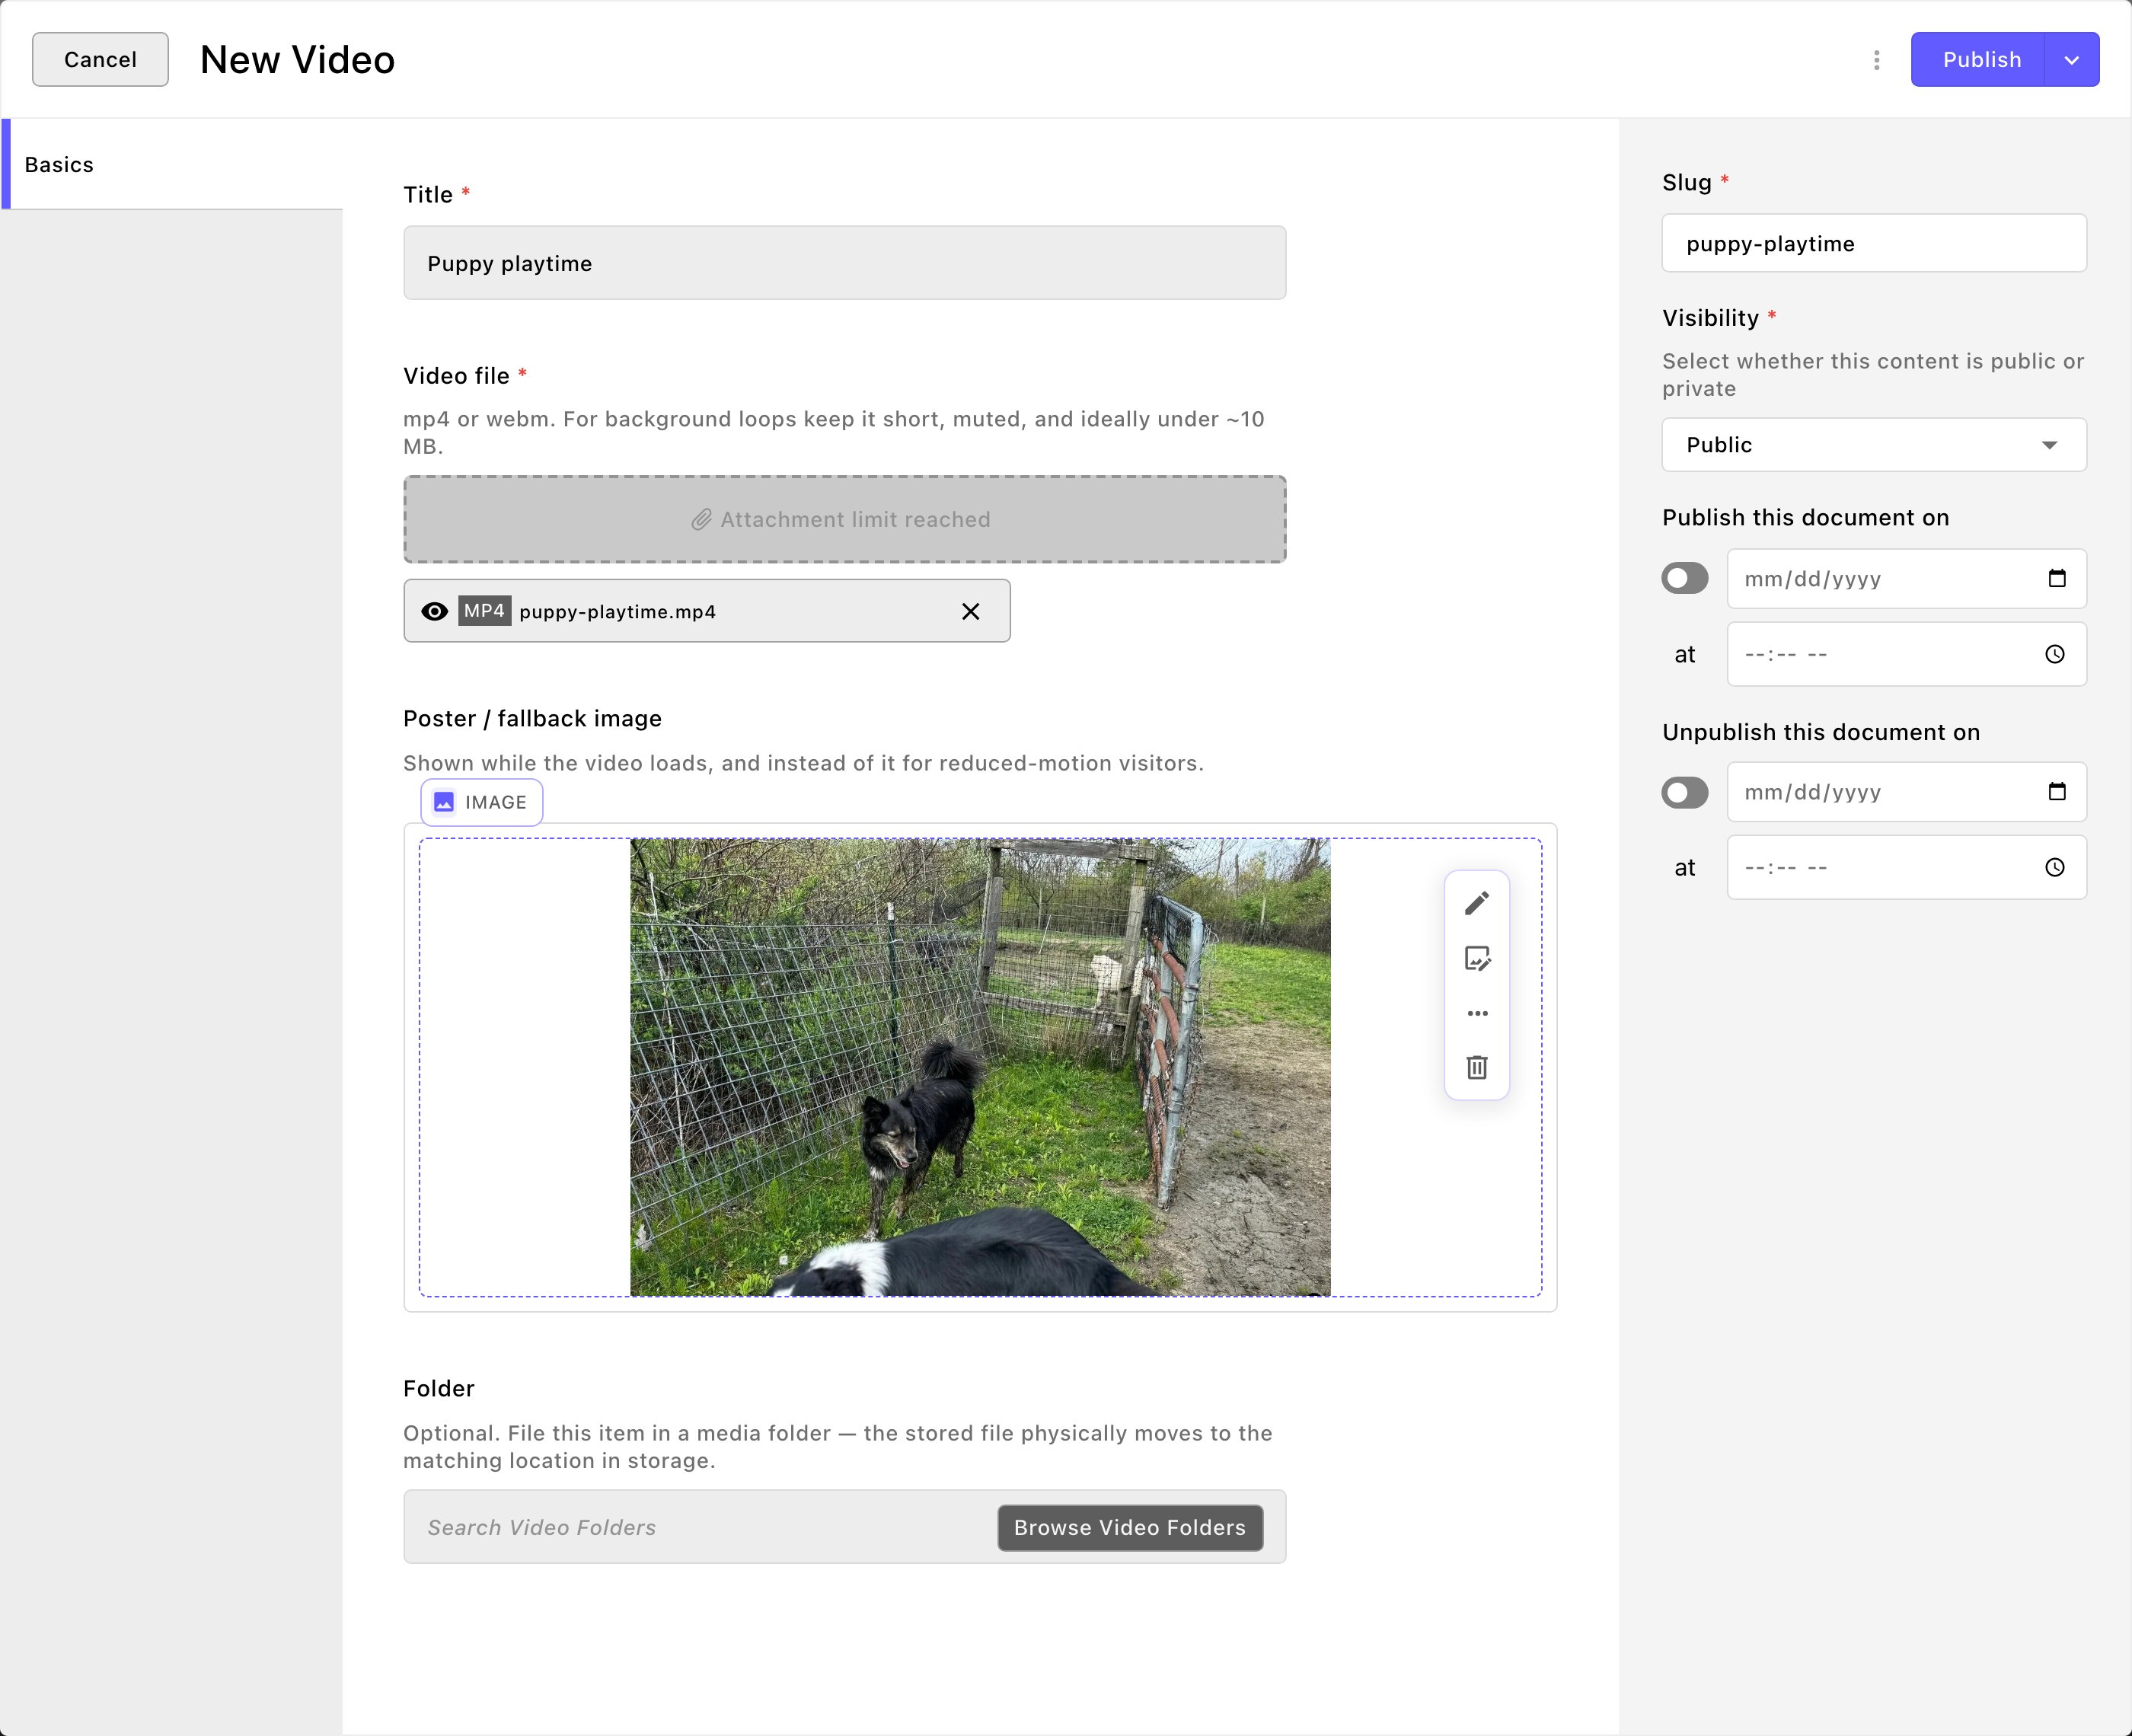
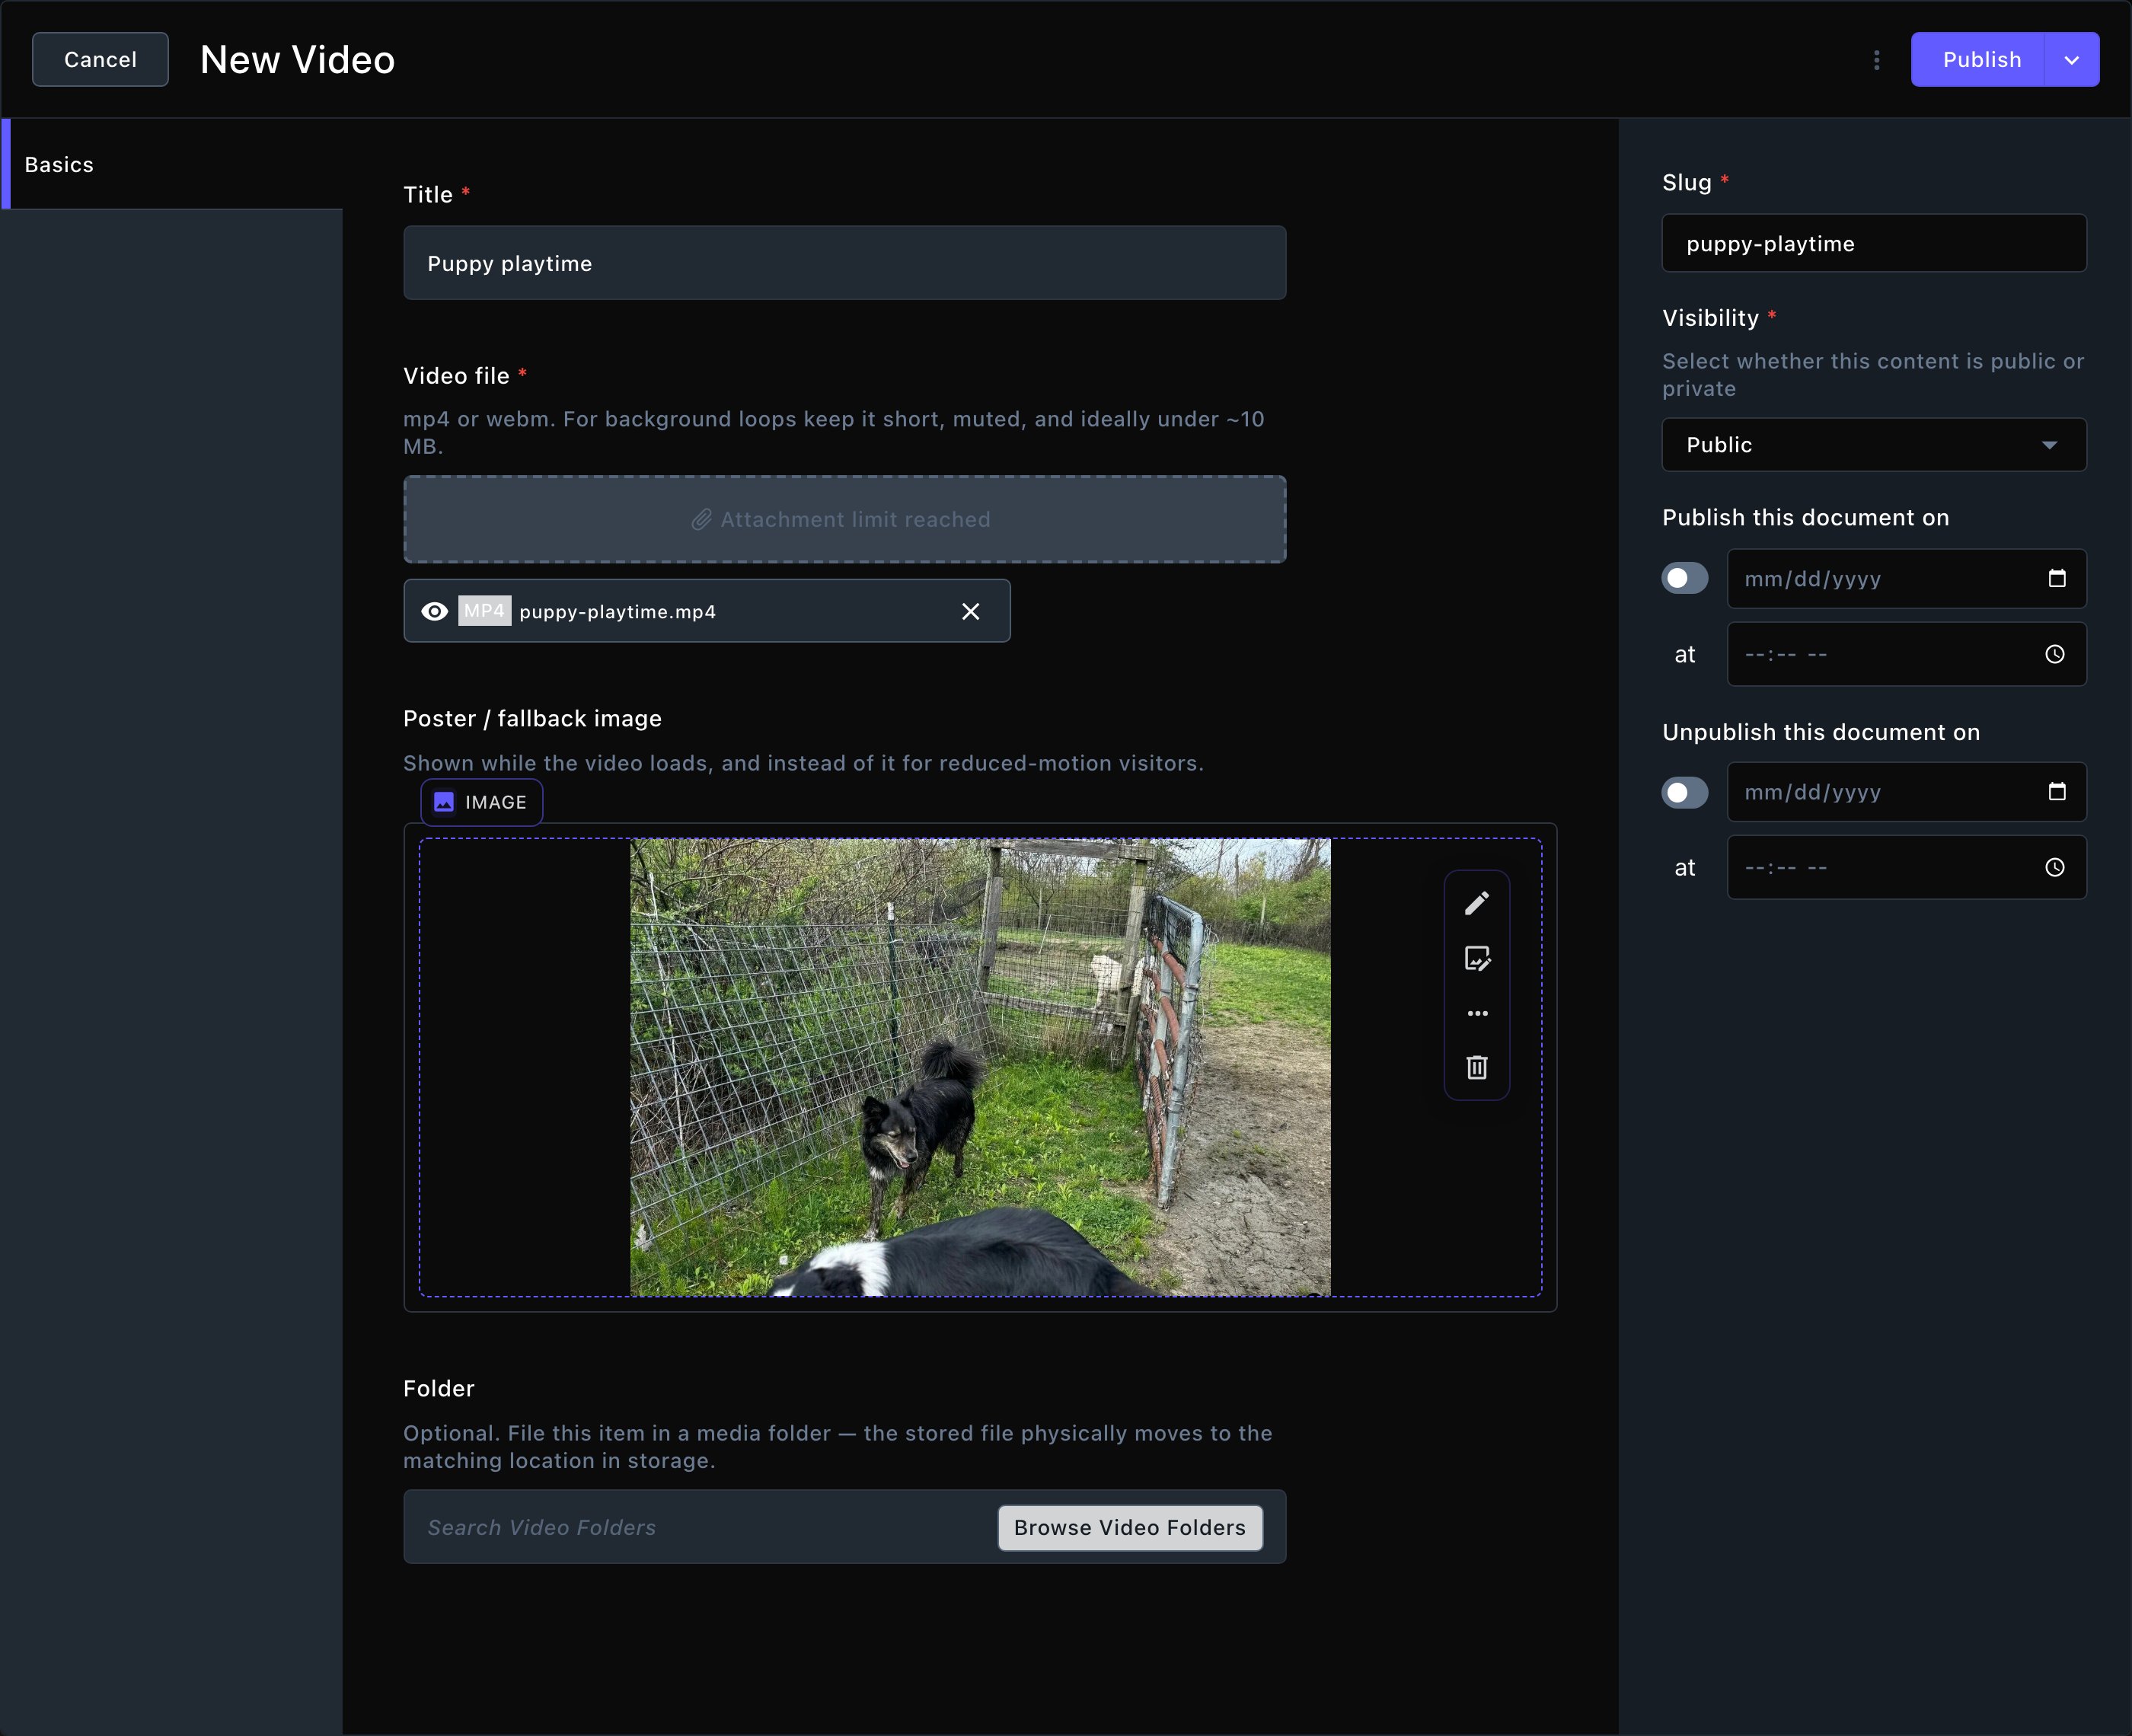
A video with its poster image, filed in a folder.
Edit an image’s details
Choose an image in the grid to see its details on the right, then edit them. Save your changes in the panel when you’re done.- Alt Text: a short description of the picture for people who use screen readers. Describe what matters, such as “Two puppies playing tug-of-war on the lawn”. Every image that carries meaning needs one.
- Credit and Credit URL: who took the photo, and a link to them.
- Folder (on the Organize tab): the folder the image lives in.
- Tags: choose images, then Tag to group them by topic. The tags are listed under the folders, so you can filter by them.
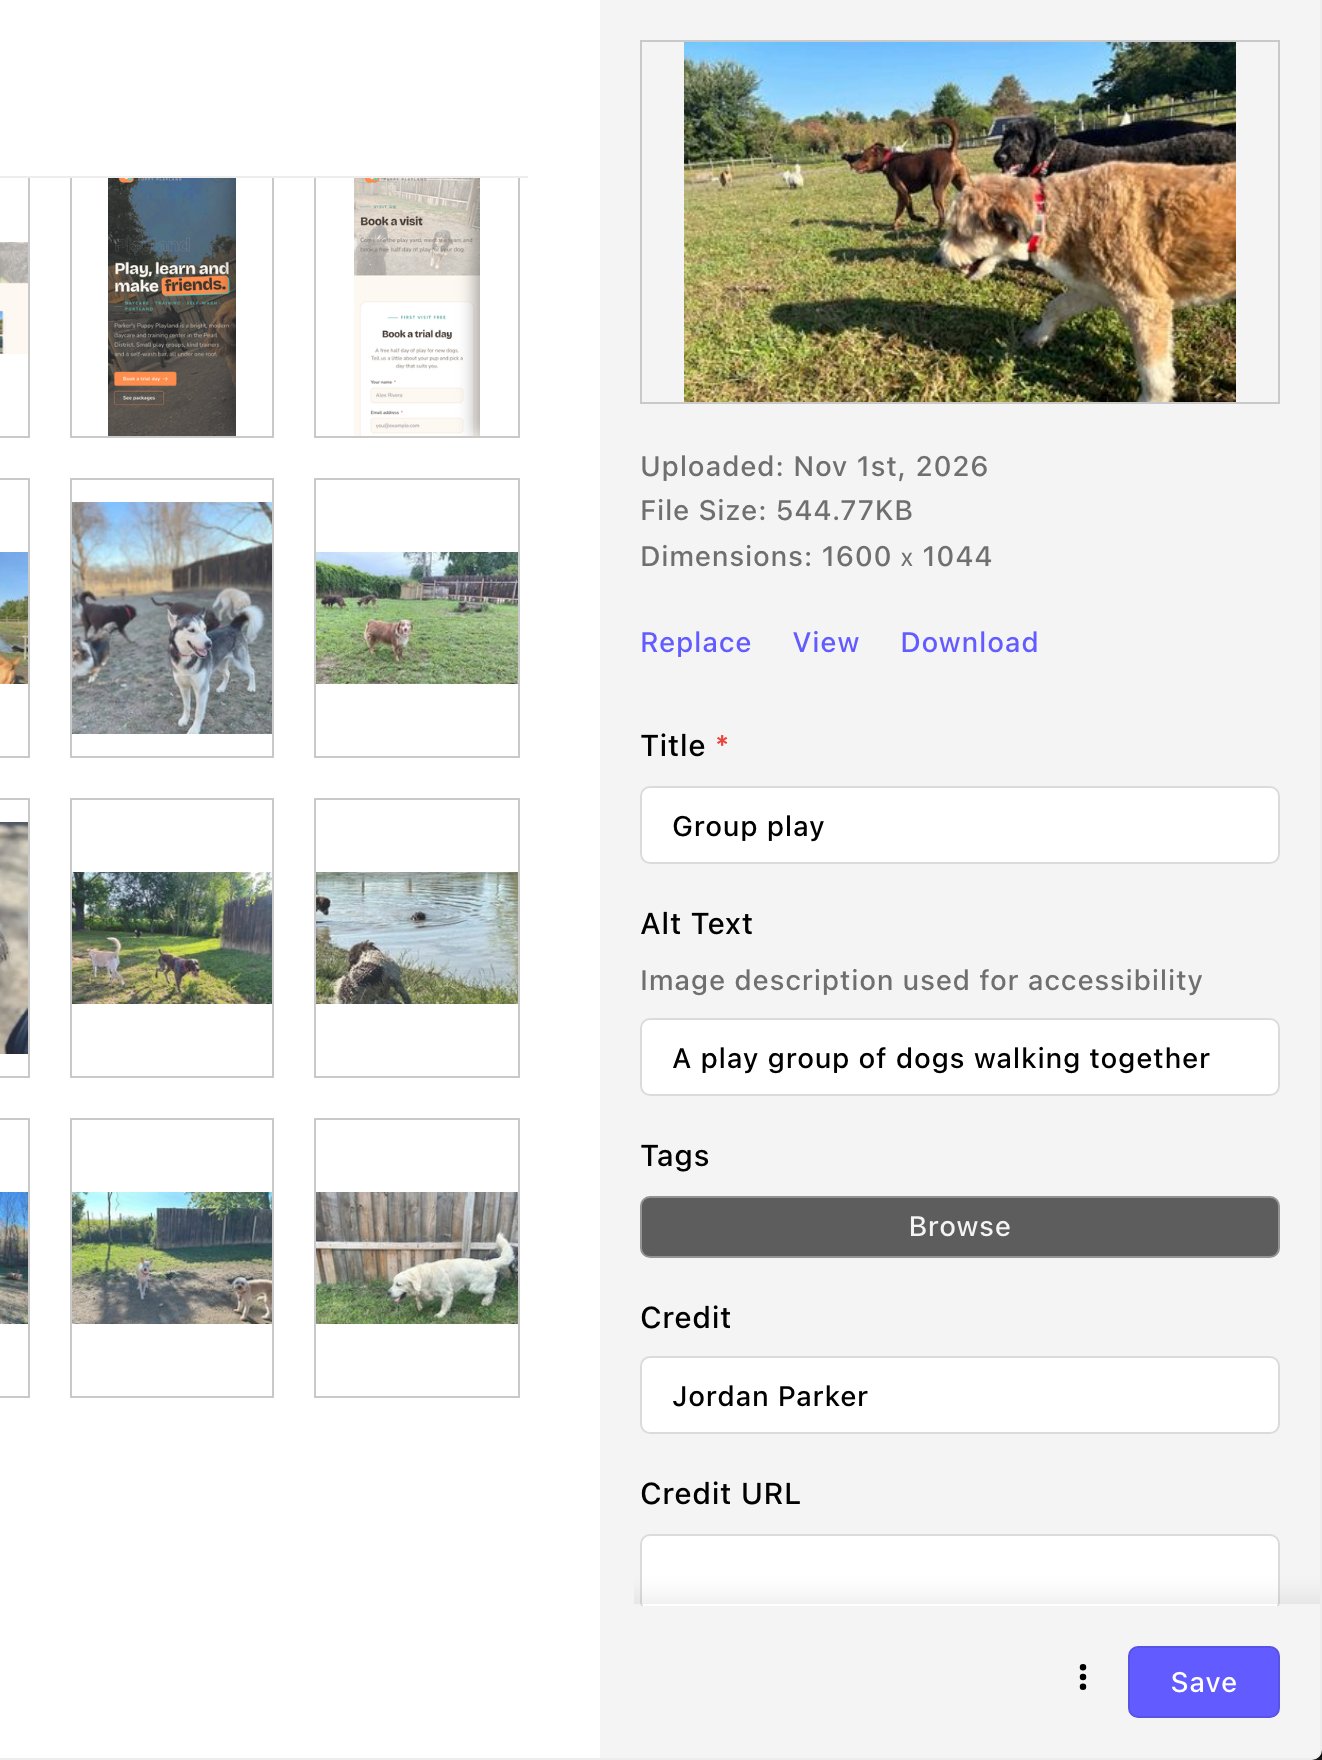
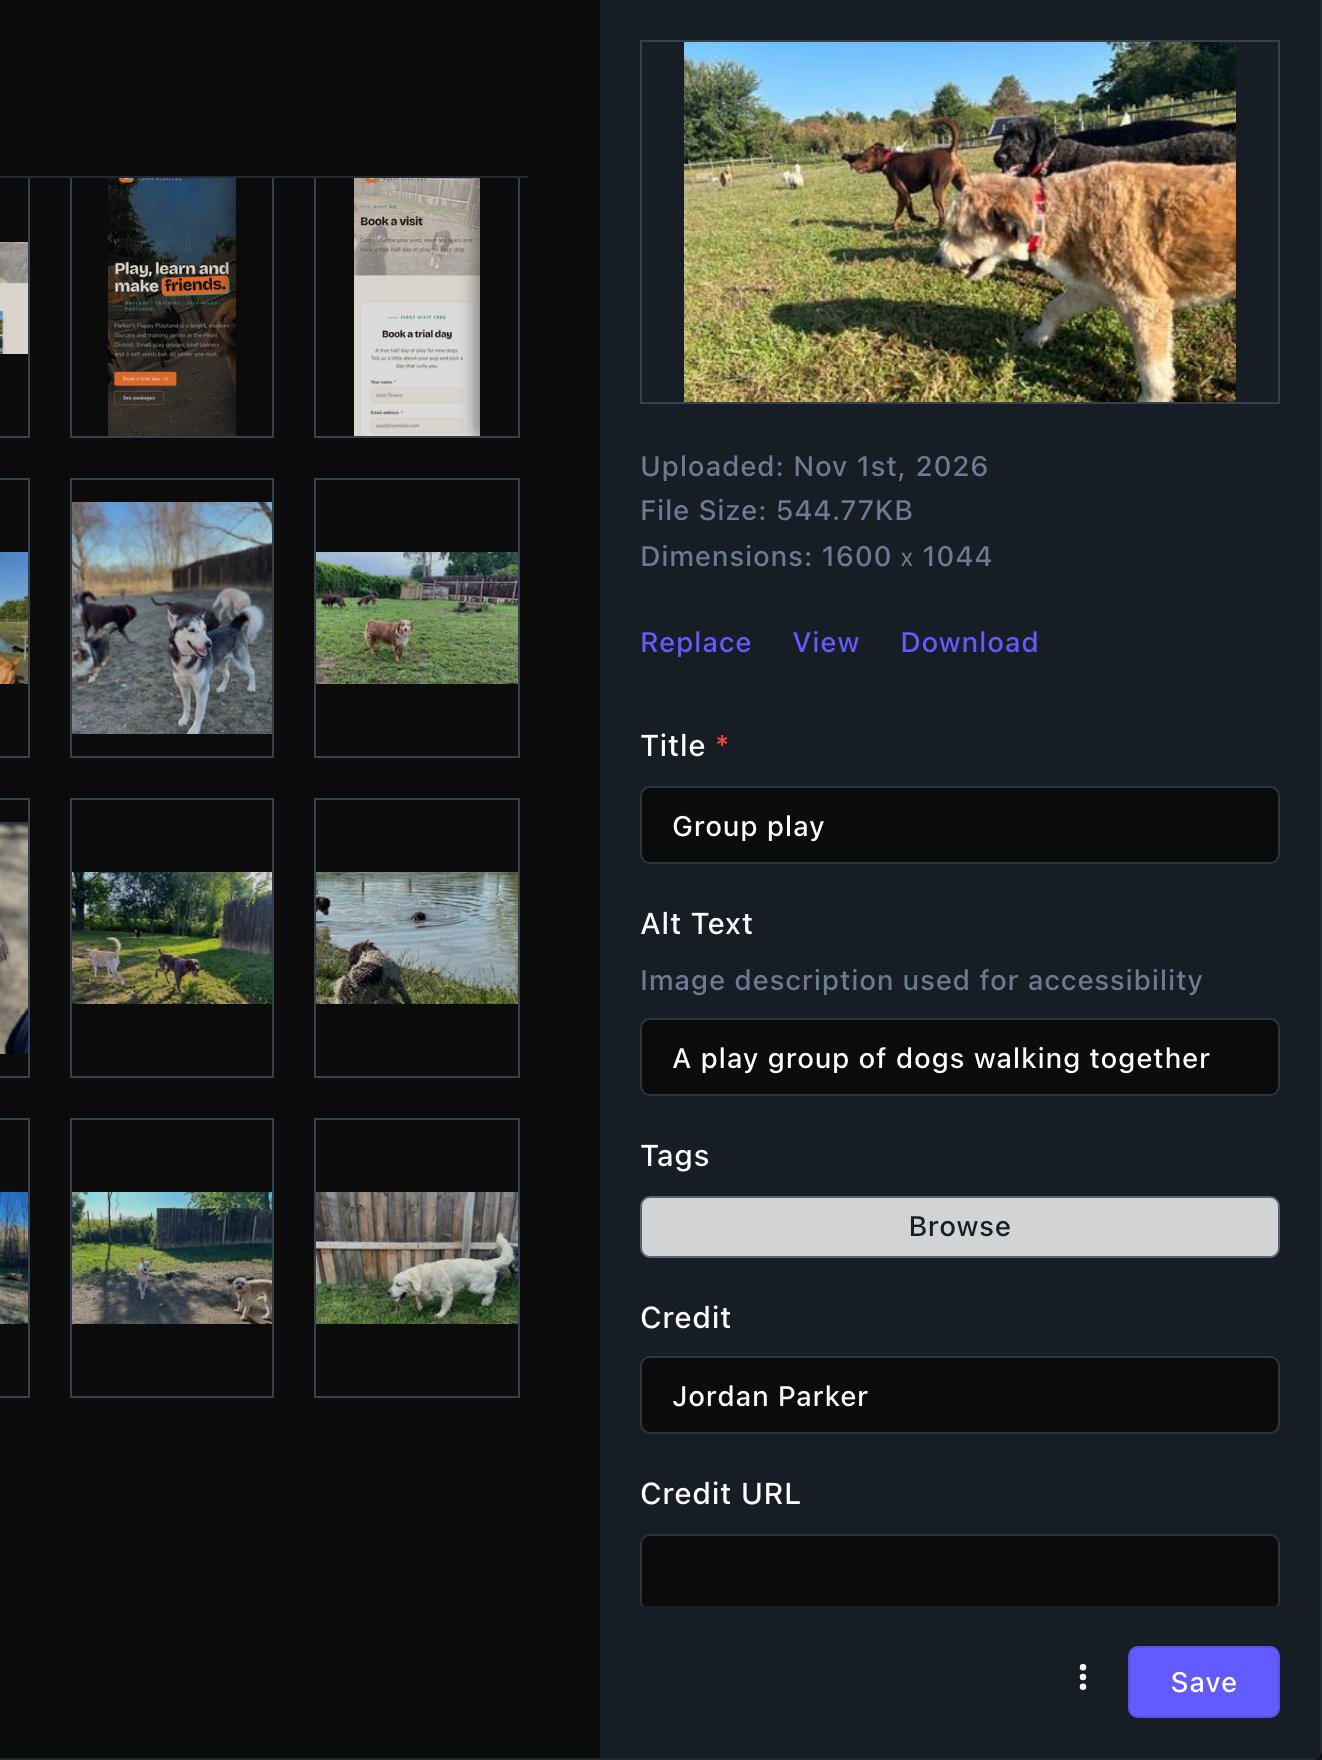
Alt text describes the picture for people who can't see it.
Crop an image or set its focal point
Cropping happens where the image is used, so the same photo can be cropped differently on two pages.On the page, choose Edit in the edit bar and open the section that holds the image
Select the image and choose Image Adjustments
Drag the crop box, or type sizes under Crop & Size (px)
Drag the dot to the most important part of the picture
Save, then publish the page
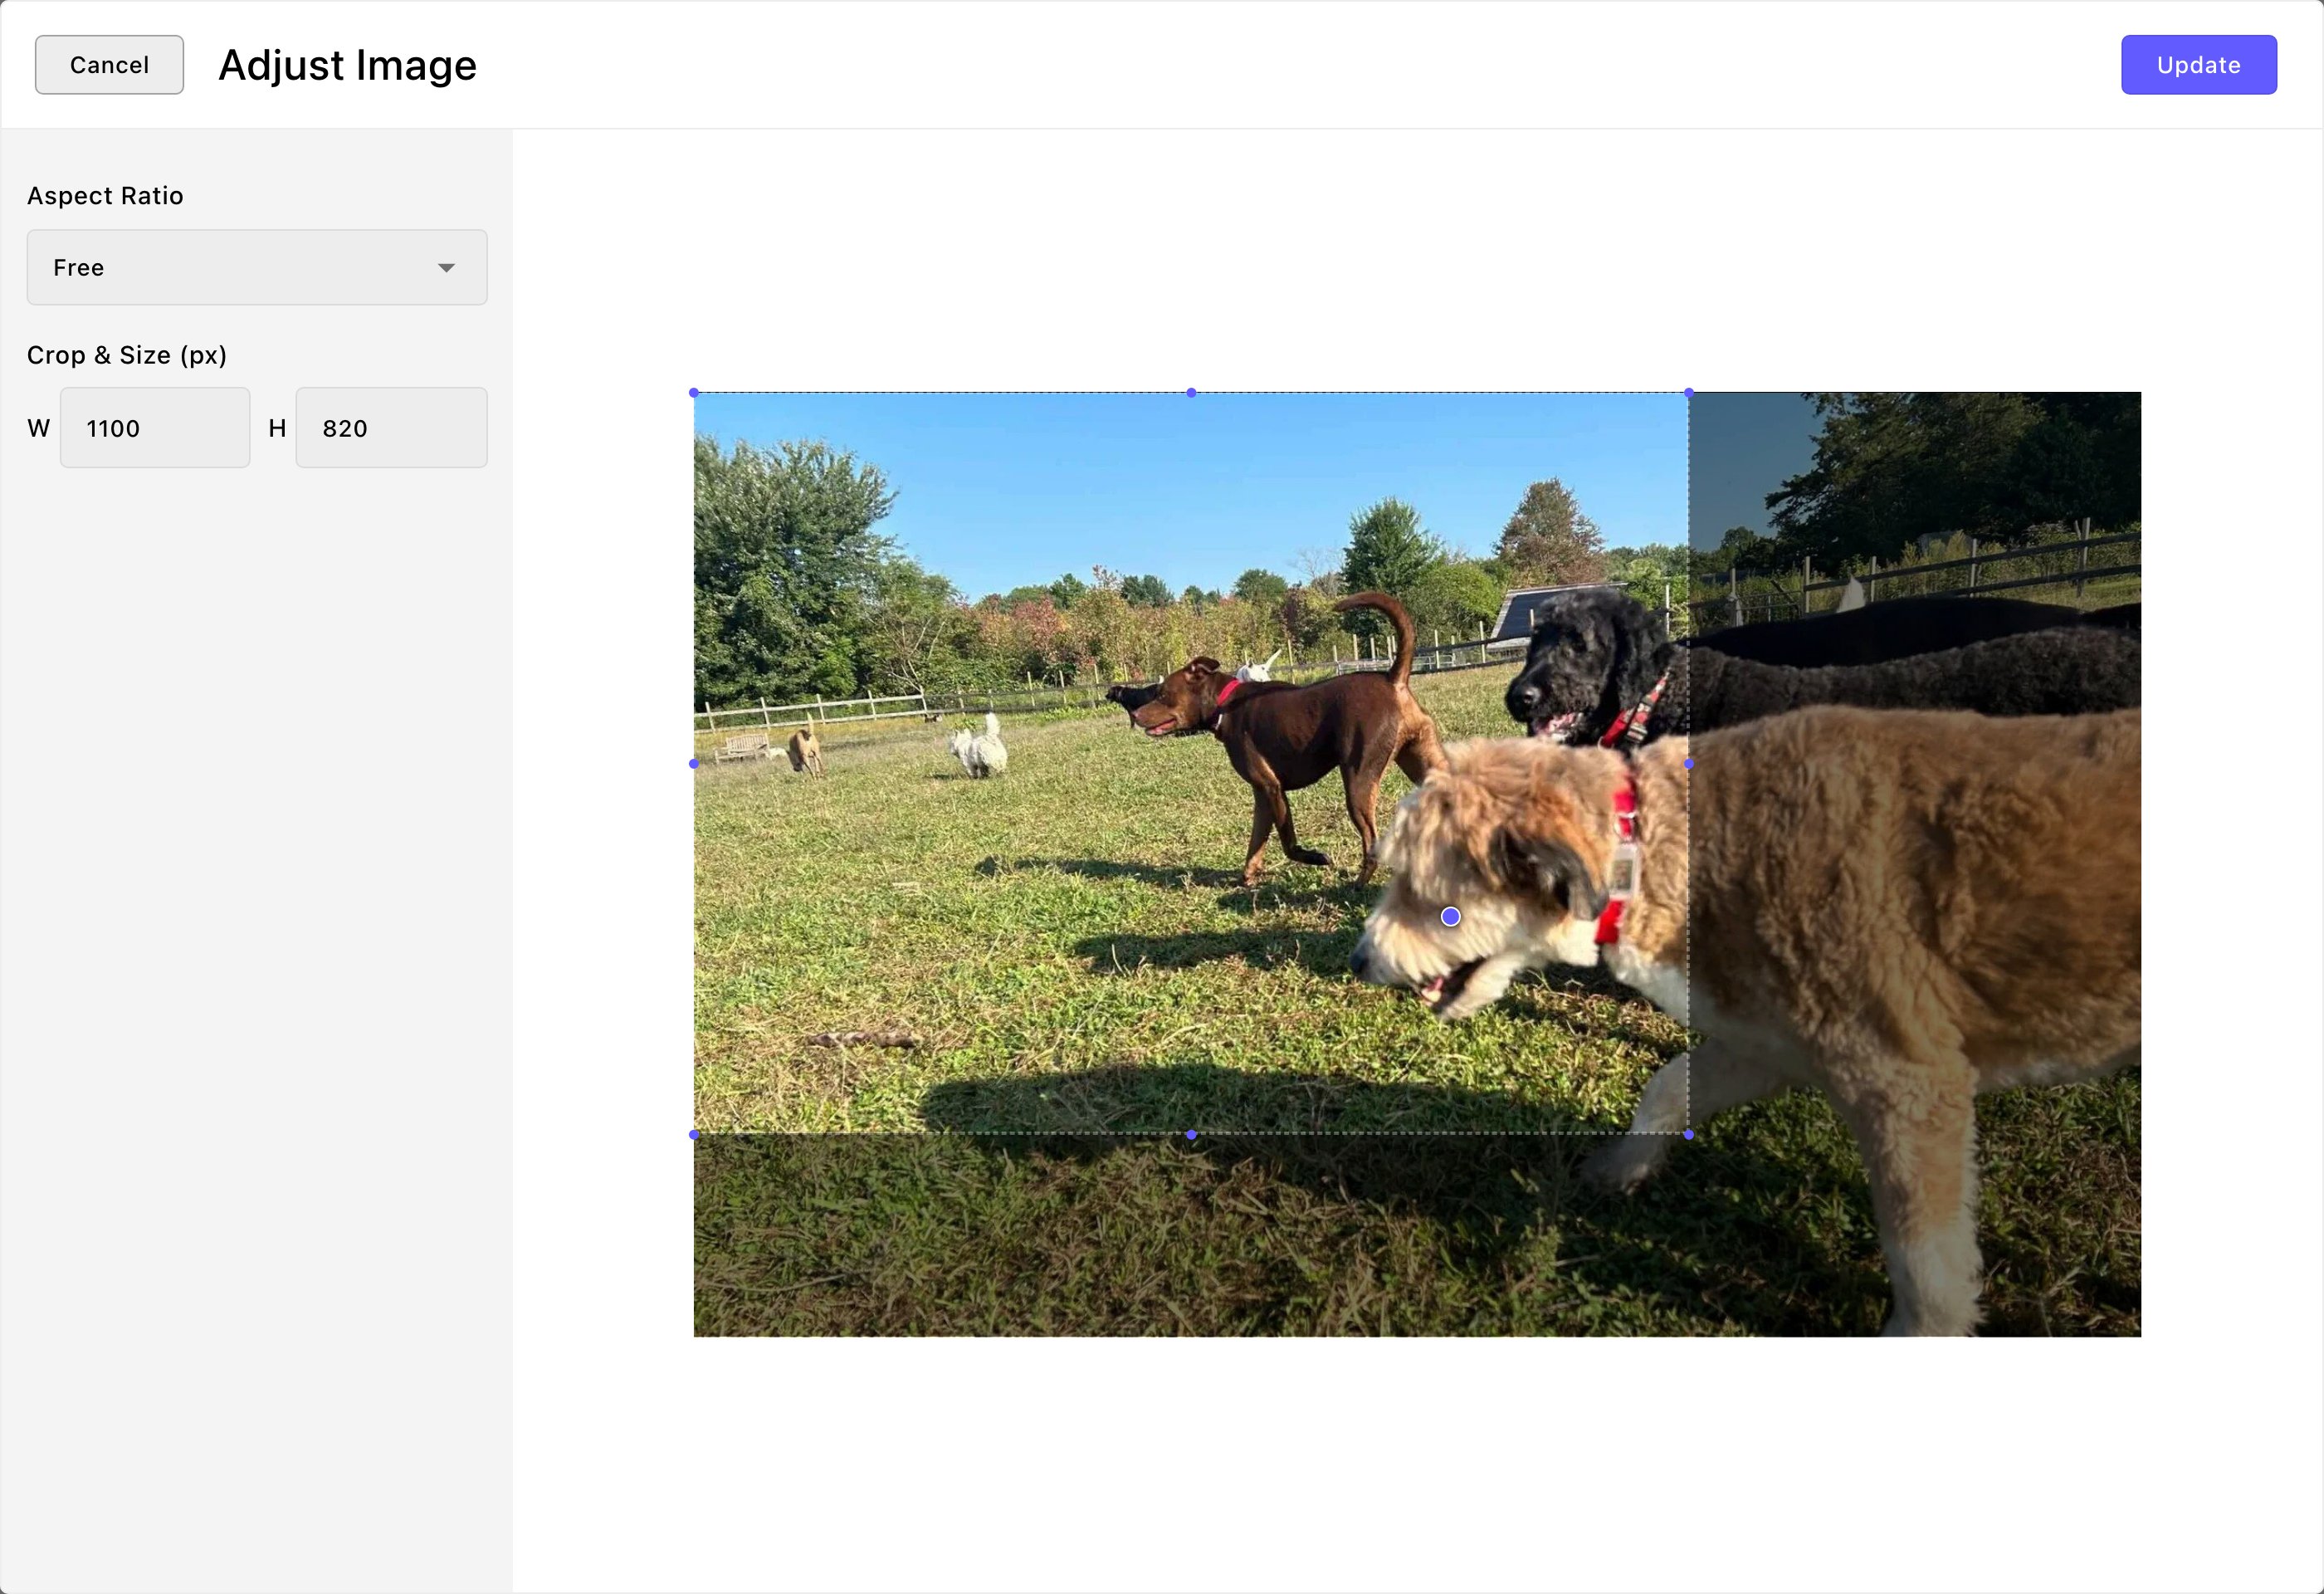
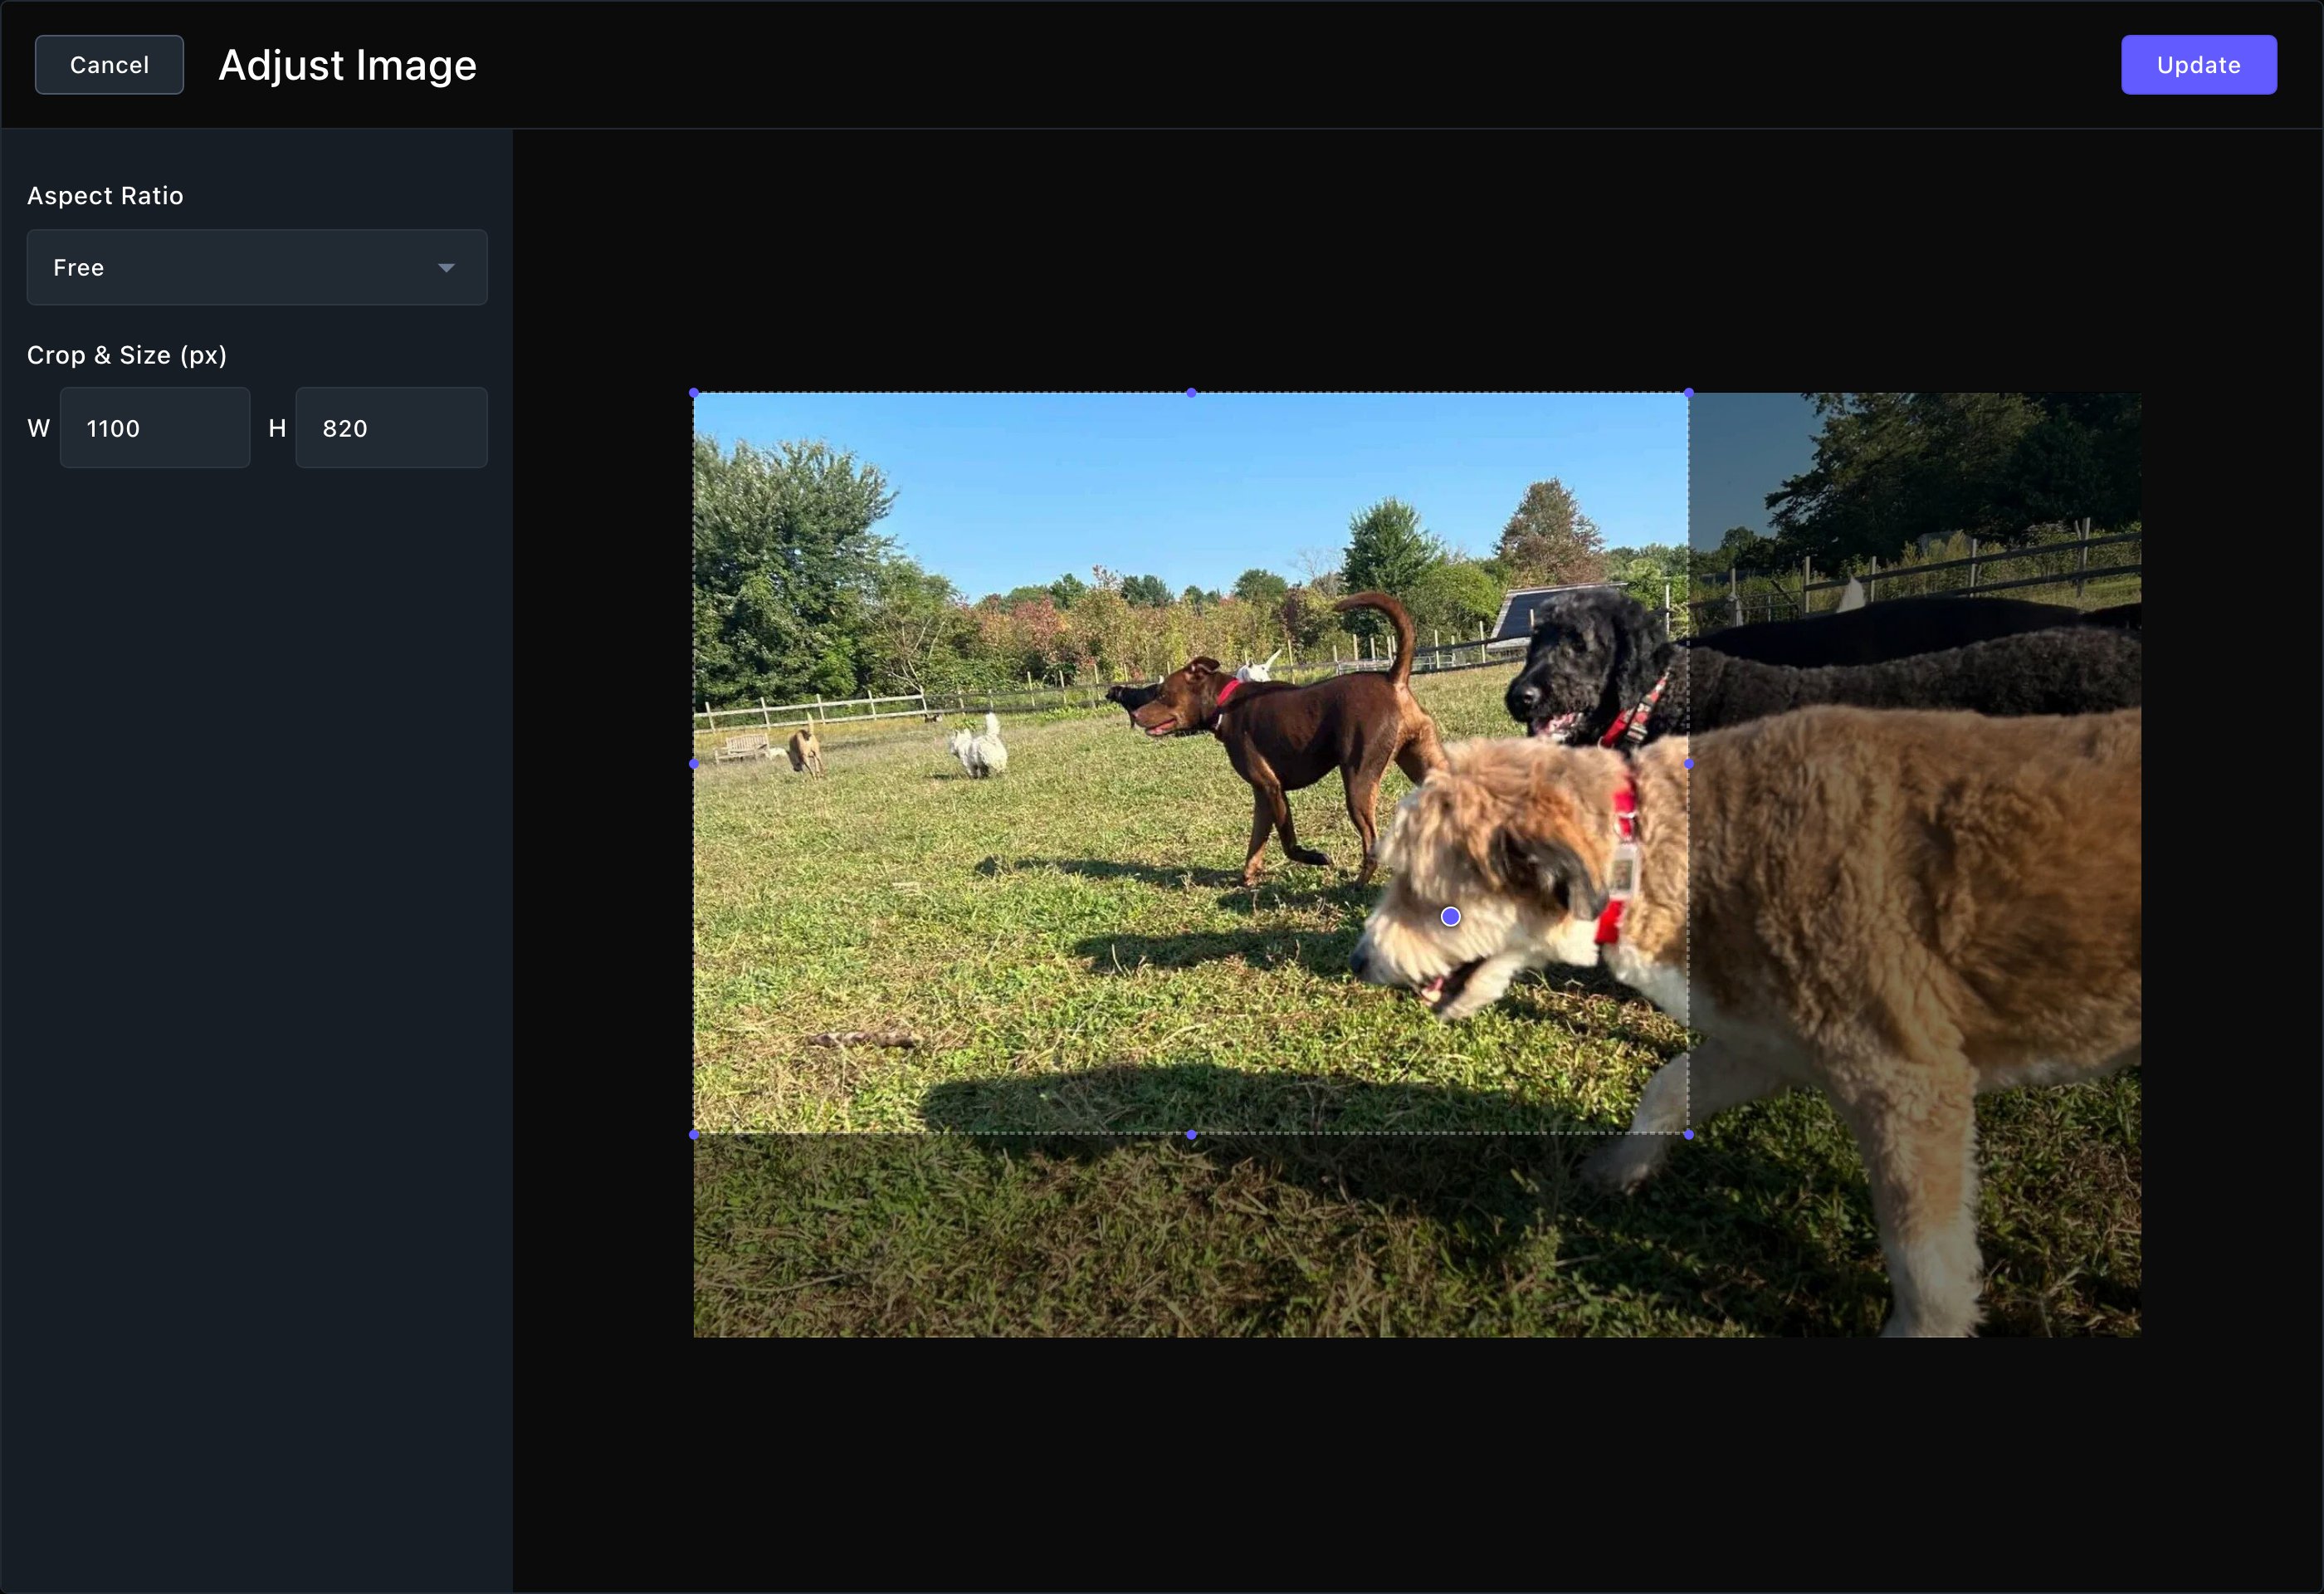
Crop the photo and mark what must stay in view.
Make an image with FetchskiAI
Describe a picture and have FetchskiAI make it: in Images, choose AI Image Generation. The image you keep is saved to your library like any upload. See AI image generation.Move, archive or delete
- Move to folder…: choose files, then choose Move to folder… to file them somewhere else. See Folders.
- Archive: take files out of the library without deleting them. You can restore them later.
- Delete forever…: remove files for good. Editors, Admins and Owners can do this. If another item in the library uses the same stored file, that file is kept for it. See Archive, restore and delete.
What happens next
Uploaded images and files are ready to use straight away. Choose them in any section’s image or file field. A new video needs publishing first. Visitors see a file on your site once a published page uses it.Troubleshooting
This file is too large
This file is too large
I can't find an image I uploaded
I can't find an image I uploaded
I don't see AI Image Generation or Delete forever…
I don't see AI Image Generation or Delete forever…