

 AdonisJS
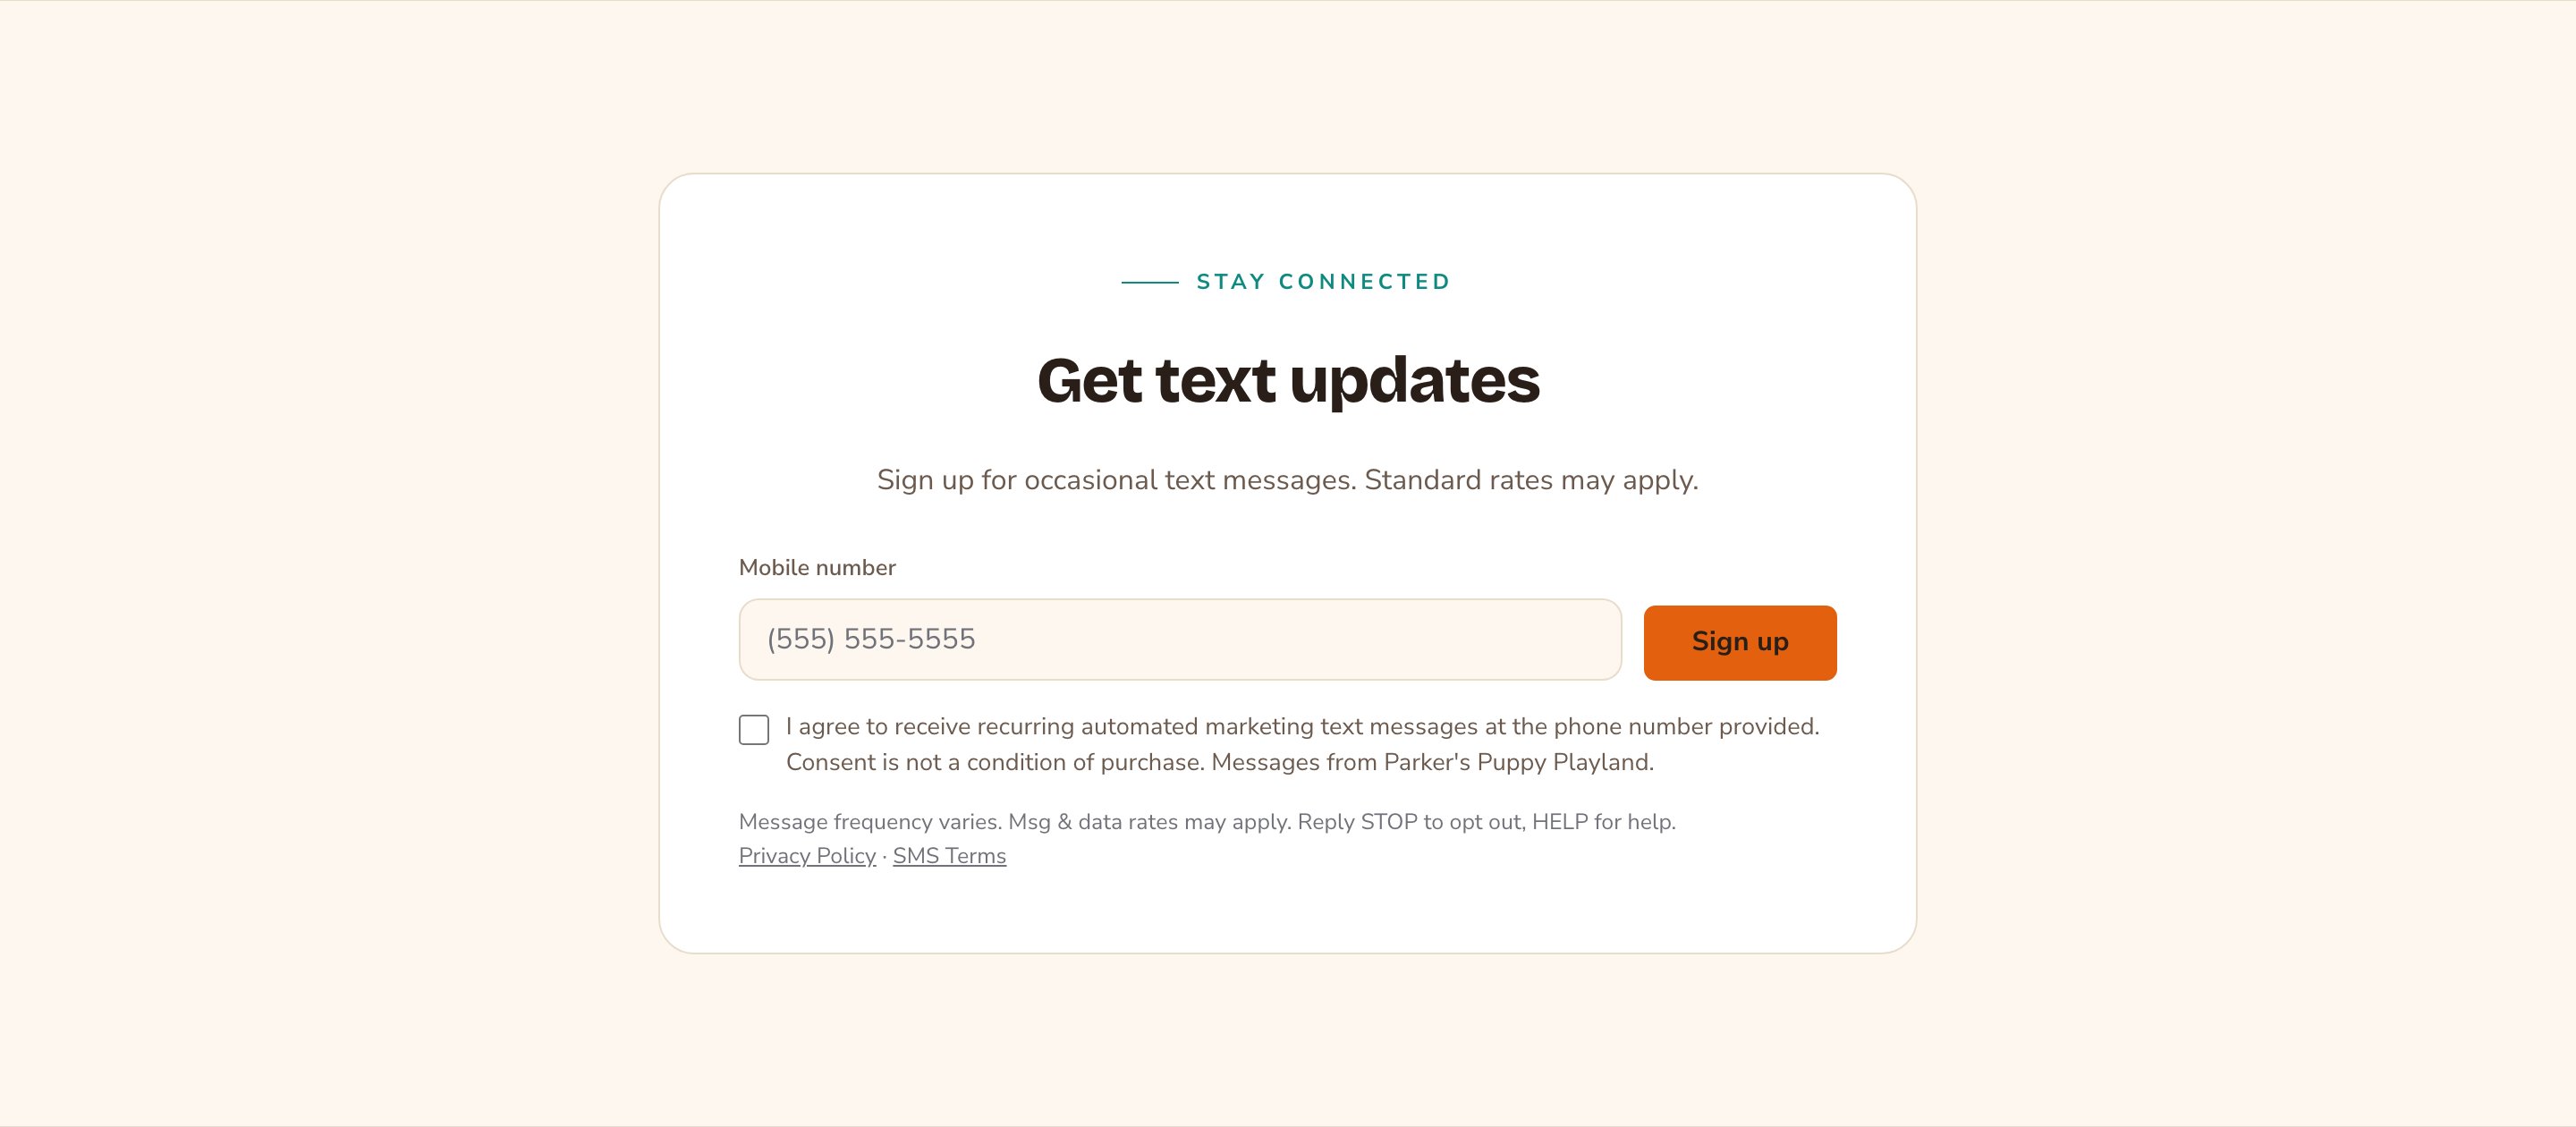
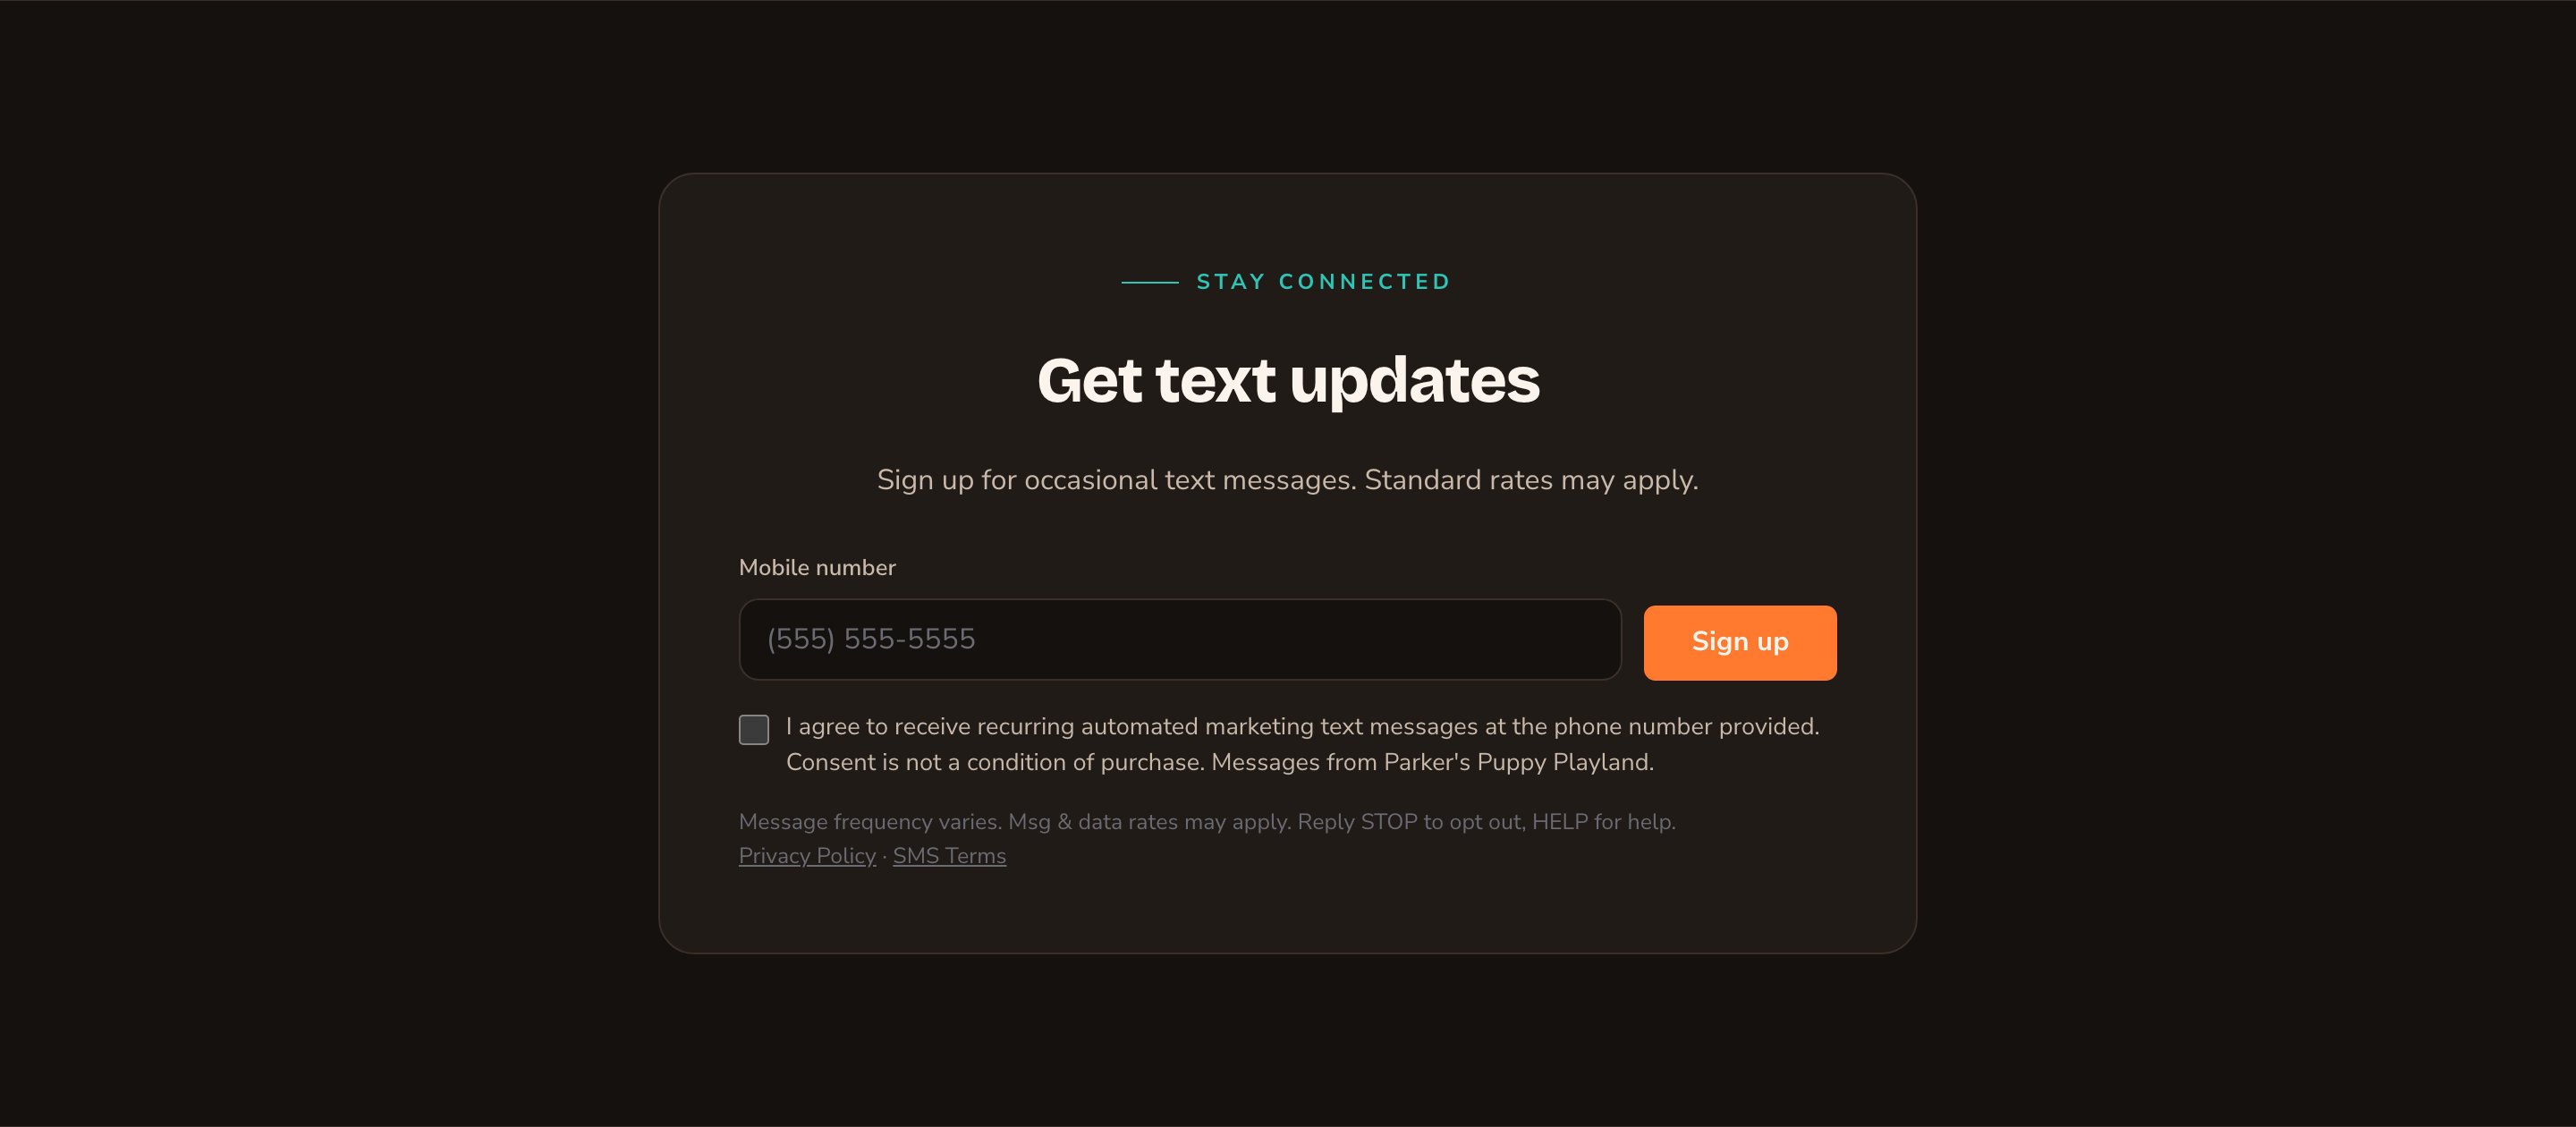
A text-message sign-up with its consent checkbox and fine print.
When to use it
- To send quick updates by text, such as last-minute openings or closures.
- To offer text reminders or offers to people who’d rather not use email.
- To pair with a Newsletter Subscription for visitors who prefer either one.
Before you start: a form to receive sign-ups
The section sends every sign-up to a form from your Forms manager. That form is where the sign-ups are saved, and where you choose who else gets them. Your site may already have one named SMS Signup. Any published form works, and it needs no fields of its own: the section brings its own phone box and checkbox. To make one, open the command palette (⌘K, or Ctrl+K on Windows), choose Forms, then New Form → Blank form → Start blank. Give it a Form name and publish it. A form that isn’t published can’t receive sign-ups. See Build a form. One form can serve this section on as many pages as you like. Every sign-up collects in the same place.Add it to a page
1
Open the page
Sign in, open the page on your site, and choose Edit in the edit bar at the top.
2
Find the spot
Select the section next to where the new one should go. A round + button appears on its top and bottom edges. On an empty page, choose Add Content in the middle.
3
Choose the section
The Add Content menu opens with its groups. Choose the section, then select it and choose Edit in its side toolbar to make it yours.
1
Choose Add Content → Conversion → SMS Subscription
2
Choose Edit, and on the Subscription tab pick a form under Subscription form
3
Change the Success message
It starts by telling visitors to check their phone for a confirmation message, and Attract sends none. Unless your text-message service sends one, write something true, such as “Thanks! You’re on the list for Parker’s Puppy Playland text updates.”
4
Read the sample Consent statement (required checkbox) and Program terms (fine print), and change them to match your program
What you can change
Select the section on the page and choose Edit. The editor opens beside the page, so you see each change as you make it. It has 5 tabs, the same as the Newsletter Subscription. Your changes go into the page’s draft. Visitors see them once the page is published with Update in the edit bar (Publish on a page never published).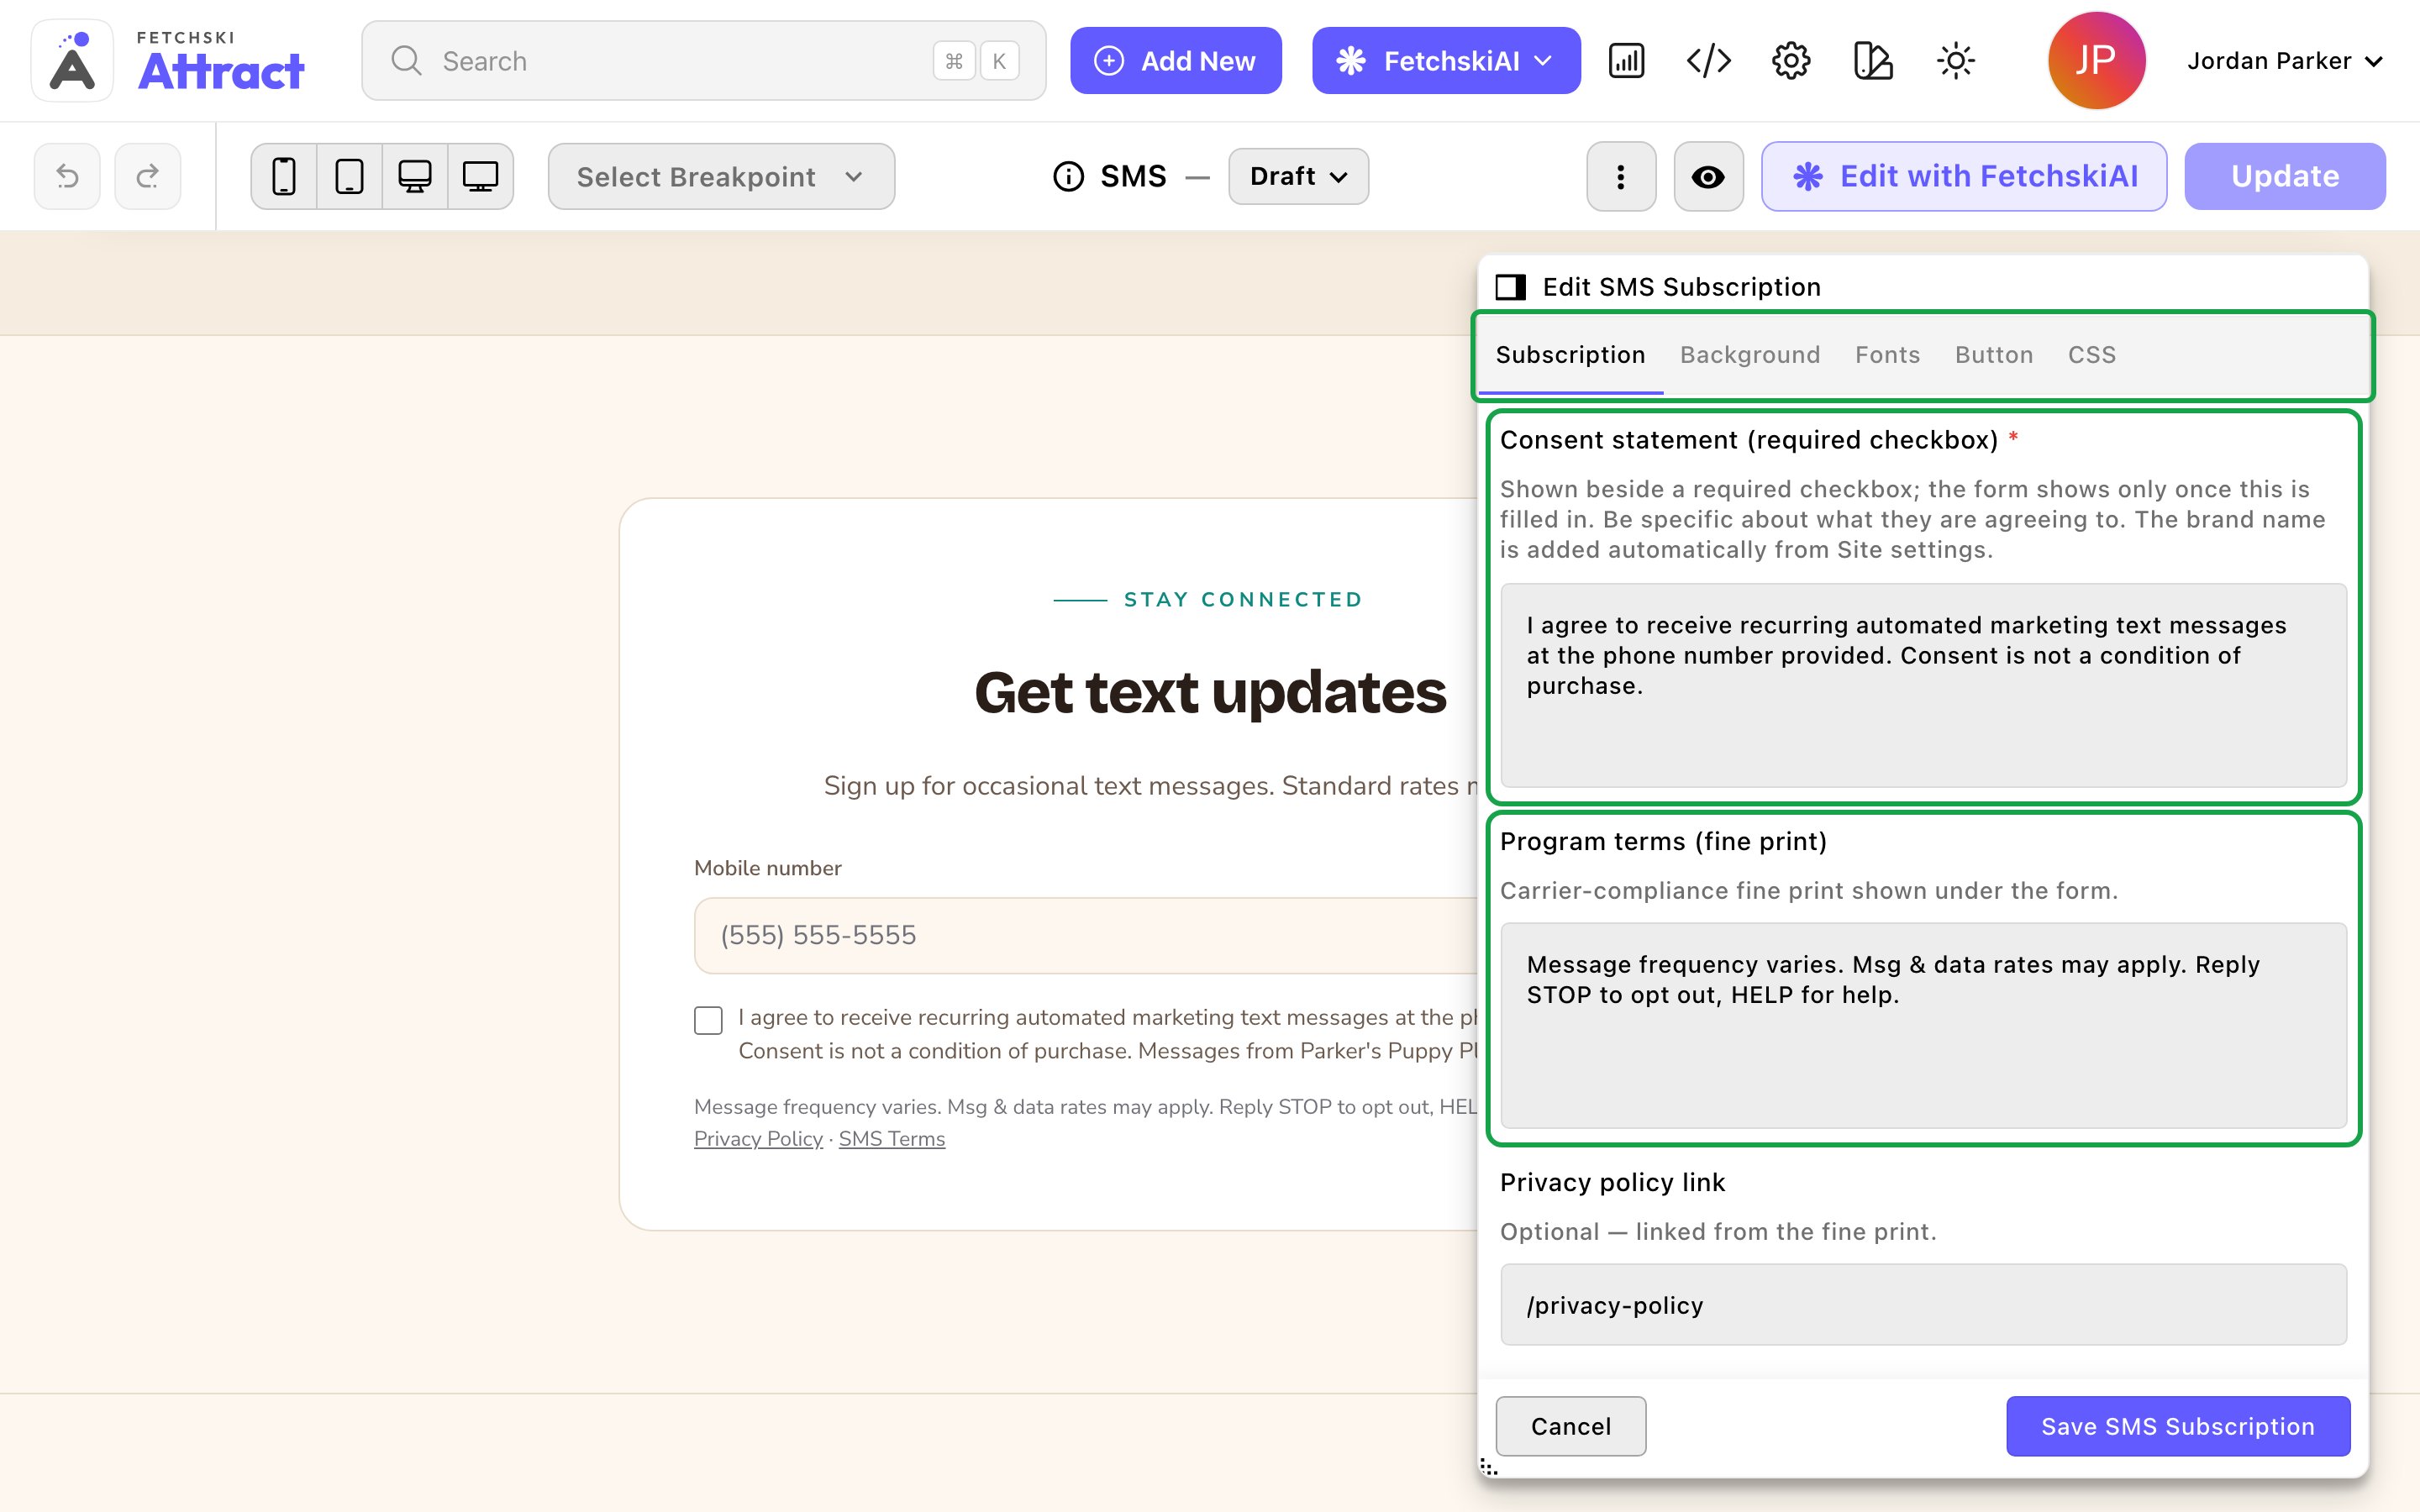
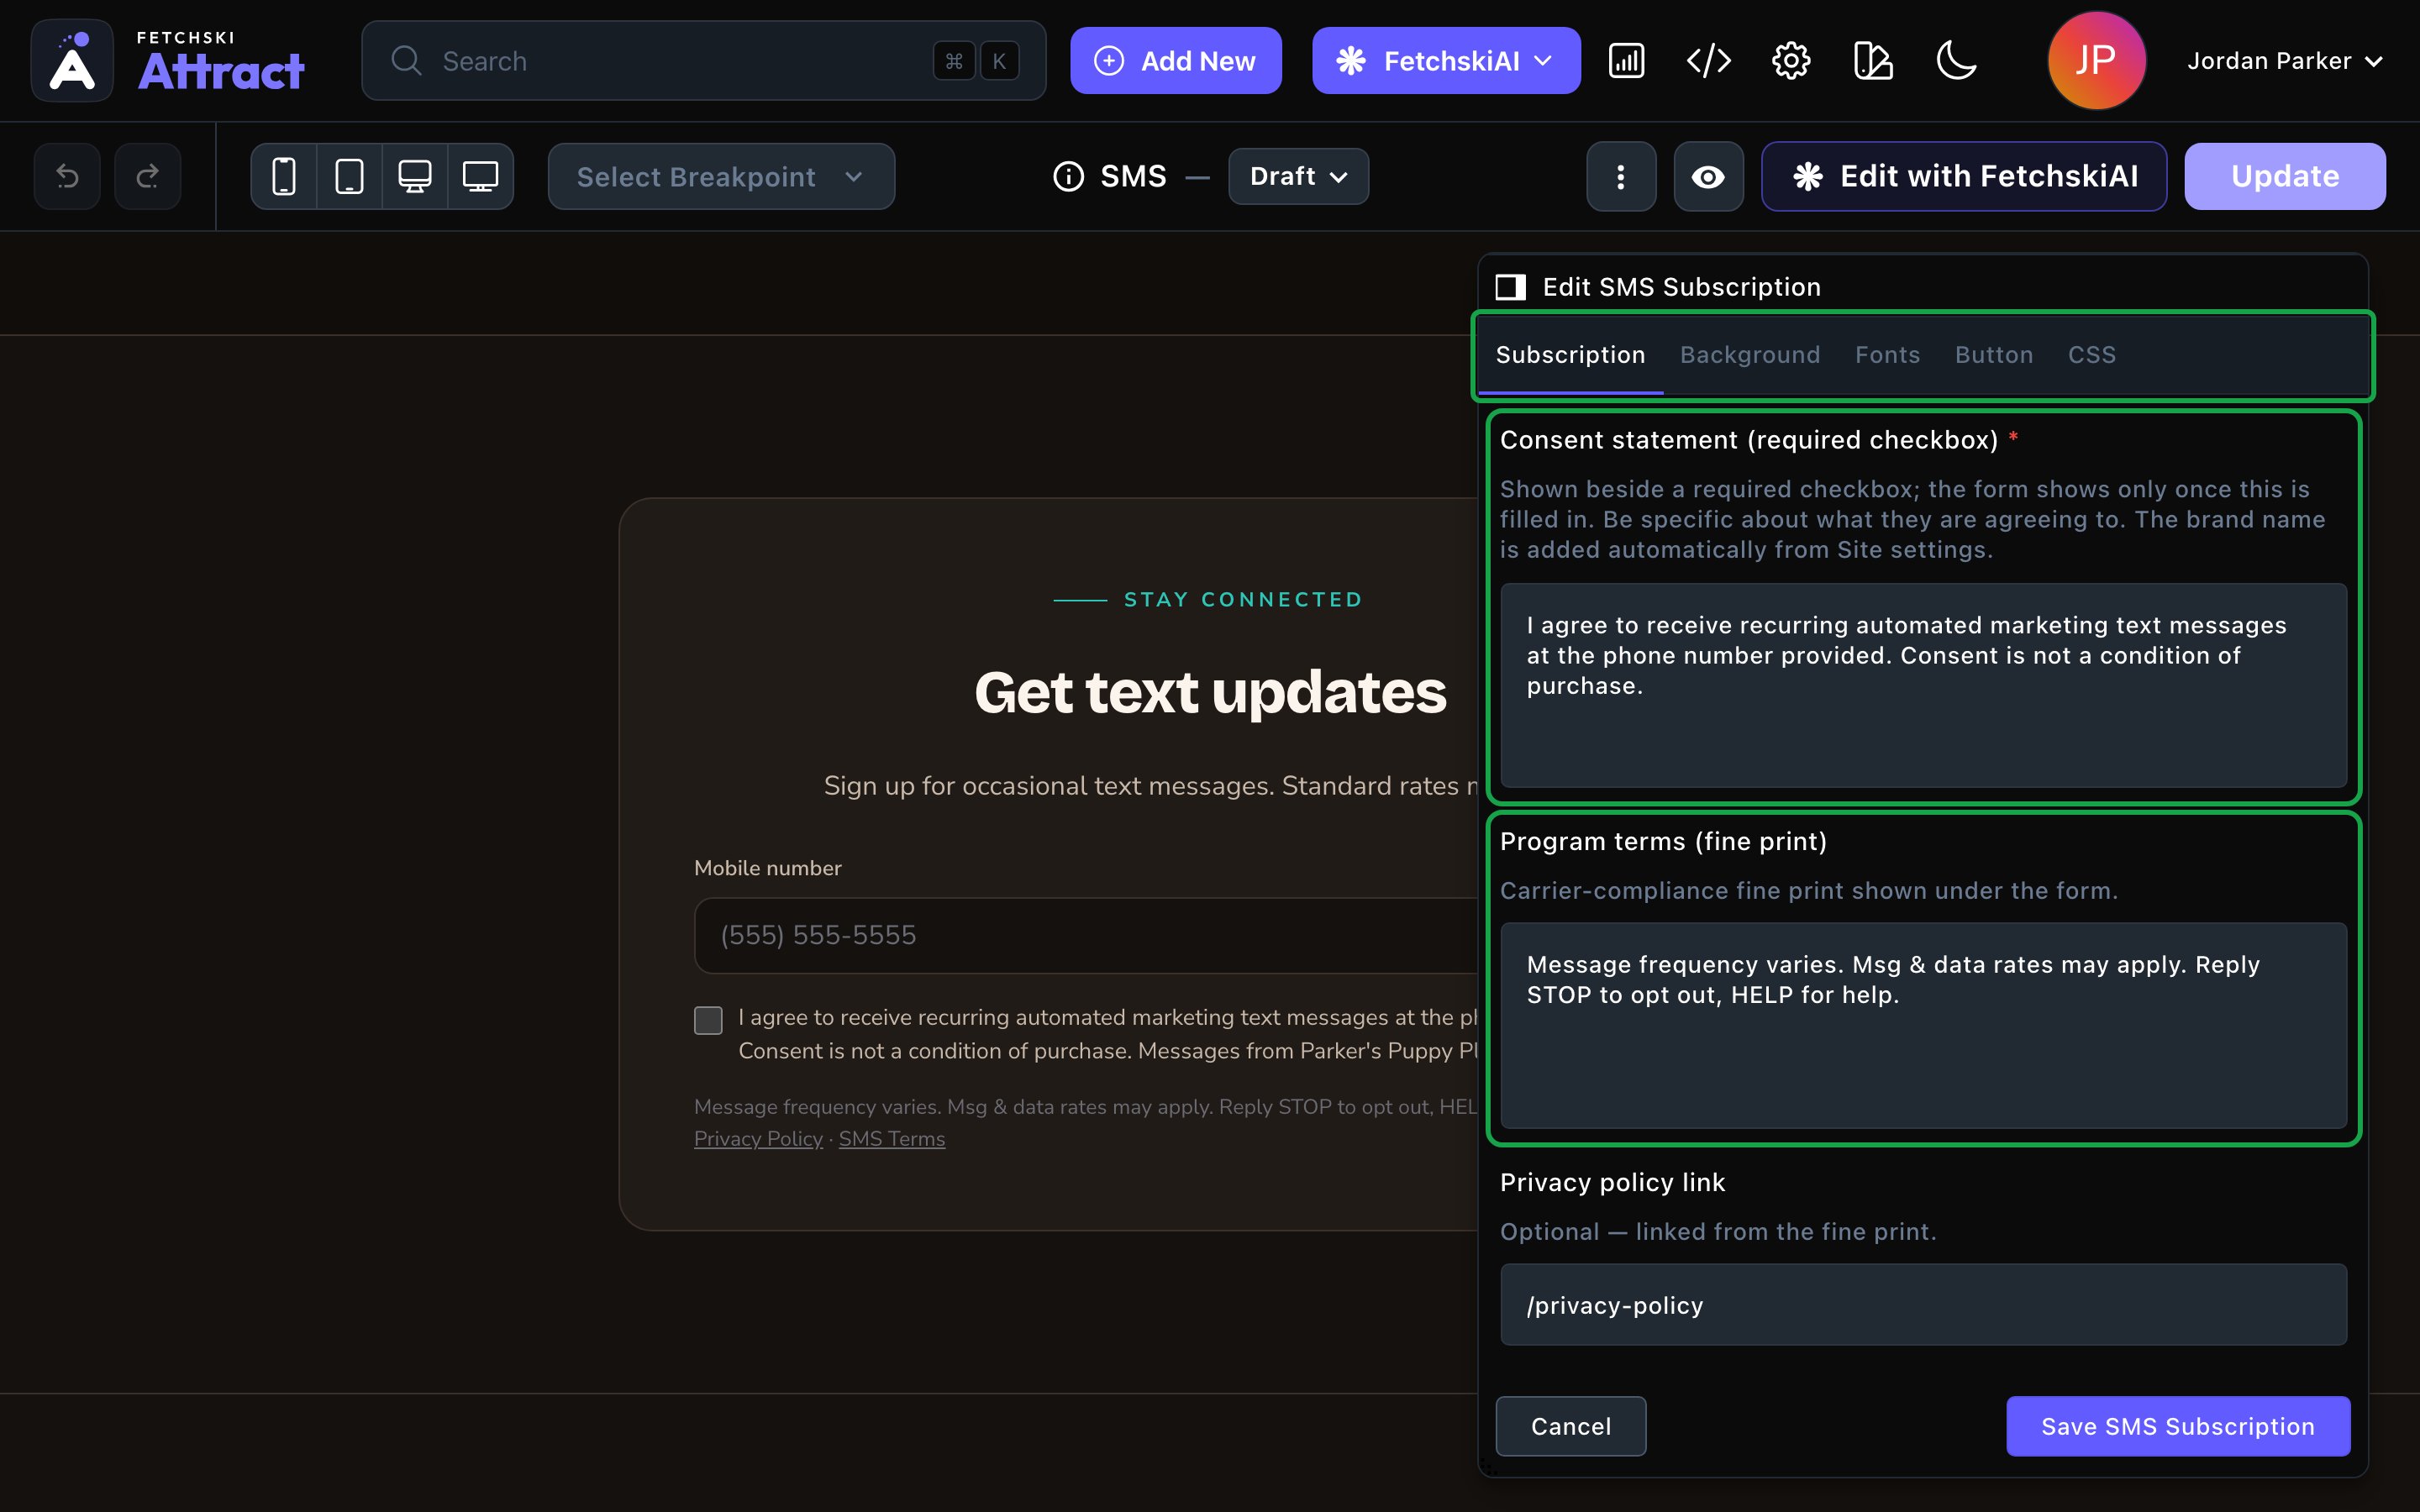
The consent statement and program terms on the Subscription tab.
Subscription
Subscription
The form, the words, the band and the fields.Where sign-ups go
- Subscription form: the form that receives the sign-ups. It’s required for the section to show.
- Phone label and Phone placeholder: the text on and inside the phone box. The number is always required.
- Consent statement (required checkbox): what visitors agree to by ticking the box. They can’t sign up without ticking it. Be specific about what you’ll send. It’s required: the section shows no form until it’s filled in.
- Program terms (fine print): the small print under the form, such as how often you text and how to opt out.
- Privacy policy link and SMS terms link: optional links added to the fine print.
- Collect a name: adds an optional name box.
- Success message and Error message: what visitors see after they sign up, or if something goes wrong. These are the messages this section shows. The receiving form’s own Thank you message title isn’t used here.
Background
Background
Give the section its own background color, from your site’s palette or a custom color. See What every section shares.
Fonts
Fonts
Use a different typeface for parts of this section only, such as the heading. Leave it empty to use the page’s fonts, which normally come from Site design → Typography. See What every section shares.
CSS
CSS
Custom styles for this section only. Admins and Owners can change this tab. See Custom CSS.
Looks you can make
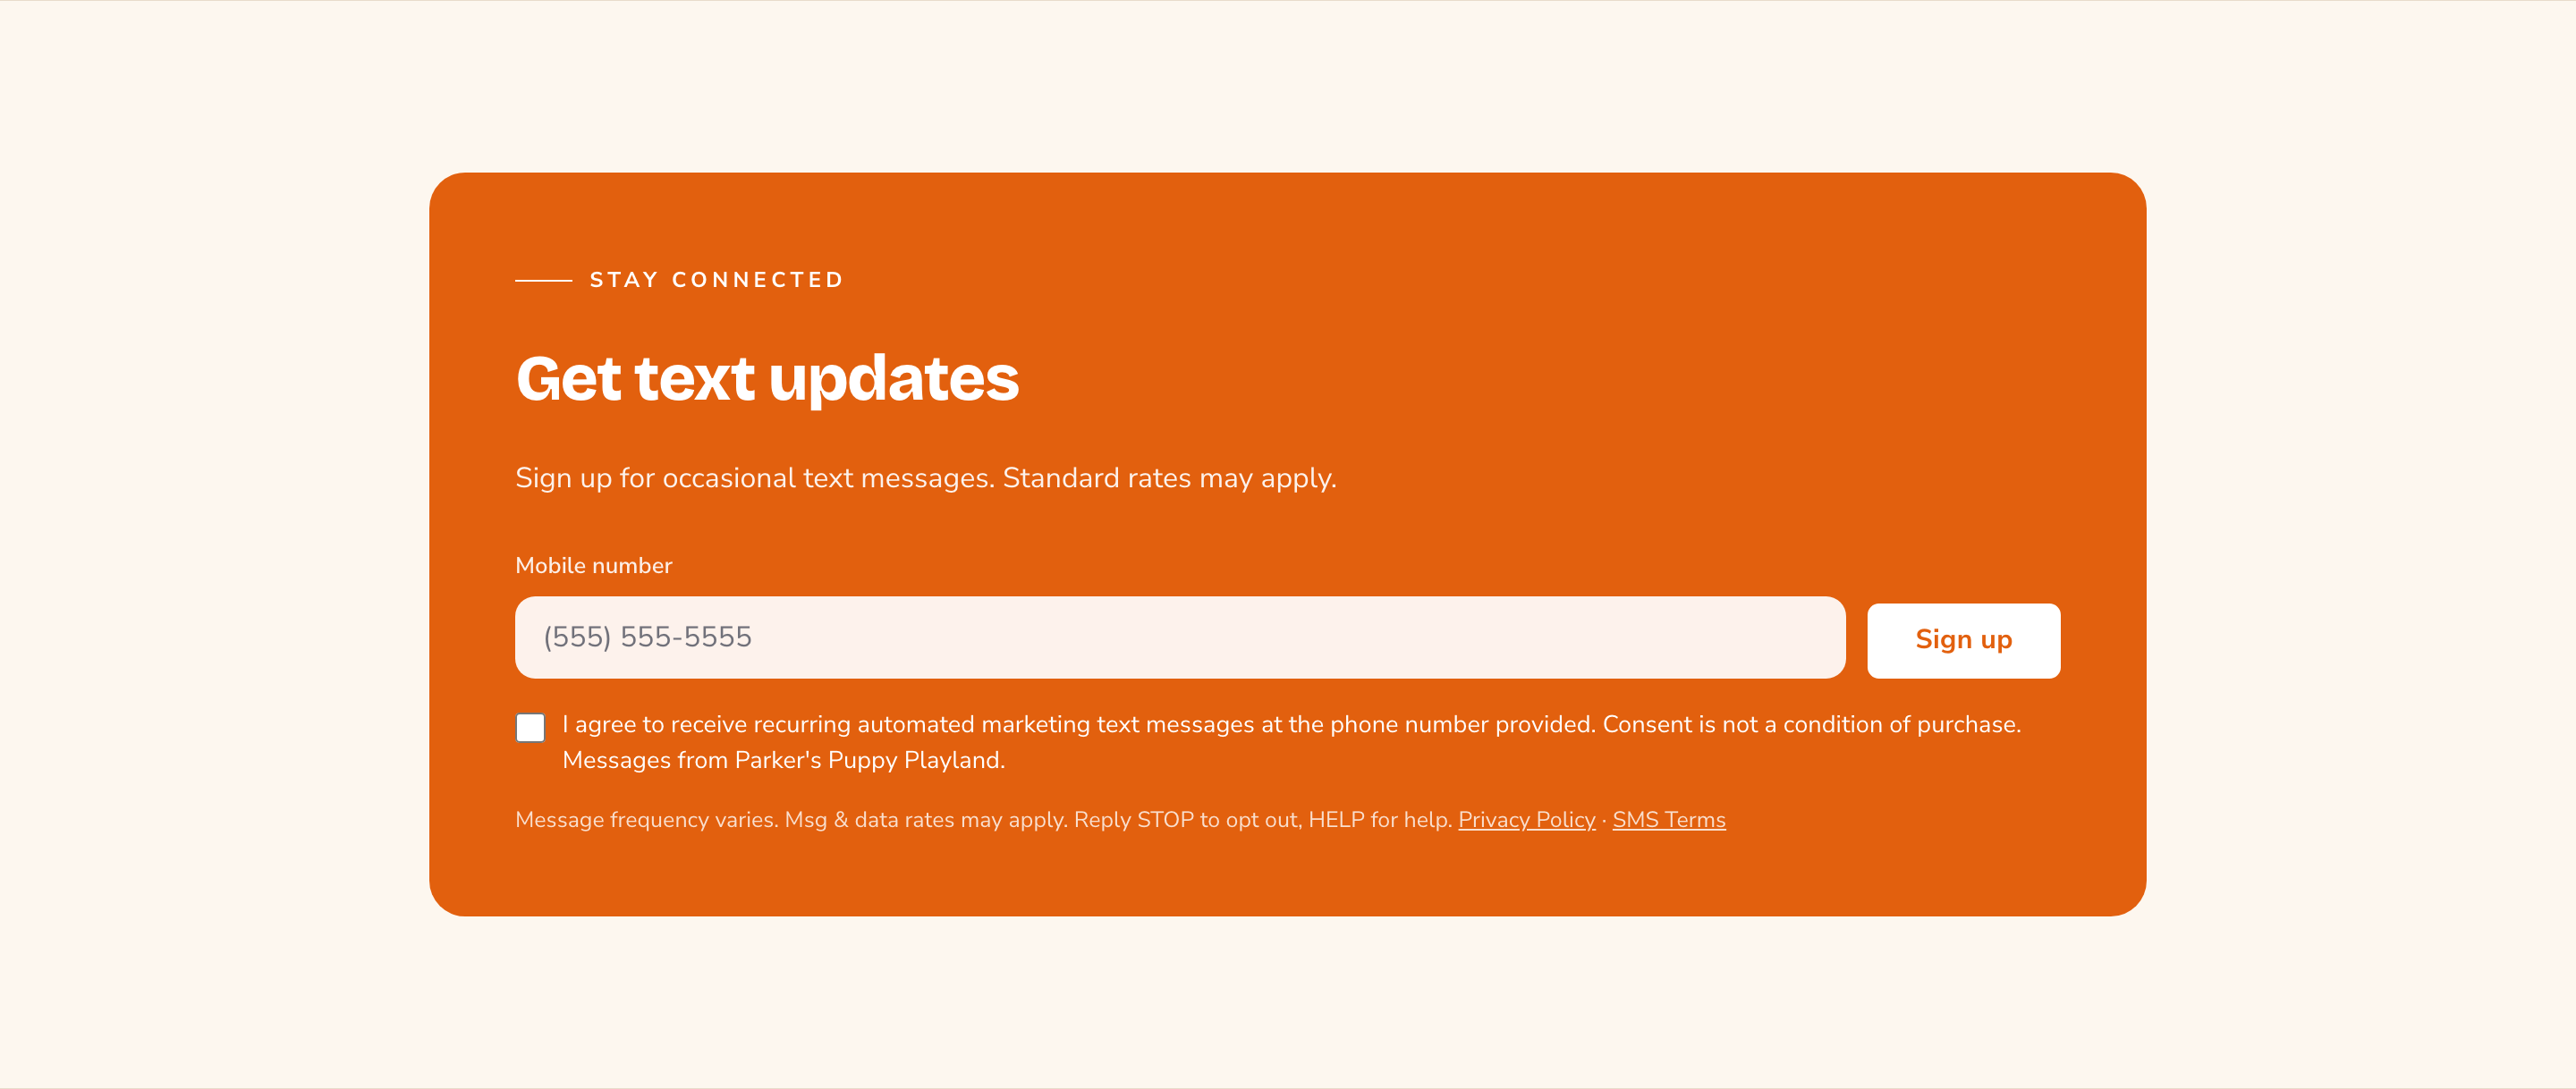
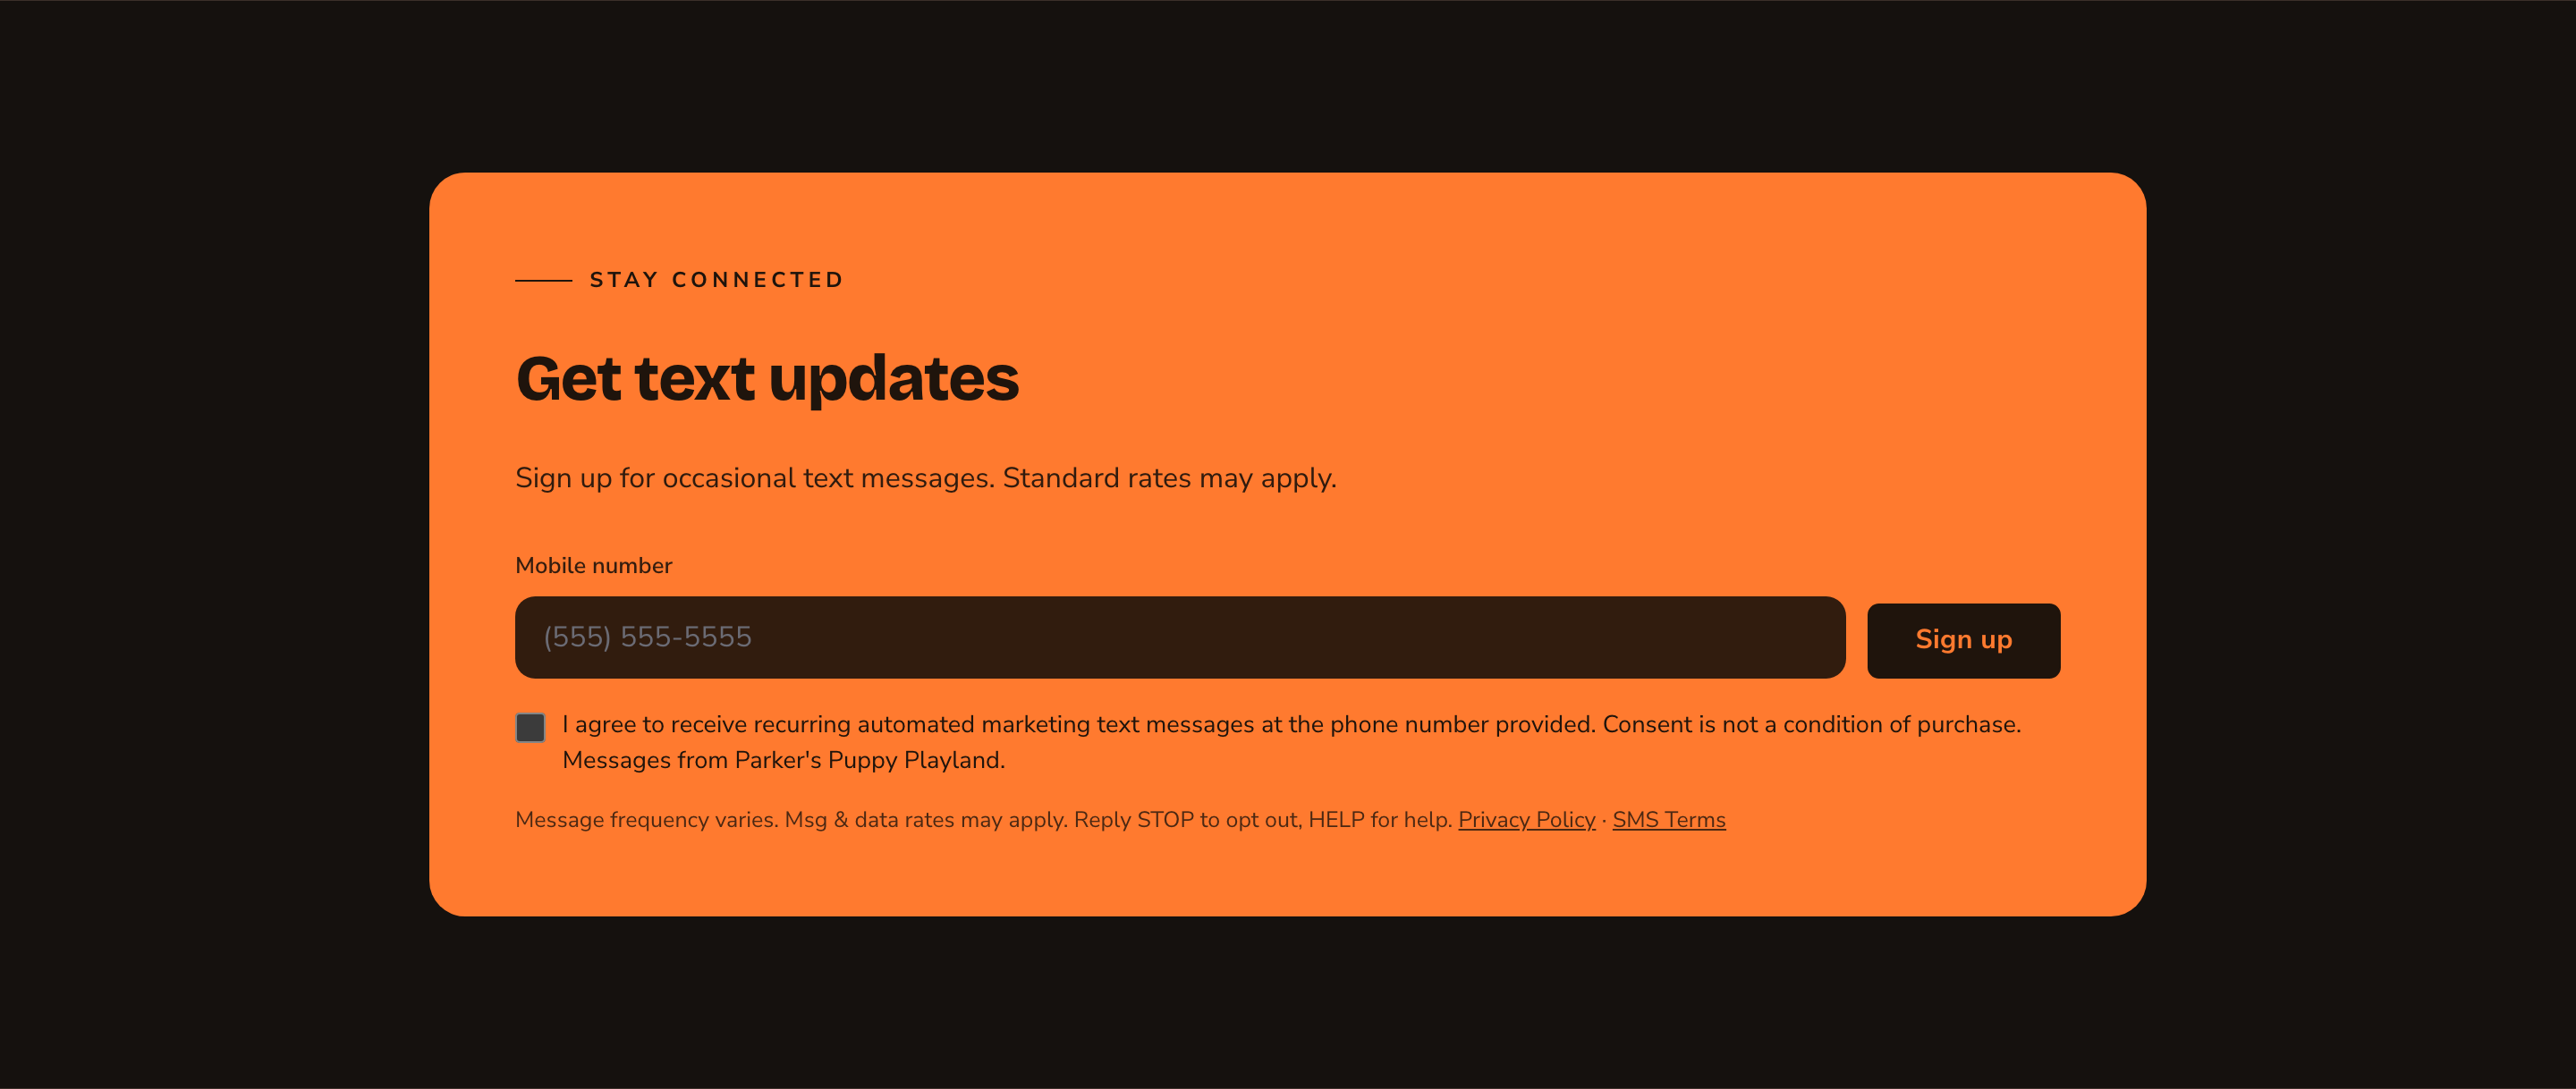
A bold text-message band.
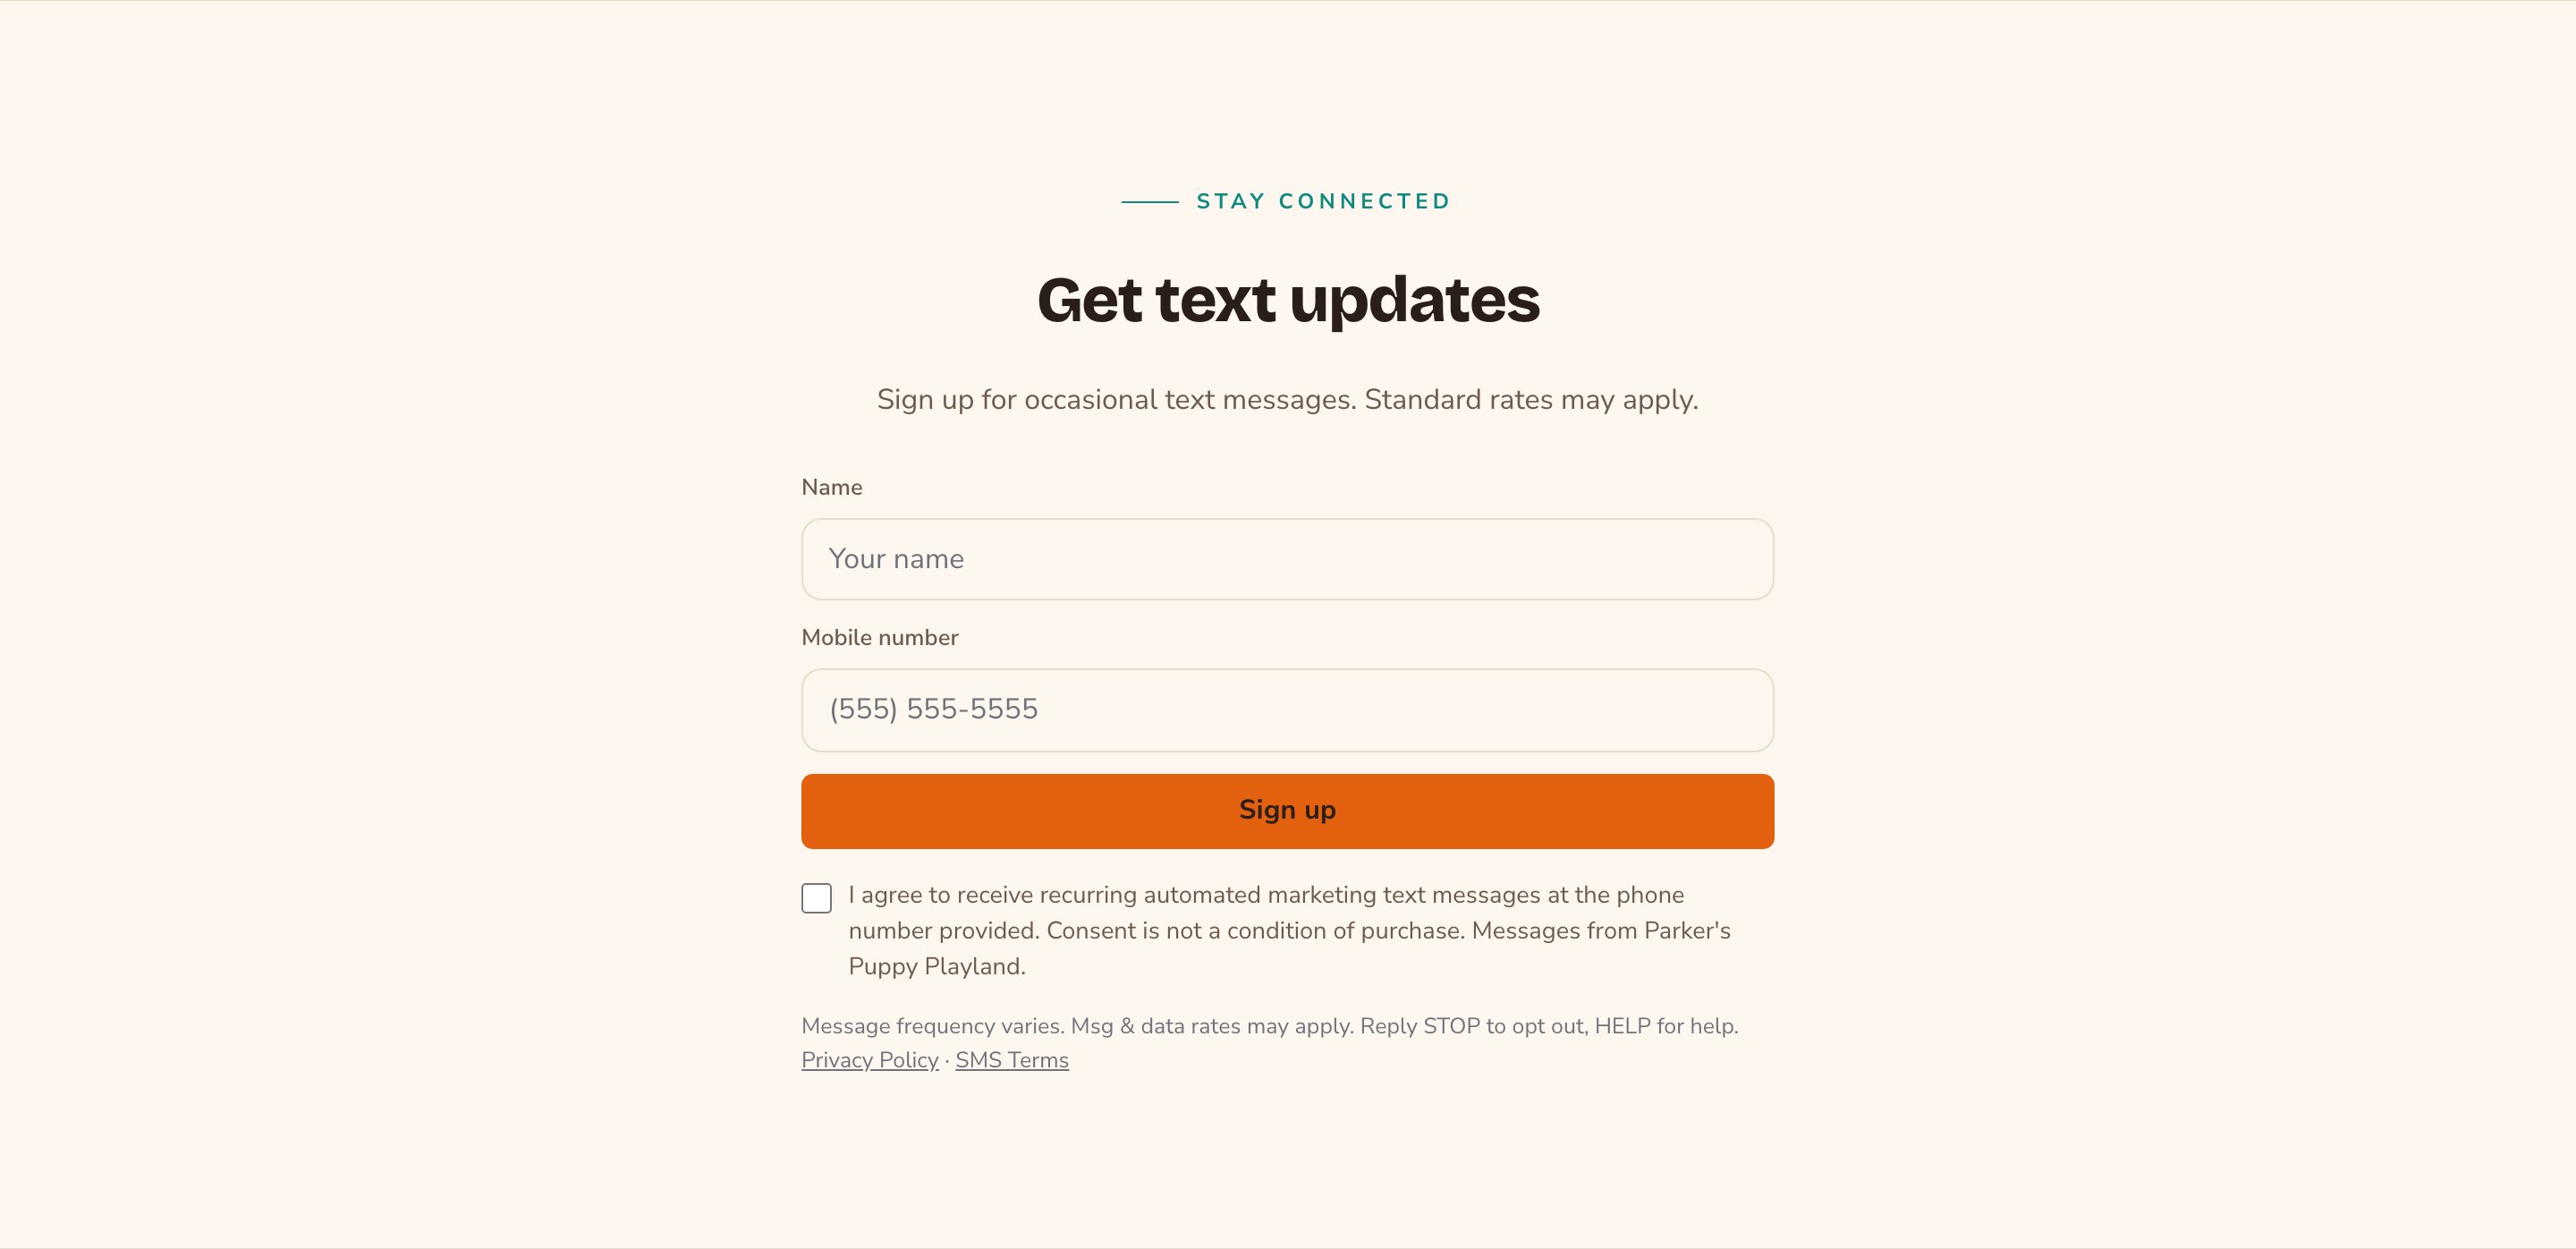
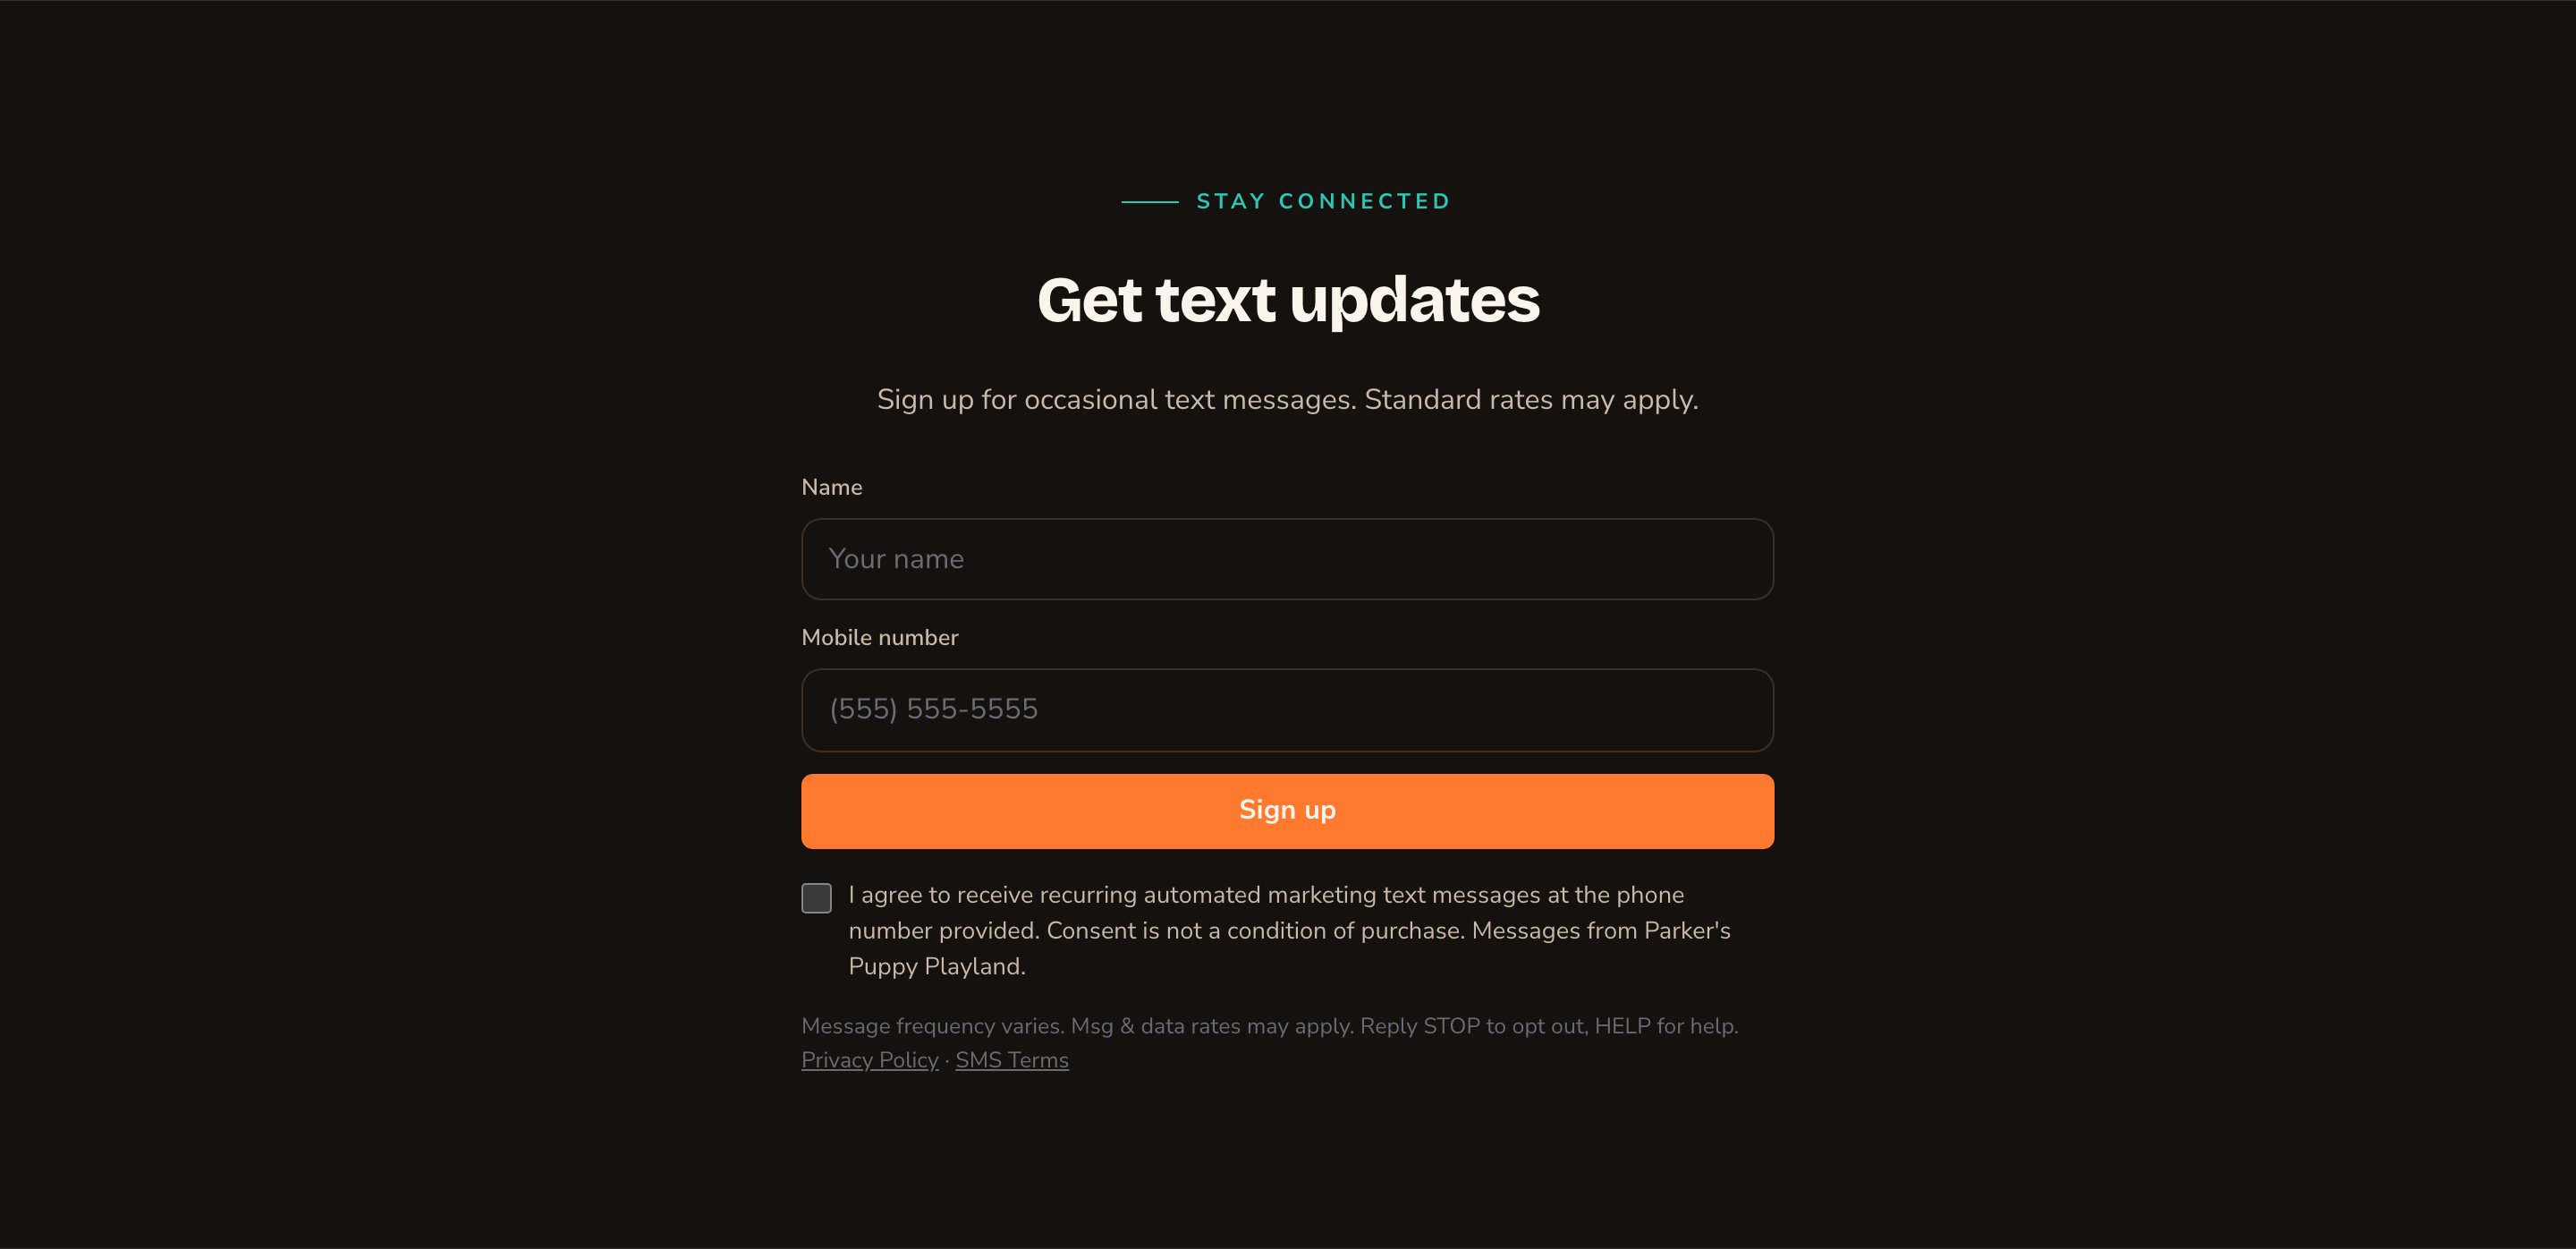
A quiet, stacked sign-up for the end of a page.
What visitors agree to, and what’s recorded
When your business name is set in Site settings, visitors see “Messages from” and your business name after the consent statement. For example: ”… Consent is not a condition of purchase. Messages from Parker’s Puppy Playland.” Each sign-up saves a record of what the visitor agreed to: the consent statement followed by your business name. The record also notes when the sign-up was sent and the page it came from.Where the sign-ups go
Every sign-up is saved in the CMS, under the form you picked. Admins and Owners can read them in View Form Submissions and download them with Export CSV, a spreadsheet file. See Form submissions. The form’s own settings decide who else hears about each sign-up, such as an email to your team. The SMS Signup form starts with none of these, so it only saves sign-ups until you add one. See Email notifications. To start texting, import that file into your text-message service. The service sends your messages, records who confirms and keeps your subscriber list. Attract keeps only the sign-ups.Good to know
- Confirm before you text. In your text-message service, send each new number one message asking them to confirm. Add them to your list there only once they reply.
- Your wording is your responsibility. The sample consent and fine print are a starting point, not legal advice. Check them, and register your program with your text-message provider.
- Keep bots out. Once spam protection is set up in Connections, every sign-up is checked for bots. See Spam protection.
- Test it signed out. Sign out, or use a private window, to see the section and send a test sign-up as a visitor.
- Where it fits. The section is a full-width band. It isn’t offered inside columns or in a blog post’s body, but you can add it after a post.
Appearance options
Most sections also share a few tabs that work the same everywhere:- Background: set the color behind the section, separately for the dark and light themes.
- Fonts: use a different typeface for parts of this section only.
- CSS: add custom styles to this section. Admins and Owners can change it.
Related
Newsletter Subscription
collect email sign-ups instead.
Build a form
create the form that receives sign-ups.
Form submissions
read and export every sign-up.
Legal details
your privacy policy and terms pages.