

 AdonisJS
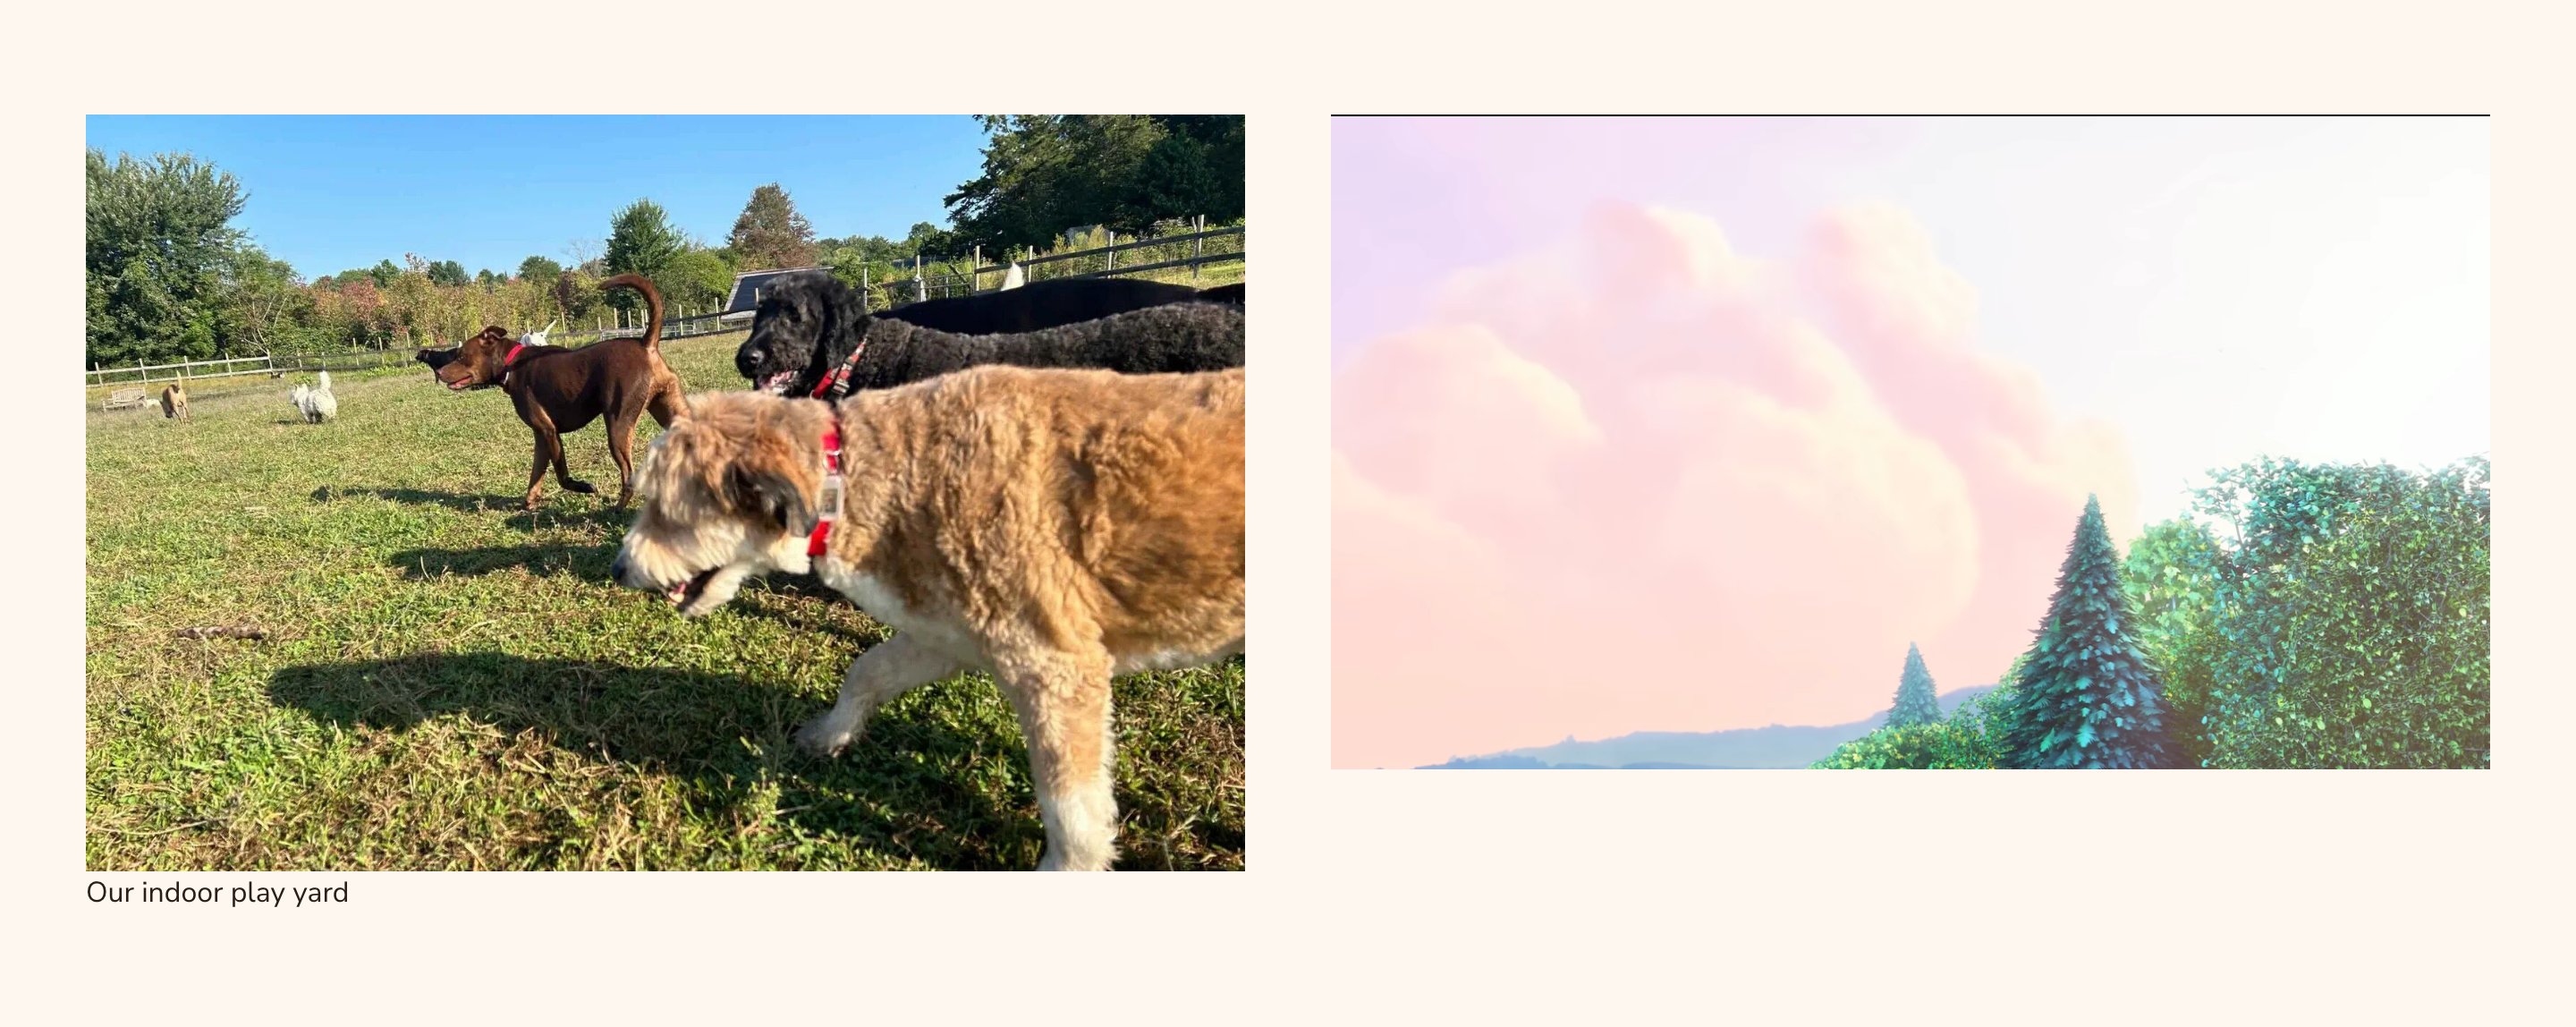
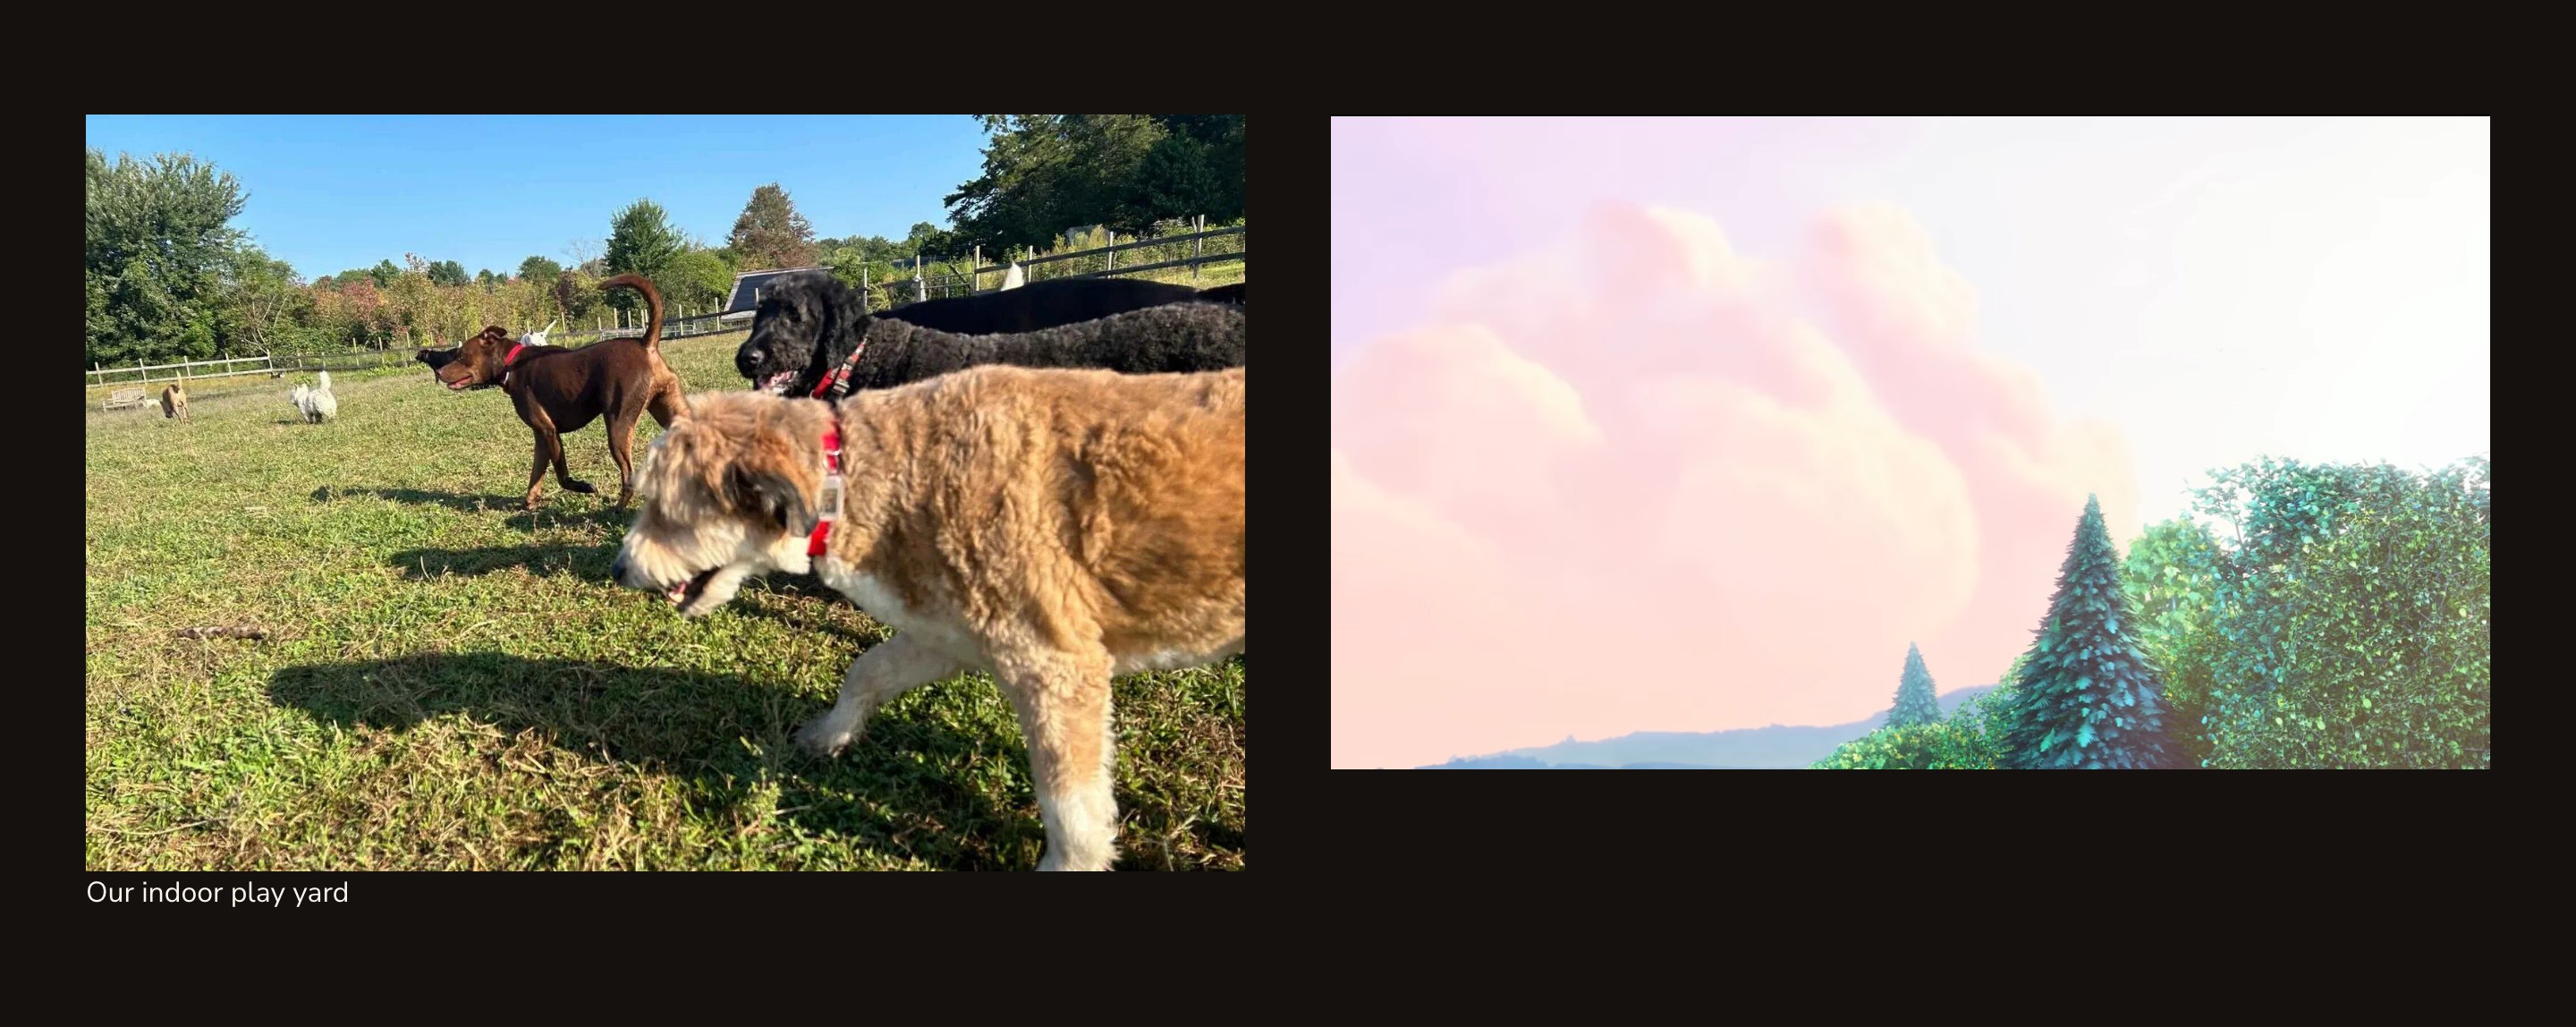
An image with a caption beside an embedded video.
When to use it
- To put a photo beside text in a 2-column layout.
- To break up a long blog post with a picture or a video.
- To add a video tour or a how-to clip from your video channel.
Where you can add them
Image and Video aren’t in a page’s main Add Content menu, because a lone picture at full width rarely looks finished. You add them here:- In a column of a Layout section: click the Layout on the page to select it. At its top, choose Edit Content (its other mode, Edit Columns, changes the columns). Then choose Add Content in a column and add Image or Video. See Side-by-side layouts.
- In a blog post’s body: Add Content → Write → Image or Video. See Blog.
- In the Content area of an interior page (a page made with the Default Page type): the narrower area below the page’s sections. In edit mode, scroll below the last section and choose its +. It’s also on the Basics tab of the page settings window (More Options → Edit in the edit bar).
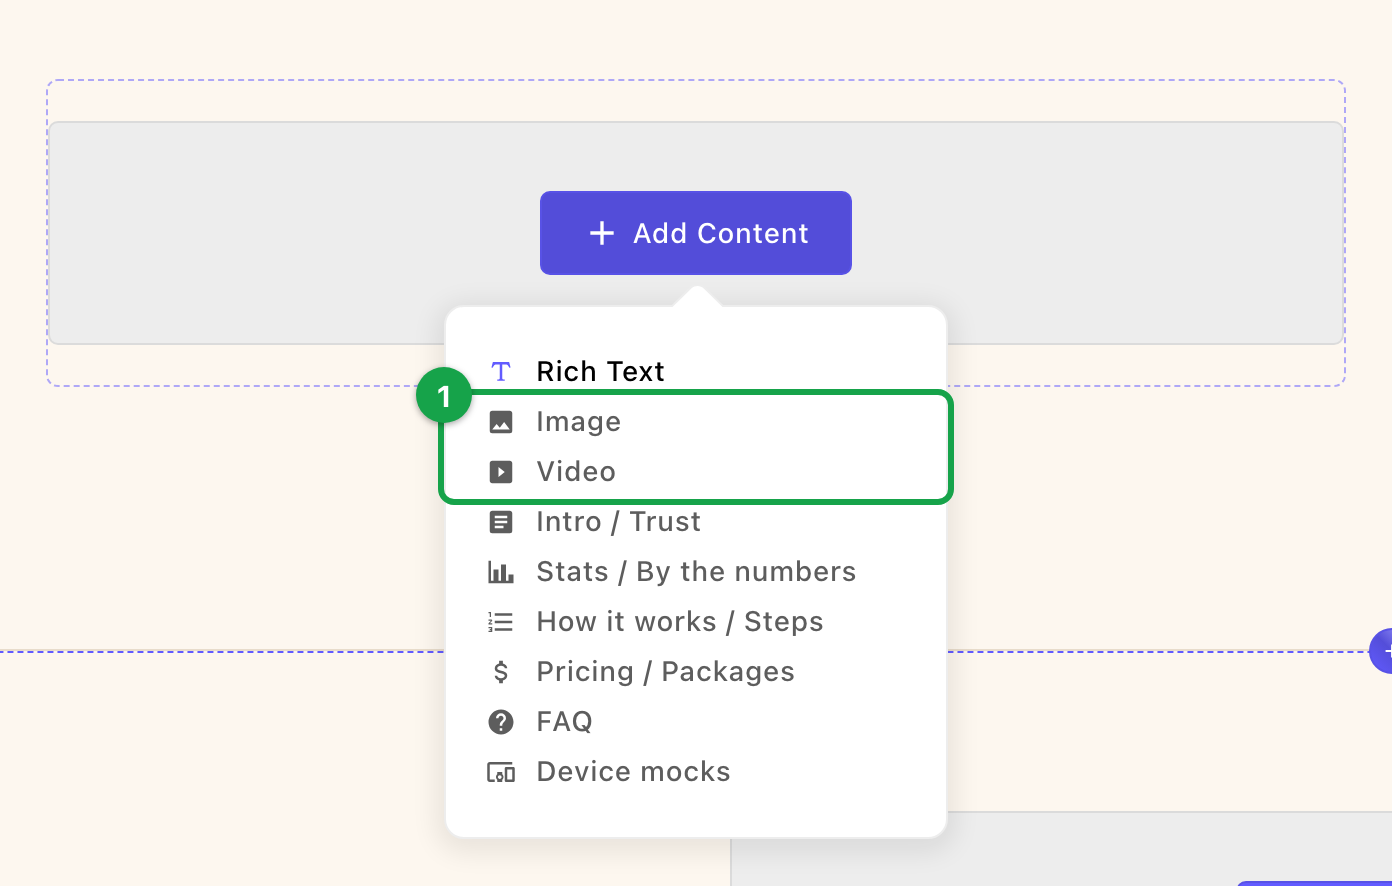
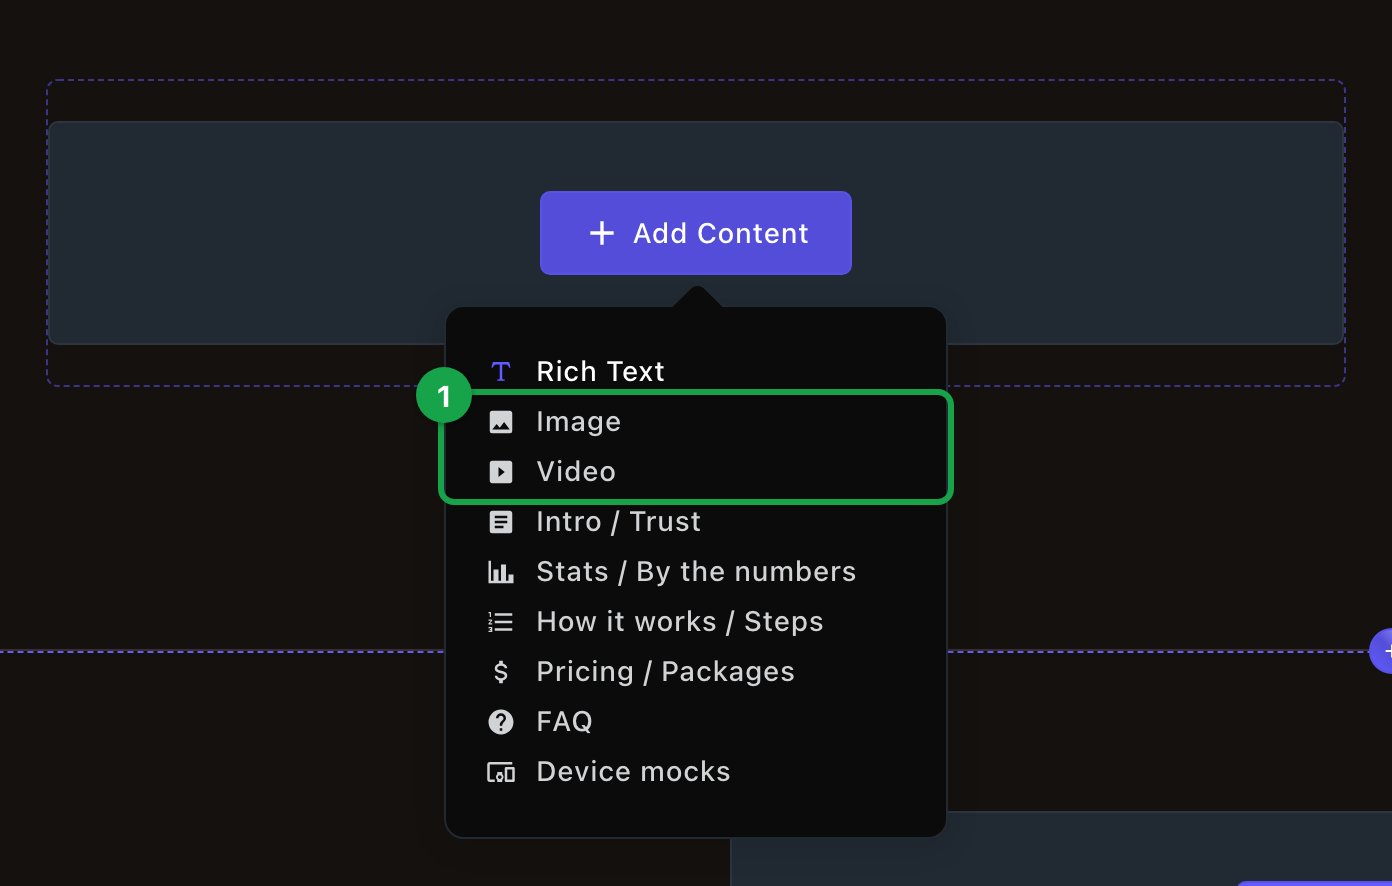
Image and Video are offered inside columns.
Add an image
- Add an Image. It shows a placeholder picture until you choose one.
- Select it and choose Edit.
- In Image, choose a picture from your media library, or upload a new one.
- Optionally, write a Caption. It shows under the picture.
- Optionally, make the picture a link. In Link To…, choose a page or URL. For a web address, enter the URL.
- Optionally, add a Link Title: a short note that pops up when a visitor points at the picture. To open the link in a new tab, tick Open link in new tab under Link Target.
- Save your changes.
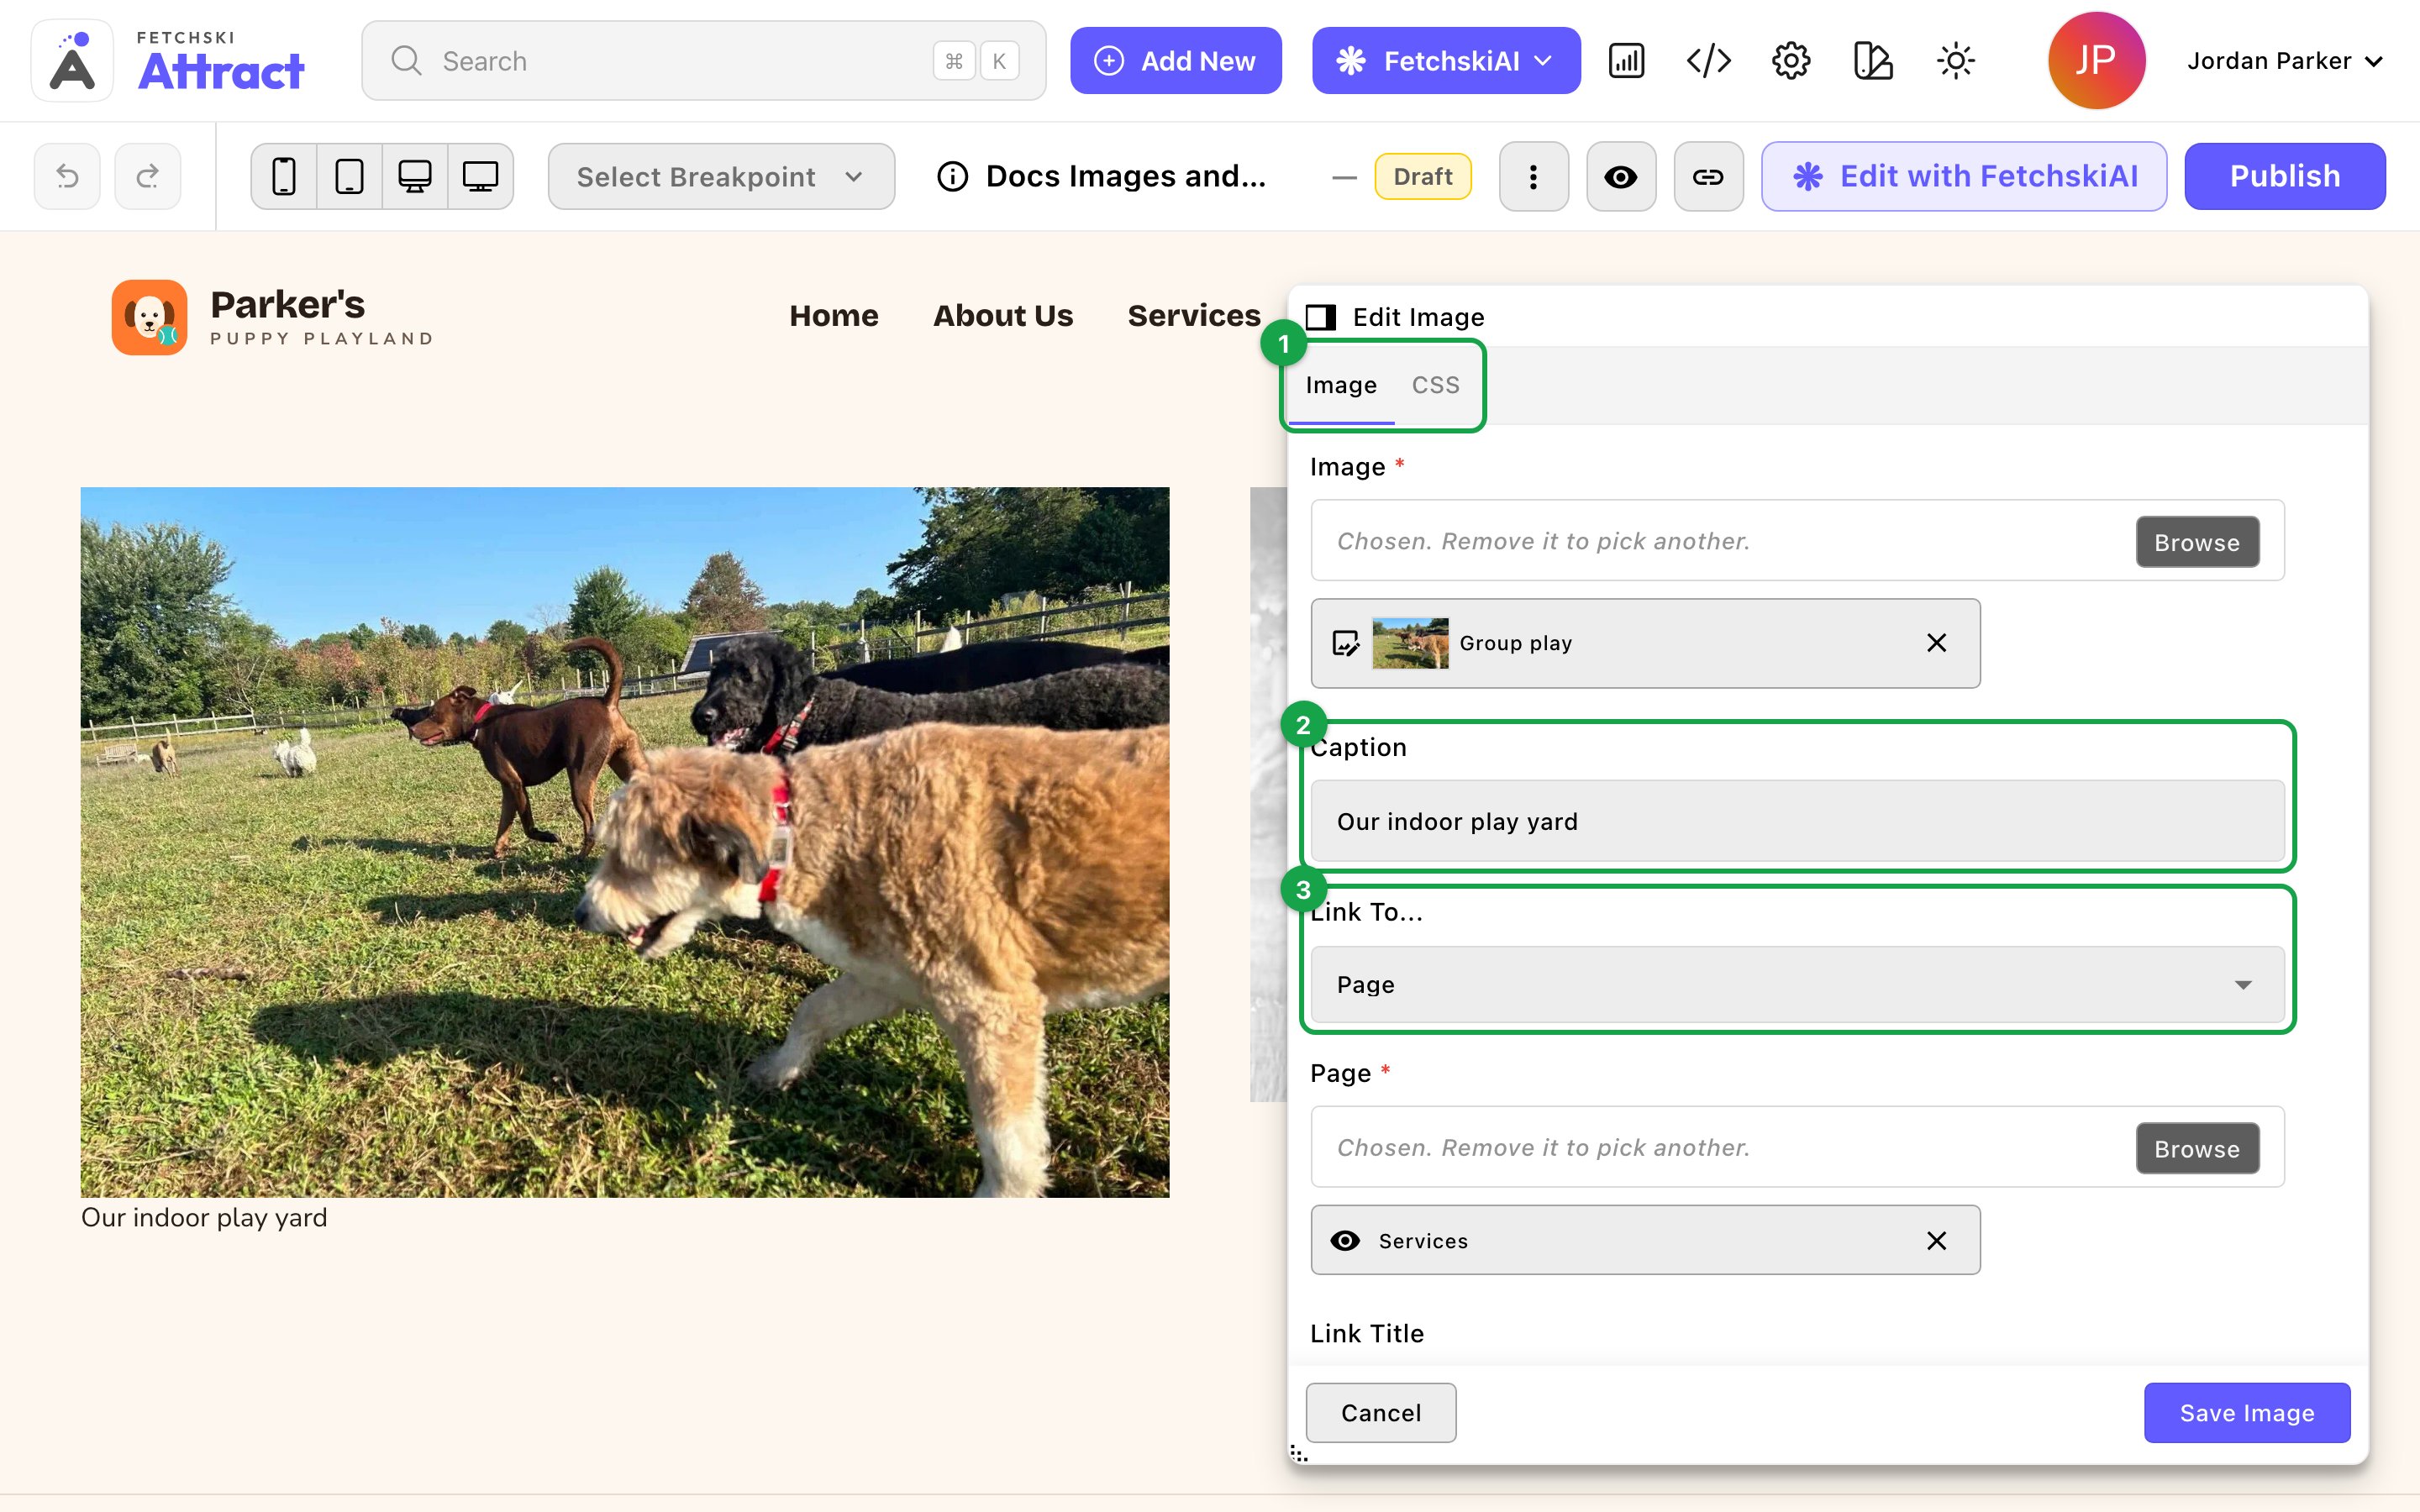
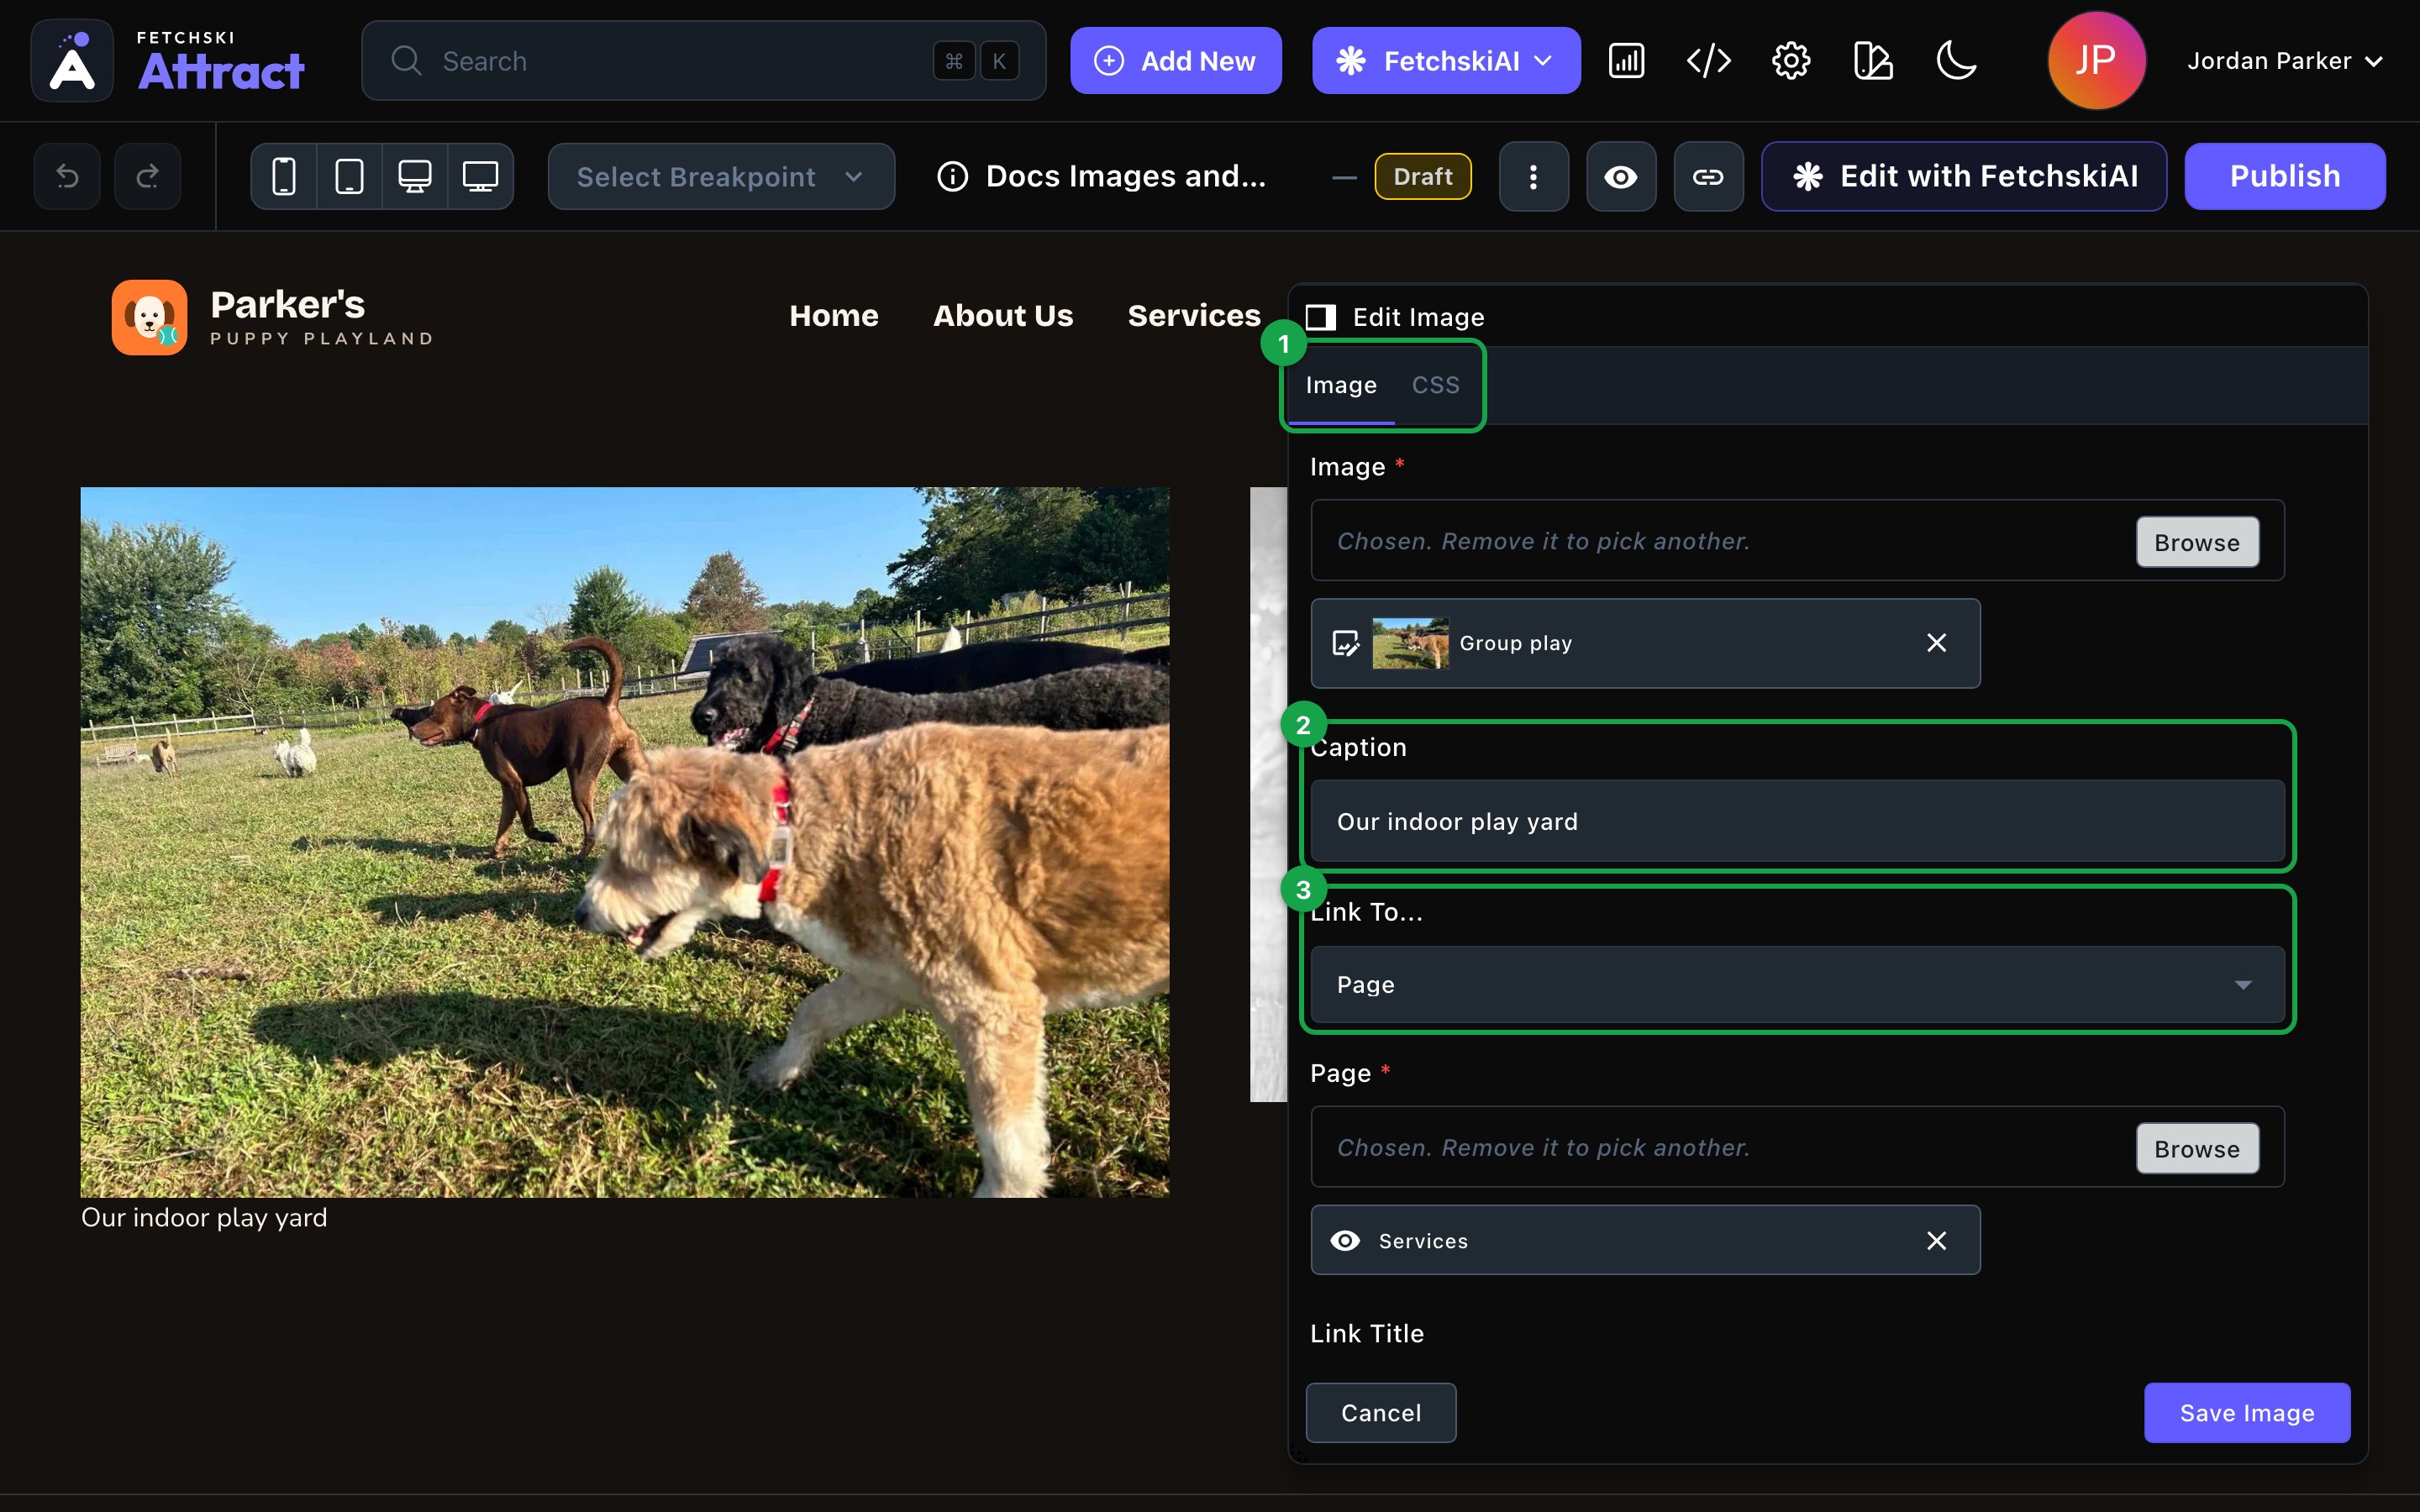
Choose the picture, then add a caption or a link.
Add a video
- Add a Video.
- Select it and choose Edit.
- Paste the video’s web address into Video URL. Copy it from the video’s page on YouTube, Vimeo or a similar video site.
- Save your changes. The video player appears in place, sized to fit.
The Video section plays videos hosted on a video site. To show a video you uploaded to your Videos library, use a section built for it, such as the Media + Text block or a Hero background.
Looks you can make
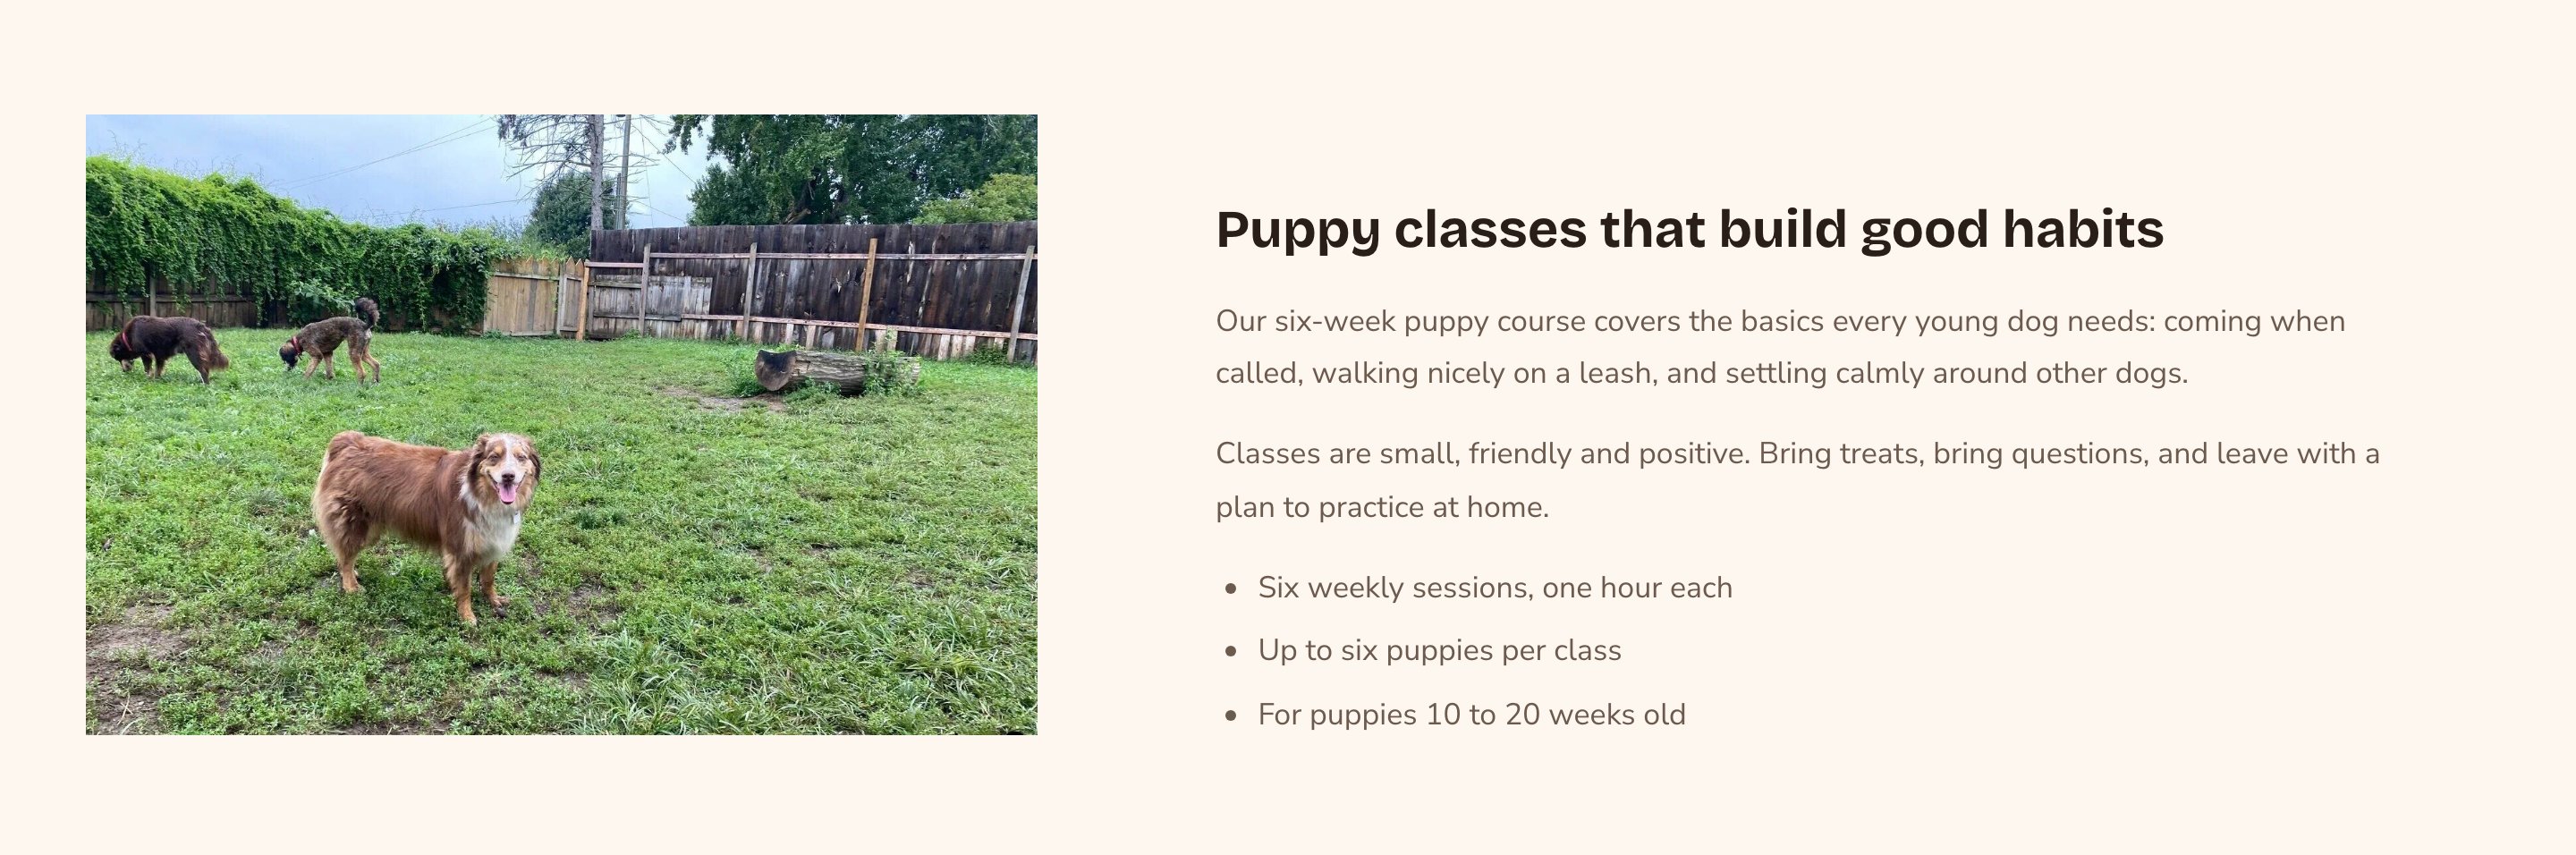
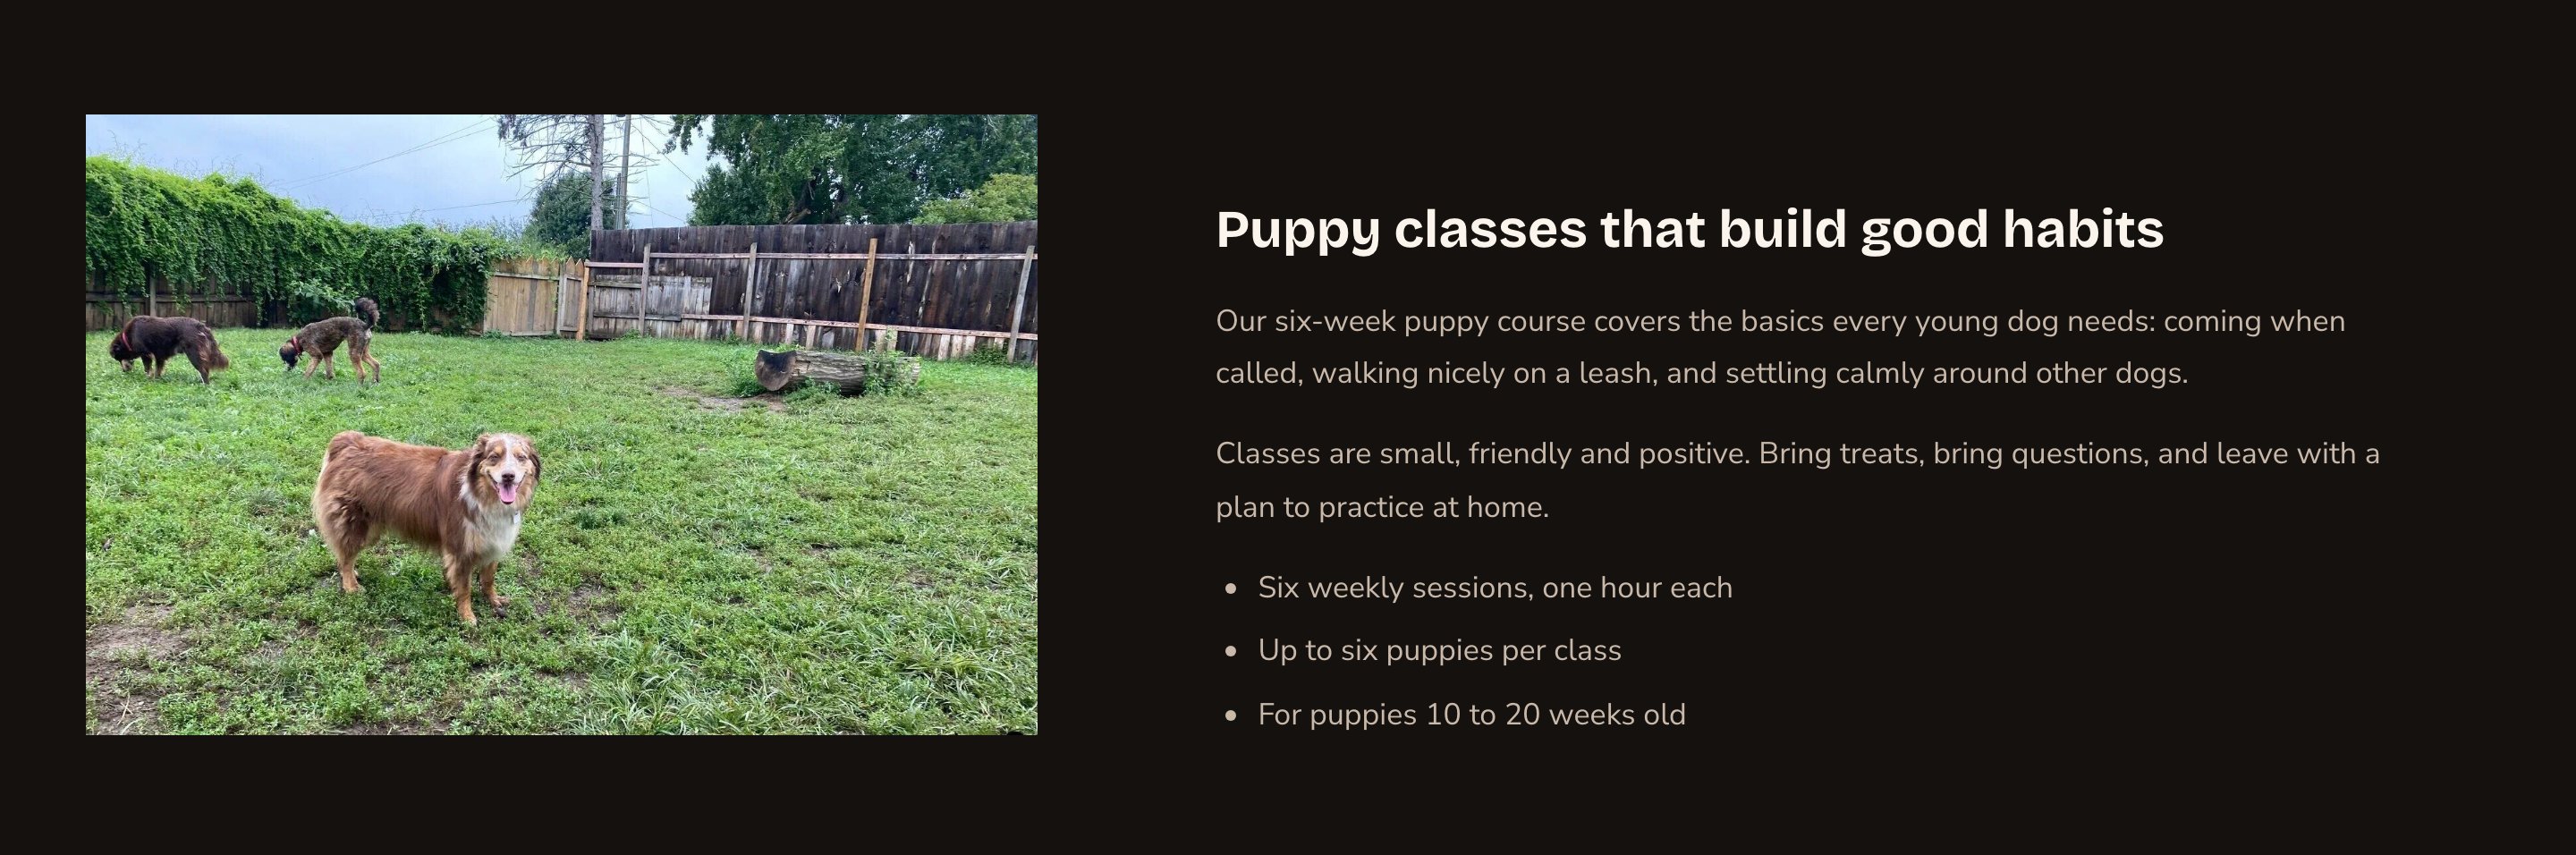
A linked photo beside your text.
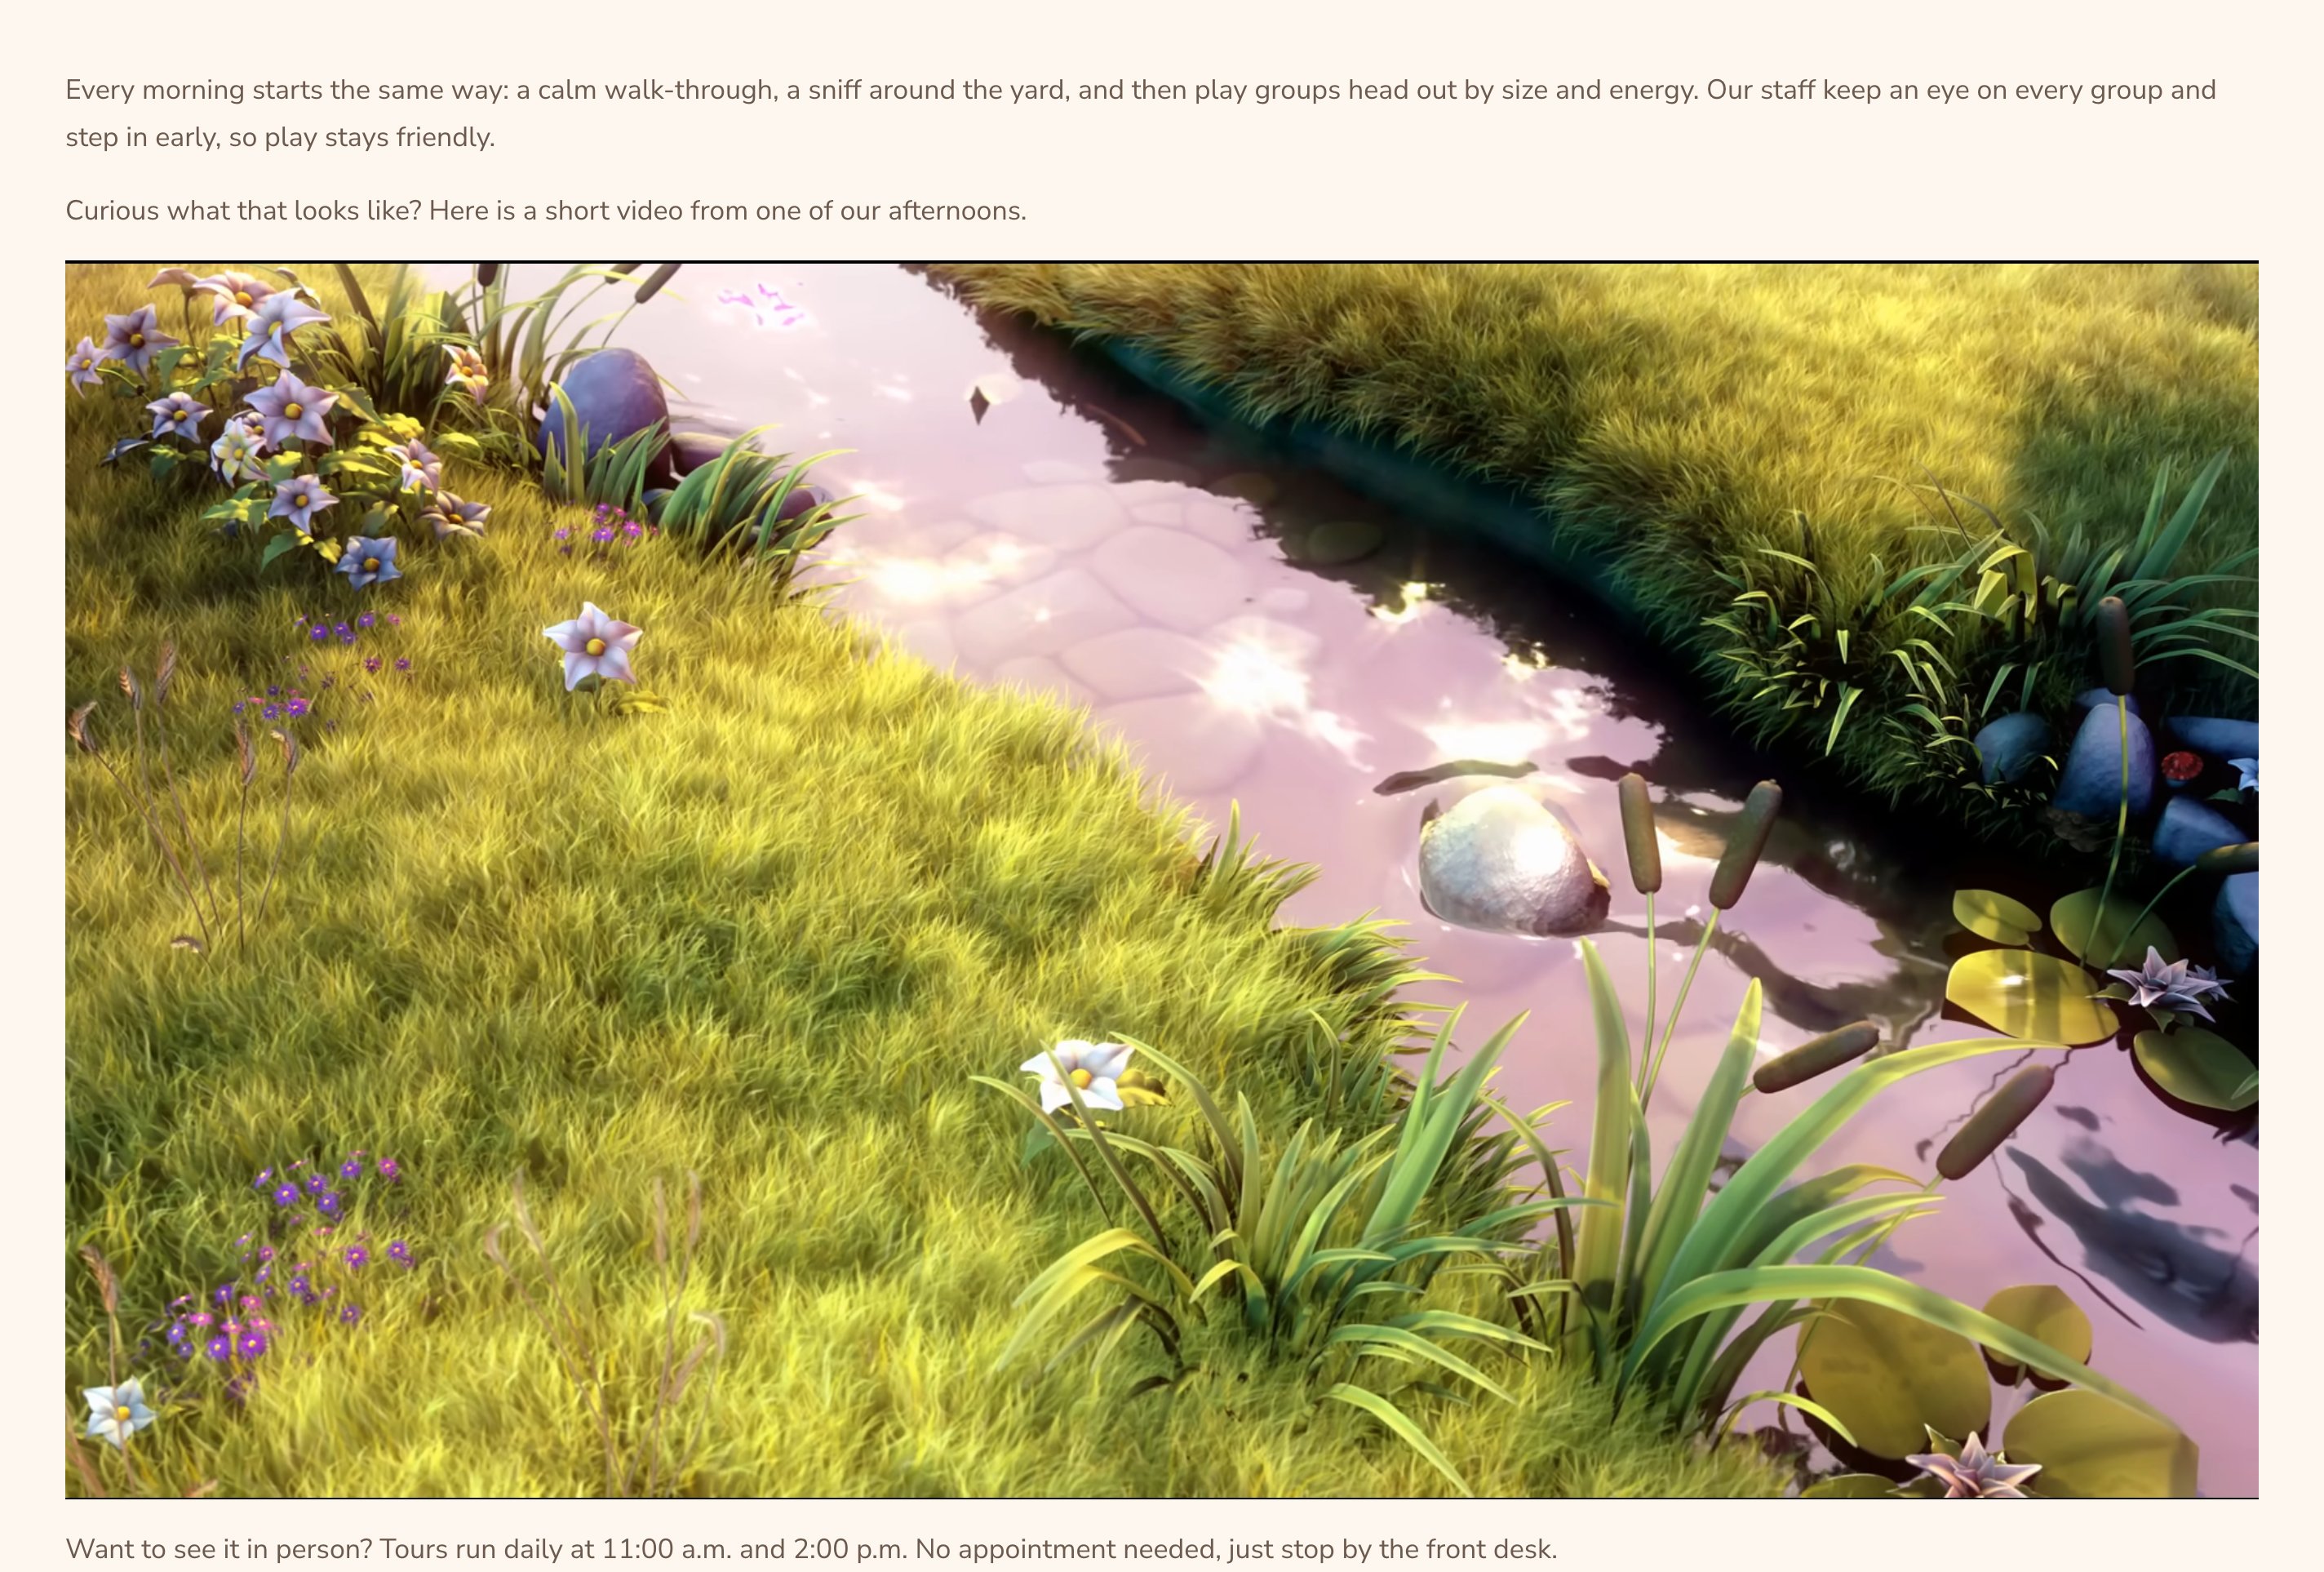
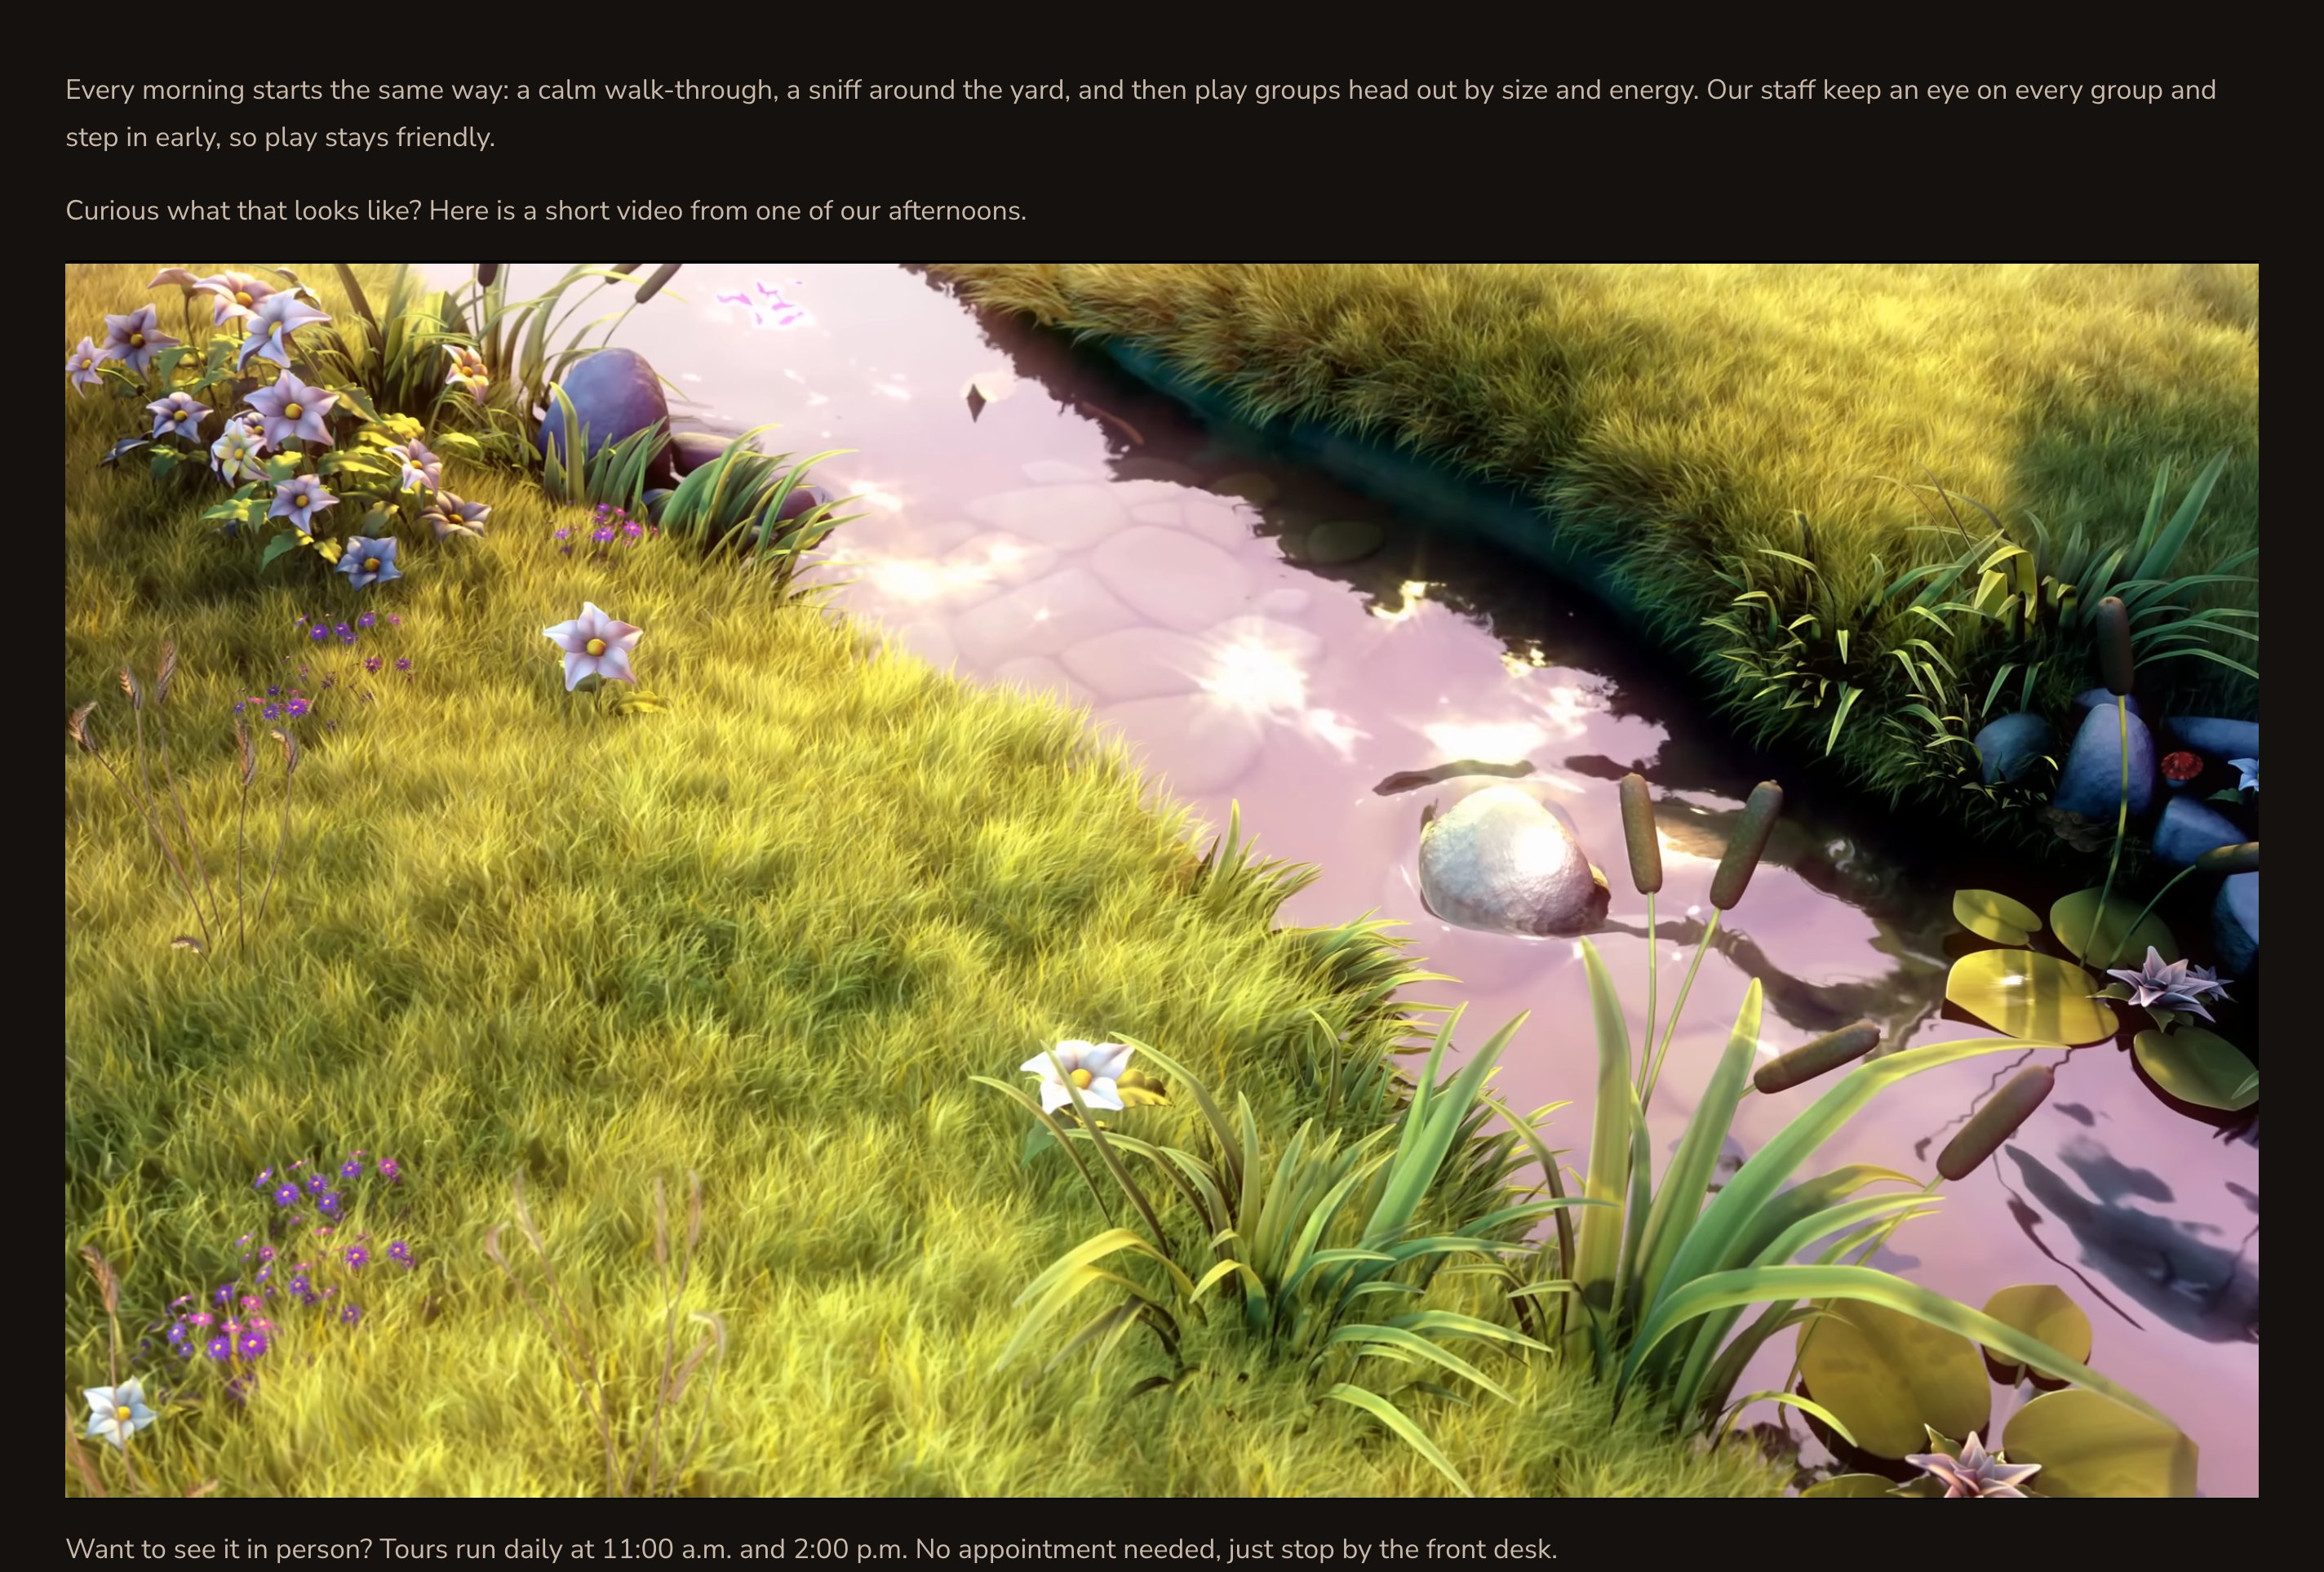
A video in the middle of a blog post.
Good to know
- Write alt text for every picture in your media library. Screen readers read it out, and search engines use it too. Leave it empty only for a purely decorative picture.
- Videos start only when a visitor presses play, so they don’t distract anyone who prefers less motion.
- Columns reflow on phones. On a small screen, columns stack, so your image ends up above or below its text. Check it with device preview.
- Custom CSS. Each Image and Video has a CSS tab for its own custom styles. See Custom CSS.
Related
Side-by-side layouts
build columns for your images and videos.
The media library
upload pictures and write alt text.
Media + Text block
a designed full-width picture or video beside text.
Rich Text
the text that sits beside them.