

 AdonisJS
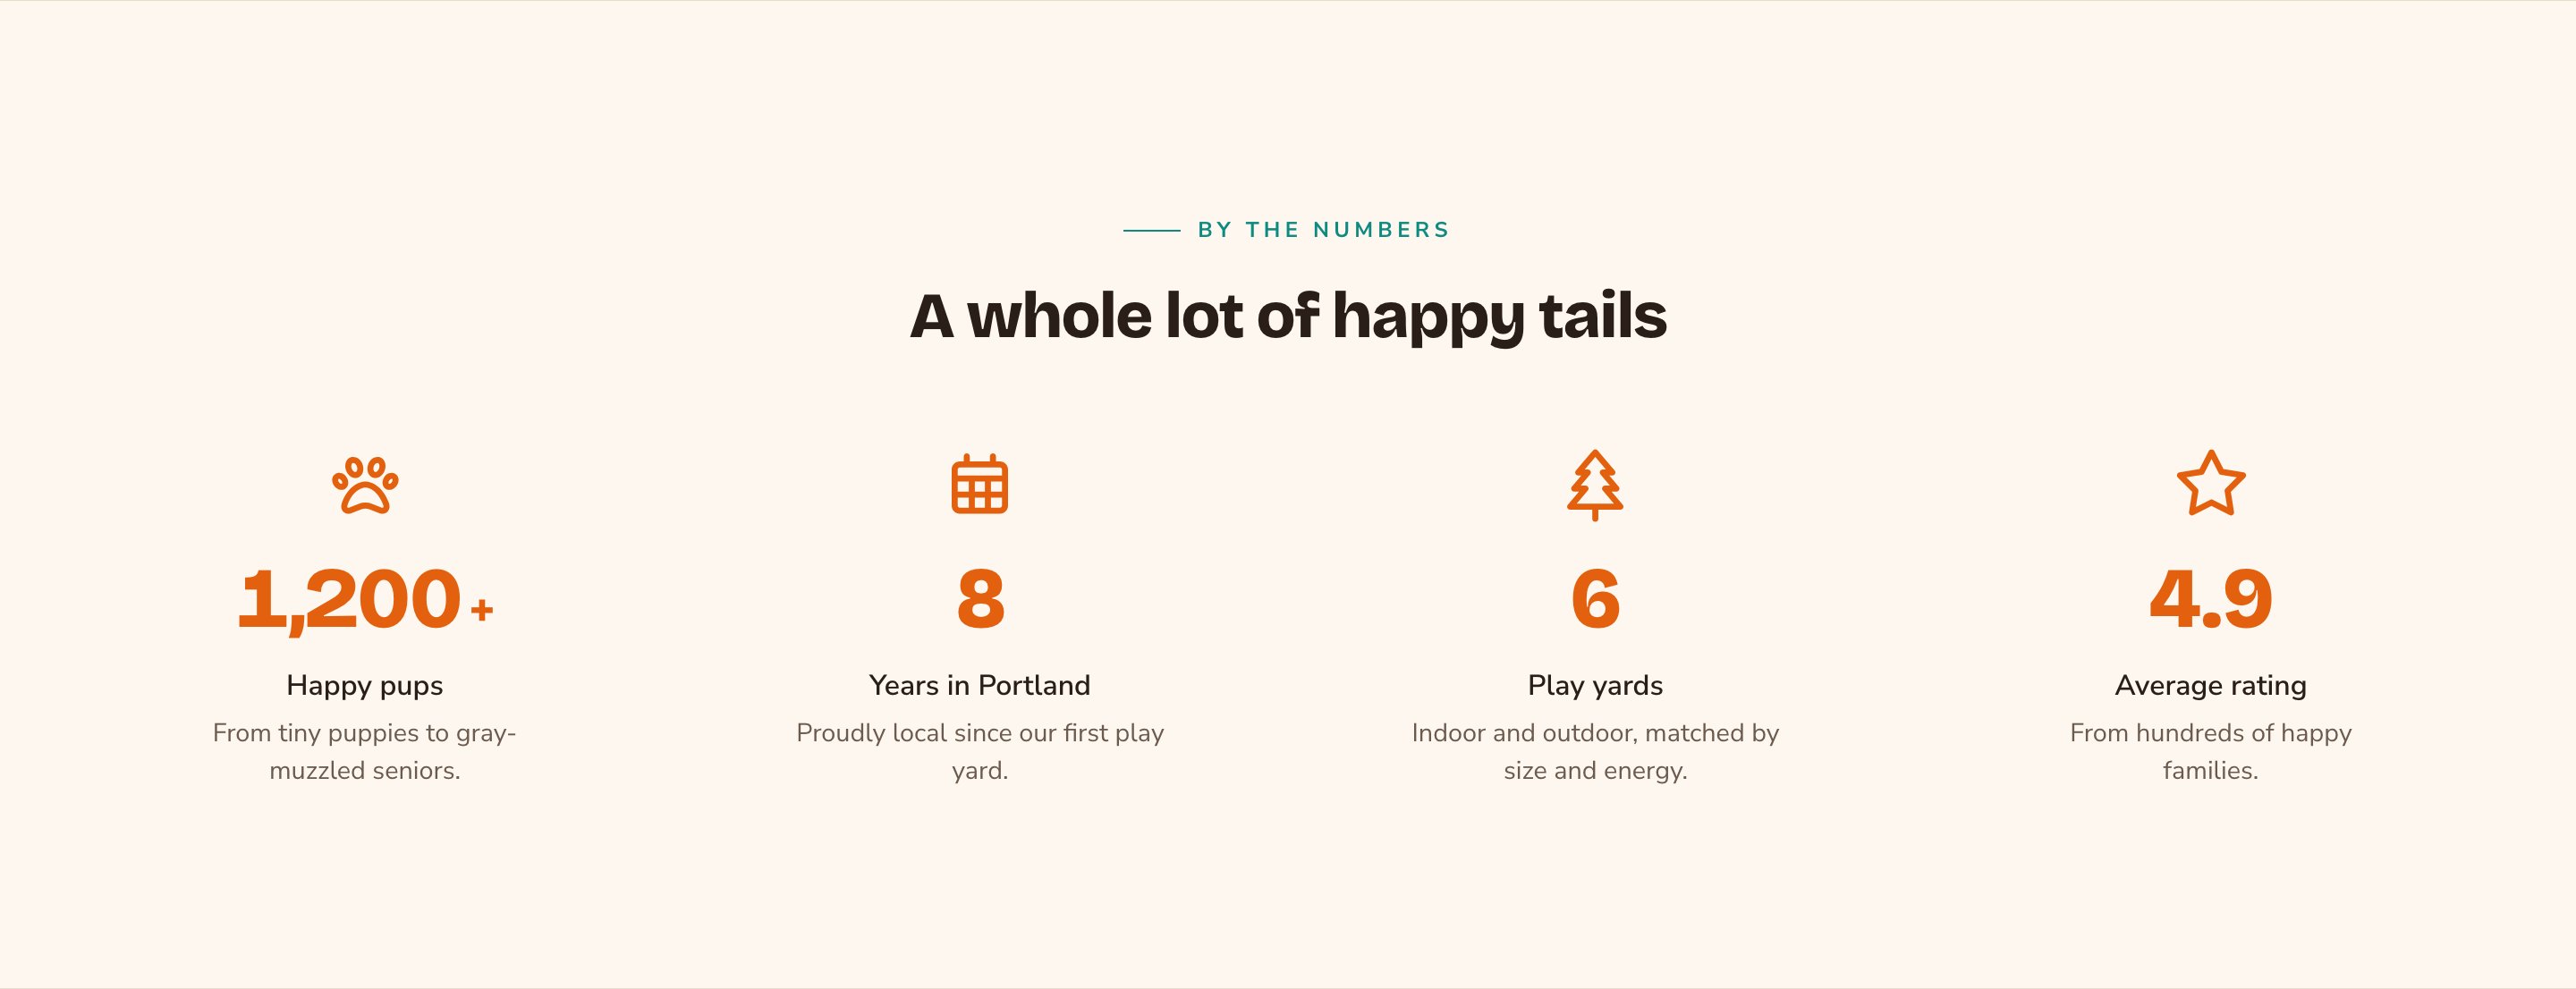
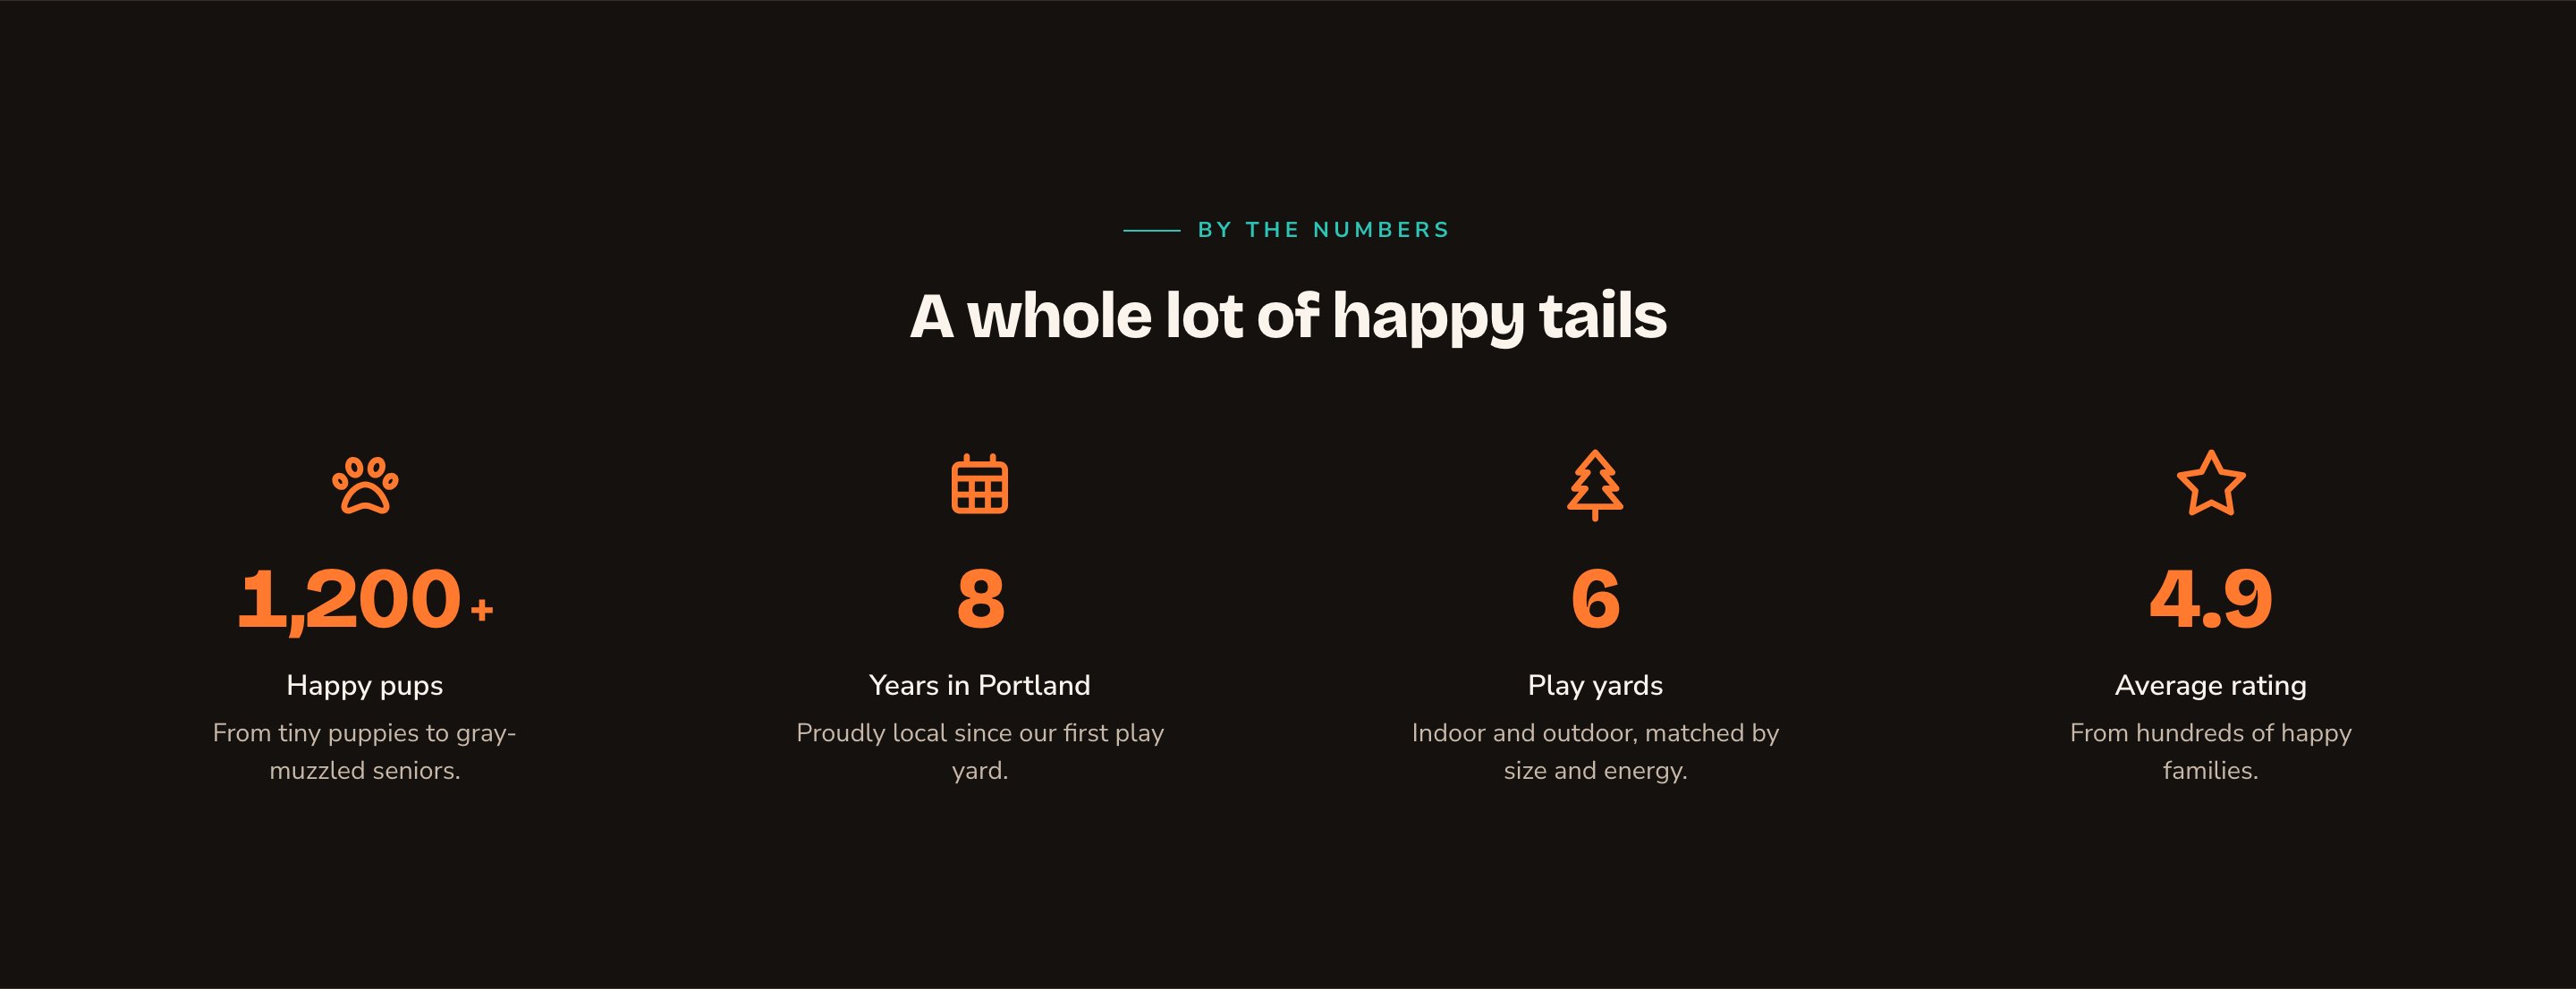
Four stats in a row, each with an icon and a short description.
When to use it
- To back up your claims with numbers: customers served, years in business, ratings.
- To break up a long page with a quick, scannable band.
- Beside text in a side-by-side layout, or inside a blog post, to make a point with figures.
Add it to a page
1
Open the page
Sign in, open the page on your site, and choose Edit in the edit bar at the top.
2
Find the spot
Select the section next to where the new one should go. A round + button appears on its top and bottom edges. On an empty page, choose Add Content in the middle.
3
Choose the section
The Add Content menu opens with its groups. Choose the section, then select it and choose Edit in its side toolbar to make it yours.
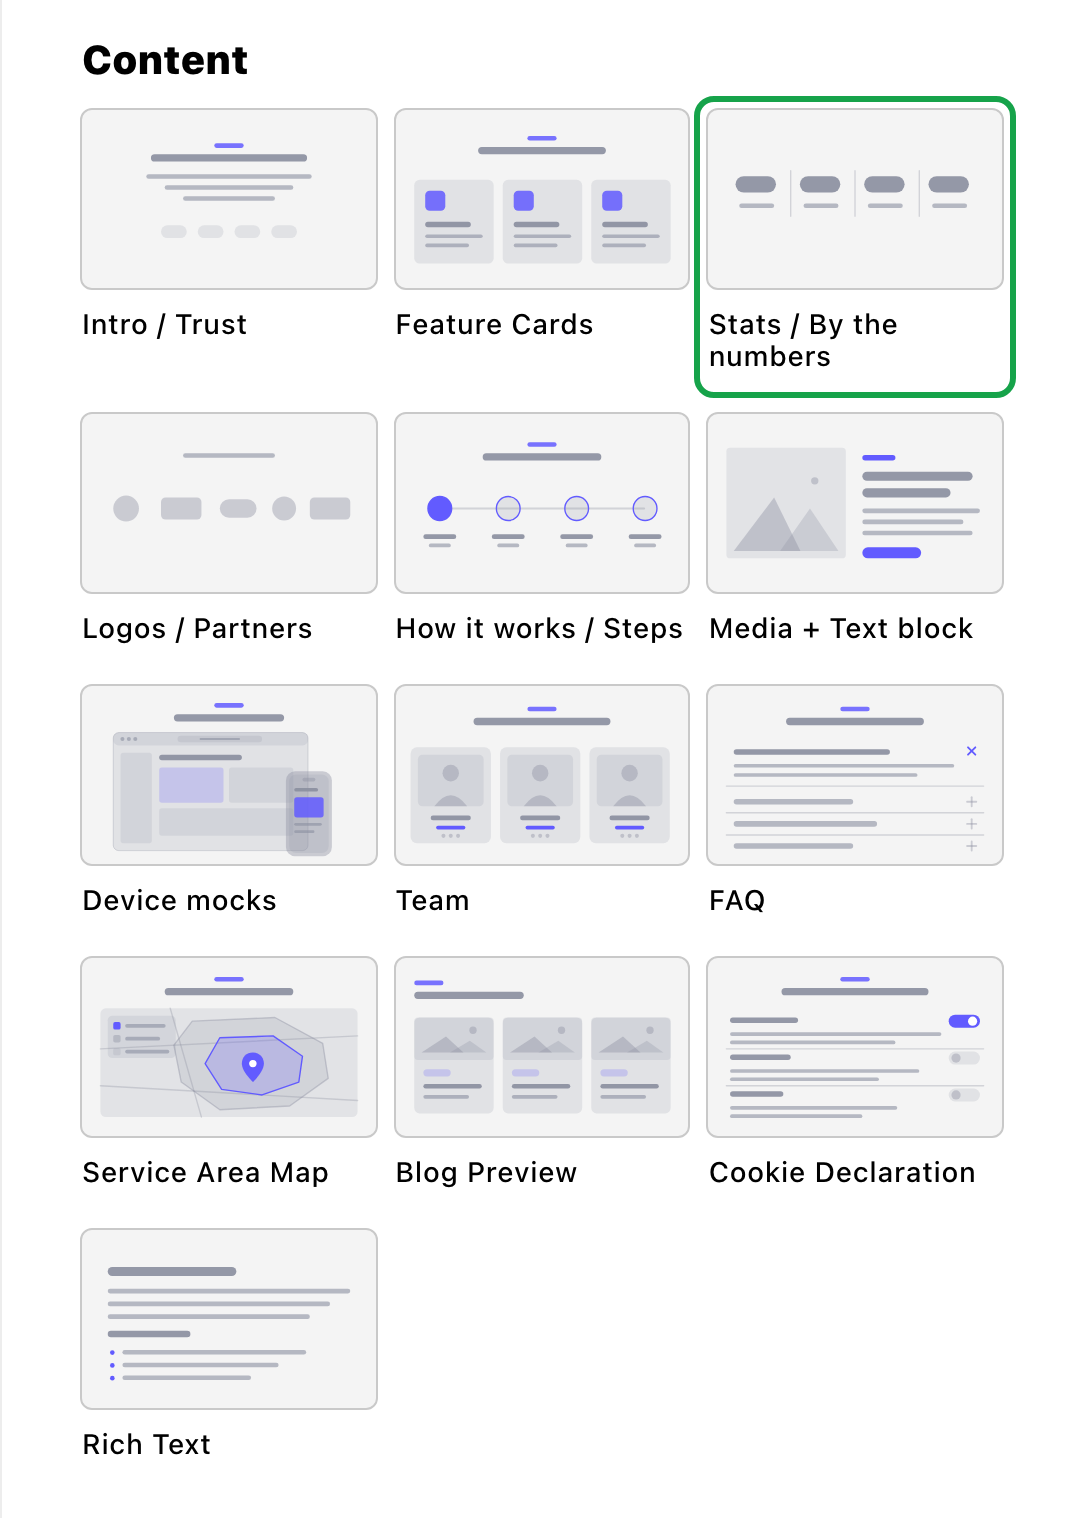
Stats / By the numbers lives in the Content group.
What you can change
Select the section on the page and choose Edit. The editor opens beside the page, so you see each change as you make it. It has five tabs: Stats, Background, Fonts, Button and CSS. Your changes go into the page’s draft. Visitors see them once the page is published with Update in the edit bar (Publish on a page never published).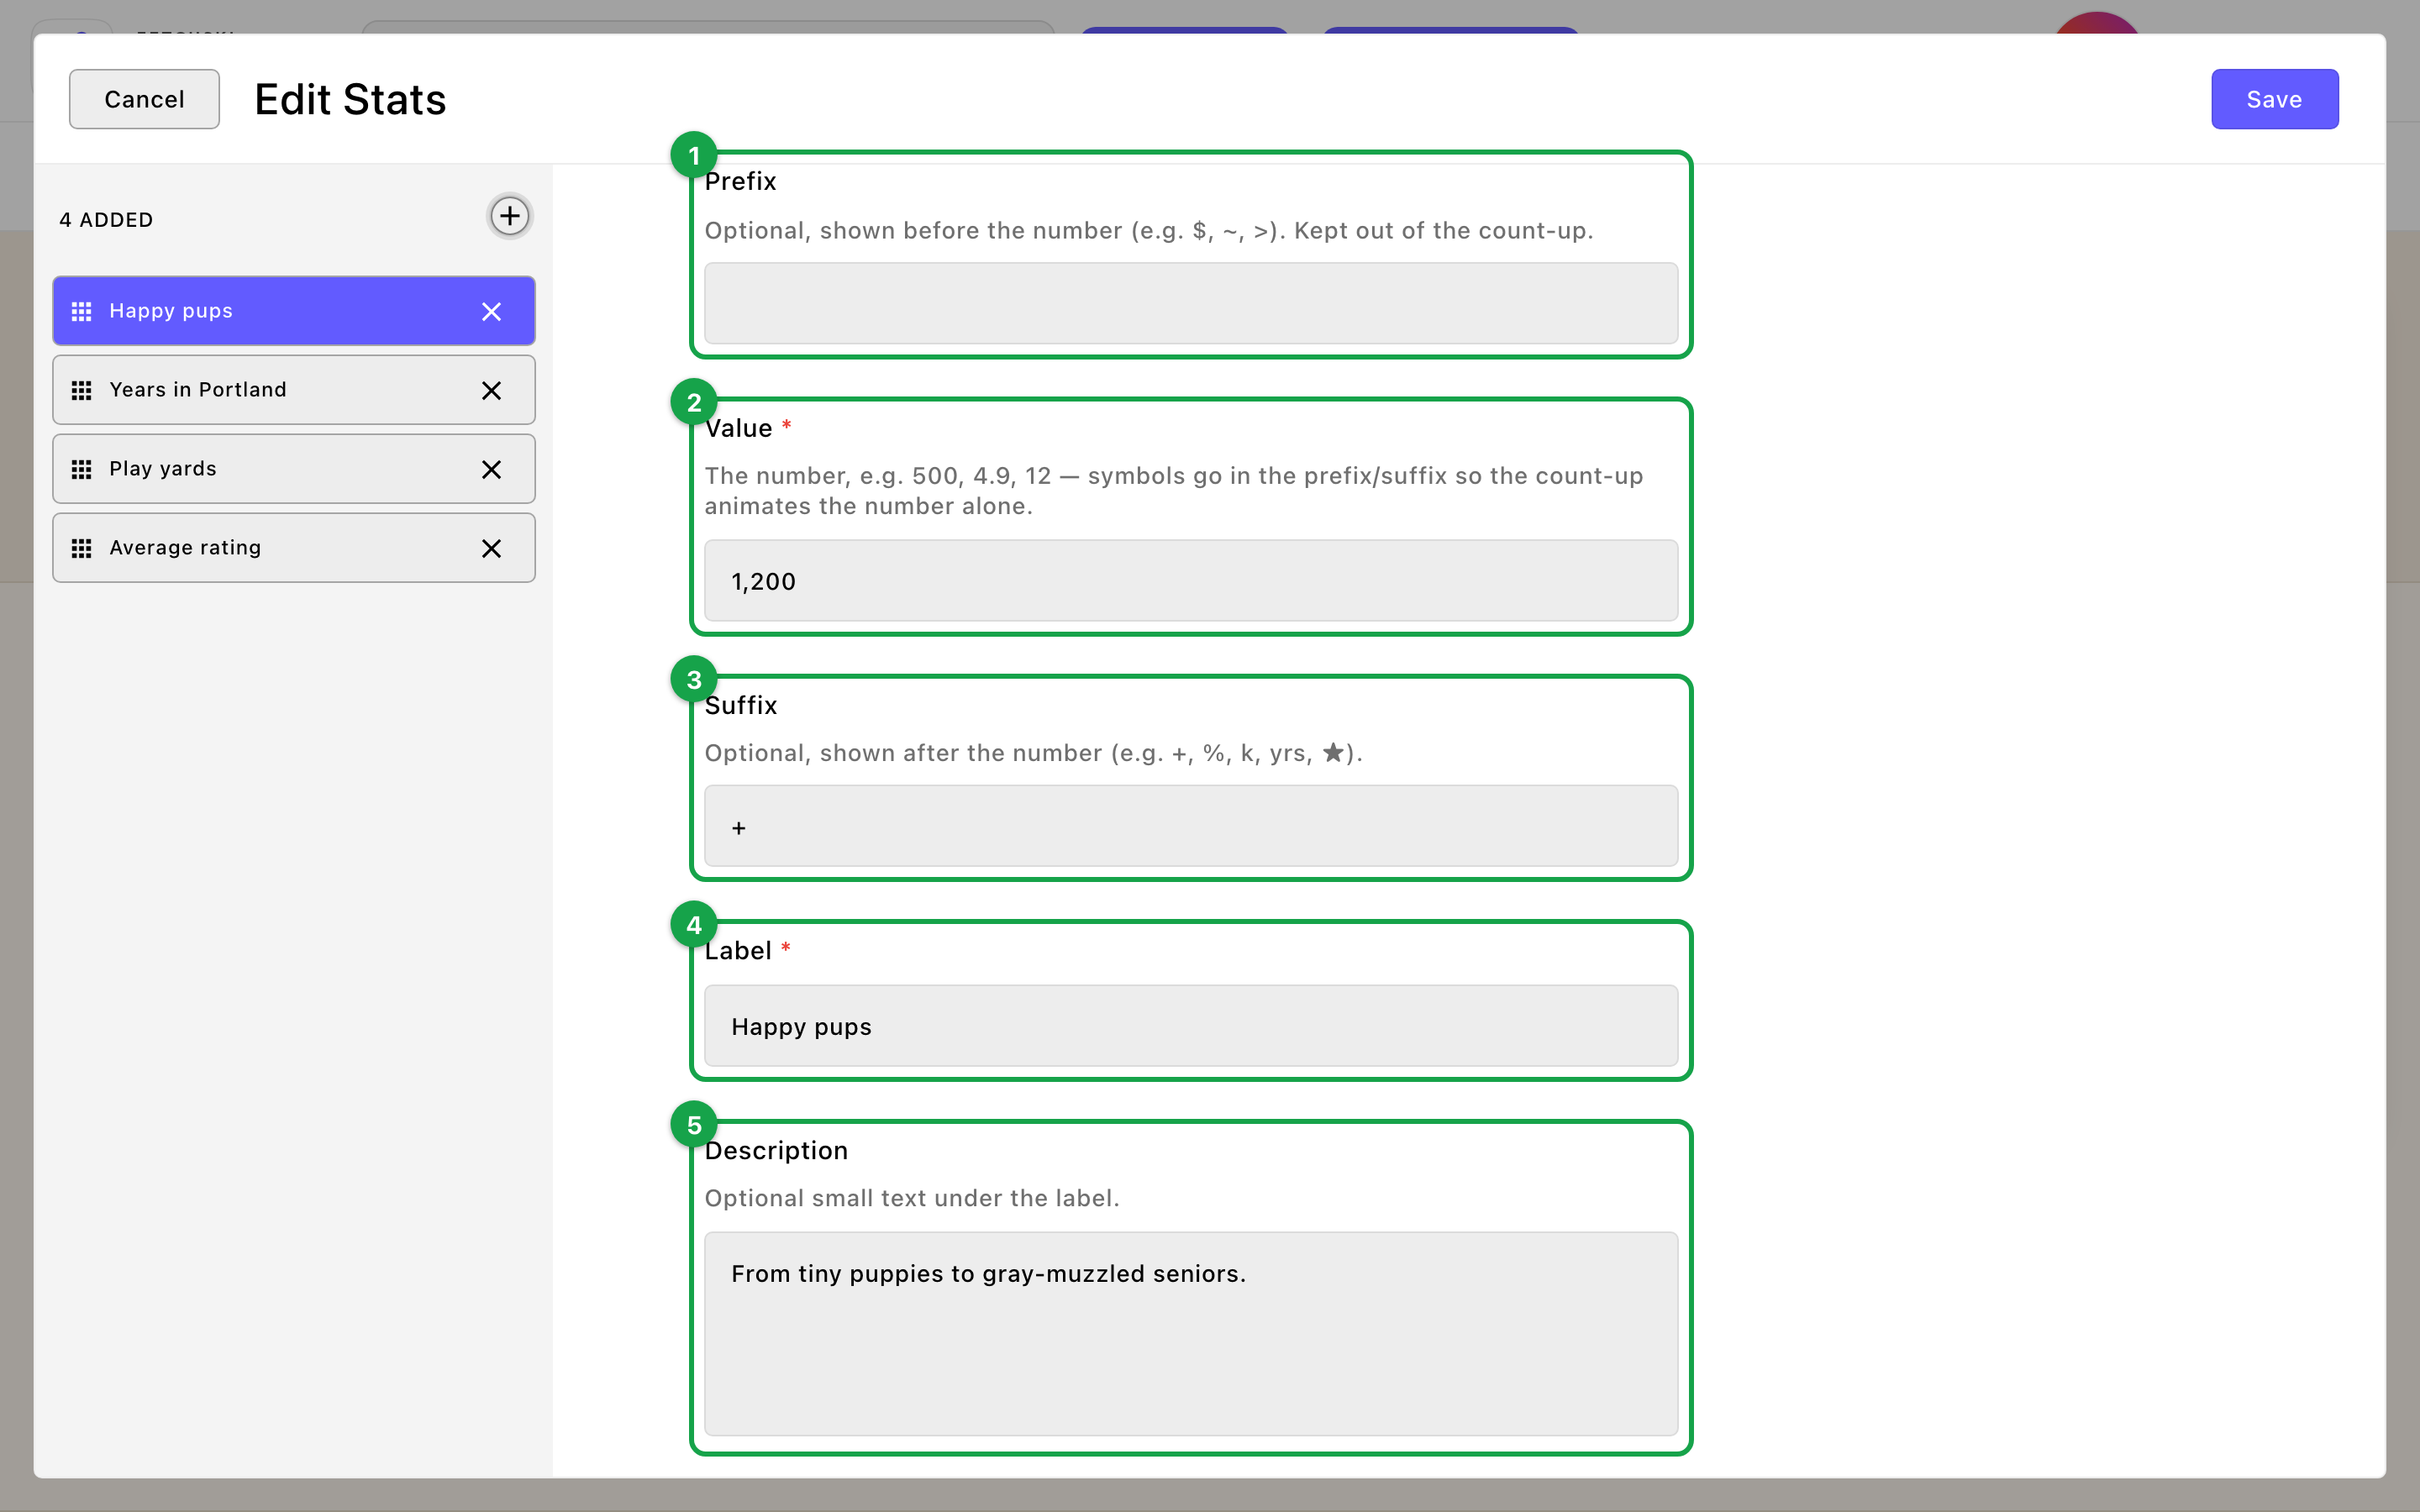
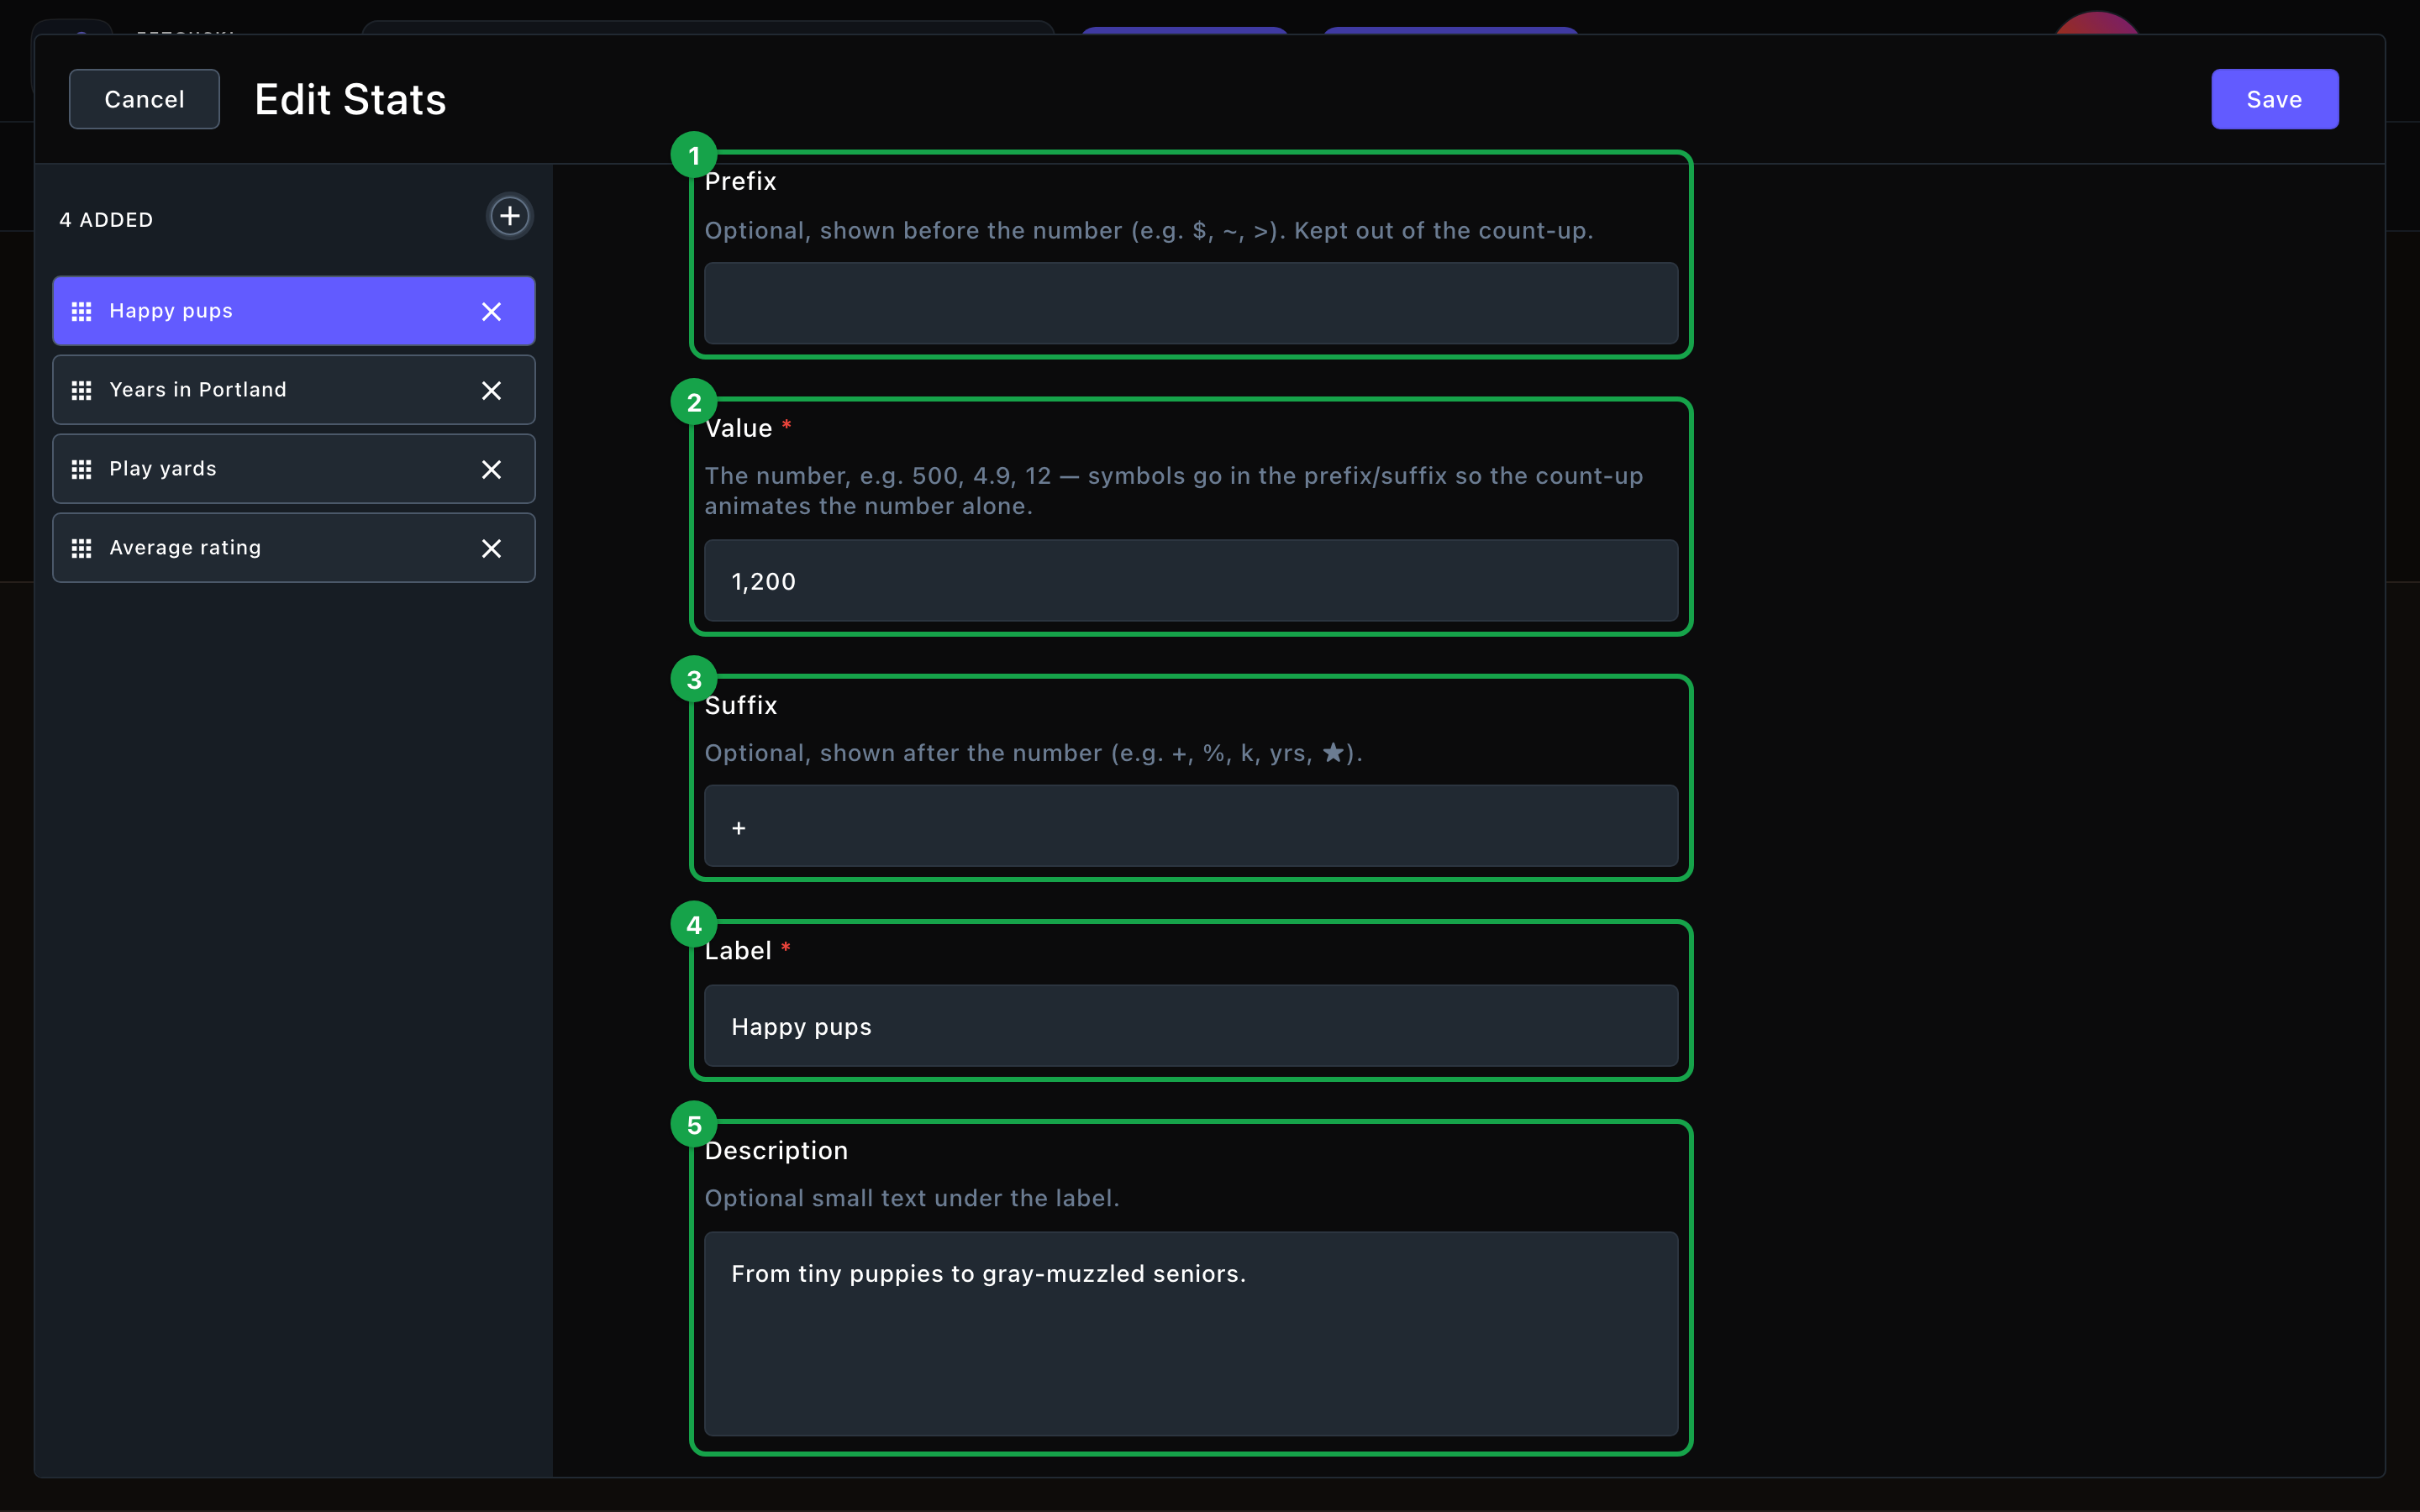
Each stat has a value, an optional prefix and suffix, and a label.
Stats
Stats
Everything about the band and the numbers in it.Header
- Show eyebrow and Eyebrow: a small line above the heading, “By the numbers” to start. Choose its weight and size too.
- Heading: an optional heading above the numbers. Leave it empty to hide the heading. To show just the numbers, also turn off Show eyebrow.
- Stats per row: Auto (fit to width) fits as many as look good, for any number of stats. You can also lock 2 per row, 3 per row or 4 per row.
- Gap between stats: Tight, Normal or Roomy.
- Overall stat size: Small, Medium or Large. It scales the icon, number, label and description together.
- Alignment: Center or Left, inside each stat.
- Vertical dividers between stats: a thin line between stats. It looks best on a single row.
- Animate count-up on scroll: numbers count up from zero when the band comes into view. Turn it off to show the final numbers straight away.
- Icon size and Icon spacing: how big the icons are, and the space between each icon and its number.
- Value size, Label size and Description size: fine-tune one part. Auto (match stat size) follows Overall stat size.
- Each part also has a weight and a color. Each color can be set separately for the dark and light themes. Leave colors empty to use your site’s colors: the numbers use your accent color.
- Value: the number itself, such as 500, 4.9 or 5,000. It’s required.
- Prefix and Suffix: symbols before or after the number, such as $ or + or %. Keep them out of Value, so only the digits count up.
- Label: what the number means, such as “Happy pups”. It’s required.
- Description: optional small text under the label.
- Icon name: an optional icon above the number, such as star or bolt. Find names at fontawesome.com/icons and type them without “fa-”. Once you add one, you can choose its family and color.
Background
Background
A background color for the whole band, set separately for the dark and light themes. It starts as Transparent (page background). See What every section shares.
Fonts
Fonts
Use a different typeface for parts of this section only, such as the numbers. Leave it empty to use the page’s fonts, which normally come from Site design → Typography. See What every section shares.
CSS
CSS
Custom styles for this section only. Admins and Owners can change this tab. See Custom CSS.
Looks you can make
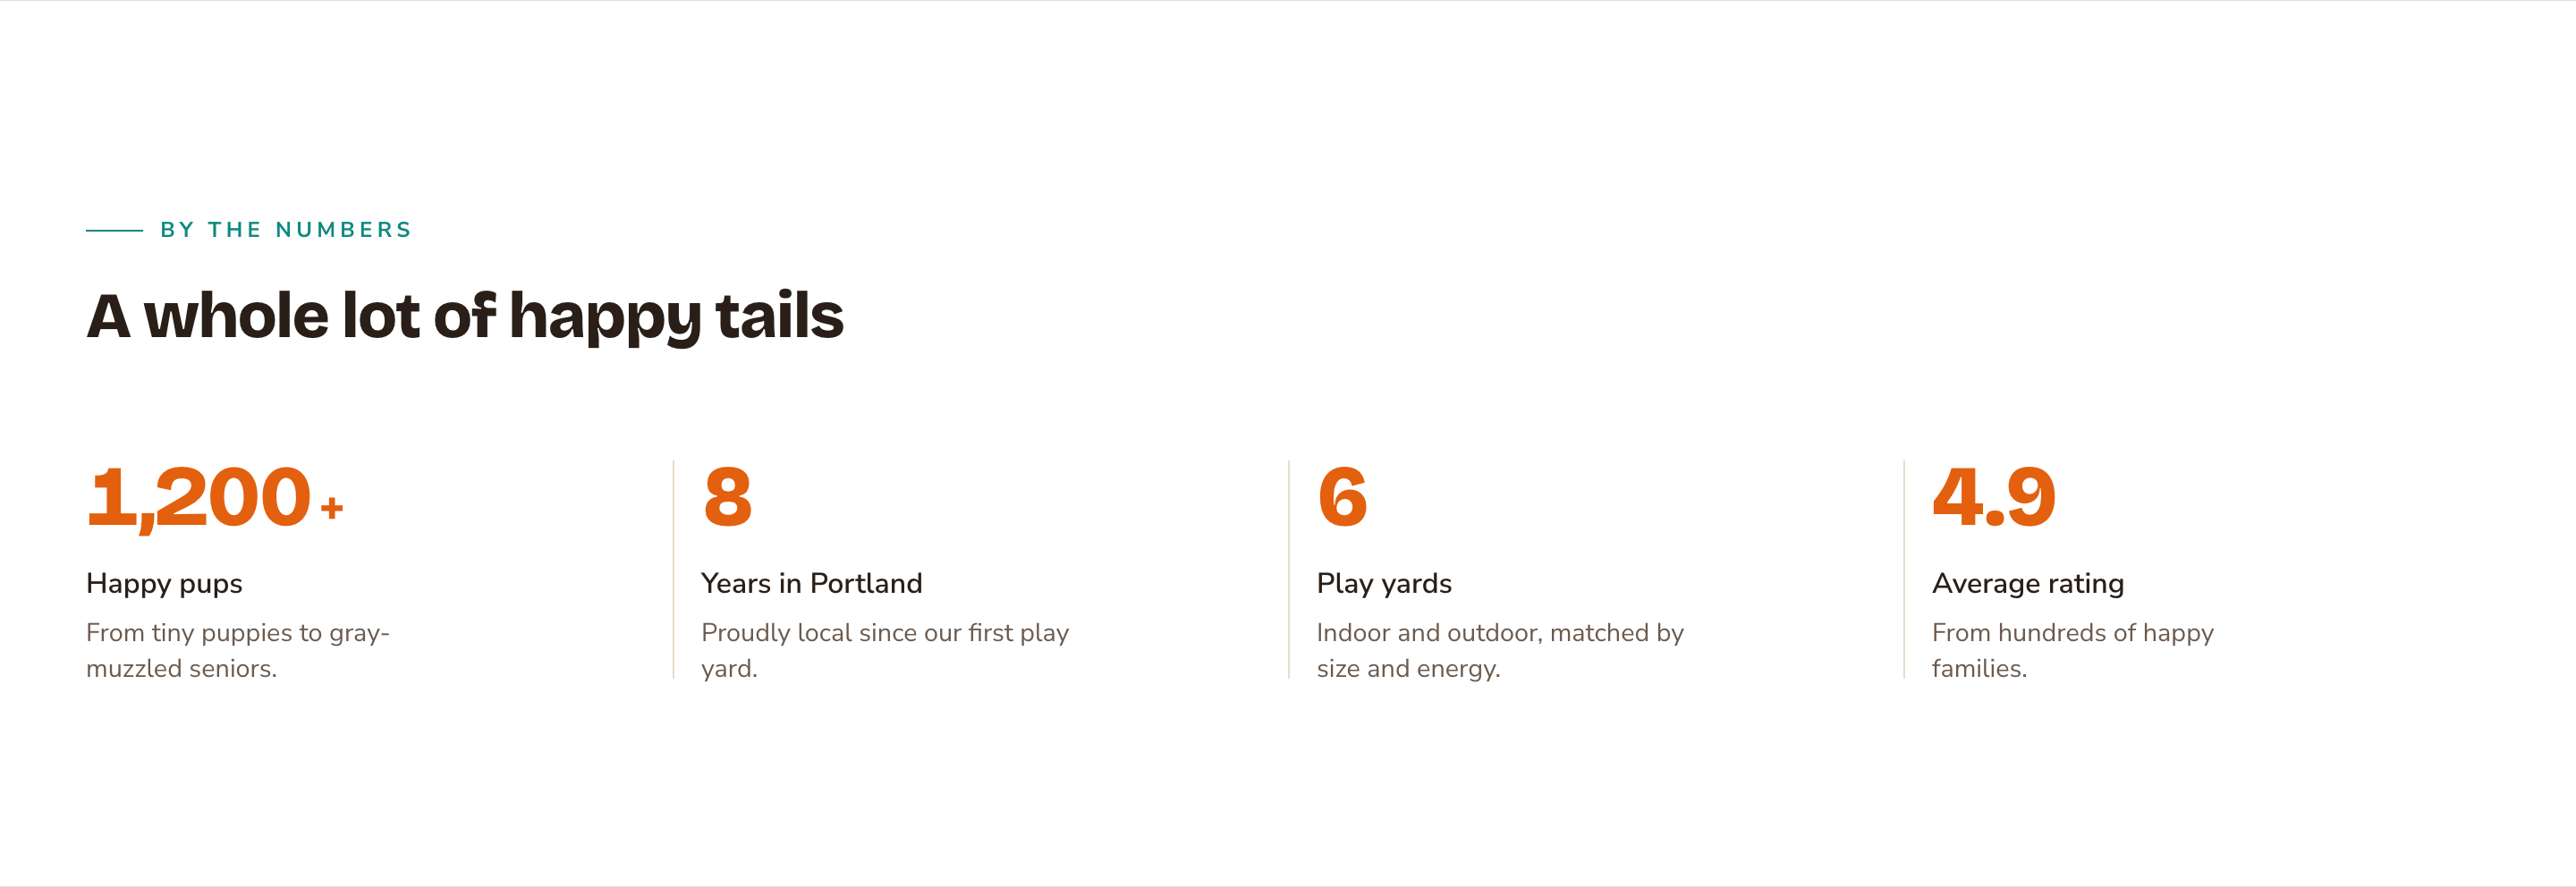
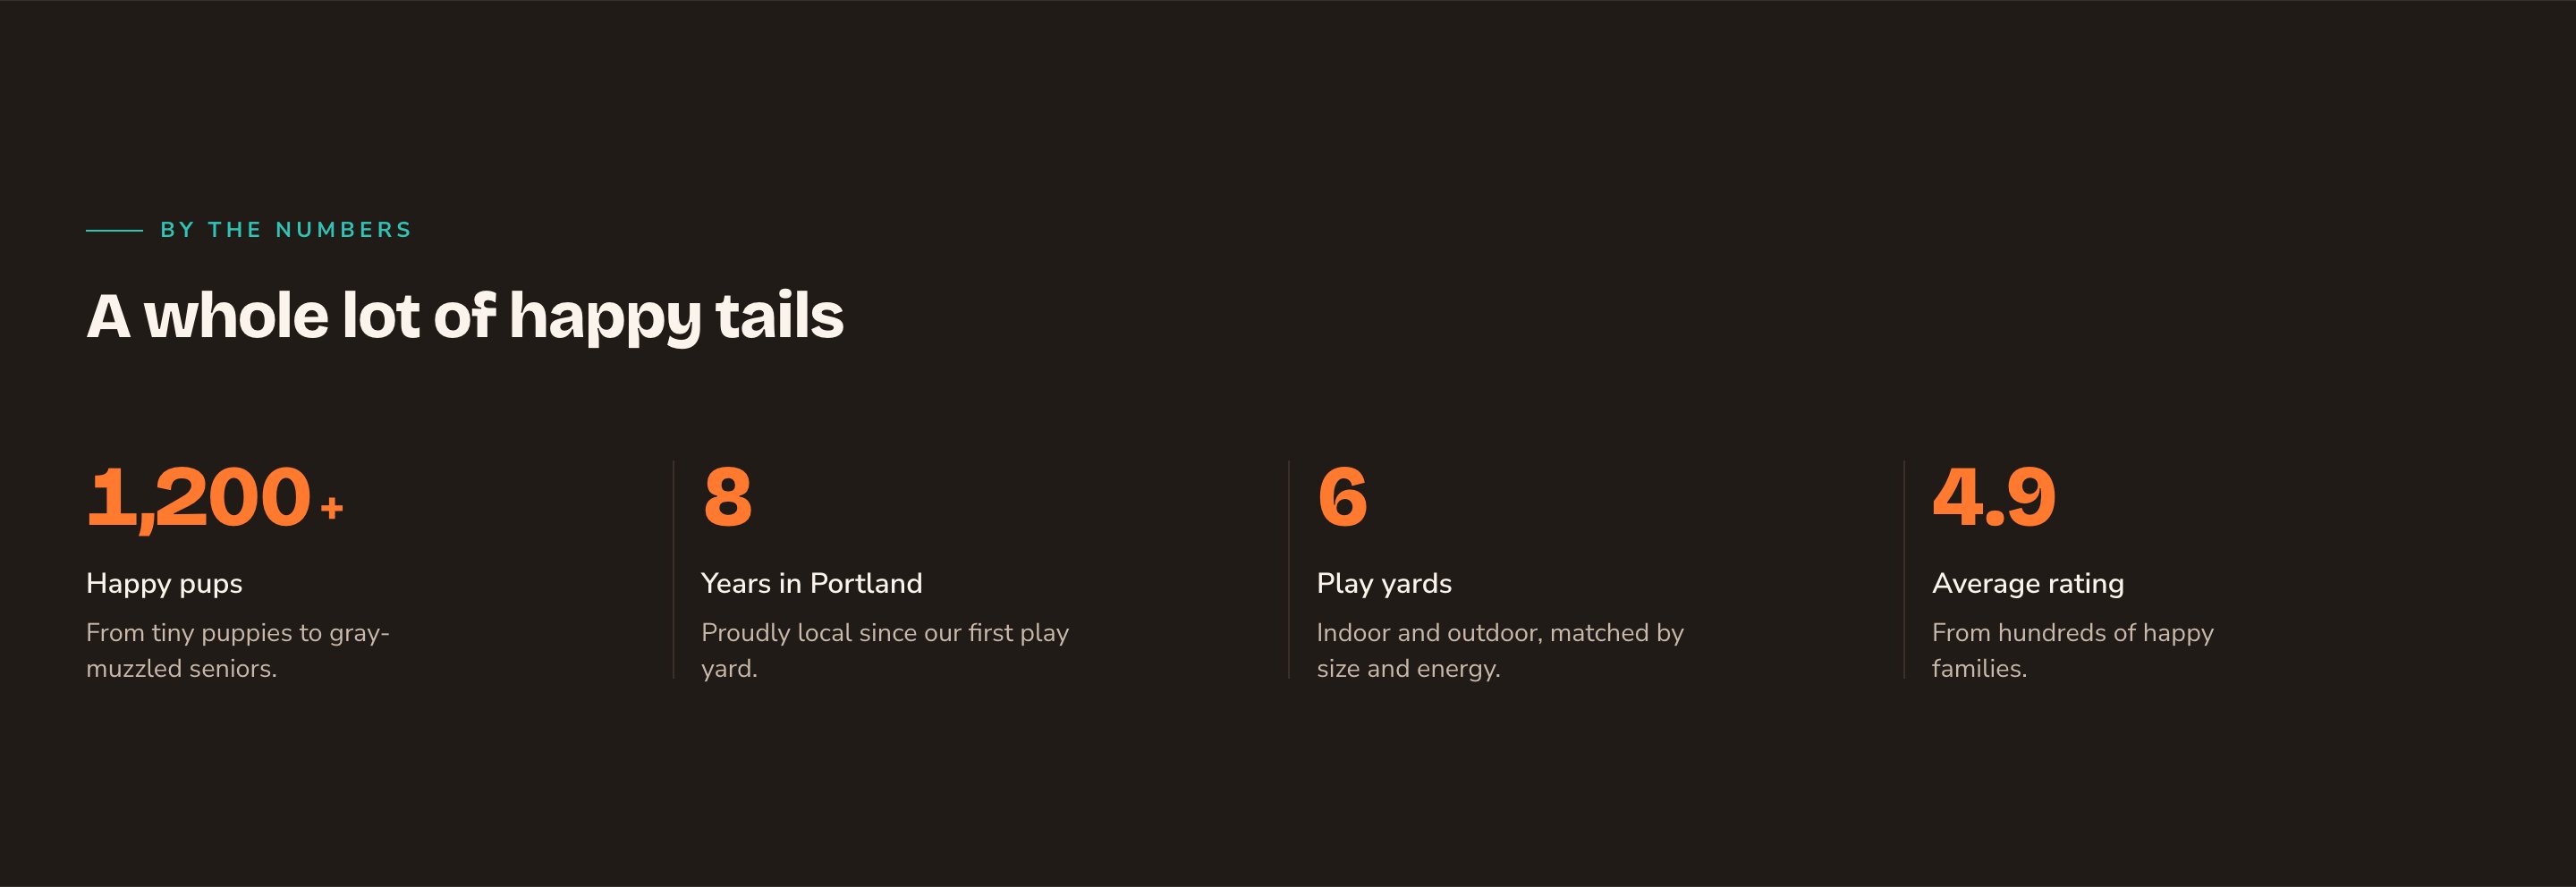
Four numbers in a row, with lines between them.
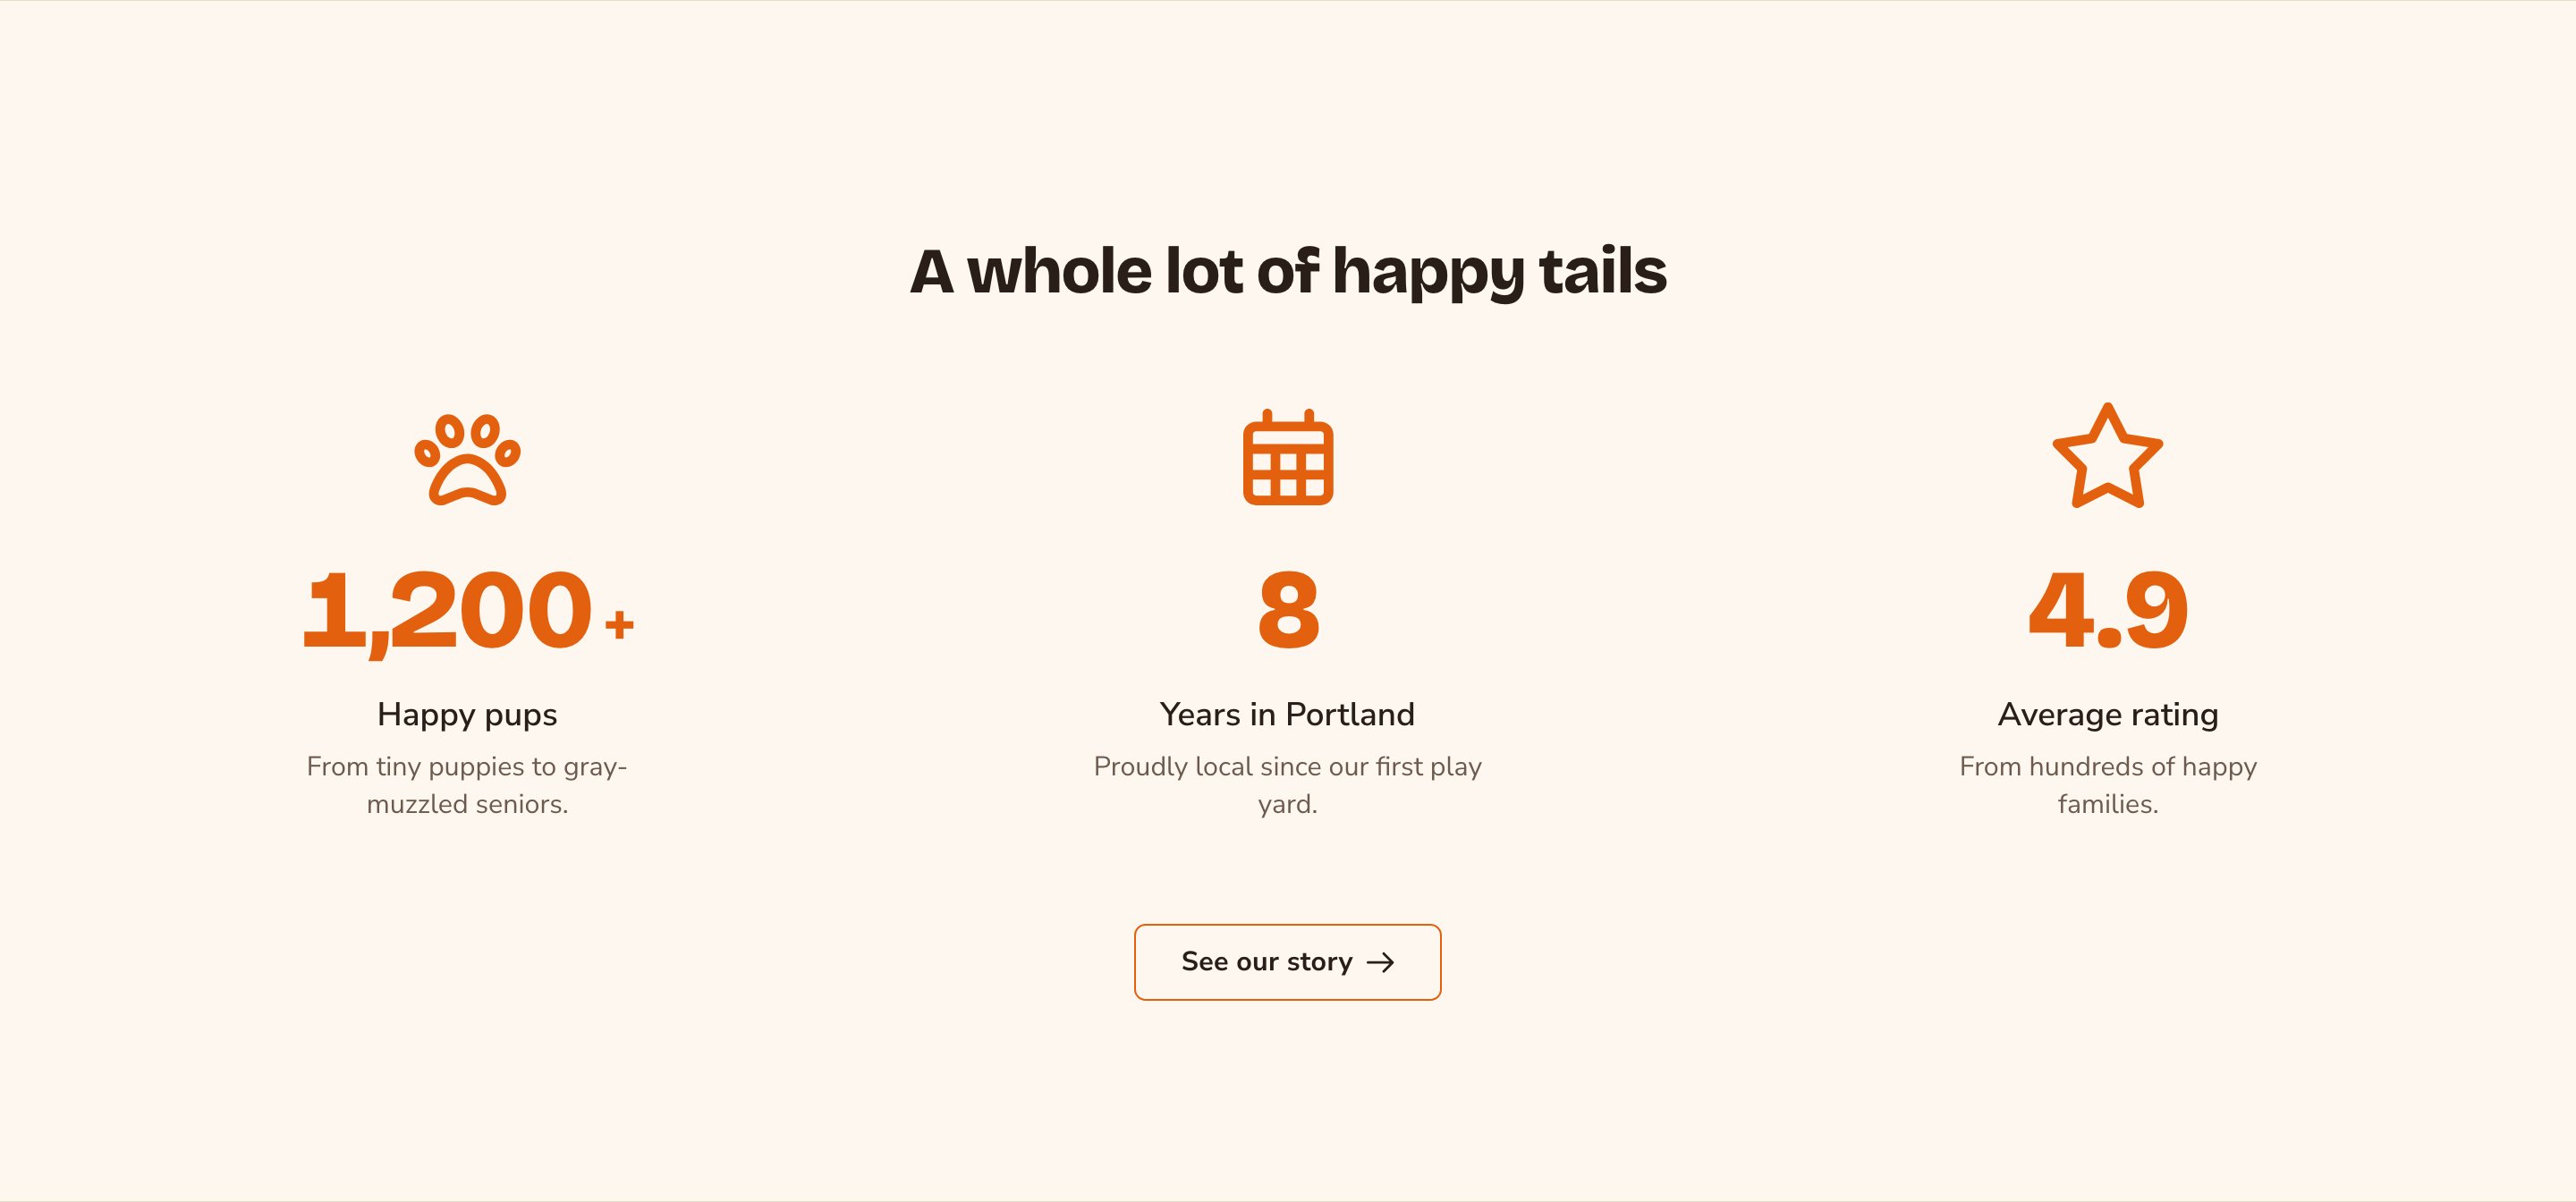
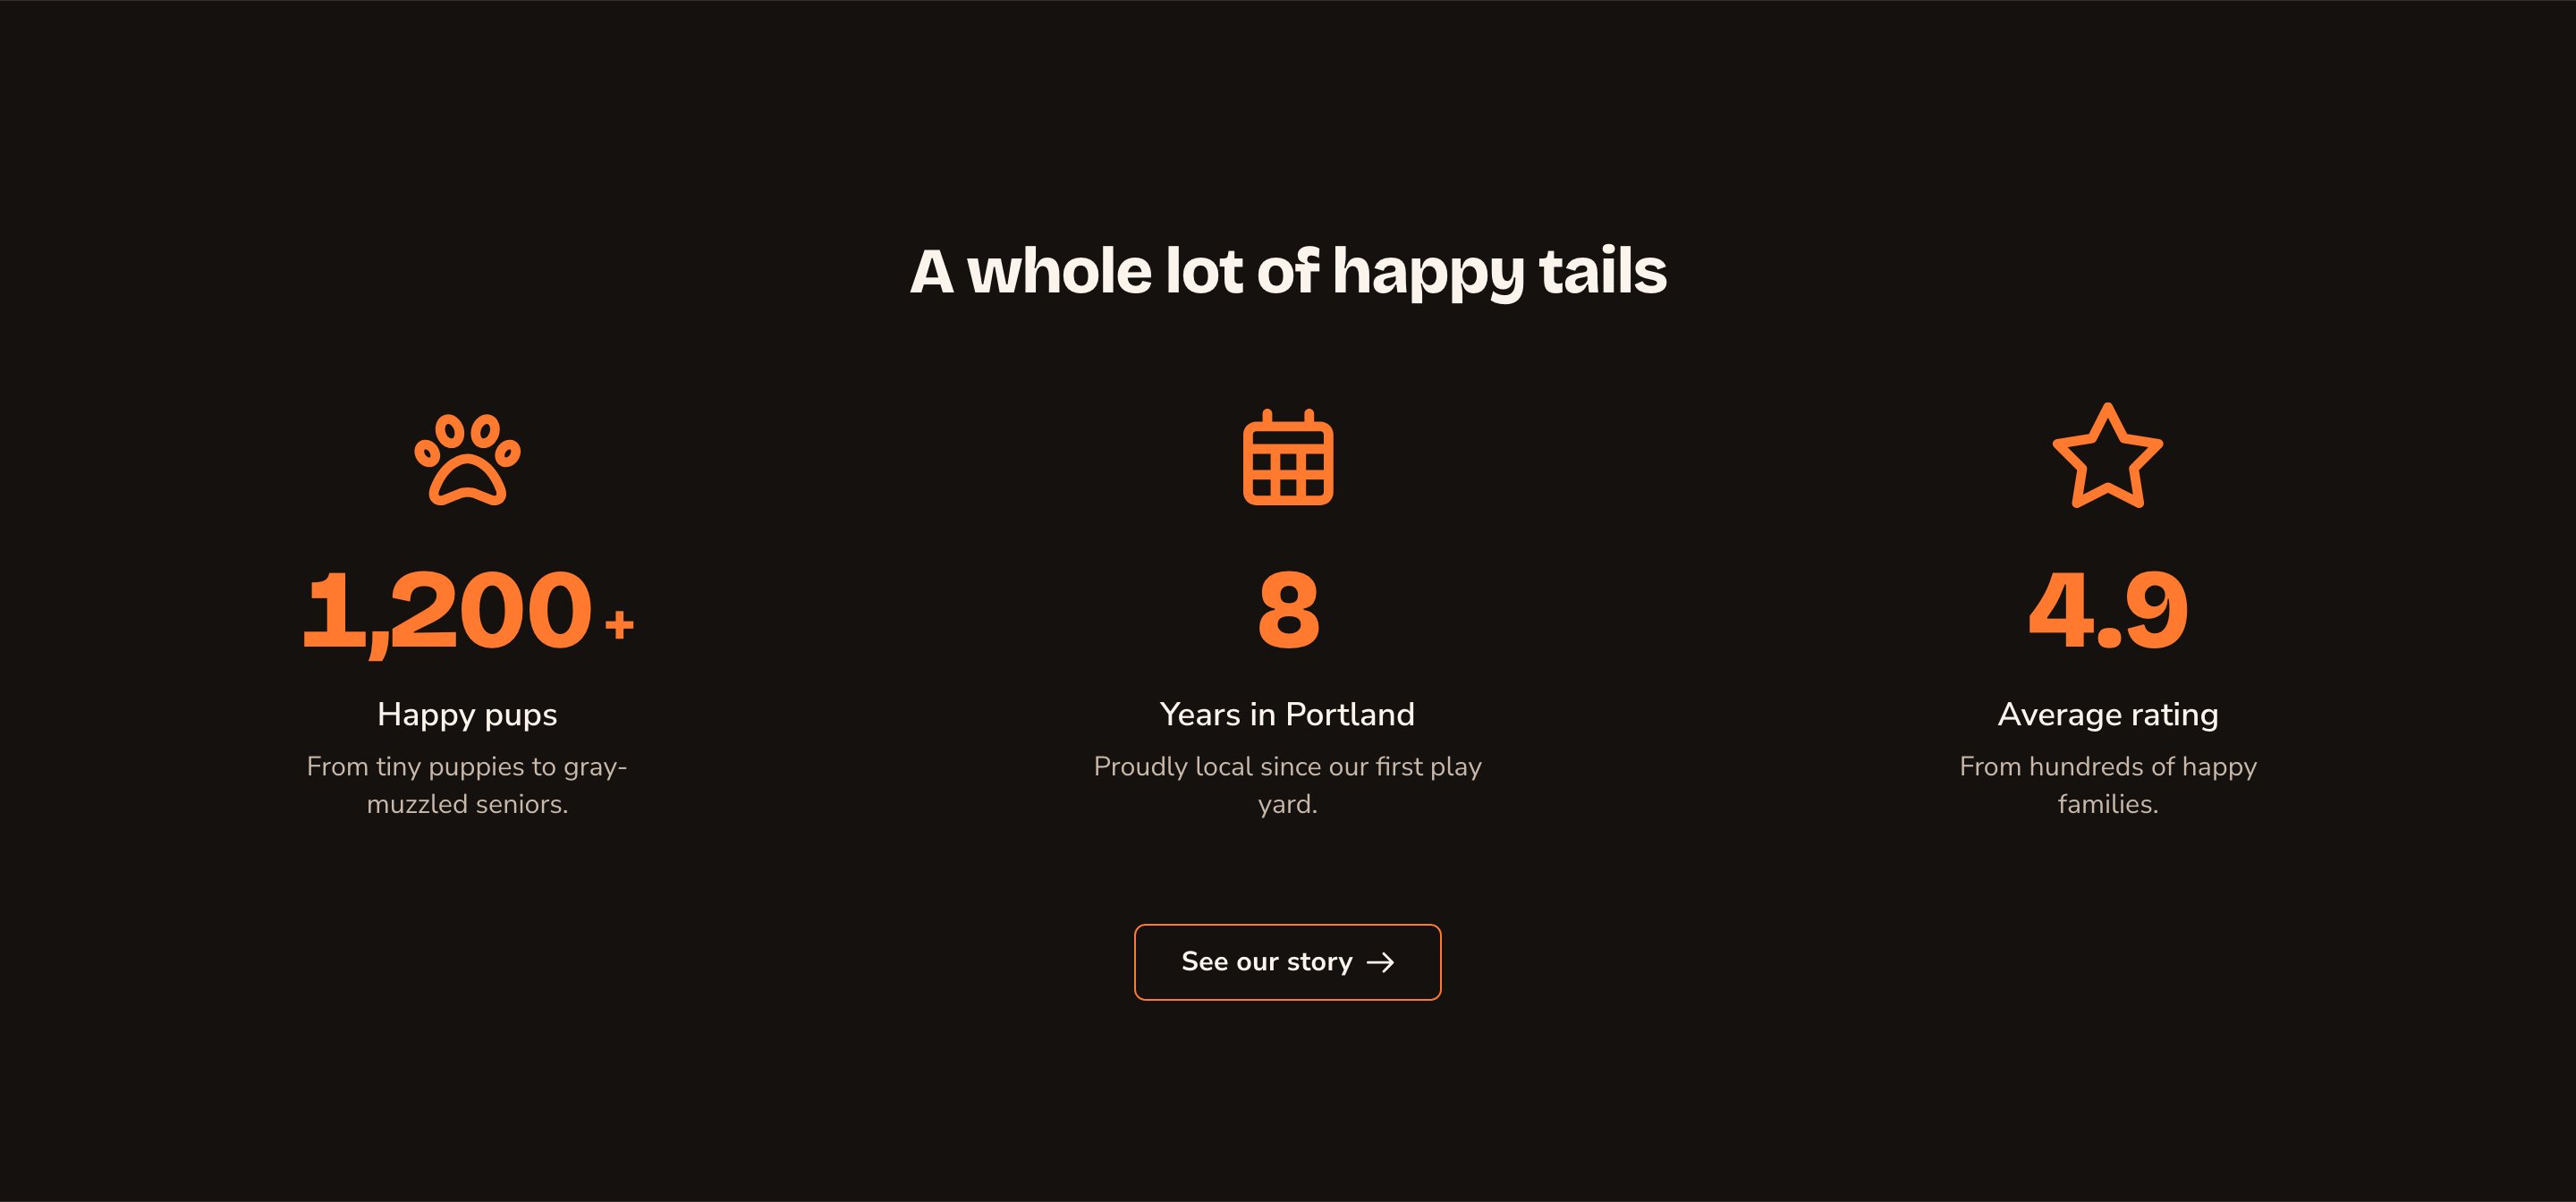
Three big numbers and a button to learn more.
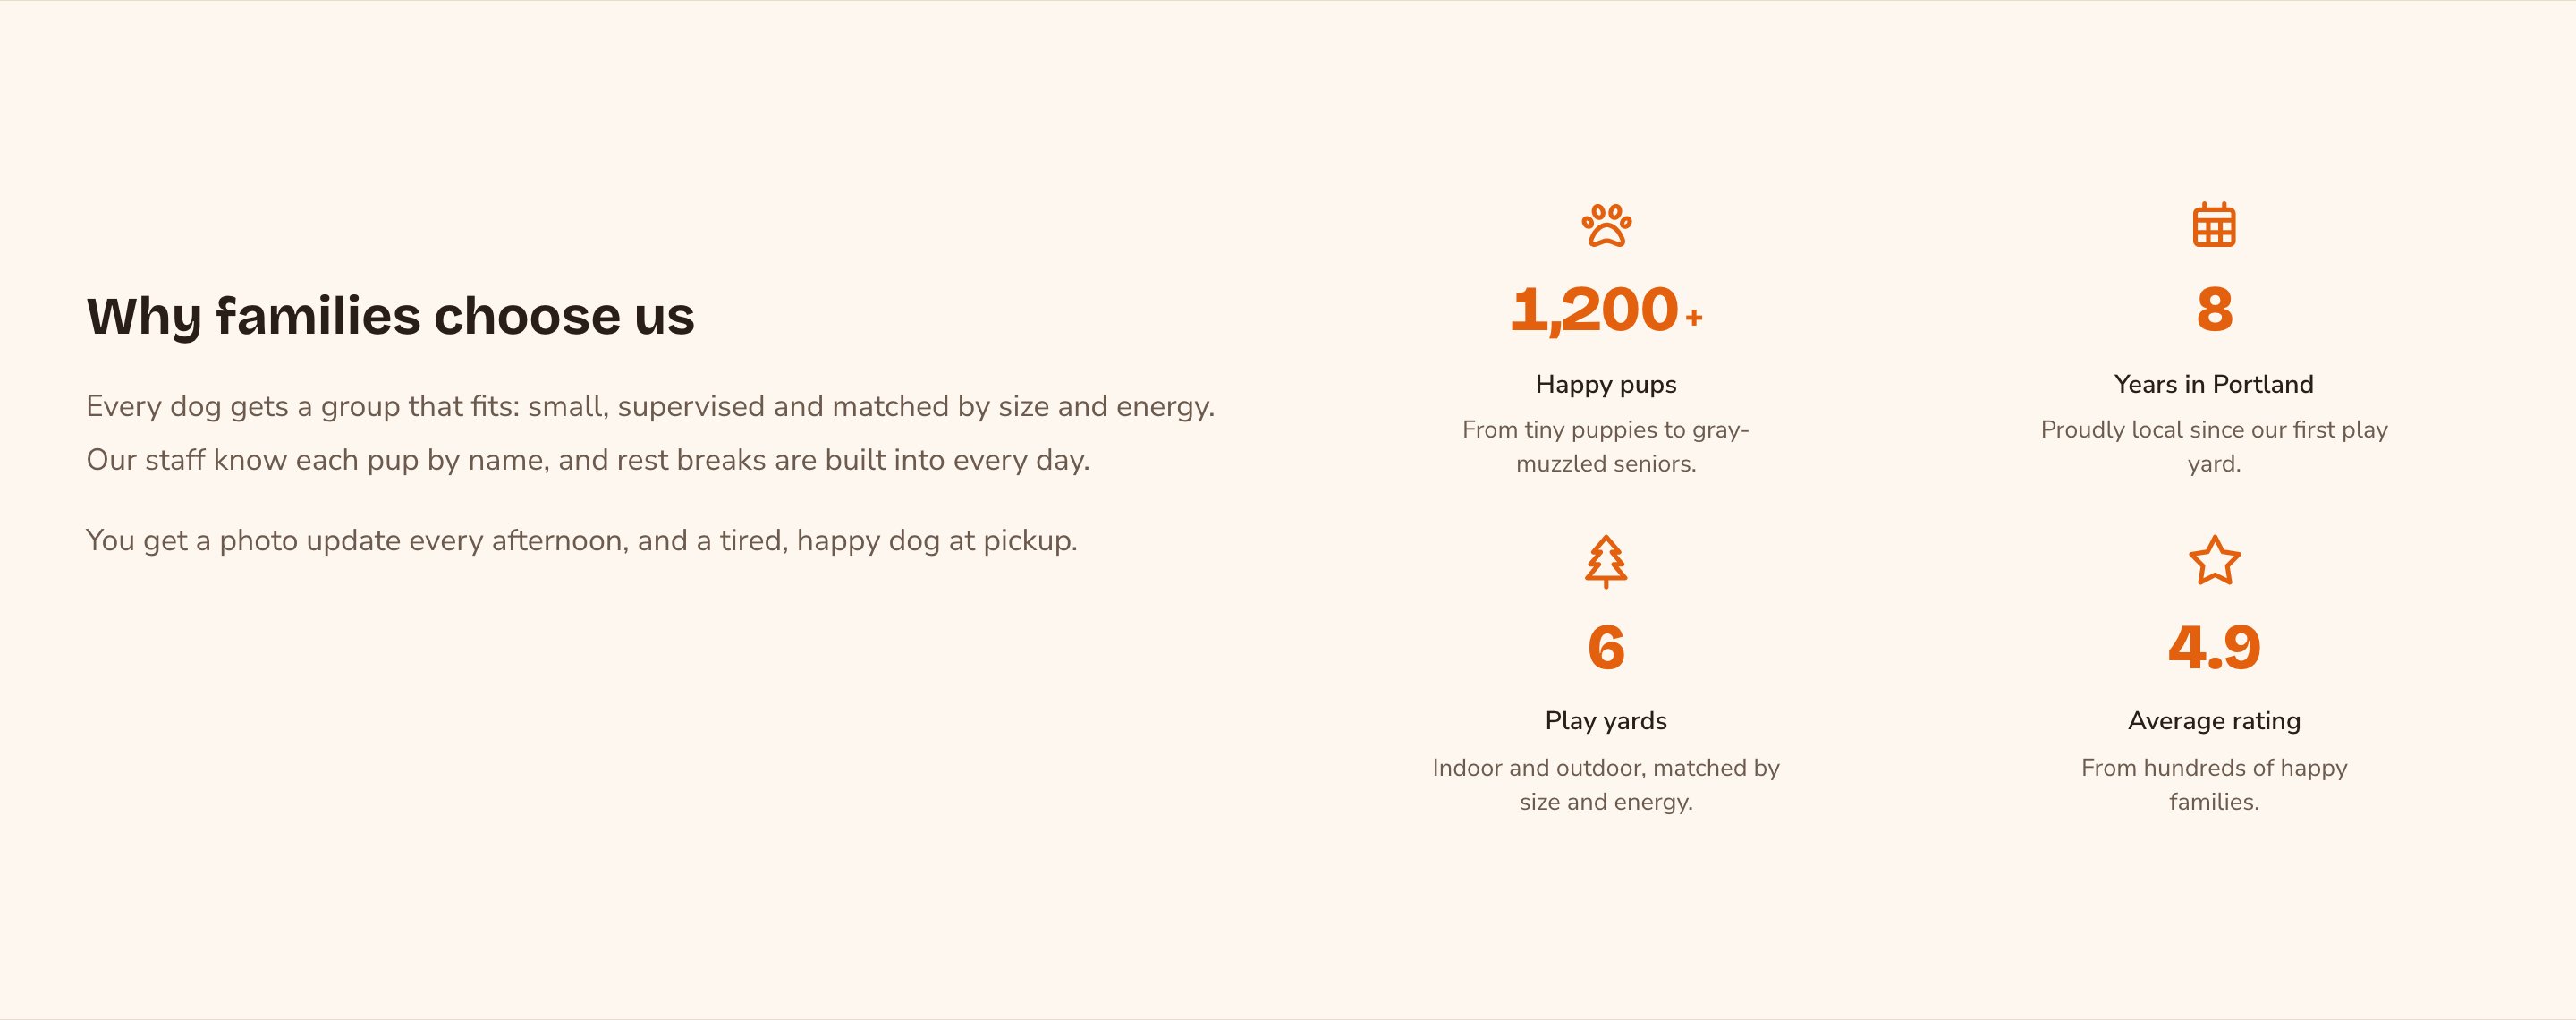
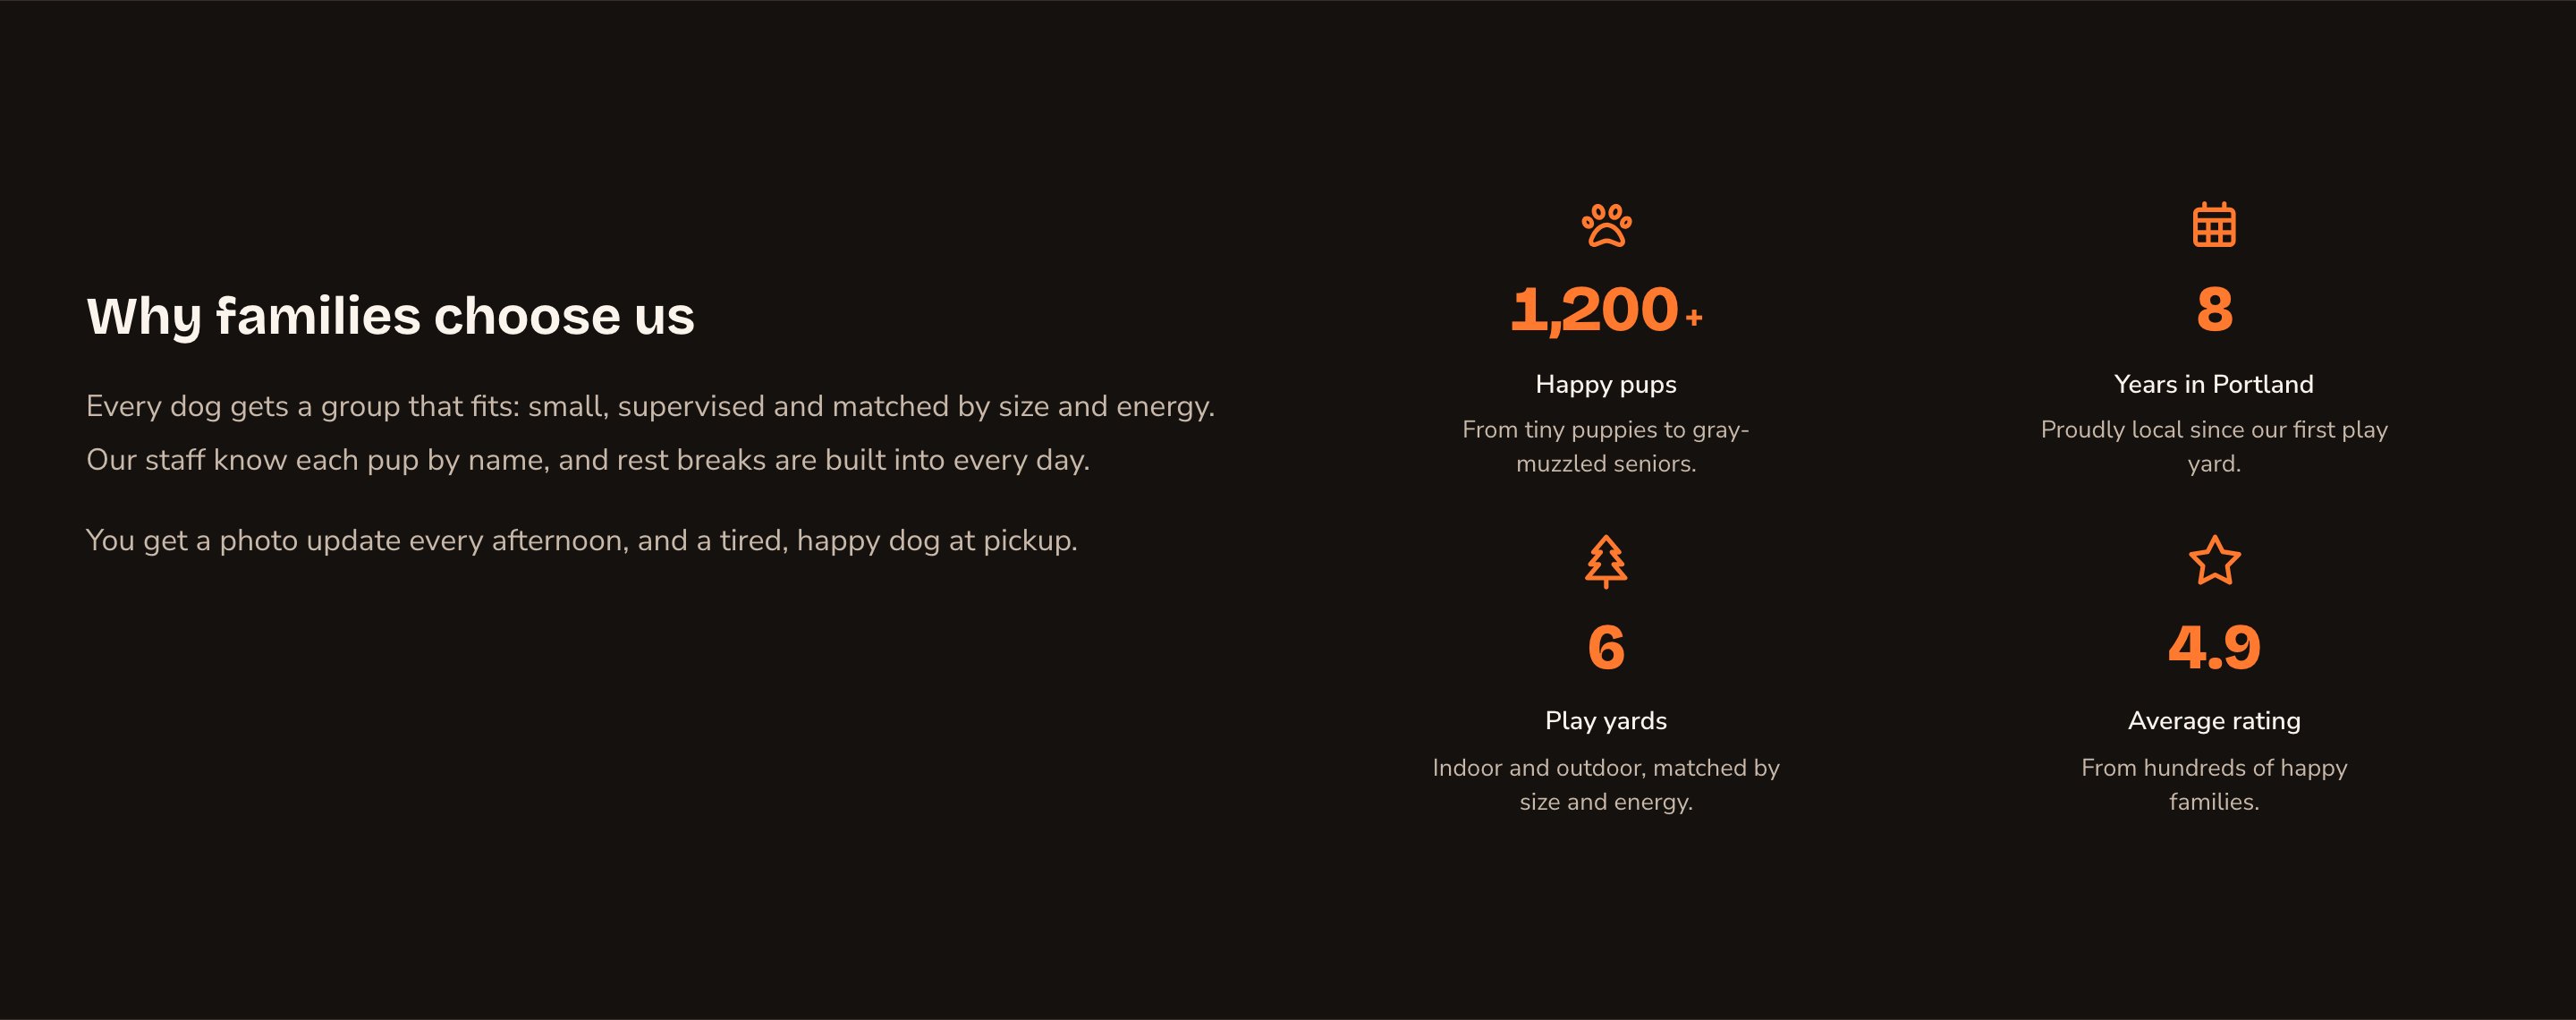
A small grid of stats beside your story.
Good to know
- Only plain numbers count up. A value that is anything more than a number, such as “24/7” or “N/A”, shows exactly as you typed it, without counting up.
- Commas are added for you. A whole number of 1,000 or more shows with commas, so 1200 shows as “1,200”.
- The count-up plays for visitors only. While you edit, the band shows the final numbers. Visitors who prefer less motion, and sites with animations off, also see the final numbers.
- Check the dividers on phones and tablets. Preview the page at a phone or tablet size (see Preview on phones and tablets). If the stats wrap onto a second row, the first stat of that row has a divider on its left. To fix it, choose a Stats per row that fits your stats on one row, or turn off Vertical dividers between stats.
- The section heading is a subheading on the page, so it never competes with your main heading.
Appearance options
Most sections also share a few tabs that work the same everywhere:- Background: set the color behind the section, separately for the dark and light themes.
- Fonts: use a different typeface for parts of this section only.
- CSS: add custom styles to this section. Admins and Owners can change it.
Related
Feature Cards
cards with an icon, a title and text.
Side-by-side layouts
put Stats beside other content.
Buttons and card styles
every button option.
Motion
turn site animations on or off.